
What takes a website from good to great is attention to detail, particularly when it comes to adding some interesting finishing touches to your text areas. Many people spend a long time perfecting their home page only to run out of design inspiration when creating pages with lots of copy and fewer images. Adding a few simple features will elevate even the most text-heavy page, helping you to add interest and breaking up the content for your readers.
In today’s post I’m going to show you five different ways that I style text with WordPress and Divi.
Subscribe To Our Youtube Channel
1. Add Dropcaps
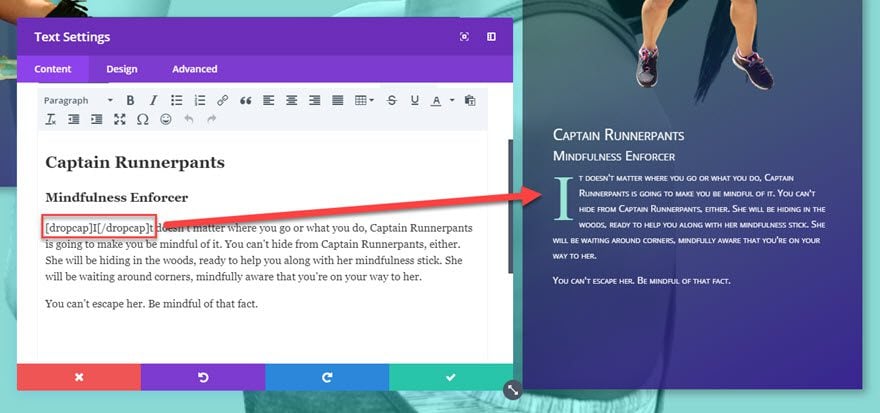
I can’t resist a dropcap. In fact, I add them to nearly every website I design. Dropcaps or initial caps are often used to great effect in printed magazines and newspapers and they are very straightforward to implement in WordPress. A dropcap gives any page section an editorial feel and you can style your dropcap fairly easily with a contrasting color, if you wish.
There are plenty of plugins that automatically add a drop cap to your first paragraph but I like to have a little more control. Did you know that all of the themes from Elegant Themes have a built-in dropcap shortcode? Even better, it is really easy to style with CSS using the .et-dropcap class.
To use it, add the following code either side of your initial capital letter like this:
yourletter
If you want to style the ET dropcap differently from the standard version, here are the lines of CSS you can add to your Divi Custom CSS box in the Theme Options > General tab.
The code snippet below will allow you to change the font-size, line height (ie. does the cap fill two lines or three), change the font family and also change the color. It might take a little fiddling with the font size and line height values to get it just how you want it.
.et-dropcap {
    font-size: 95px;
    line-height: 0.7;
    color: #9ae5d3;
    font-family: Times;
    padding-top: 10px;
}
2. Mix & Match Text Styles in a Module
When it comes to mixing and matching fonts in a single text module, you have it easy. You don’t need to install a plugin or any external files. All you have to do is click into a text box, and a contextual menu will pop up. From here you can adjust the style, formatting, and even the font family of any characters you choose. You can even add in new H tags and adjust colors from here, too. Anything you highlight can be formatted separately from the text around it.

Also note that you can do this with any module that you can edit text in-line, such as Blurbs or Testimonials.
3. The Divi Testimonial Module
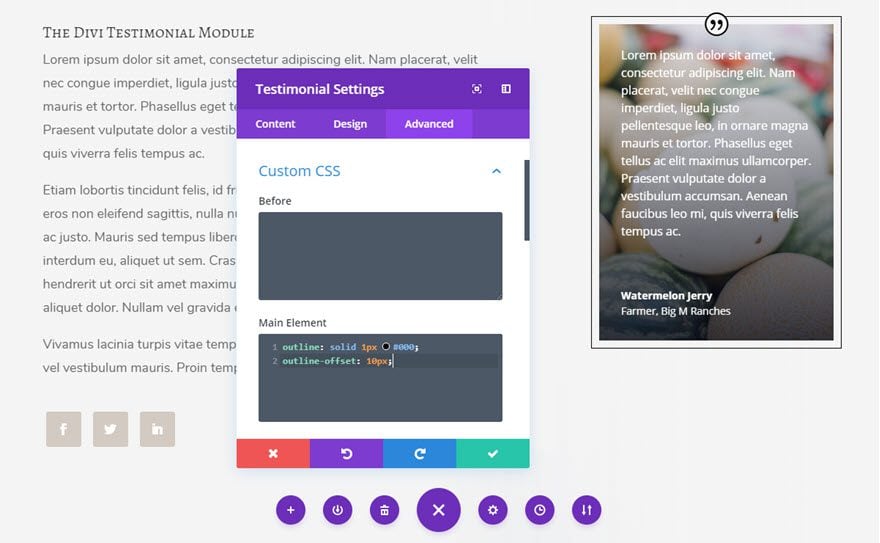
Speaking of the Testimonial module, it happens to be one of my favorite ways to break up a text-heavy page. It’s perfect for creating attractive callouts on your page, and if you add a background image and an offset keyline border, your content will really stand out. To add the border, just paste this code into your settings. Under the Advanced tab of the module settings, add this snippet of code to the Main Element box of the Custom CSS area. If you want a background image, you can set it under the Content tab.
outline: solid 1px #000;
outline-offset: 10px;
The CSS code below will make the offset keyline show up around the outside of the image. The code for the offset keyline code will work with almost any Divi module, too. And don’t worry if you don’t need to use testimonials on your site. You can style the module however you want for many different highlighting options. In this post, for example, we use a testimonial module with overlay to highlight staff members.
4. Fullwidth Text Blocks
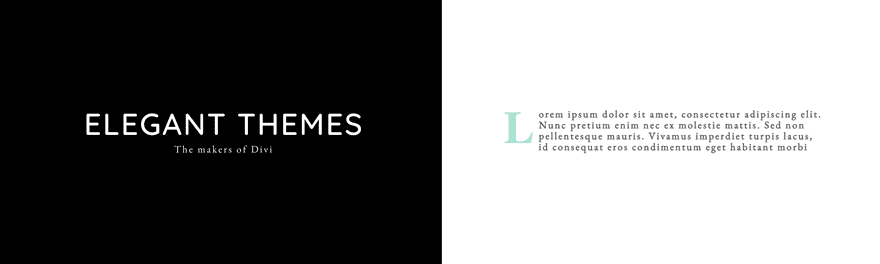
Adding full-width text blocks can give your website a really sleek modern feel, particularly if you add a solid background color to one column in the row (or both!) and vary the style or size of fonts you are using.
For this example, we just need a row with two columns and a text box in each column. In the Row Settings, you’ll need to make the row full-width, set the Custom Gutter Width to 1, and turn on Equalize Column Heights. Depending on your color choices, you may need to add in some custom padding in the Spacing section.
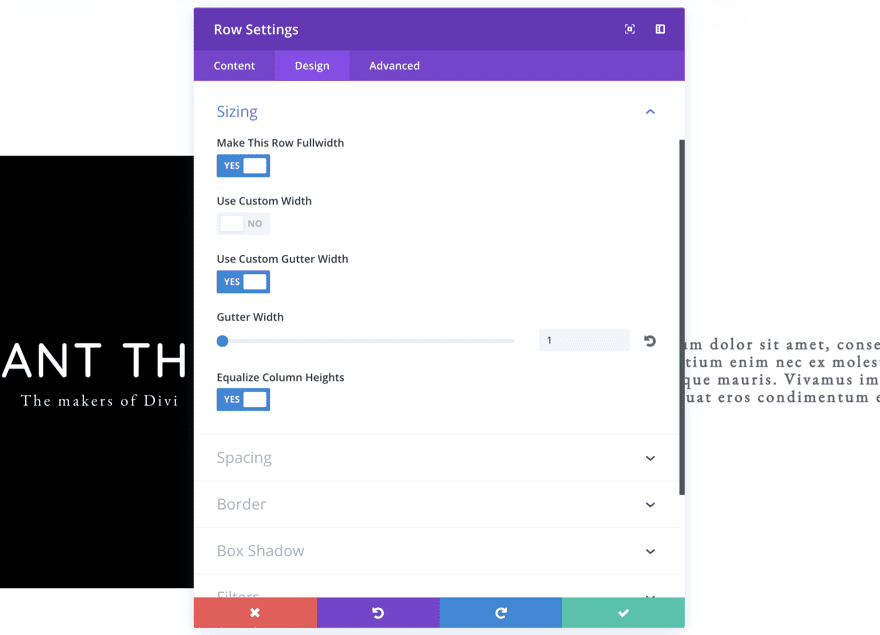
Once all that’s done, add your text and have fun playing with font styles and sizes.
5. The Divi Toggle Module
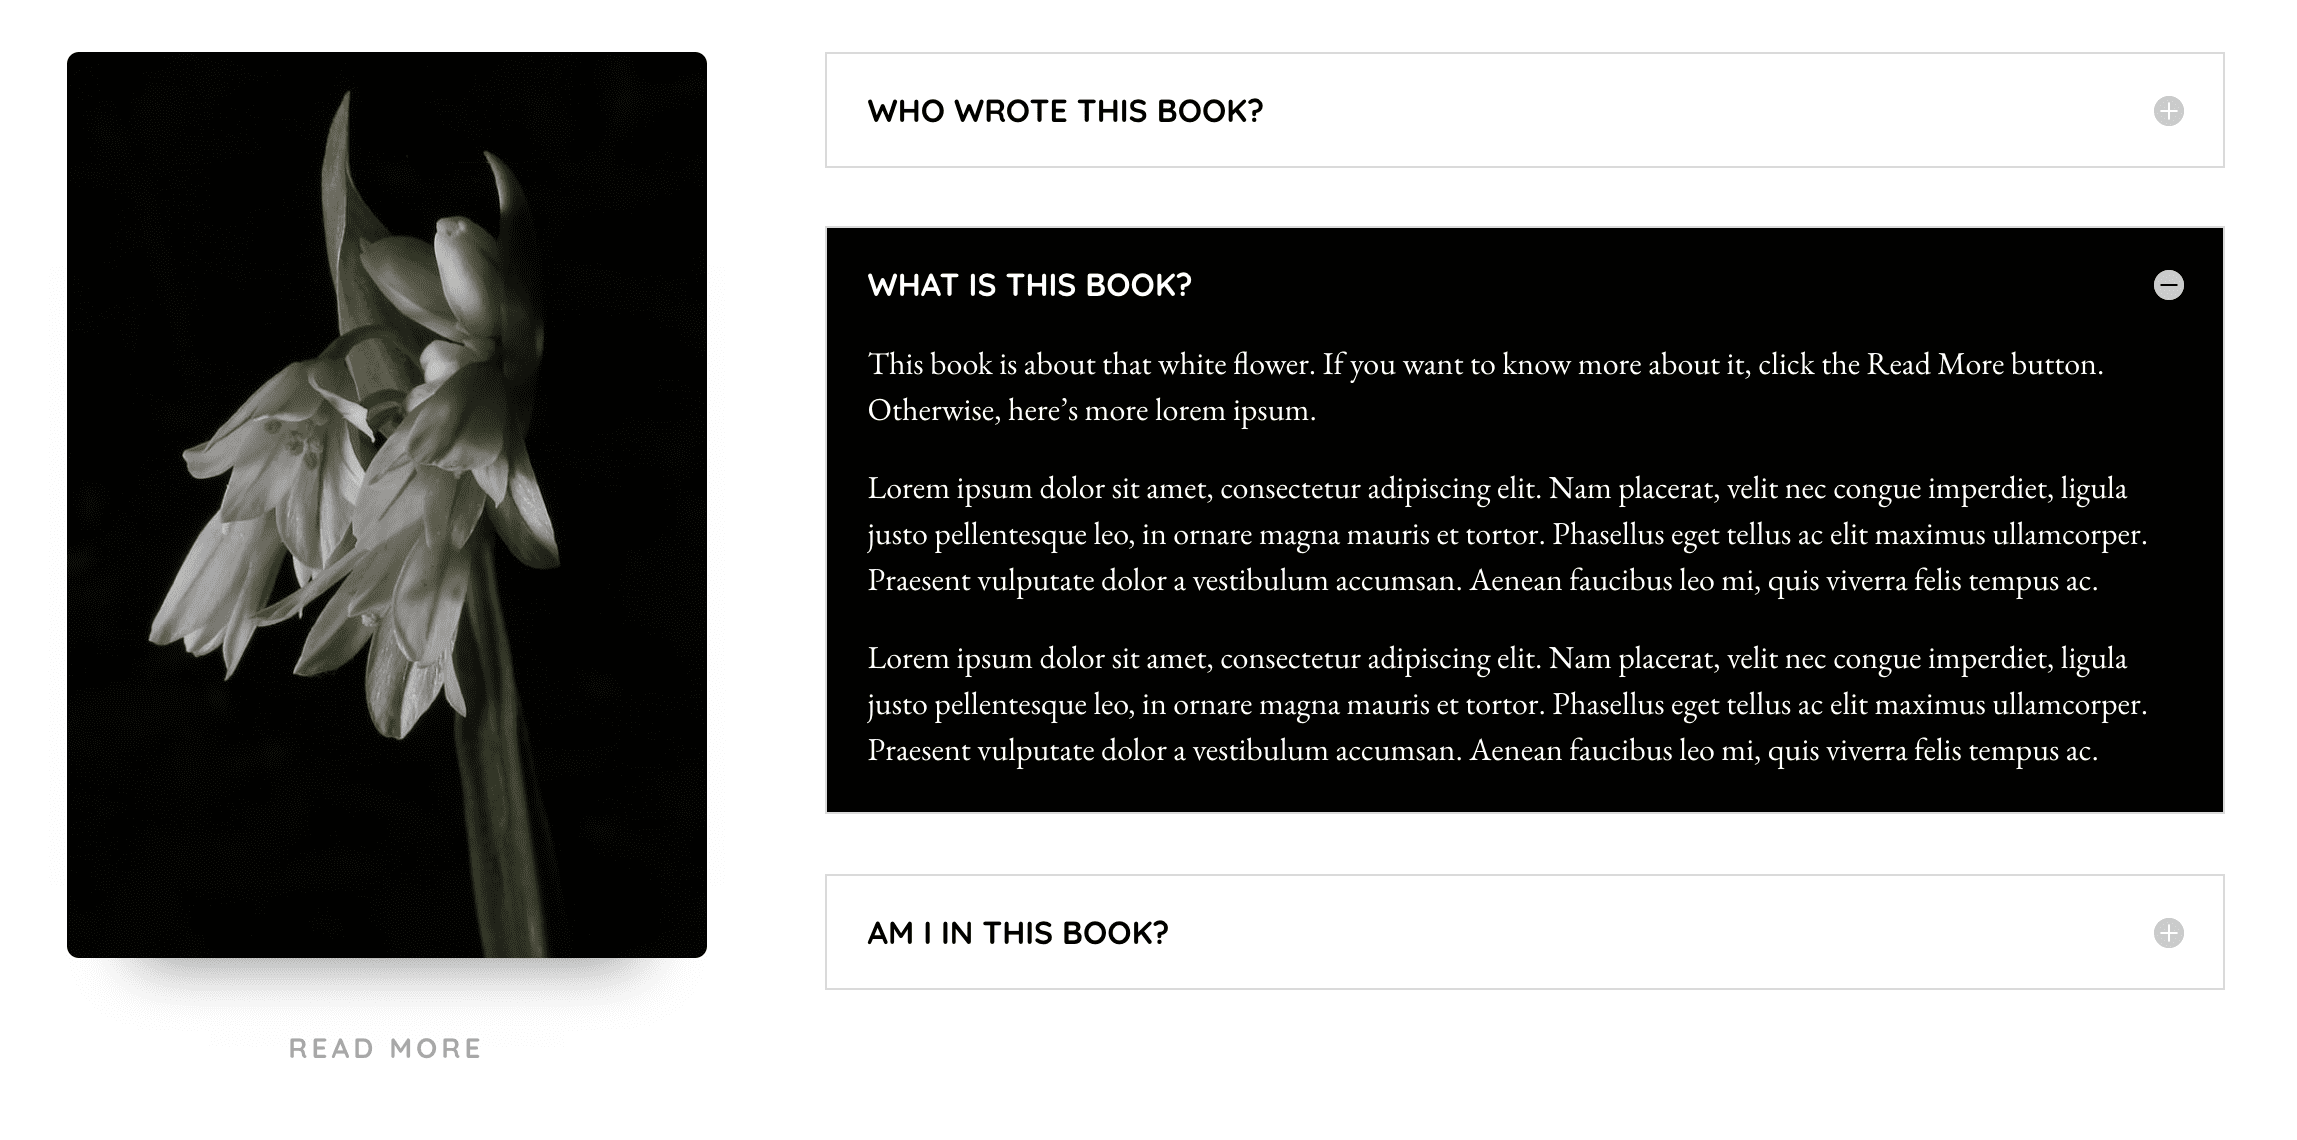
The Divi Toggle Module is a handy tool when it comes to handling sections of your website that can be a little dull, such as FAQs. I like to use a mixture of open and closed toggles with different styling effects, to add interest and break up the page. Each module is made for a single open/close toggle, so you will need to add in as many modules as you want entries in your display. For this one, I used three separate Toggle modules.
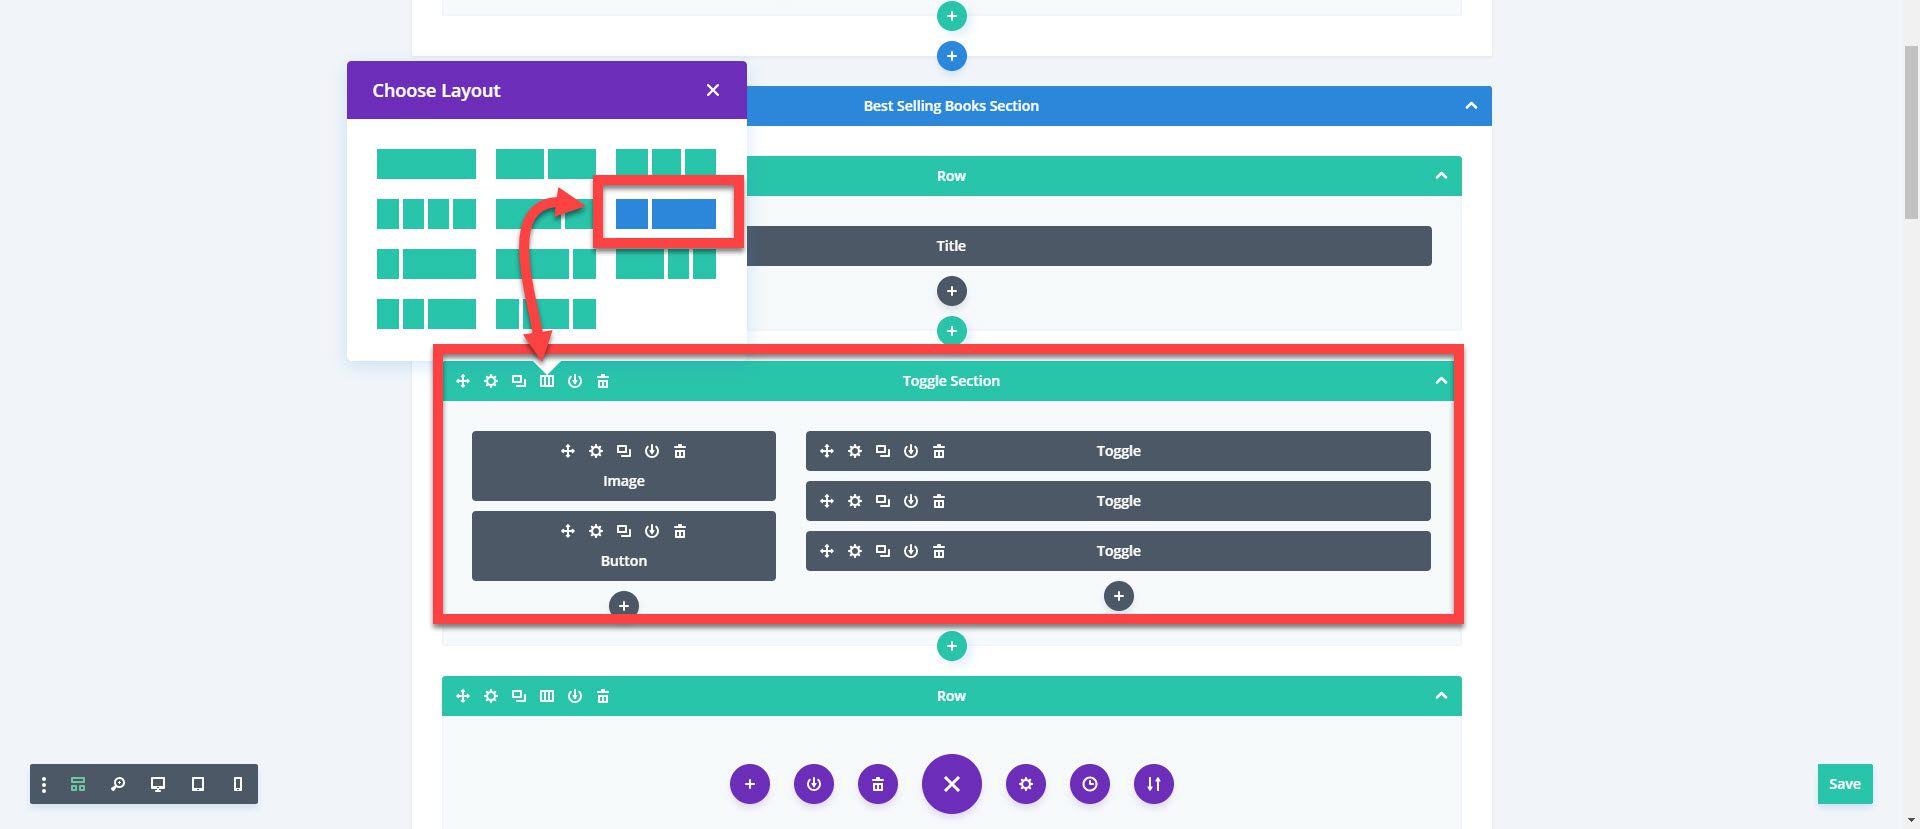
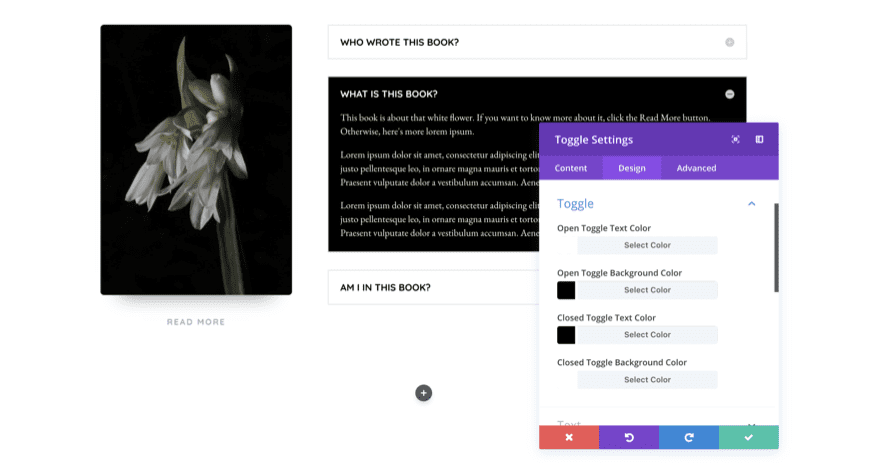
First, add a new section and choose a 1/3 and 2/3 column layout. Add an image module and button to the 1/3 column. Then, add the all the toggles you need into the 2/3 column and style the text and background color in the Design tab of each module. Personally, I think alternating the text and background colors looks really nice, and it as a bit of dynamism to your website as your users click through your content.
Wrapping Up
Getting creative with text doesn’t mean you have to stick to text modules. Not only can you use the Testimonial and Toggle modules, but you can also more attractively display your content with the Call To Action, Blurb, and Accordion modules as well. Implementing some of these ideas may just save you from design boredom and your readers from a wall of text with your next project. Oh, and don’t forget those delightful Divi dropcaps!
Be sure to subscribe to our email newsletter and YouTube channel so that you never miss a big announcement, useful tip, or Divi freebie!
The post 5 Text Styling Tricks for WordPress and Divi appeared first on Elegant Themes Blog.