
Scrollable panoramas are great for showing large images in a small space. Instead of reducing their size to fit onto the screen, which can make them un-viewable, placing the image within a scrollable panorama allows you to display the larger image in its actual size. The visitor can view the entire image by dragging. Divi doesn’t have a native panorama feature, but it can easily be added with a third party plugin called Panorama for Divi.
Panorama for Divi adds a new module to the Divi Builder that makes it easy to create vertical and horizontal panoramas. The panoramas can stop or repeat. Add an overlay, set the height, choose the animation style, and place panoramas within any Divi layout. It’s responsive and touch-enabled.
For this overview I’m using Panorama for Divi version 1.0 with Divi version 3.2.2 and WordPress version 4.9.5. Images were taken from Unsplash.com.
Panorama Module
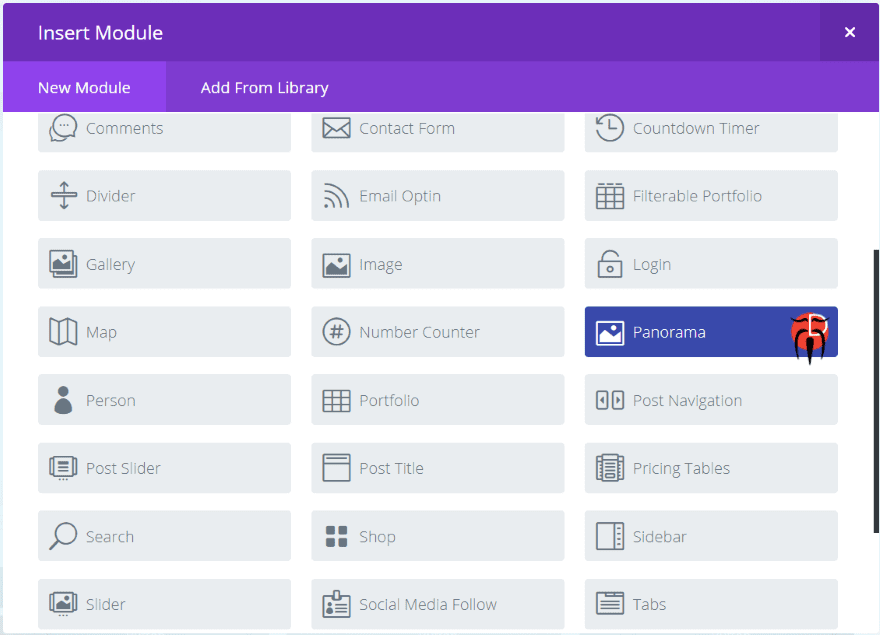
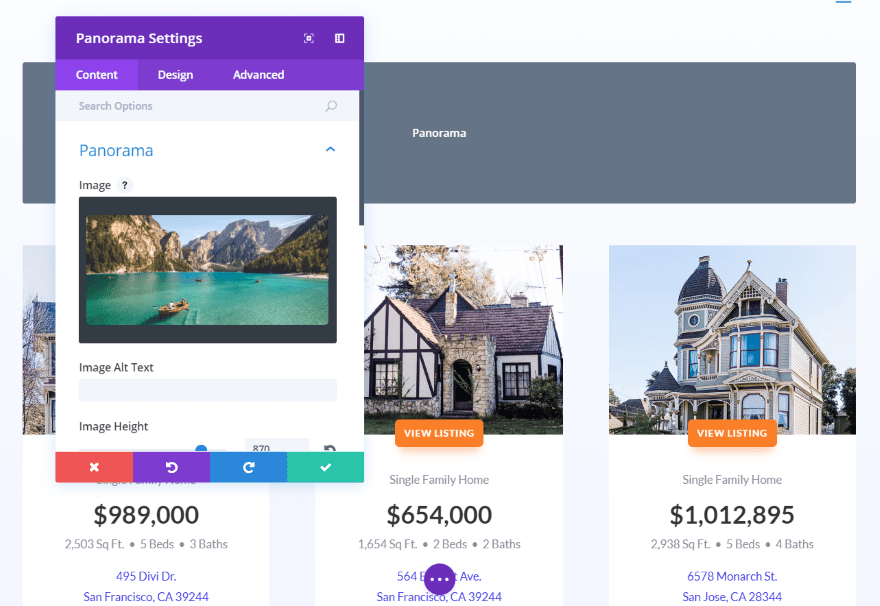
A new module is added to the Divi Builder called Panorama. It’s dark blue and includes the publisher’s logo, so it stands out nicely.
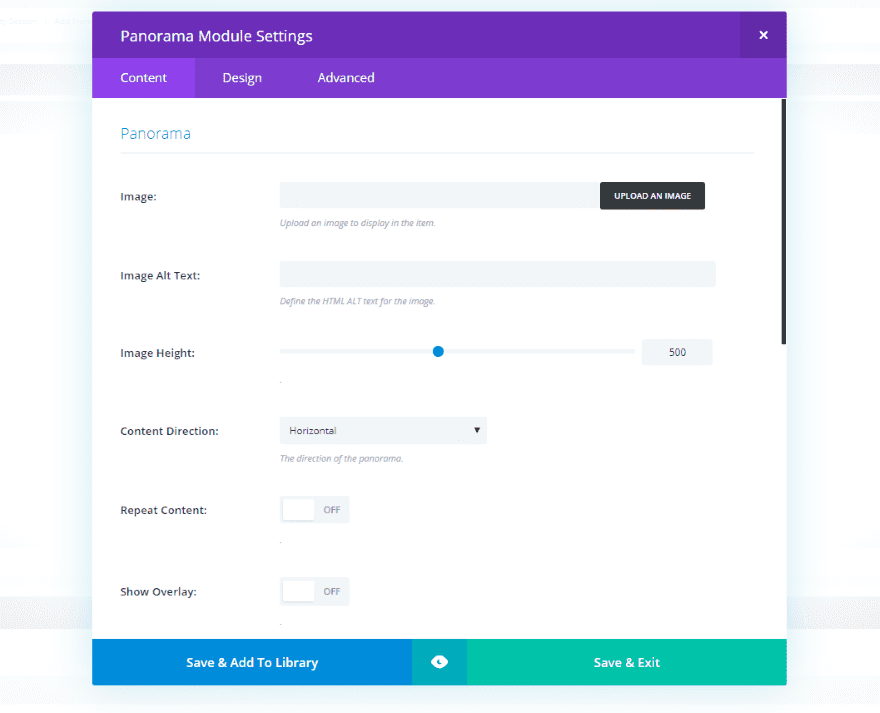
The Content tab includes settings to choose the image, alt text, height, the direction the content can scroll (choose from horizontal or vertical), whether or not the image repeats, to show an overlay, the animation time (the amount of time the image continues to move after you’ve stopped scrolling), type of easing (works with the animation), and background.
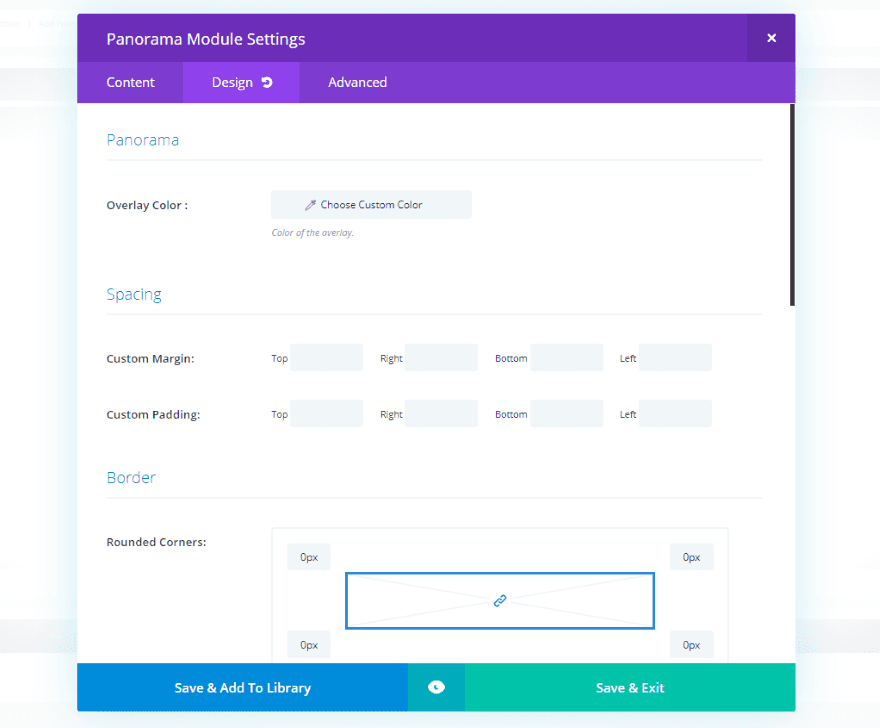
The Design tab includes the overlay color, spacing, border, box shadow, and animation. The Advanced tab includes the standard CSS fields. I like that you can choose the overlay color. I’d like to see a setting for the icon color.
Panorama for Divi Examples
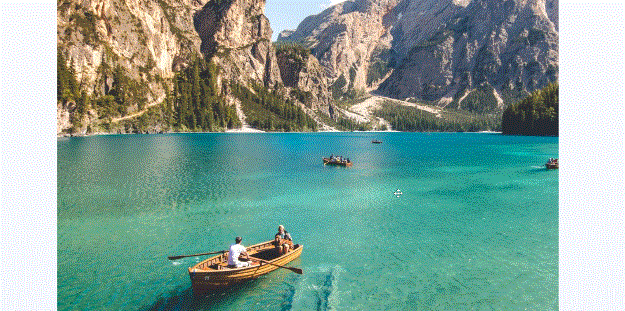
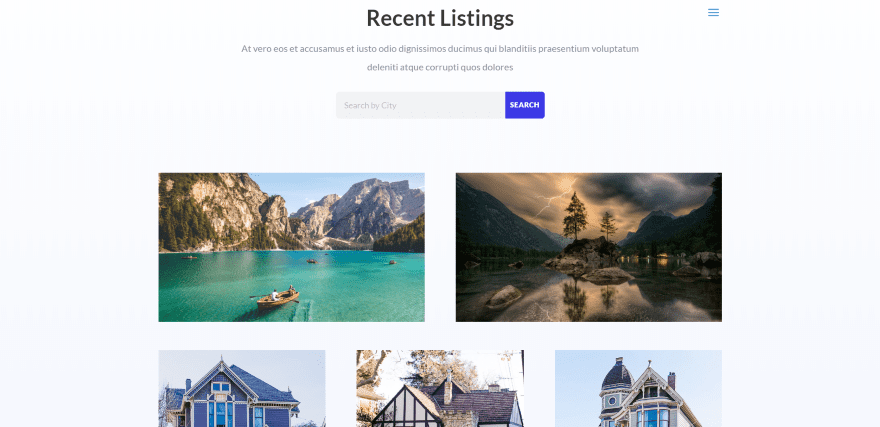
Here’s an example using the default settings for the background and features. I’ve place the module within the Real Estate layout pack using a single-column row. I’ve set the height to match the image (870 pixels) and left the content direction to horizontal.
It’s set to not repeat, so it stops when it gets to the end of the image.
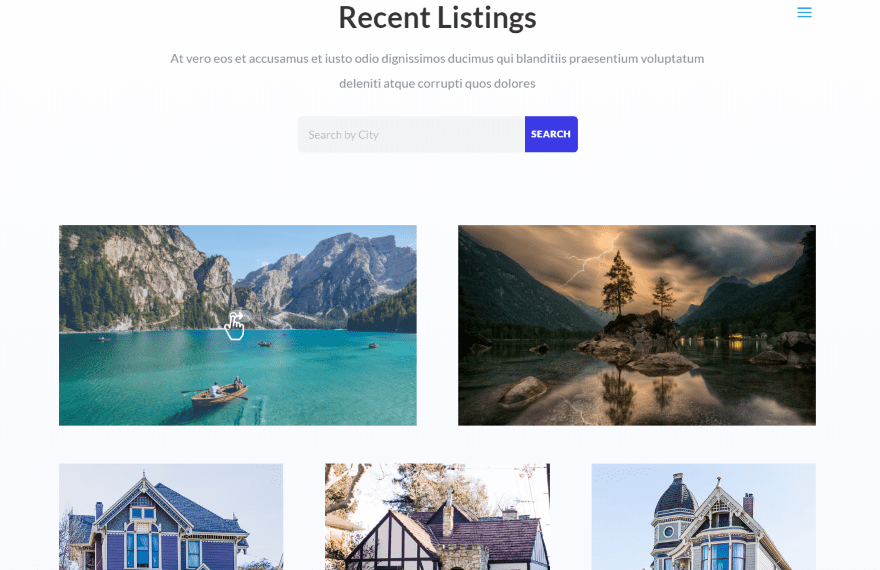
This one does repeat, creating an endless scroll. This is especially good for 360 degree images.
It doesn’t identify itself as scrollable by default. The mouse cursor does change from a pointer to arrows that point in all four directions, but the only way to know that is to hover over it. The cursor pointing in all directions would indicated scrolling in all directions, but it only scrolls horizontally or vertically- not both. This can be solved by adding an overlay.
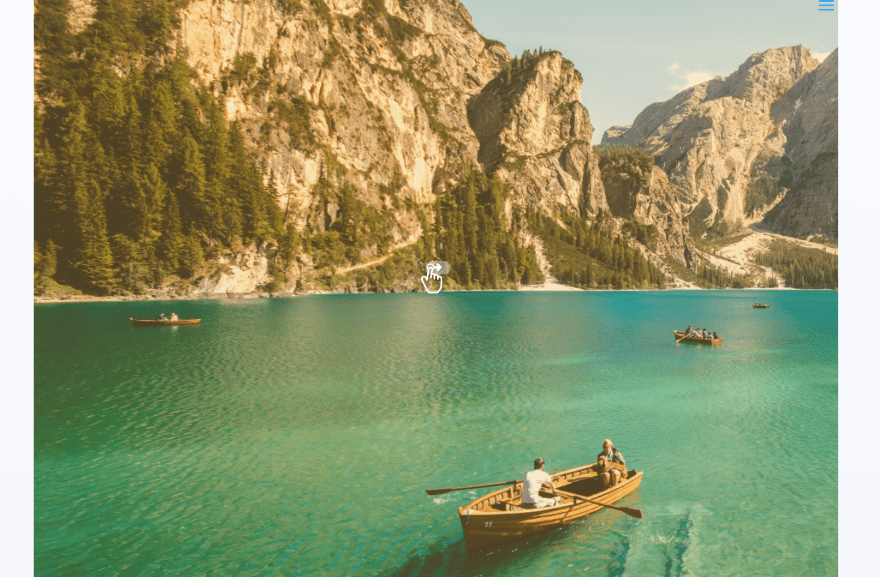
I’ve added a brown overlay. The overlay itself adds an icon with a hand showing that the image can be scrolled. It uses an arrow to show it can be scrolled horizontally. The opacity level is set to 20% by default. I left it at the default setting.
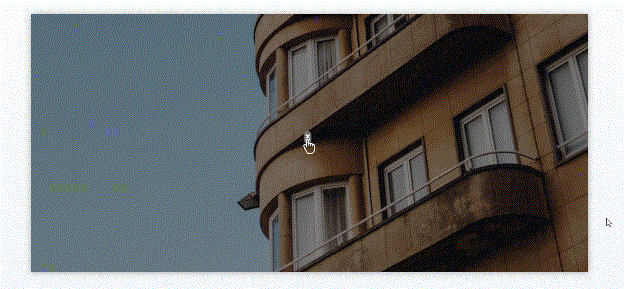
The overlay and icon go away on hover and your cursor becomes the 4-way arrow.
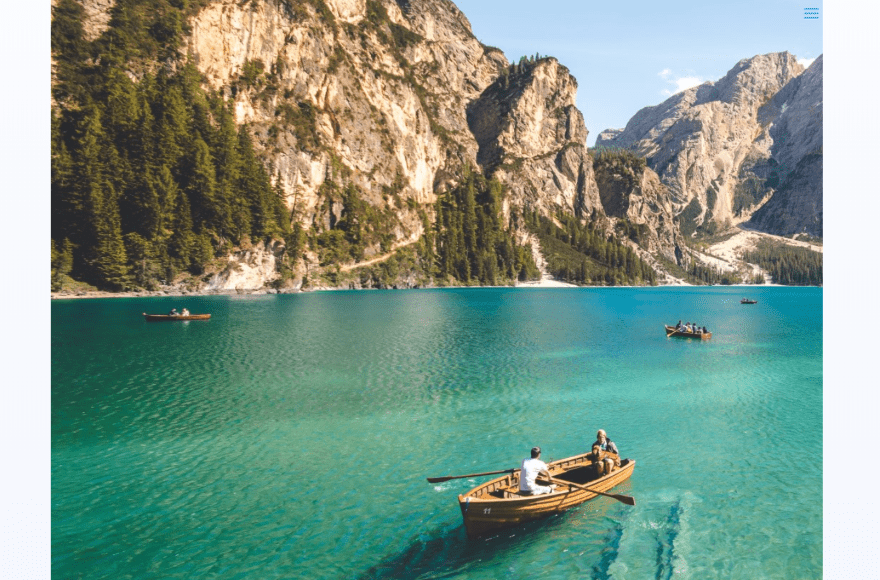
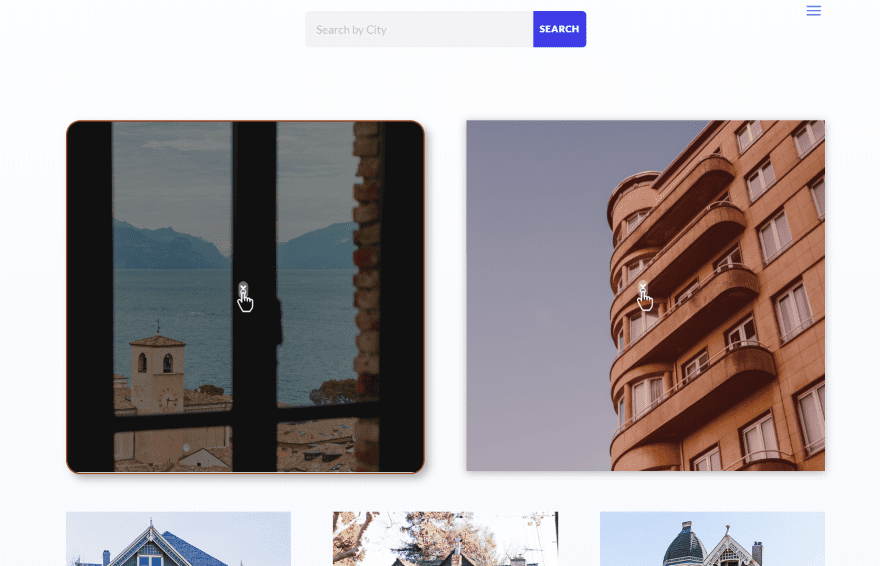
Here’s an example of when the overlay is helpful. For this one I wanted to place it next to an image in a two-column row. I’ve set the height to 287 pixels to match the image’s height. The problem is they both look like normal images, so I’ll need to add an overlay.
I’ve added a blue overlay. The icon stands out and you can tell that this one is scrollable when the others are not.
These examples both use vertical content direction. I’ve set the height to 500 pixels and added overlays. The one of the left has a black overlay with a transparency of 40% and a rounded border with box shadow. The one on the left has a red overlay with the default transparency and has box shadow.
This one uses animation and easing. The animation is set to 1000 (1 second) and the easing is Ease In.
The easing determines how the scroll works.
- Linear scrolls as you scroll and then continues the scroll until the animation time is over. It’s the smoothest scroll.
- Ease In Out waits until you’ve moved your mouse to scroll and then continues the scroll until the animation time is over.
- Ease Out scrolls instantly and continues until the animation time is completed. It works similarly to Linear.
- Ease In waits until your mouse is done and then continues the scroll until the animation time is complete.
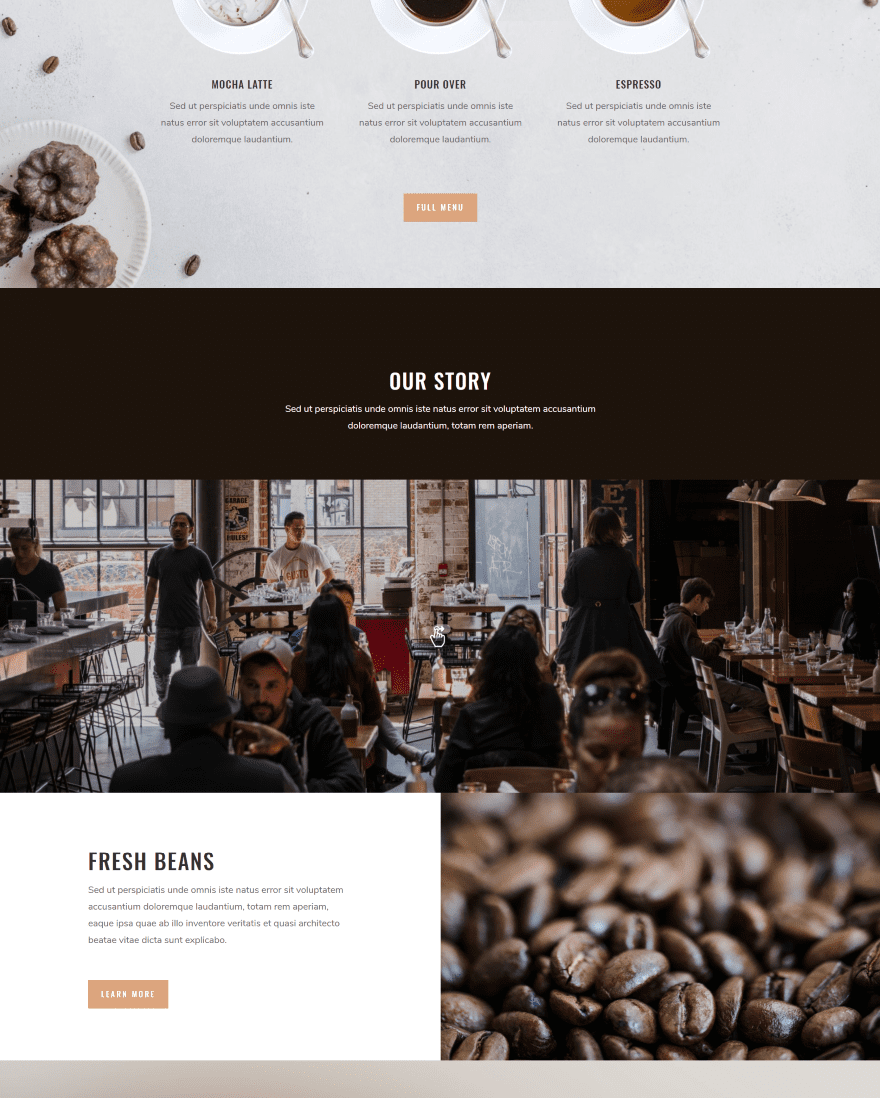
Here’s another example of how it looks within a layout. In this example I’ve placed a horizontal panorama within the Coffee Shop layout pack, replacing the video module to show a 360 degree photo of the coffee shop. It uses a black overlay with 20% transparency. It looks great as it is, but I think this would look even better with a larger icon.
Using Panorama for Divi with the Visual Builder
It doesn’t display the panoramic image in the Visual Builder, but you can make all of the adjustments. You just won’t see the effects while in the Visual Builder.
Using Panorama for Divi with Extra
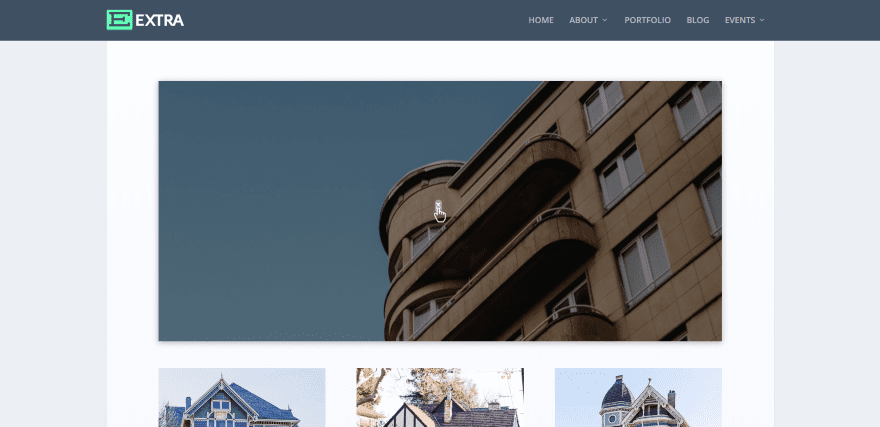
It worked well with Extra. There were no differences regardless of whether I used Divi or Extra, so I didn’t have to change any of the formatting.
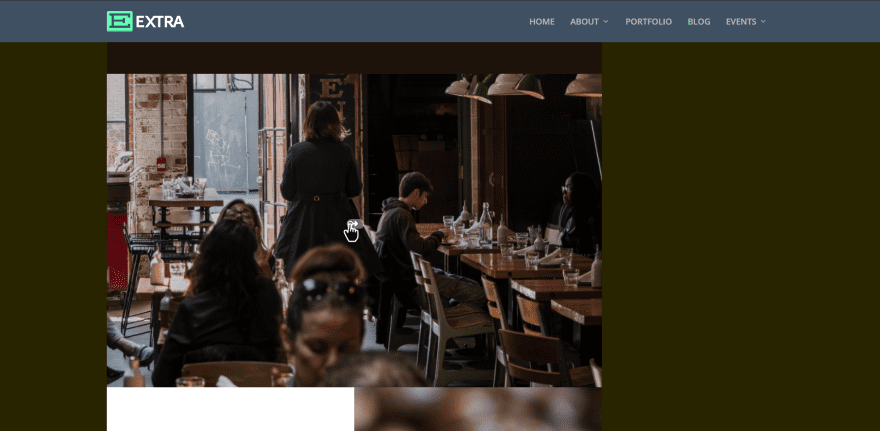
Here’s the coffee shop example using a sidebar. The image isn’t as wide of course, but this doesn’t matter as much when you can scroll the panorama. This is one of the advantages of the panorama. A regular image would have reduced in size, which is fine for many images, but when you want to show the larger image this is a great choice.
License
There are two licenses to choose from:
- Single site – $7.99
- Unlimited sites – $21.99
You can see the purchase information at the developer’s website.
Ending Thoughts
Panorama for Divi is an interesting plugin. I like the idea of displaying large images in a small space. My favorite use for Panorama for Divi is for 360 degree photos. This can be a location, a home to display the rooms, events, etc.
It works great as it is, but I can see a few ways where it can be expanded. For example, I’d like to see an option to choose different icons and an option to style them in both color and size.
I found the plugin easy to use. Most of the settings are either labeled or self-explanatory. If you’re interested in adding panoramas to your Divi layouts, Panorama for Divi is worth a look.
We want to hear from you. Have you tried Panorama for Divi? Let us know what you think about it in the comments.
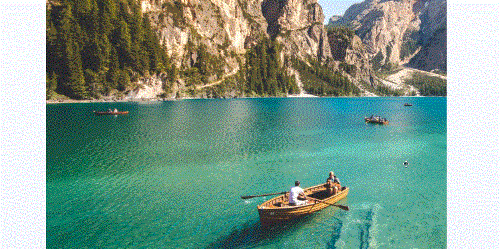
Featured Image via Natykach Nataliia / shutterstock.com
The post Divi Plugin Highlight: Panorama for Divi appeared first on Elegant Themes Blog.