
Testify is a third-party plugin that adds a new module to the Divi Builder to display testimonials that you’ve created within the testimonial editor or those that your visitors have uploaded through a form.
Testify works with and without Divi. Testify has other features that work outside of Divi, such as Customizer and upload features, but using the Divi module gives you a few features that make it stand out. In this article we’ll look at the Divi module and its features. I’m using Testify version 1.3.0. Images for the examples are taken from Unsplash.com.
Testify can be purchased from the developer’s website.
Installing Testify
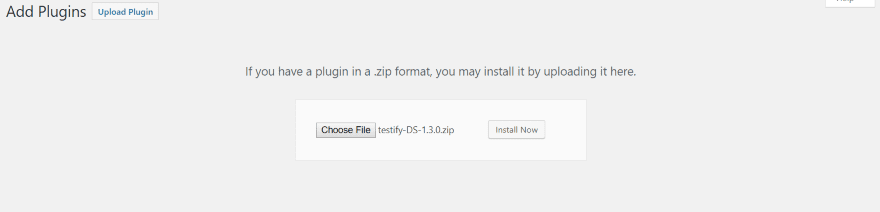
First, upload and activate the plugin as normal. This automatically adds the Divi Builder module if you’re using Divi or Extra.

Next, navigate to the settings screen by clicking Testify in the dashboard. Enter your license key. The plugin is now ready to use.
The menu includes:
- All Testimonials – view all of the testimonials that you’ve created. Here you can click on any testimonial to edit or preview it.
- Add New Testimonial – opens the editor where you create your testimonials.
- Testimonial Categories – edit the categories for testimonials the same as you would post categories.
- Testimonial Tags – edit the tags for testimonials the same as you would post tags.
- Customize – a link to the front-end customizer.
- About & Instructions – a quick guide to using the shortcodes (which are not needed for Divi but you can use them if you want) and a link to the website for more information.
Create and Manage Testimonials
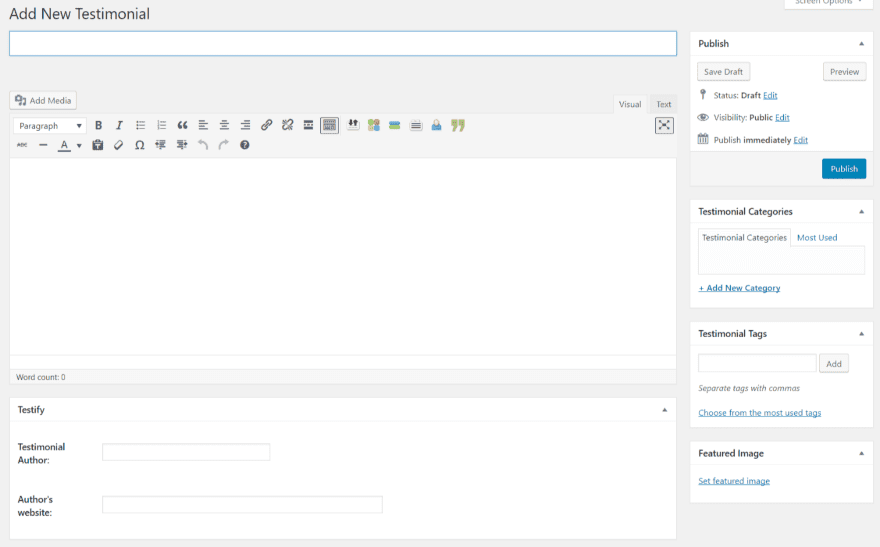
To create a testimonial, in the dashboard menu navigate to Testify, Add New Testimonial. Create and publish the testimonial the same way you would any post or page with the WYSIWYG editor. Give it a title, add the content, author’s name and website (with hyperlink), provide a category, add tags, and choose a featured image.
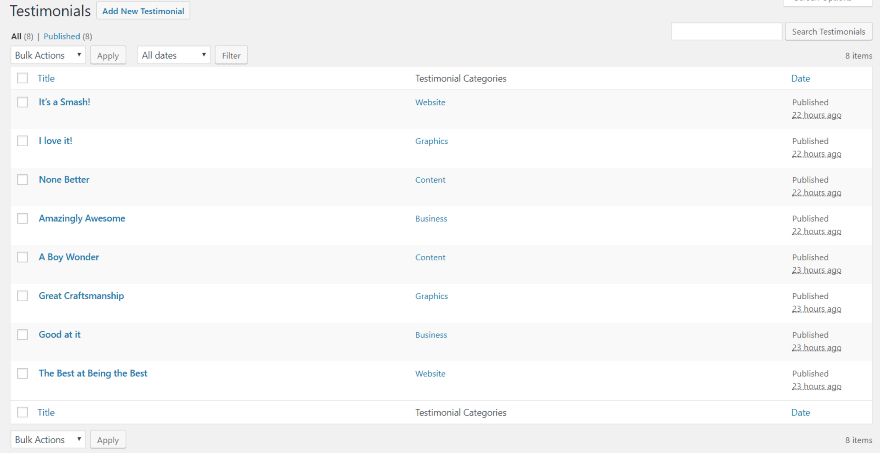
The All Testimonials page shows your testimonials. You can now post your testimonials within any WordPress post, page, or sidebar (using the included widget) and customize them using the WordPress Customizer. All of that works independently of Divi. For customizing your testimonials with your familiar tools you can use the built-in Divi Module.
Testify Divi Builder Module
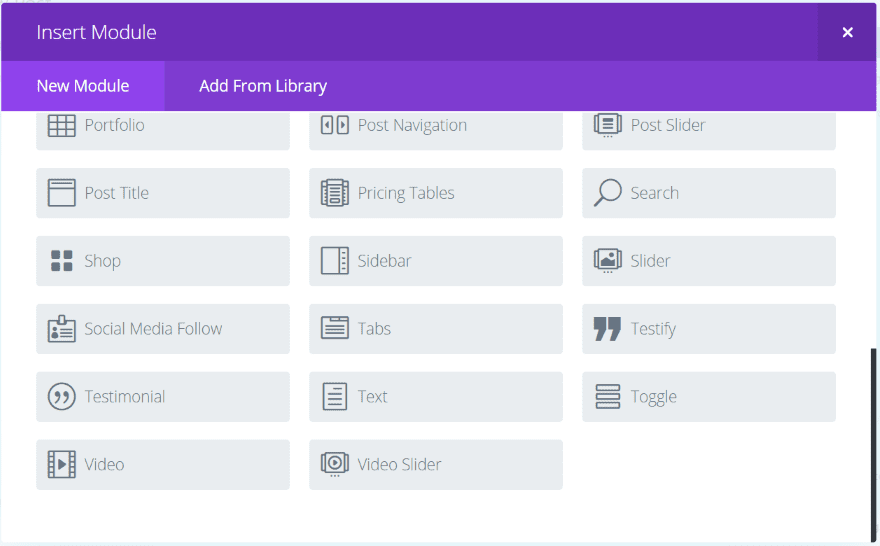
A new module called Testify is added to the Divi Builder. It works with both Divi and Extra. The Divi Builder isn’t required to use Testify, however there is an advantage is using the Divi Builder – you get to use Divi’s shadow and animation features. All customizations are done from the module’s settings using the tools that Divi and Extra users are familiar with.
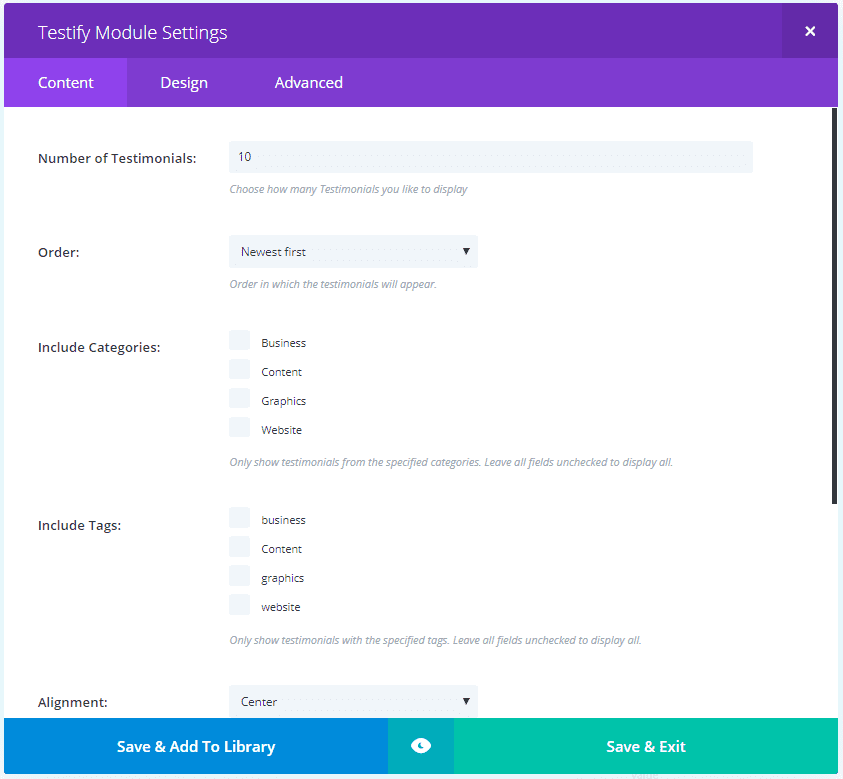
Content settings includes the number of testimonials to display, the order, categories and tags to include, alignment, transition type, animation speed, and autoplay duration.
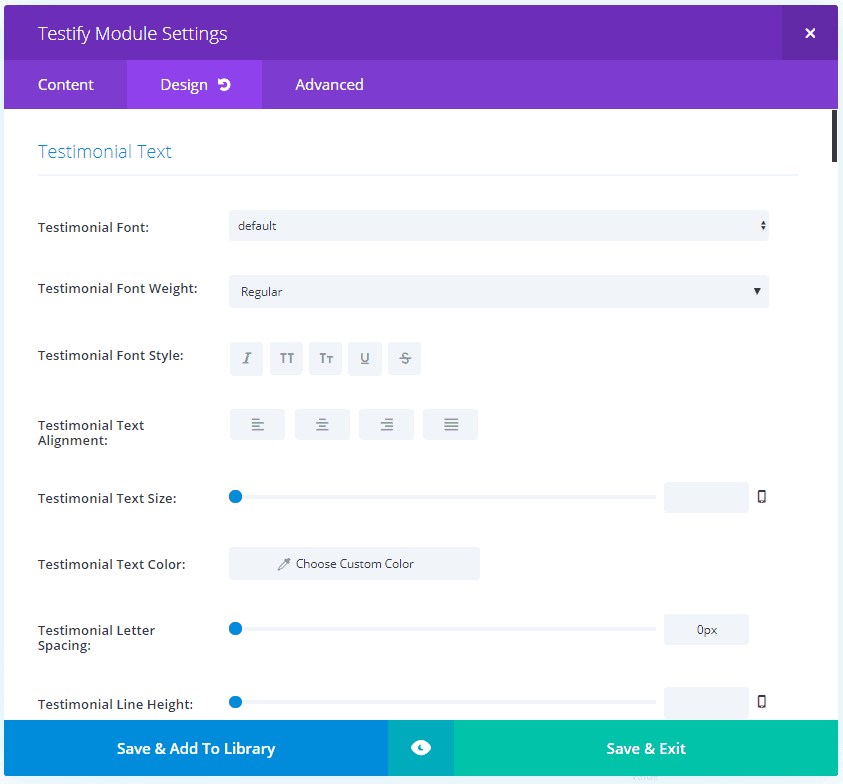
Design settings allow you to adjust the testimonial text, show the read more link and text adjustments, read more icon, author text, layout design, navigation settings, quotation design, separator, testimonial image, and thumbnails.
It has 7 different quotation mark styles and you can adjust the size and color. You can also turn it off if you prefer. Navigation includes thumbnail images, arrows, and dots. You can disable the navigation if you prefer. Shadow effects include testimonial text, author text, and box shadow. Effects also includes Divi animation styles.
Testify Examples
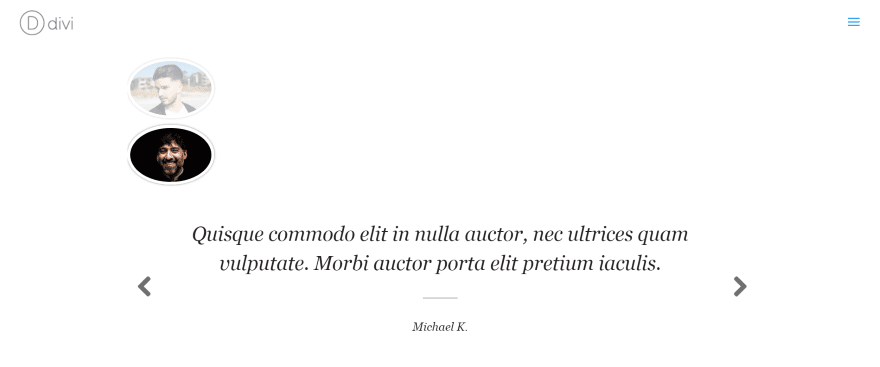
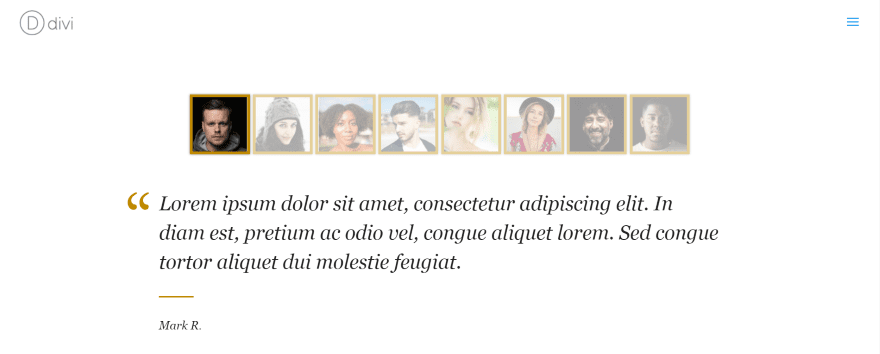
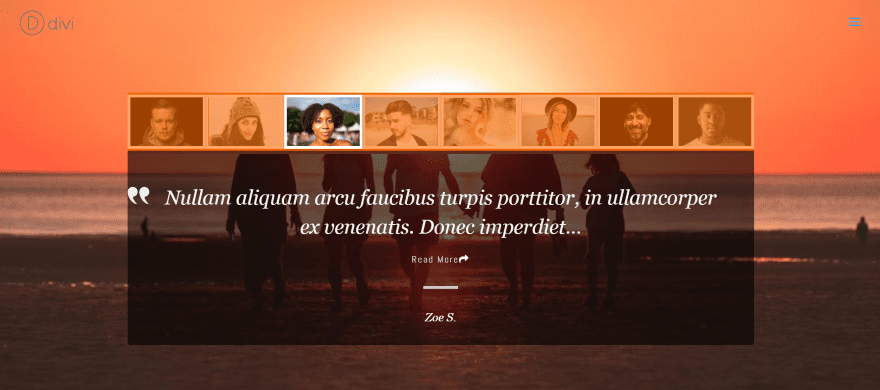
This is the default settings when selecting a single category. The testimonials display as a slider with the image of the author displayed in the circle above the text. The author of the testimonial is shown as a normal image with the other authors have an overlay. In this image I’ve placed my mouse over the testimonial to display the navigation arrows. The quotation mark is set to none by default.
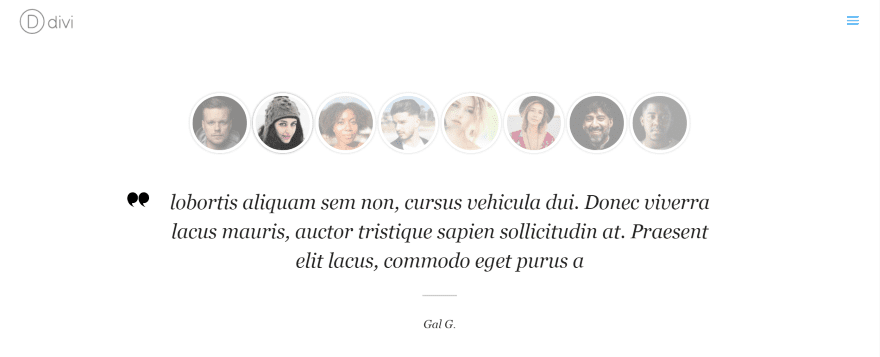
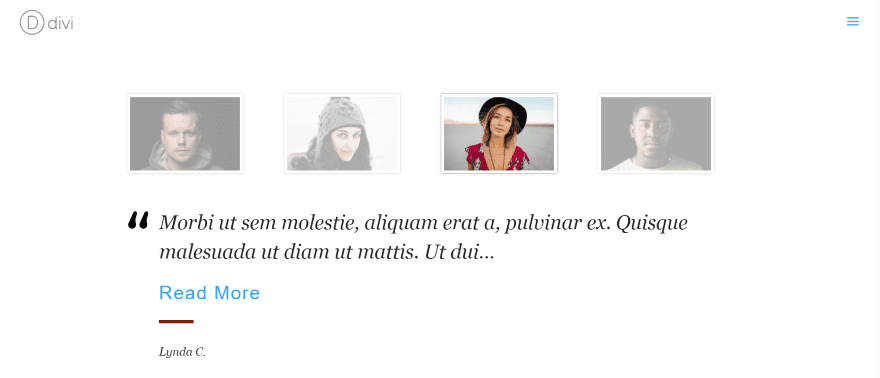
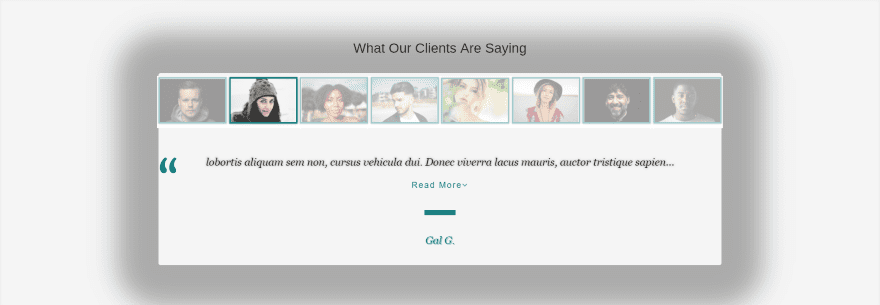
This one uses thumbnail navigation and displays 8 per row. The testimonials slide, but you can see a specific testimonial by clicking on it. The image brightens as you mouse over it to show that it’s clickable. I’ve selected the first quotation mark style.
This example also uses image navigation. I’ve selected Style 2 for the quotation mark, adjusted the colors for the thumbnail border, quote, and separator line, set the image to 120, and chose a square image.
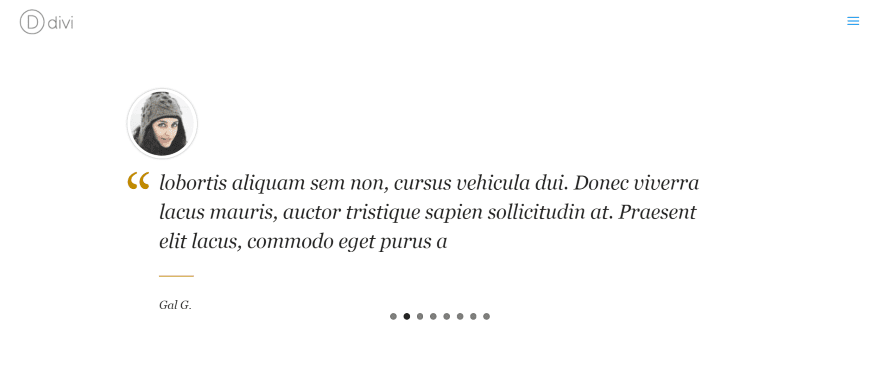
This example is the same as the example above but it uses dots for navigation instead of images. The thumbnail is displayed as a circle.
This one uses a square thumbnail set to 200 pixels. I’ve changed the line color and used Style 3 for the quote. I’ve also removed the arrows, added a read more button, set the font size to 32, and limited the quote to 100 characters. The separator thickness was increased from 2 to 6 pixels and uses a dark red. I’ve selected only two categories to display. Since I only have four testimonials in those categories they’re automatically spaced apart to fill the space.
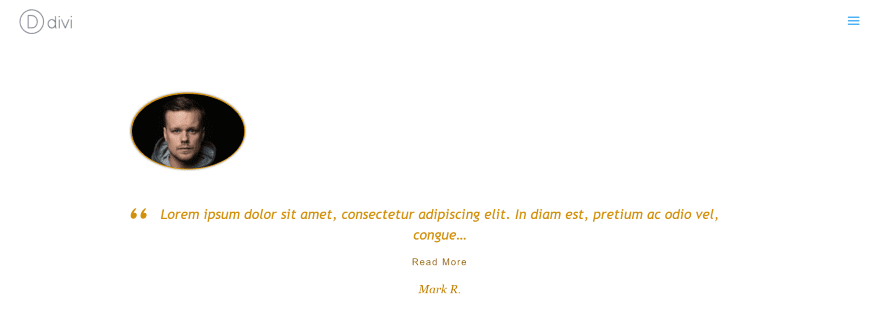
This one shows only one testimonial. I’ve changed the fonts and colors for the font, border, and quotation mark. The quotation mark is Style 4 with a decreased size from 38 to 28. The thumbnail width is set to 200.
This one uses a background for the section. I’ve added a background in the module to darken the text-area. The text and quote are white while the read more text is light gray. The thumbnail background is darkened to blend with the section’s background. The thumbnails have an overlay to match the background. The quote uses Style 5. I’ve made the thumbnails square and set the border to 4. I’ve also given this one read more icons and set their colors to white.
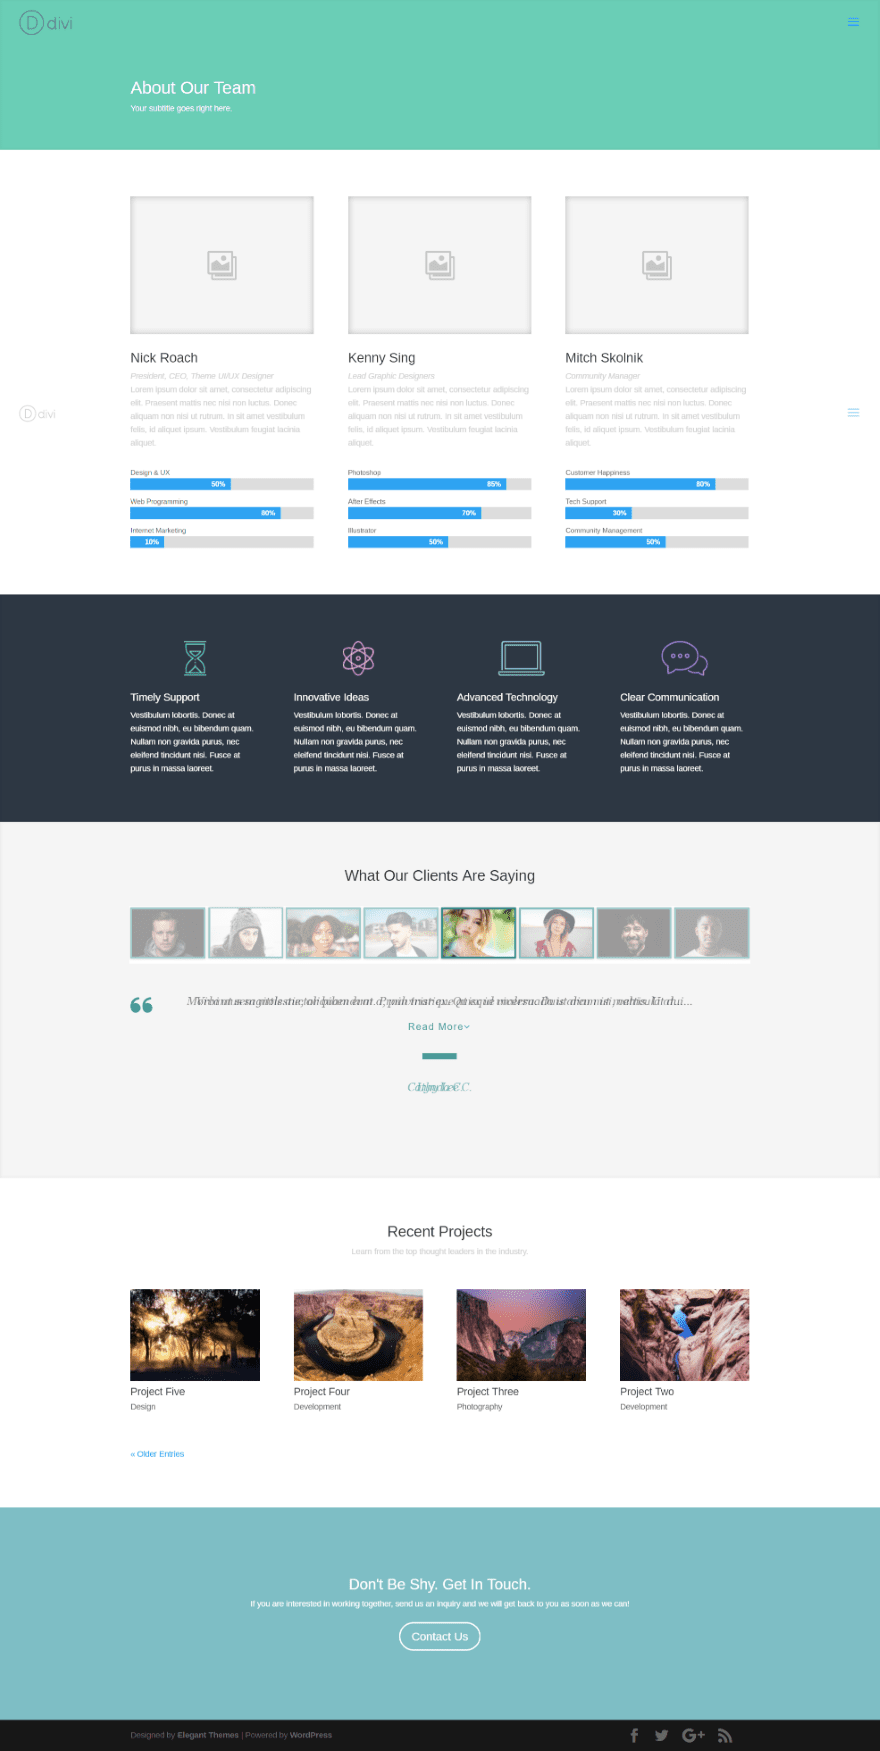
This example uses the Team layout that comes with Divi. I’ve changed the colors, set the testimonial font size to 20, set the testimonial length to 100, added the read more button, added a shadow to the author text and increased the shadow horizontal length to .56, selected Style 6 for the quotation mark, and set the separator width to 10. I’ve given the thumbnail a border of 3 and chose square images.
Testify with Shadow Effects
This one uses several of Divi’s built-in shadow effects. I’ve chosen quote Style 6 and selected the second testimonial text shadow, the third author text shadow, and the first box shadow. The box shadow blur and spread strength are set to max. All other shadow settings are default.

For this one I’ve selected the third testimonial shadow and increased the blur strength. I’ve also chosen the fifth author shadow and the sixth box shadow with their default settings.
Using Testify with Extra
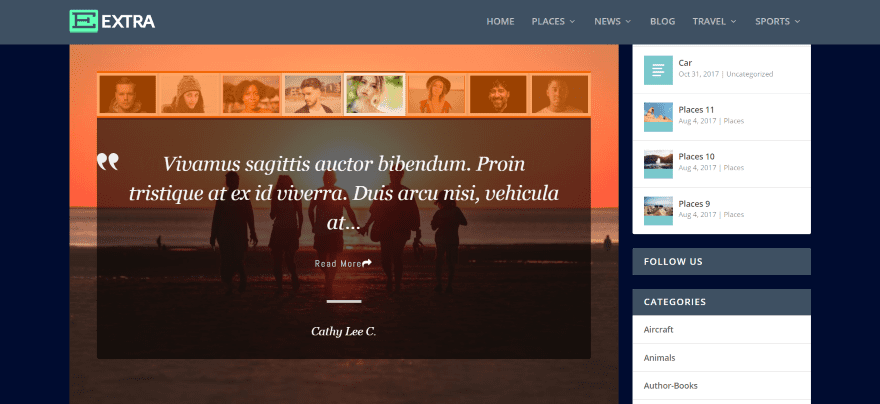
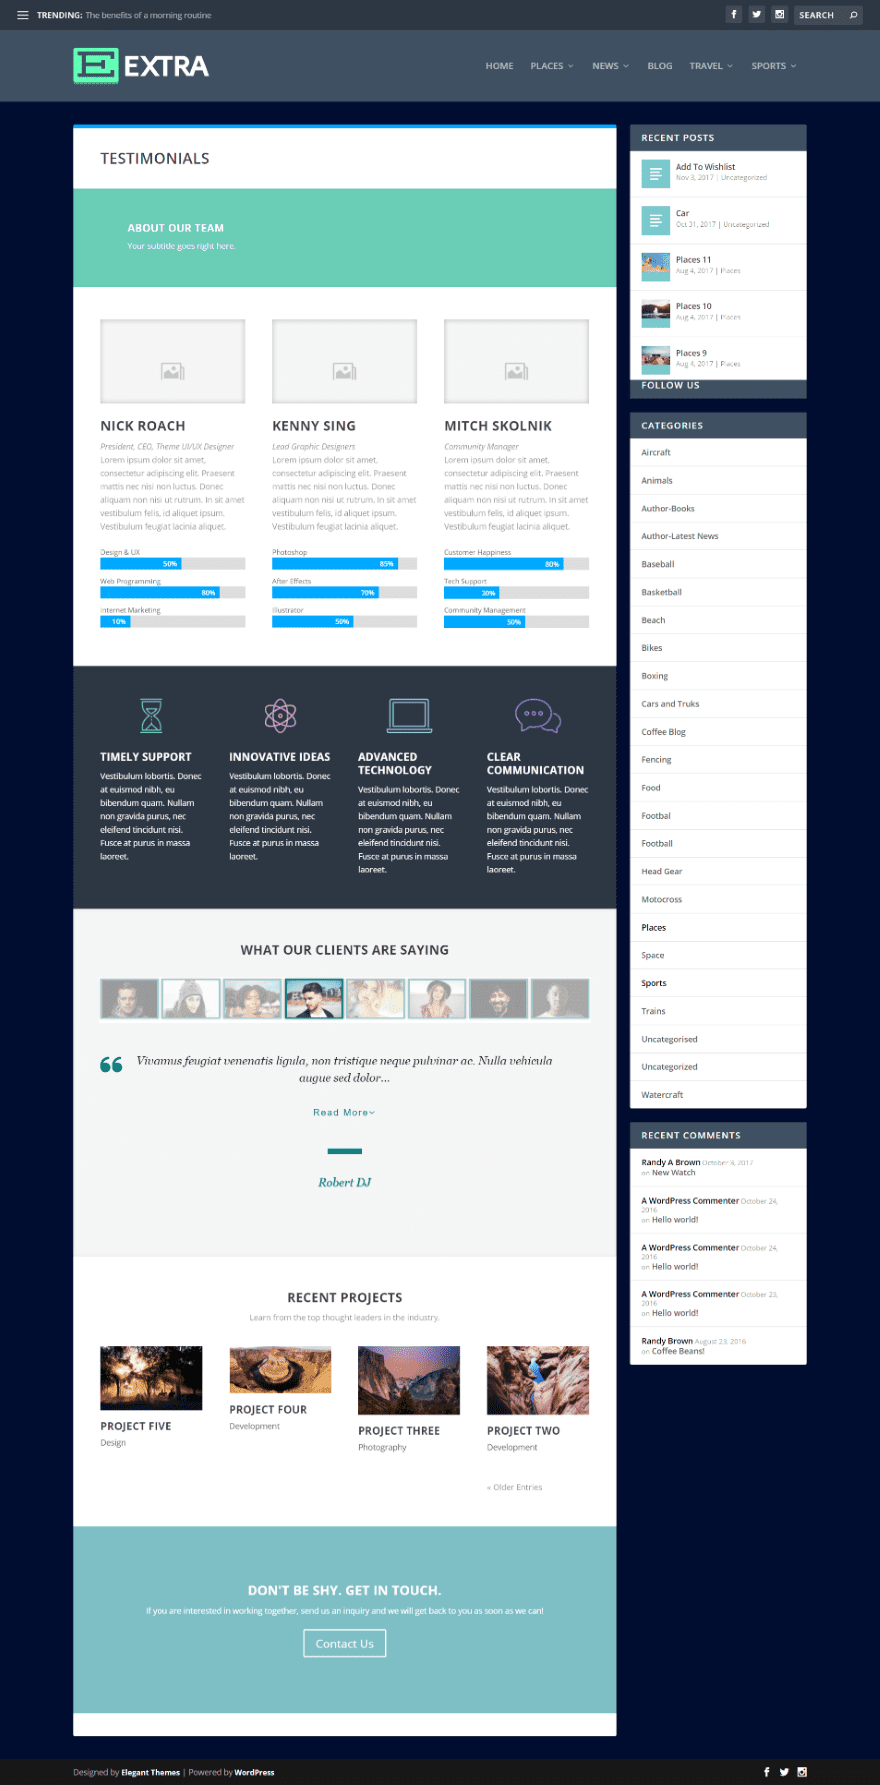
Testify works as well with Extra as it does with Divi. This is one of the examples from above placed within the default Extra layout with sidebar. I’ve darkened the background in Extra but I’ve made no changes to the module.
Here’s how Testify looks within the Team layout that comes with the Divi Builder.
Using Testify as a Quote Slider
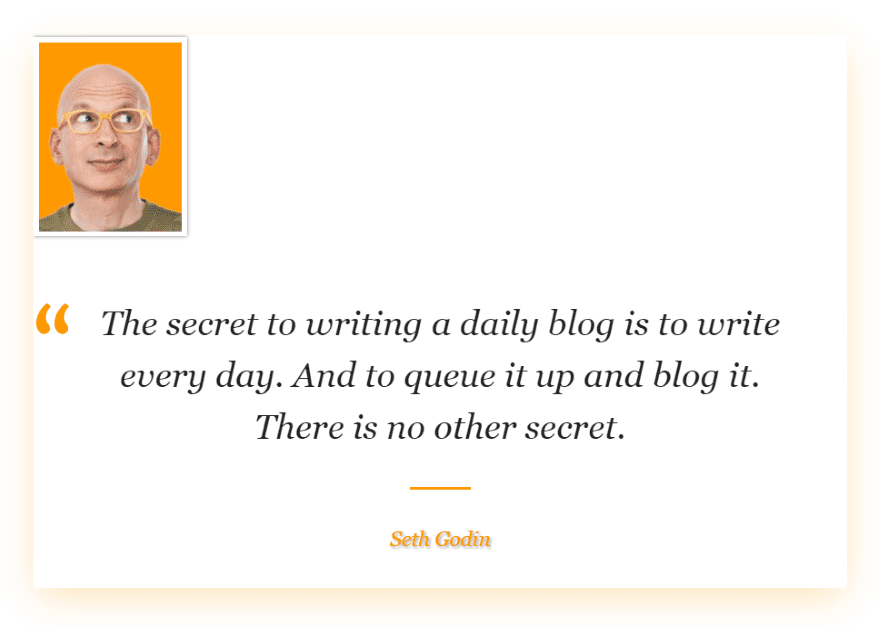
Testify also works great as a quote slider. I’ve created a category called Quote. This uses quote Style 7. Colors match Seth’s background color. What other ways can you think of to use Testify?
Documentation
Documentation is provided within the Testify dashboard menu. This documentation doesn’t cover Divi. More extensive documentation is provided at the developer’s website. If you’re using Divi you won’t need any of this information as Divi doesn’t need the shortcodes. Of course you can use them with Divi if you want.
I would like to see at least a paragraph here about the Divi module. However, anyone familiar with the Divi Builder will be at home with Testify’s Divi module since all of the settings are standard for Divi modules.
Final Thoughts
Using the plugin is highly intuitive. Most of the settings are standard Divi. The only confusing settings for me was the various numbers of images per row based on their sizes and the number of thumbnails per row. For example, if I set the number of thumbnails per row higher than the number of testimonials, the setting will return to default every time I opened the module. Once I realized what was happening I had no problems with the setting.
There were a few things that I’d like to see added. For example, I’d like the ability to adjust the color of the navigation arrows and dots. Since all of the other features have color options that one stands out as missing. I’d also like to see multiple arrow and dot styles.
Another feature I’d like to see is the upload form added to the Divi Builder so customizations would be uniform. Those customizations can be made in the Customizer though. Also, since the demo shows the testimonials with CSS I’d like to see the CSS included in the documentation so the user can copy and paste them into the Testify module’s CSS features.
One of the things I like the most about Testify is it works both with and without Divi. You can use it with any theme, but it you’re using Divi or Extra then a Testify module will be automatically added to the Divi Builder. Using the Divi Builder gives you the advantage of Divi’s settings including the shadow features. If you’re interested in a testimonial slider that can be used with the Divi Builder I recommend giving Testify a look.
We want to hear from you. Have you tried Testify for Divi? Let us know about your experience in the comments.
Featured Image via Julia Tim / shutterstock.com
The post Divi Plugin Highlight: Testify appeared first on Elegant Themes Blog.