
Every week, we provide you with new and free Divi layout packs which you can use for your next project. For one of the layout packs, we also share a use case that’ll help you take your website to the next level. This week, as part of our ongoing Divi design initiative, we’re going to show you how to add motion to your section dividers using Divi’s Transportation Services Layout Pack.
We’re already familiar with Divi’s built-in animations, they’re part of each one of the design elements that are included in the Visual Builder. But if you want to add an animation to a section, the animation will apply to all design elements that are included in that section. Want to avoid that? You can approach it differently. We’re going to show you how to add motion to section dividers only. By giving your website that extra bit of motion, especially in creative design elements such as section dividers, you can give your pages a new look and feel.
Let’s get to it!
Preview
Before we dive into the tutorial, let’s take a quick look at a GIF that will demonstrate the end result:
![]()
Approach
- Instead of using section dividers within the section itself, a section divider will have its own section
- The section we add for the section divider will be completely empty
- This allows us to add the animation to the entire section but it will only apply to the section divider because there are no other design elements there
- We’re making sure the transition is seamless by using a divider color that matches the next or previous section
- The animation we choose will depend on the section divider in question, not every animation matches a particular divider style
- We’re choosing animations that make the transition seem smooth and won’t give away that the section dividers aren’t actually part of the previous or next section
- You can use other section dividers of choice as well, but you’ll have to play around with the animation settings until you get the desired smooth result you’ve had in mind
Let’s Start Creating
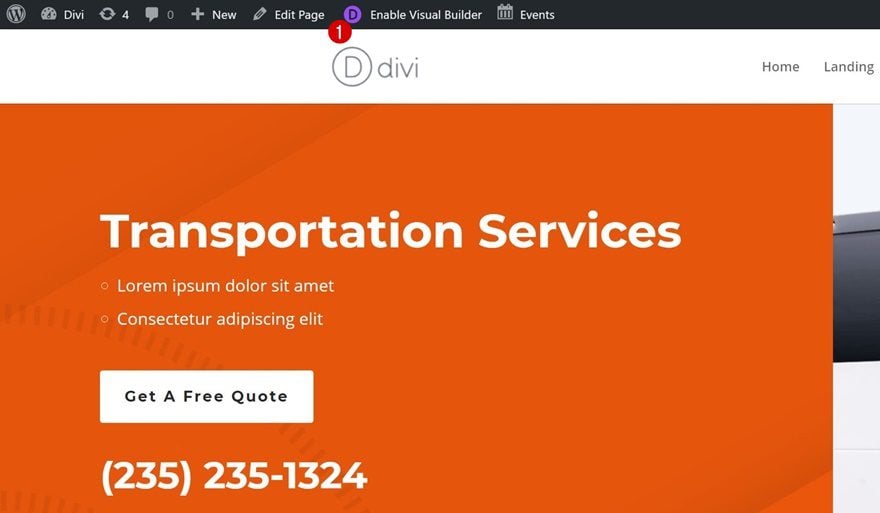
Enable Visual Builder on Transport Services Landing Page
Open the landing page of the website you’ve created (using Divi’s Transportation Services Layout Pack) with the Visual Builder. We’re going to demonstrate it on this page but you can apply this approach to any other page you’re working on.
Change Section Background Color
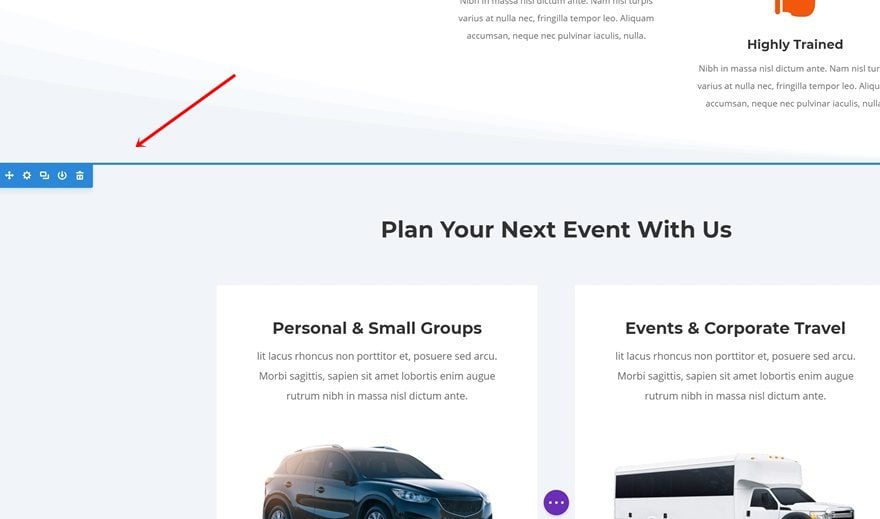
Locate Section
The first thing we’re going to do is change the background color of a section on our page. We’re going to make it slightly darker to make the section dividers more noticeable. Find the following section on your page:
Change Background Color
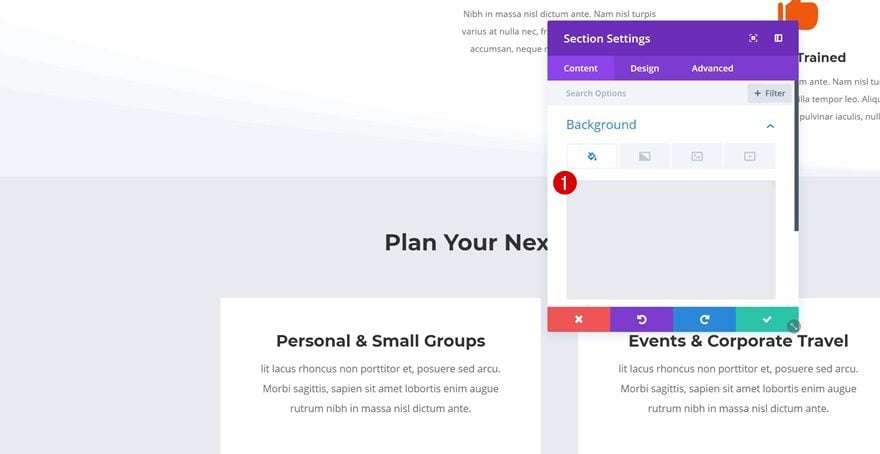
Open the settings of this section, go to the Background options and change the background color into ‘#e8eaef’.
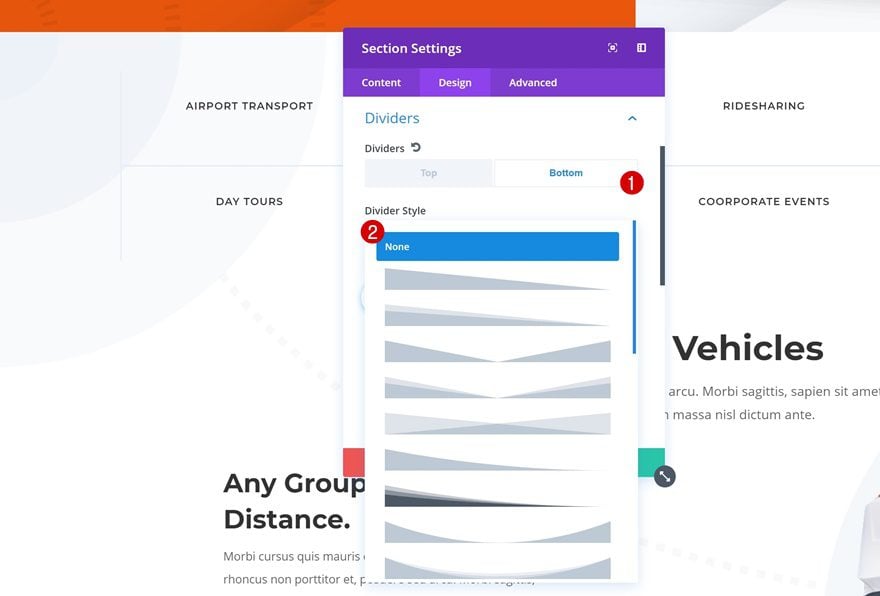
Remove Bottom Divider
Locate Section
The next thing we’ll need to do is removing the bottom divider one of the sections on our page. As mentioned in the approach of this blog post, we’re going to create a separate section for our section divider. Go ahead and locate the following section on your page:
Remove Bottom Divider
Open the settings of this section and remove the bottom divider by selecting ‘None’ in the Divider Style list.
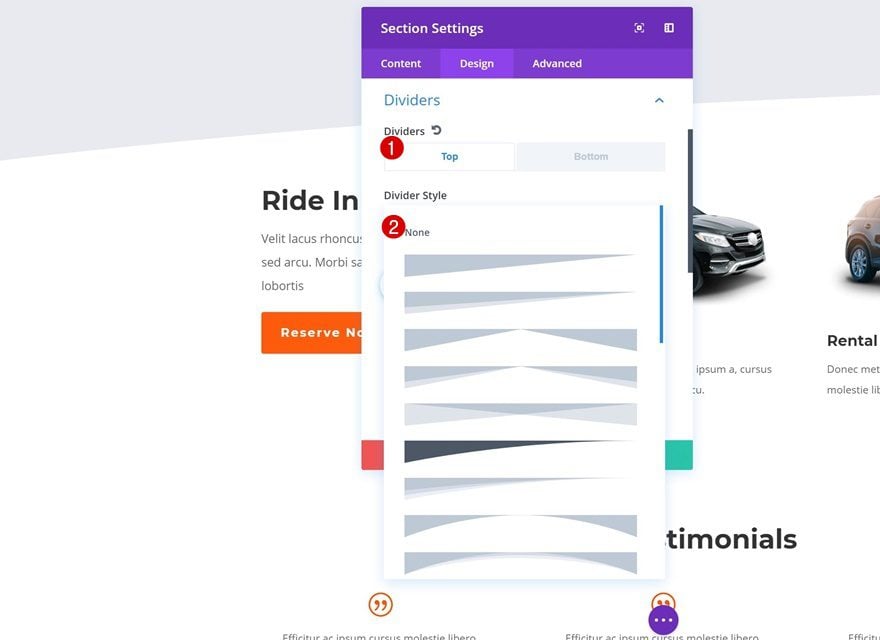
Remove Top Divider
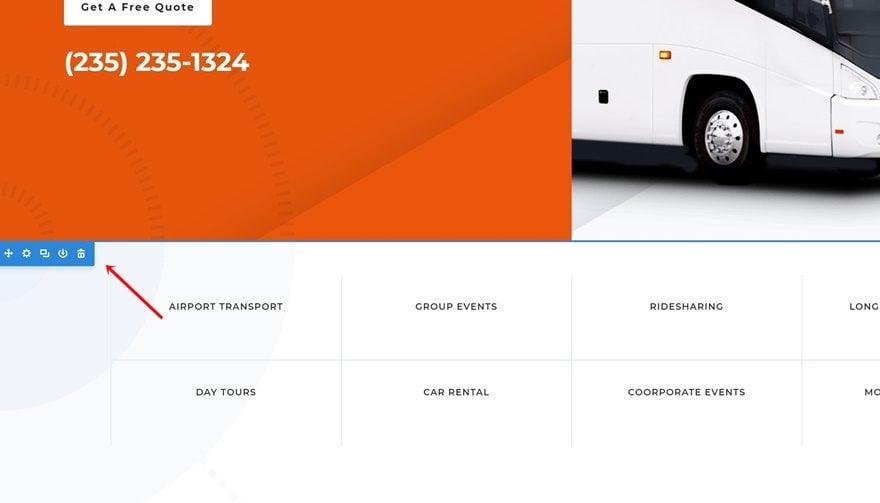
Locate Section
The second divider we’re going to get rid of is the following one:

Remove Top Divider
Open the settings of this section and remove the top divider.
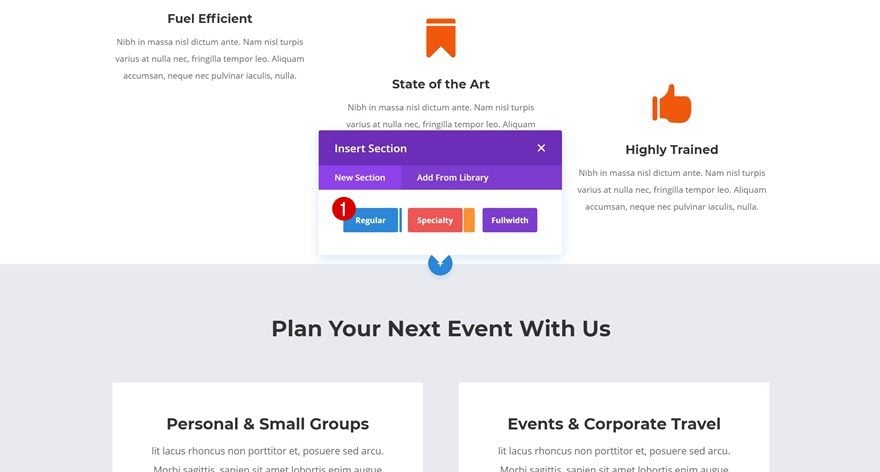
Add Motion Section Divider #1
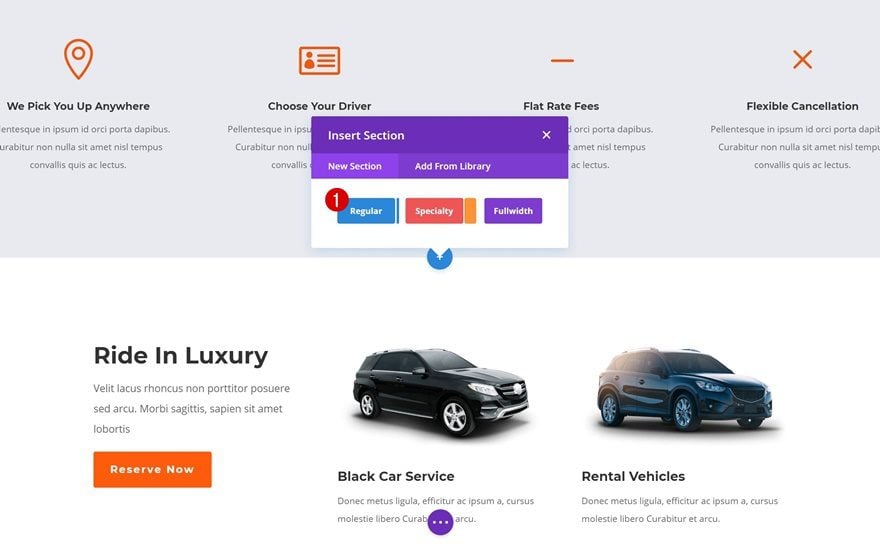
Add New Section
Position
We can now start adding our motion section dividers! We’ll start with the first one. Go ahead and add a new regular section right between the following two sections:
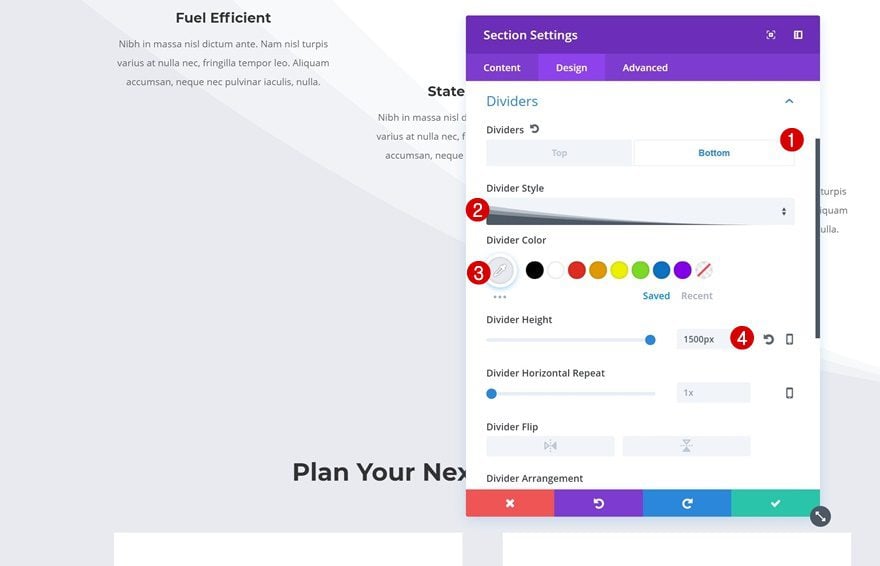
Bottom Divider
Don’t add any rows or modules to your section. Instead, open the section settings and add a bottom divider.
- Divider Style: Find in List
- Divider Color: #e8eaef
- Divider Height: 1500px
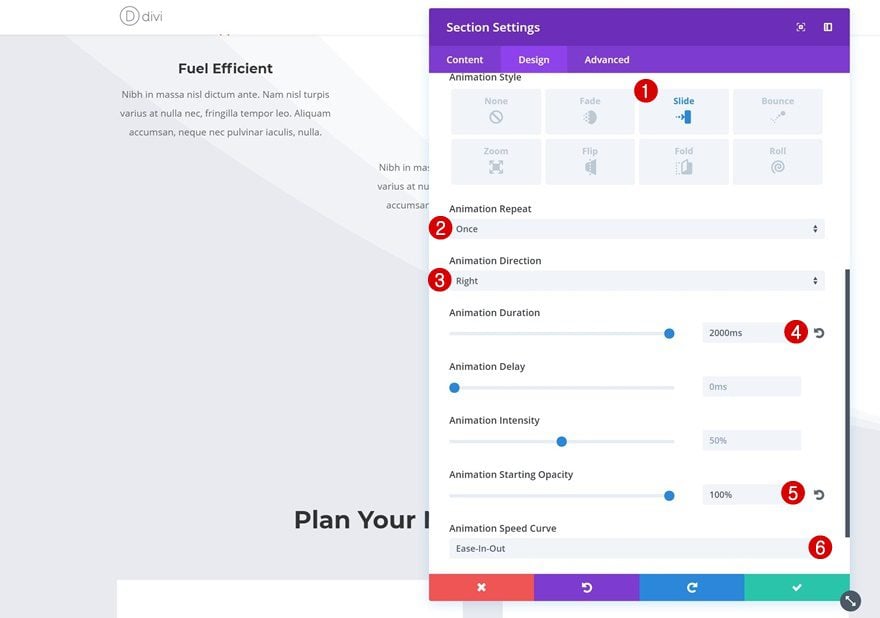
Animation
Continue by adding the animation style of your choice. The following animation settings go really well together with the divider style we’ve chosen:
- Animation Style: Slide
- Animation Repeat: Once
- Animation Direction: Right
- Animation Duration: 2000ms
- Animation Starting Opacity: 100%
- Animation Speed Curve: Ease-in-Out
Add Motion Section Divider #2
Add New Section
Position
Let’s add the second section divider as well. Scroll down your page and add a new standard section right here:
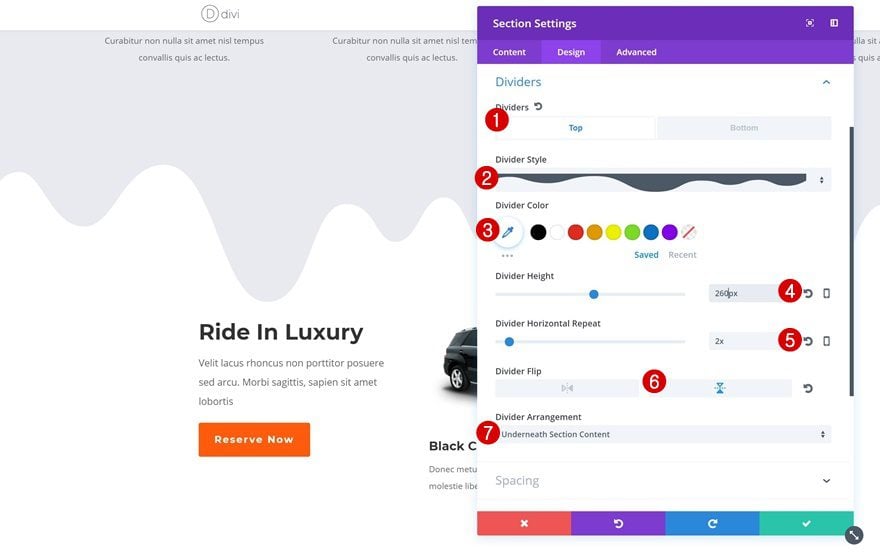
Top Divider
Open your section settings and add the following top divider:
- Divider Style: Find in List
- Divider Height: 260px
- Divider Horizontal Repeat: 2x
- Divider Flip: Vertical
- Divider Arrangement: Underneath Section Content
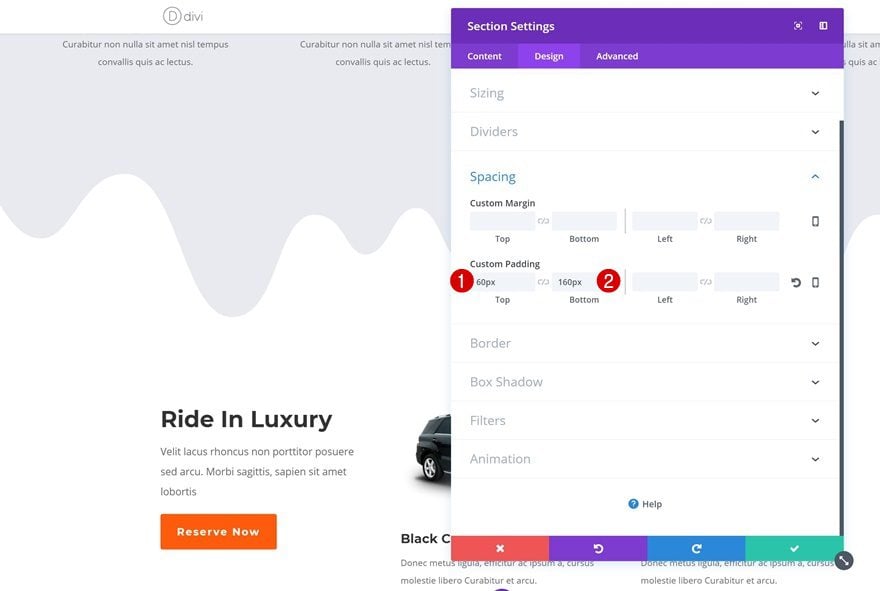
Spacing
To make sure the divider doesn’t get interrupted by the next section, we’re going to add some additional padding to the top and bottom:
- Top Padding: 60px
- Bottom Padding: 160px
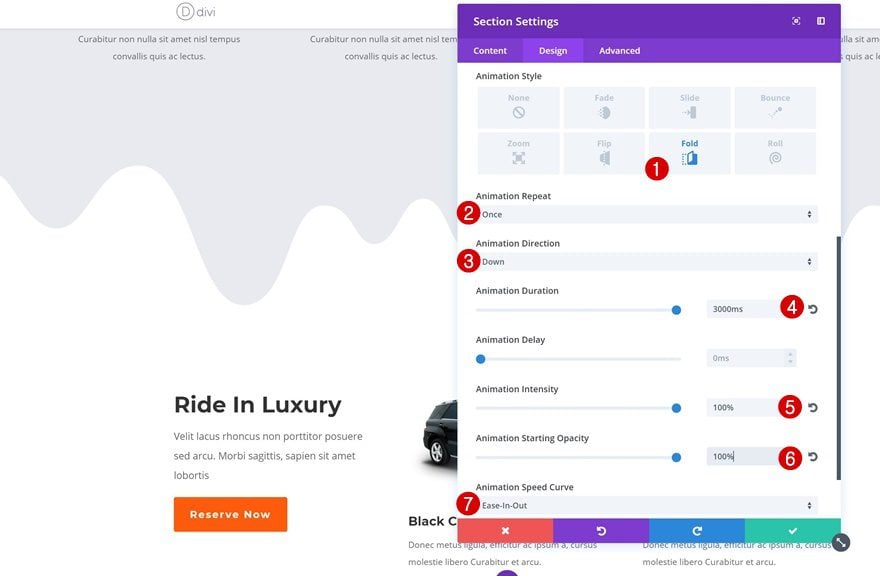
Animation
The following effect makes the divider look like it’s dripping down your page:
- Animation Style: Fold
- Animation Repeat: Once
- Animation Direction: Down
- Animation Duration: 3000ms
- Animation Intensity: 100%
- Animation Starting Opacity: 100%
- Animation Speed Curve: Ease-in-Out
Preview
Now that we’ve gone through all the steps, let’s take a final look at the result we’ve managed to obtain:
![]()
Final Thoughts
In this use case blog post, we’ve shown you how to add motion to your section dividers using Divi’s Transport Services Layout Pack. You’re probably used to adding animations to design elements in general but you can add animations to section dividers in particular as well. This results in an interactive design. Once you get the concept, you can add motion to any kind of section divider you’re using on your page. If you have any questions or suggestions, make sure you leave a comment in the comment section below!
Featured Image by Trend Creatives / shutterstock.com
The post How to Add Motion to Your Section Dividers with Divi appeared first on Elegant Themes Blog.