
Every week, we provide you with new and free Divi layout packs which you can use for your next project. For one of the layout packs, we also share a use case that’ll help you take your website to the next level. This week, as part of our ongoing Divi design initiative, we’re going to show you how to create a cool game scoreboard using Divi’s Soccer Club Layout Pack. We’ll create this latest game scoreboard using Divi’s built-in options only so let’s get to it!
Preview
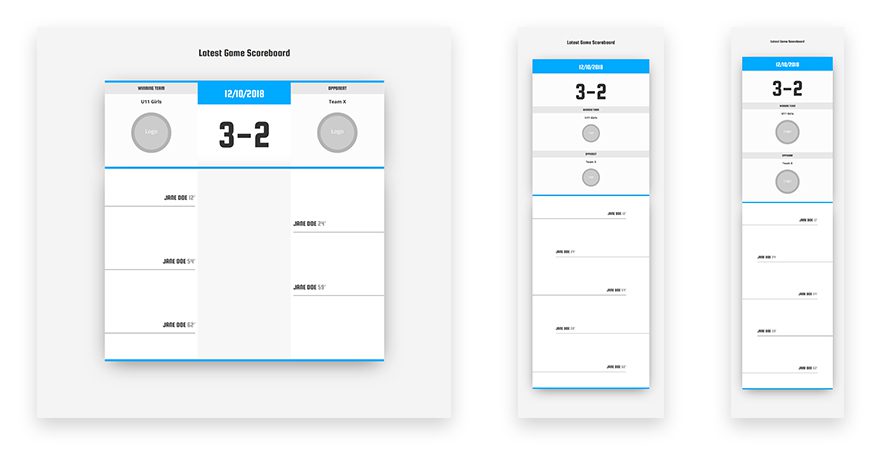
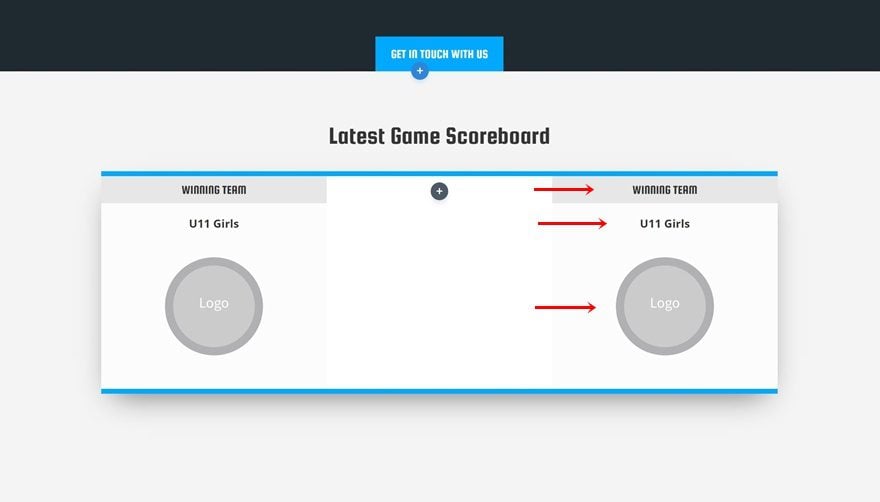
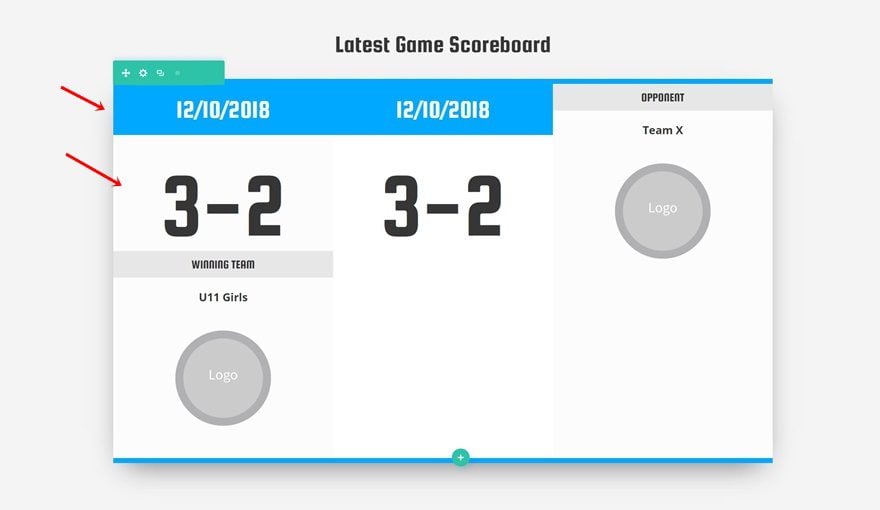
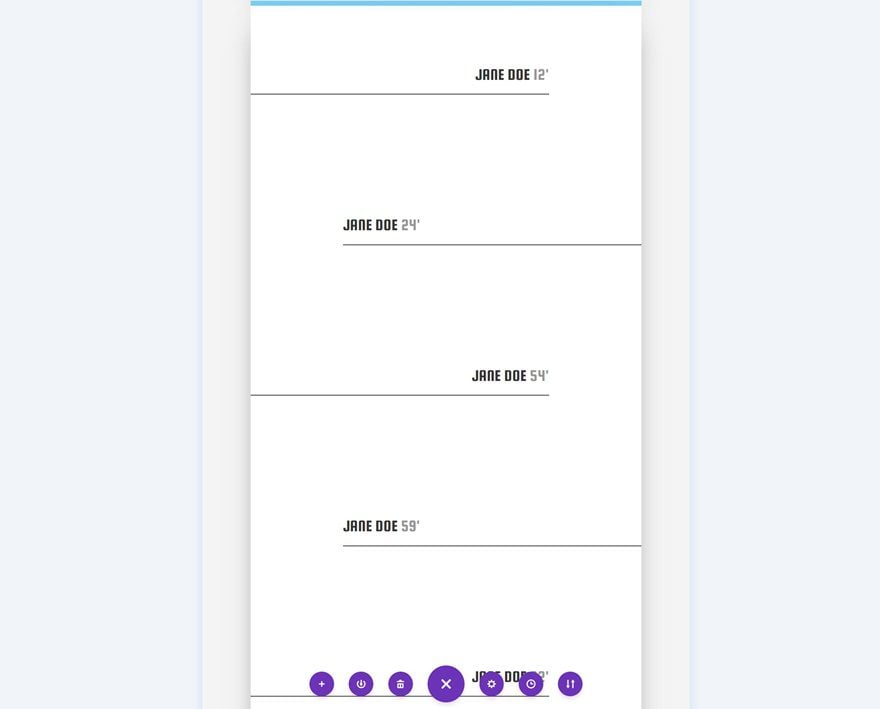
Before we dive into the tutorial, let’s take a quick look at the end result on different screen sizes.
Upload the Soccer Club Layout Pack’s Layout Pack
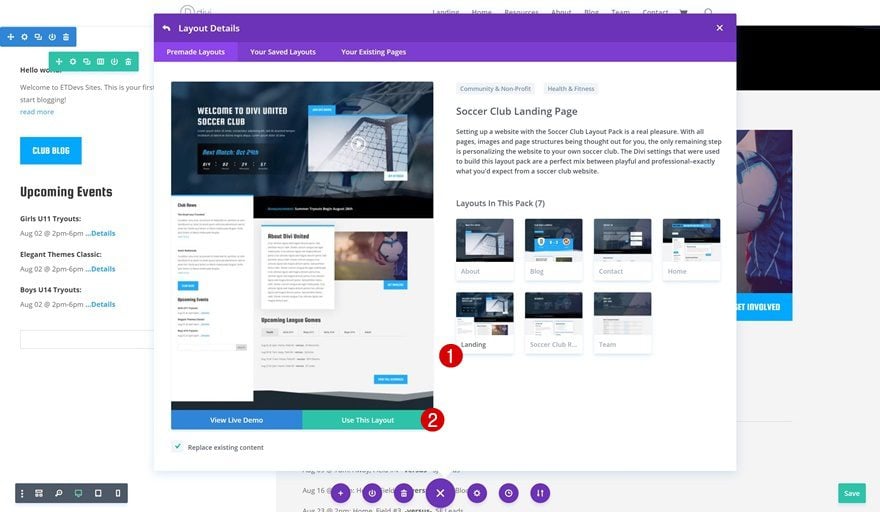
To create this tutorial, we’ll use the Soccer Club Layout Pack’s landing page so go ahead and add a new page using this layout.
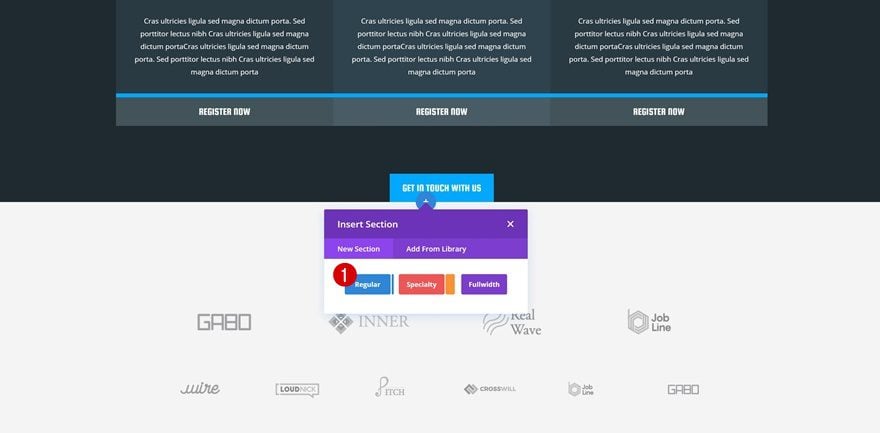
Add New Section
Then, add a new section right here:
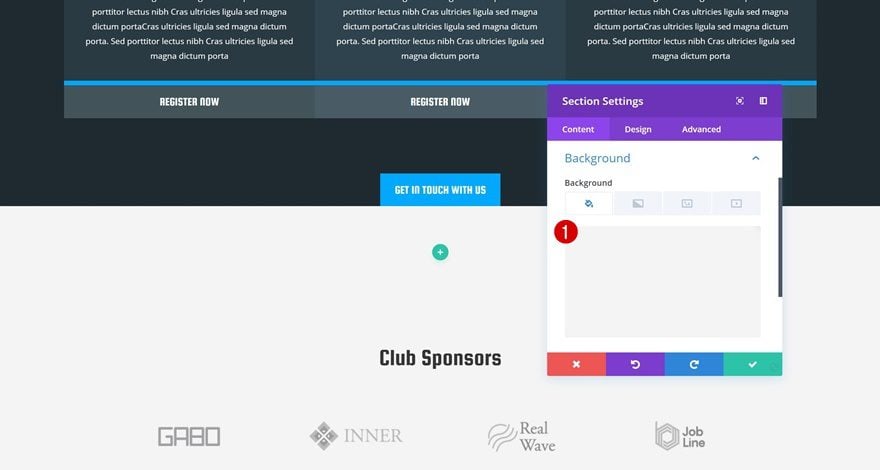
Background Color
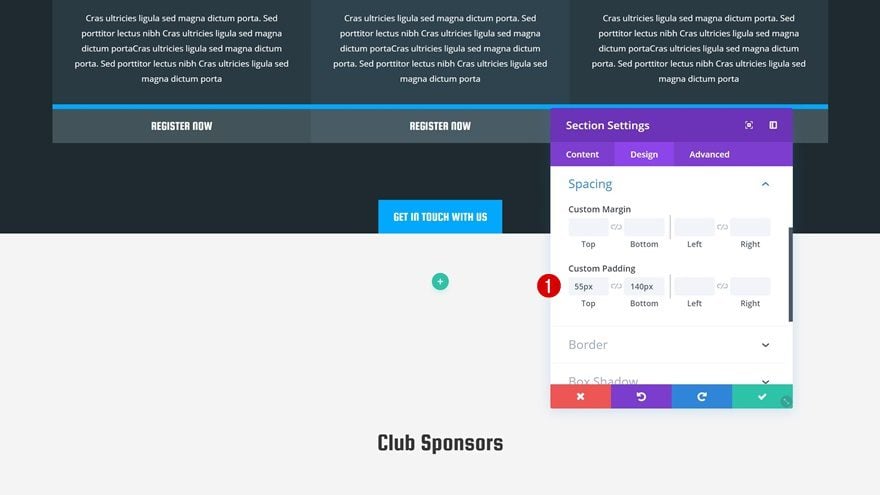
Open the section settings and add a background color next.
- Background Color: #f4f4f4
Spacing
Play around with the spacing values as well.
- Top Padding: 55px
- Bottom Padding: 140px
Clone Row & Place in Section
Locate Row & Create Clone
To save time, we’re going to clone the title row in the next section.
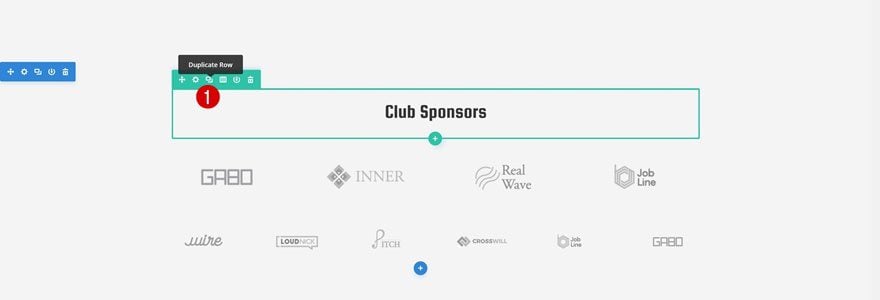
Place in New Section

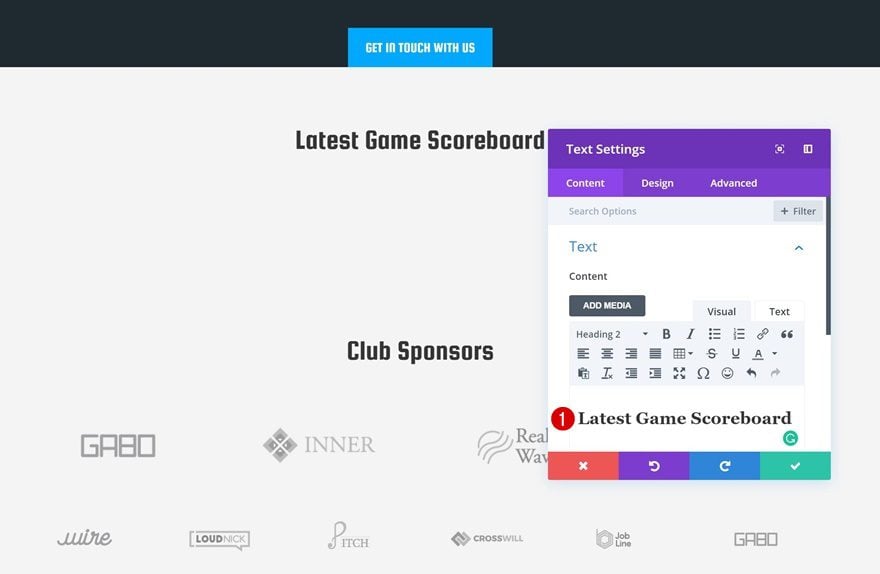
Change Text
Change the copy of the Text Module in the row to match the new section.
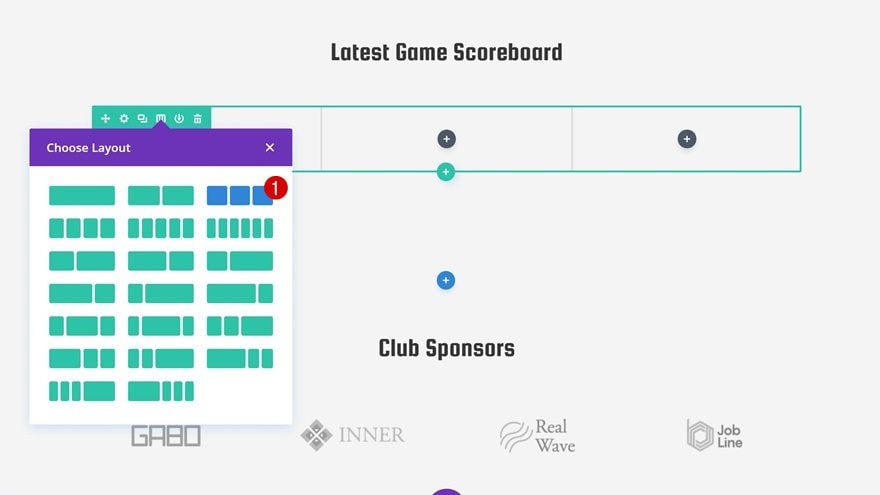
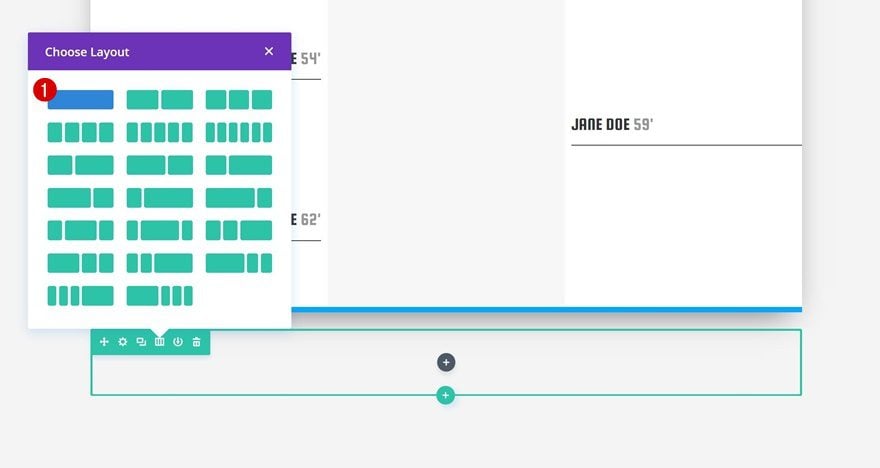
Add Row #2
Column Structure
Right below the previous row, go ahead and add a new row using the following column structure:
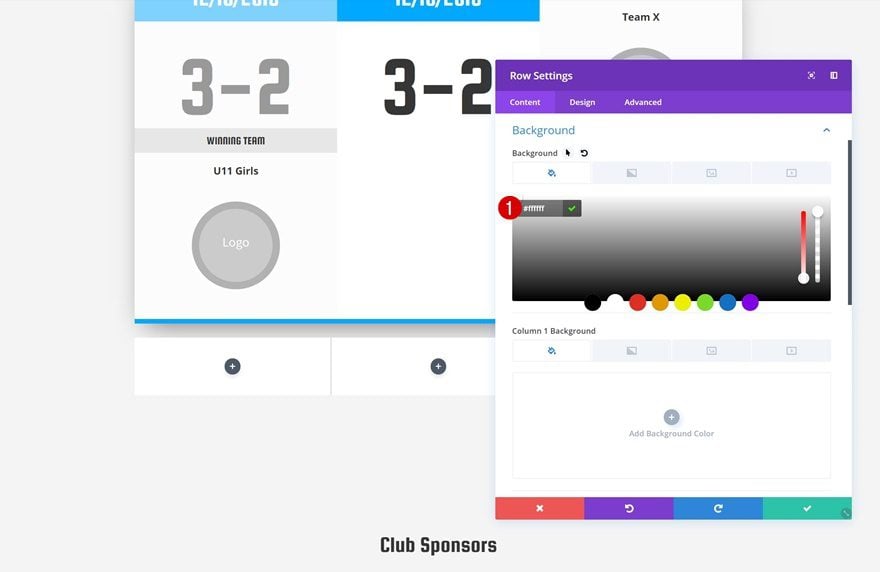
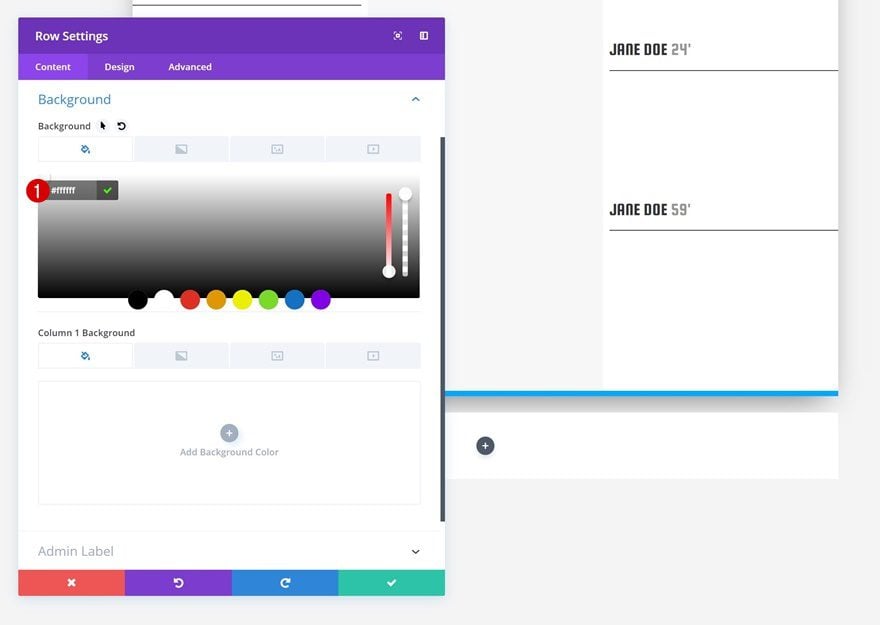
Background Color
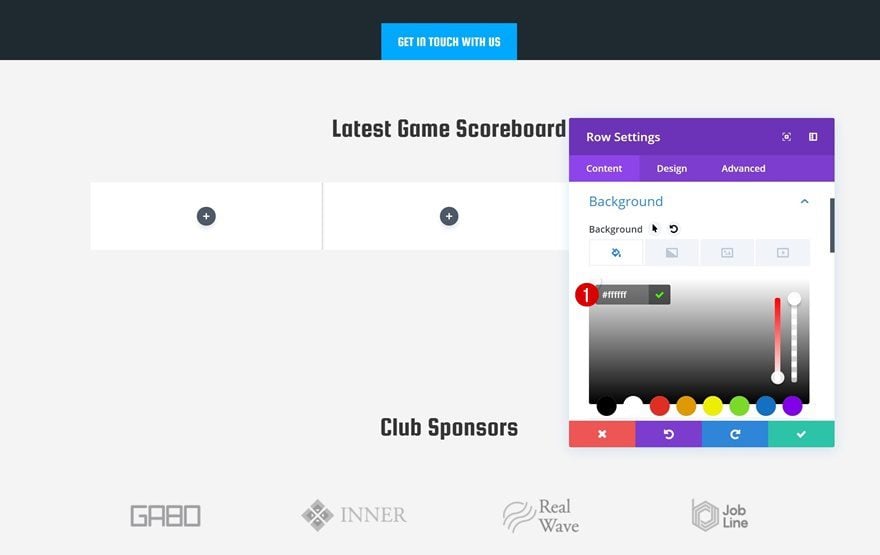
Open the row settings and change the background color.
- Background Color: #ffffff
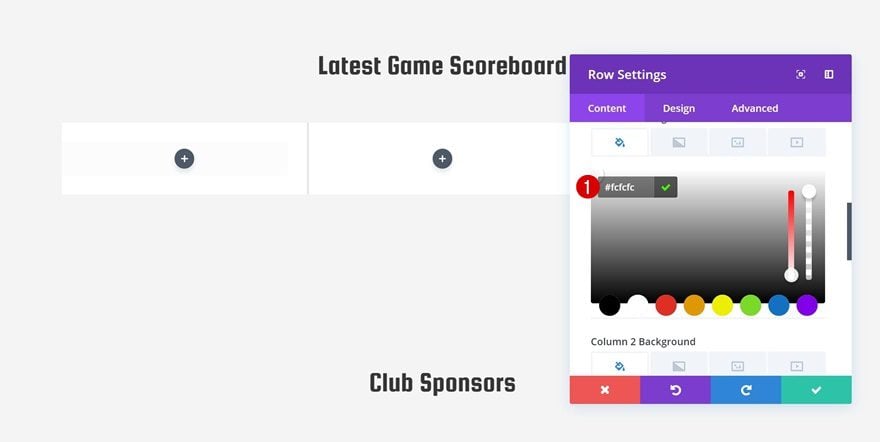
Column 1 Background Color
Add a column 1 background color as well.
- Column 1 Background Color: #fcfcfc
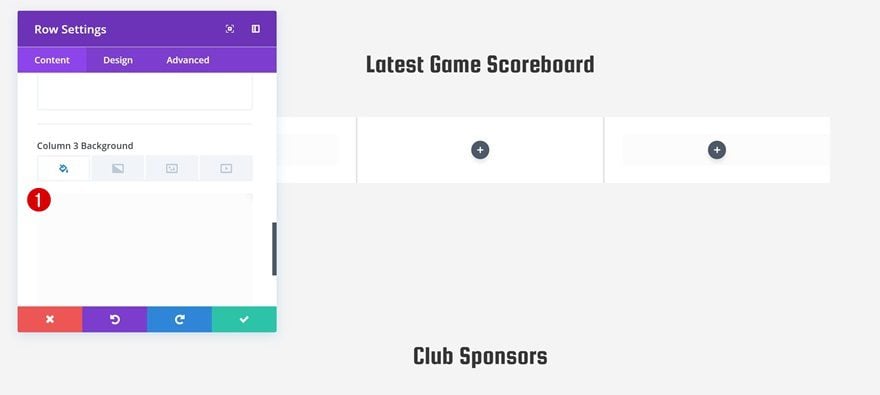
Column 3 Background Color
Repeat the same step for column 3.
- Column 3 Background Color: #fcfcfc
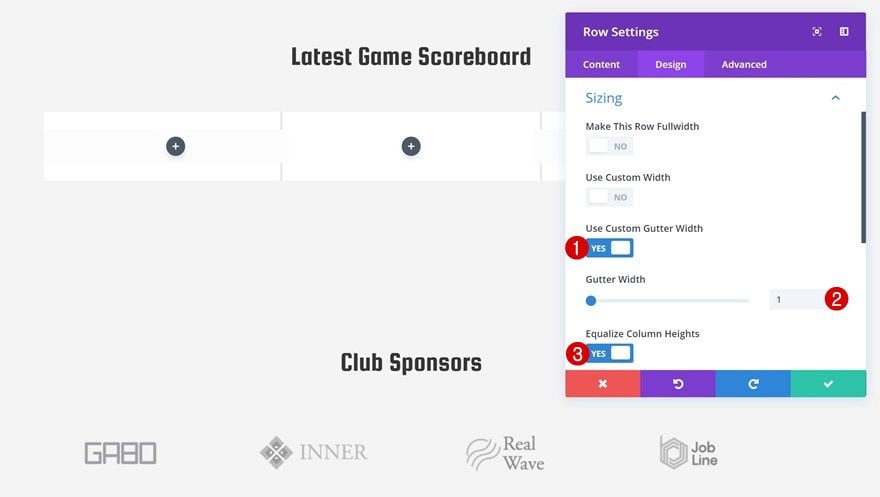
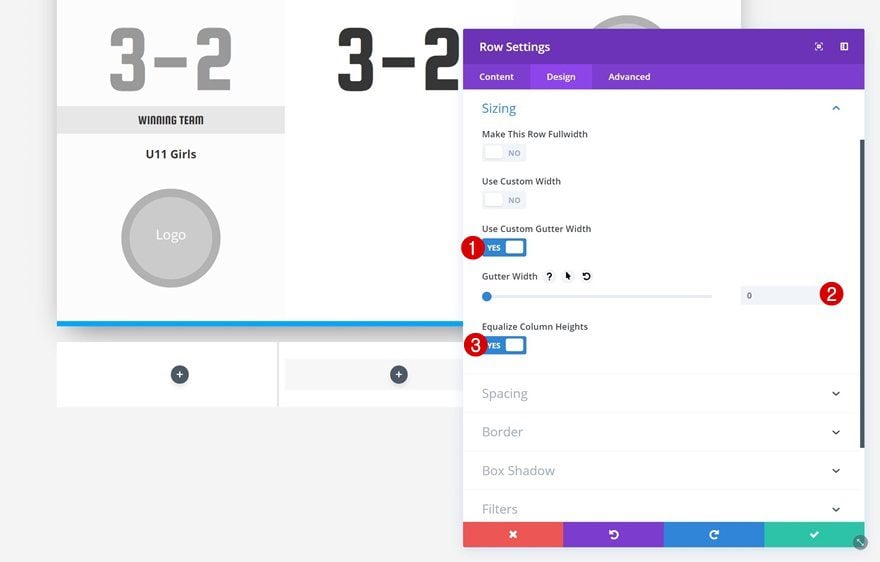
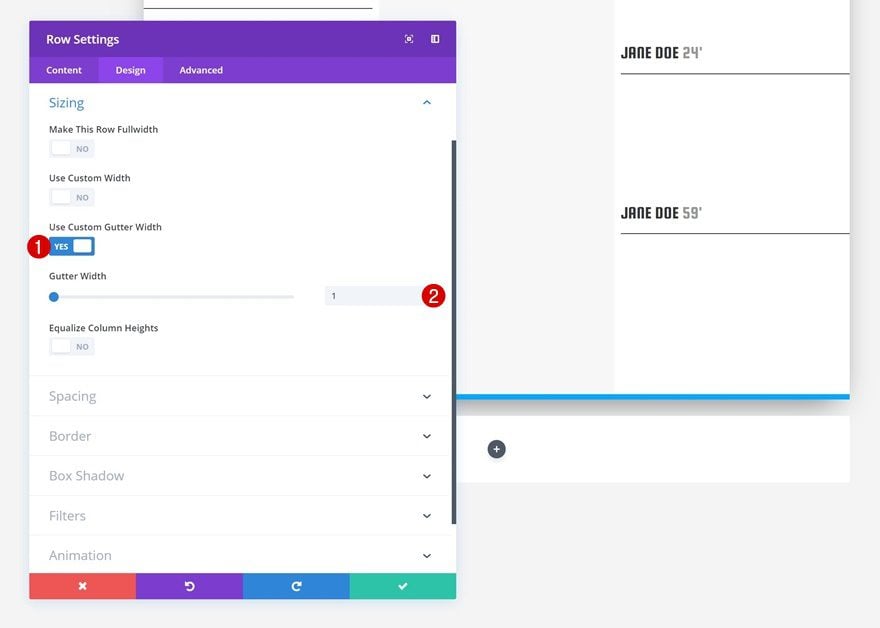
Sizing
Change the sizing settings too.
- Use Custom Gutter Width: Yes
- Gutter Width: 1
- Equalize Column Height: Yes
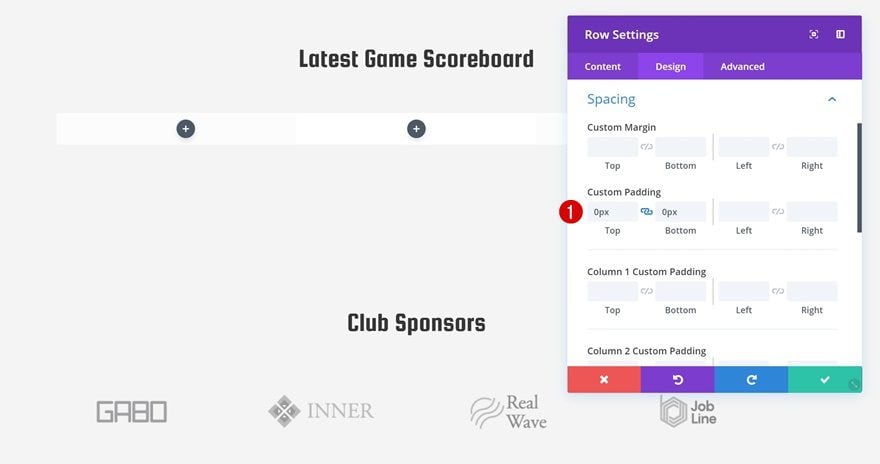
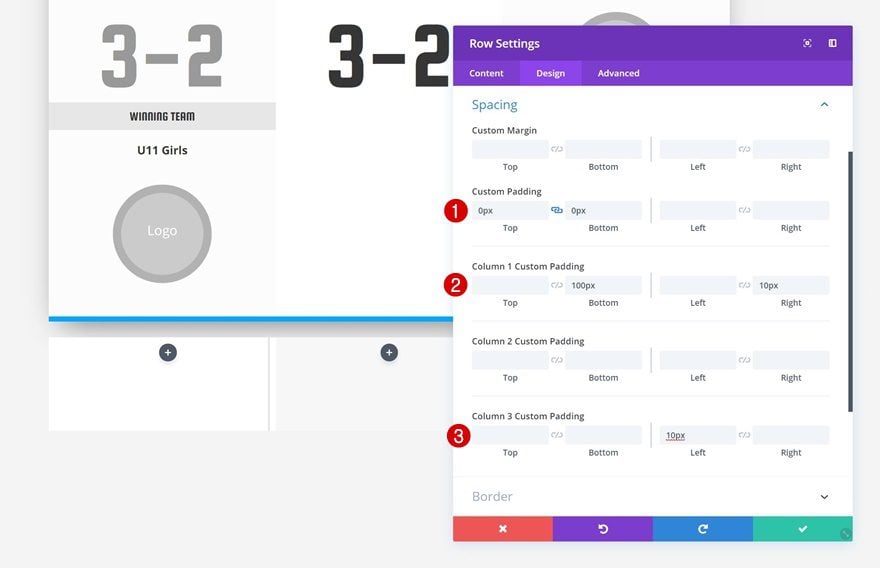
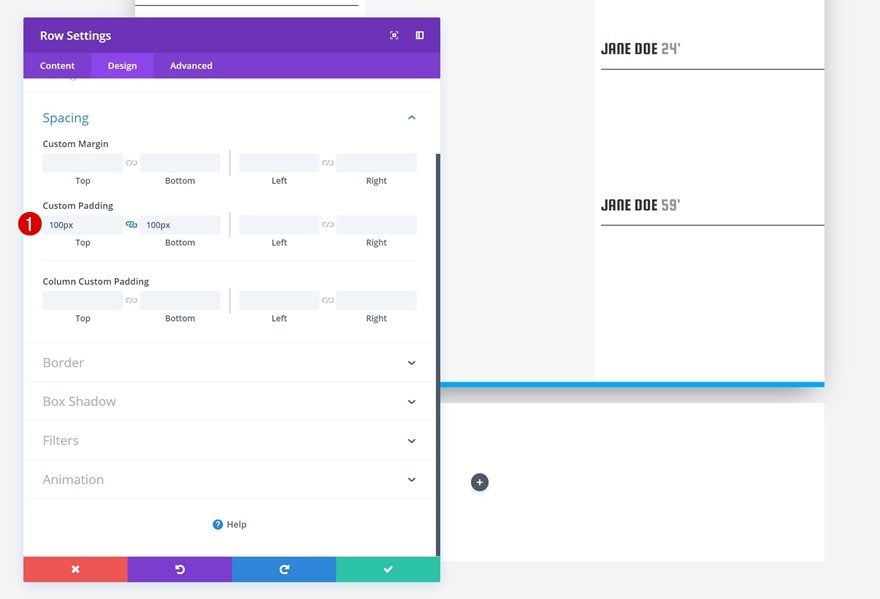
Spacing
Remove all default padding next.
- Top Padding: 0px
- Bottom Padding: 0px
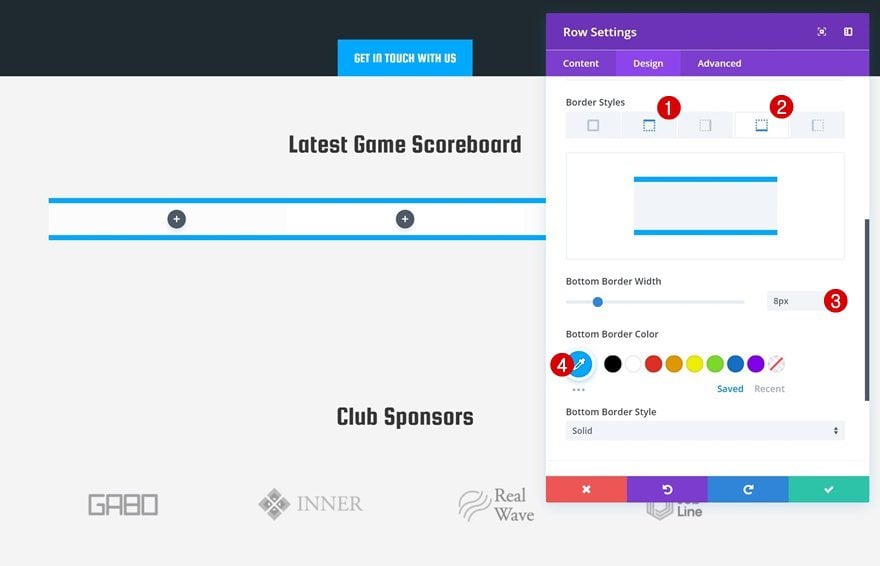
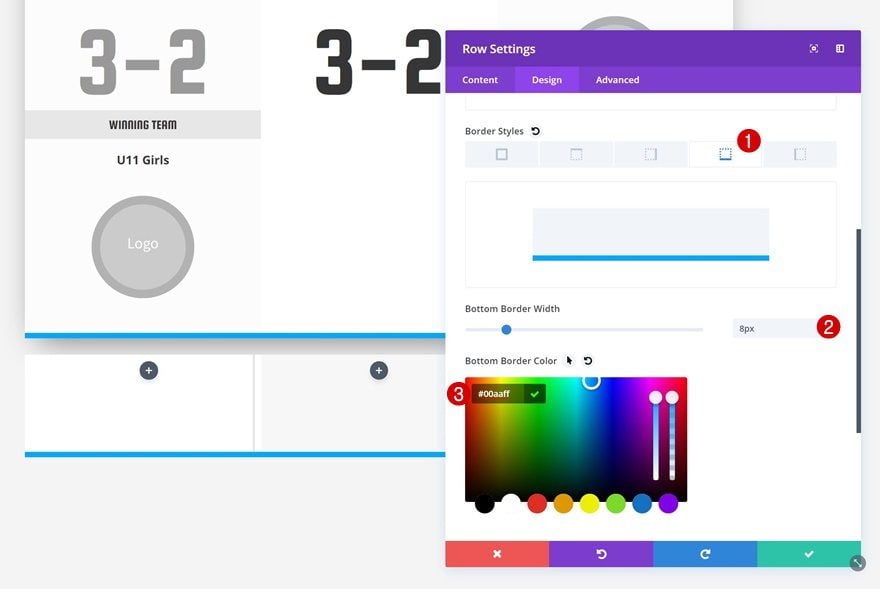
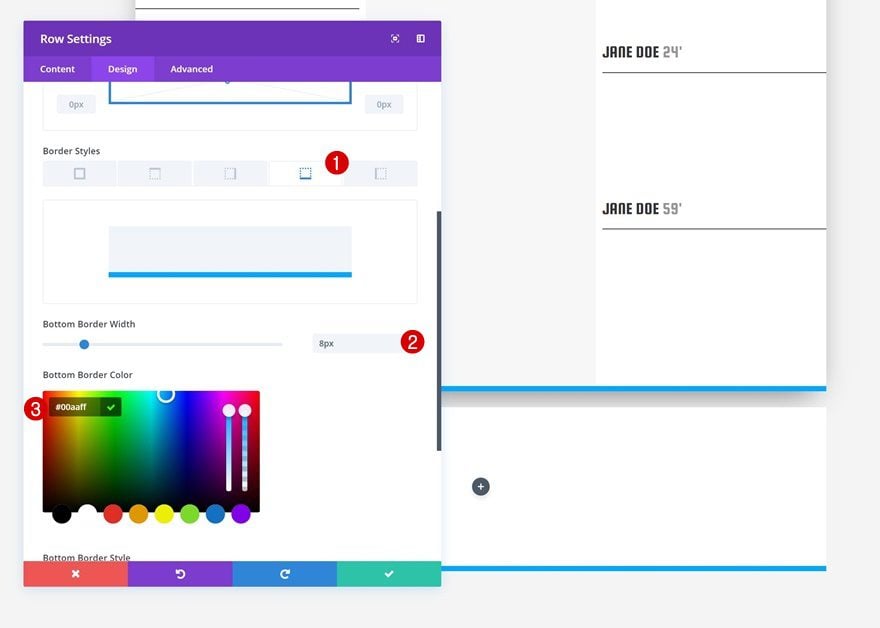
Border
To match the layout pack, add a top and bottom border to the row.
- Bottom Border Width: 8px
- Bottom Border Color: #00aaff
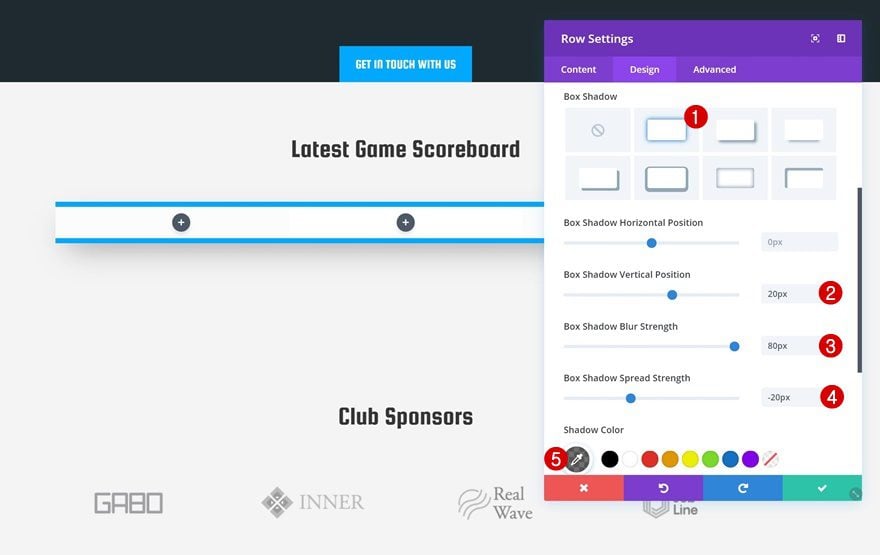
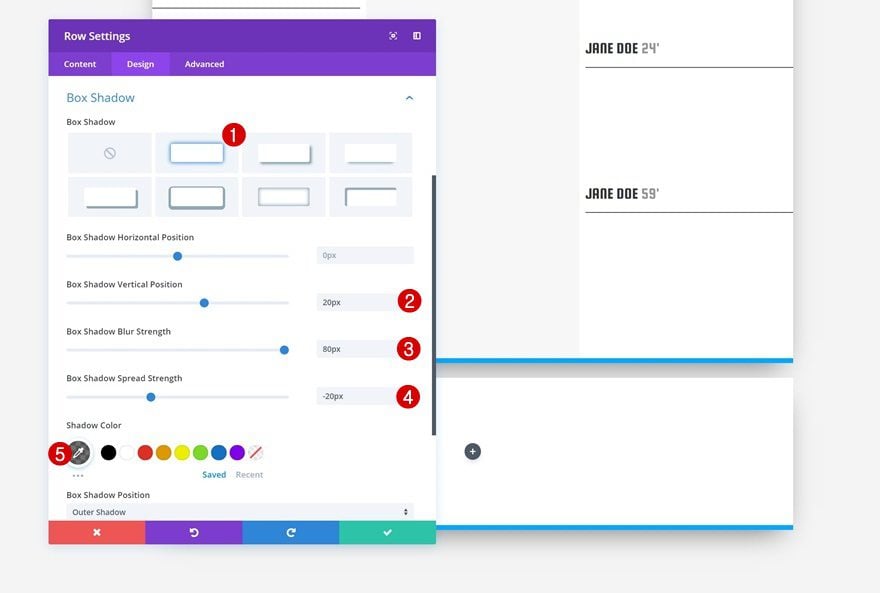
Box Shadow
Lastly, add a subtle box shadow to create depth on the page.
- Box Shadow Vertical Position: 20px
- Box Shadow Blur Strength: 80px
- Box Shadow Spread Strength: -20px
- Shadow Color: rgba(0,0,0,0.56)
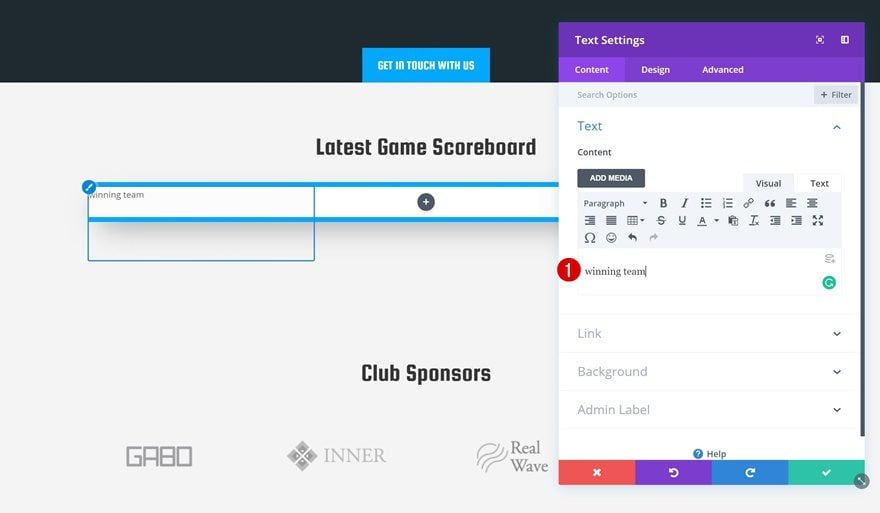
Add Text Module #1 to Column 1
Add Content
Time to start adding modules! Start with a Text Module in column 1 and add some content.
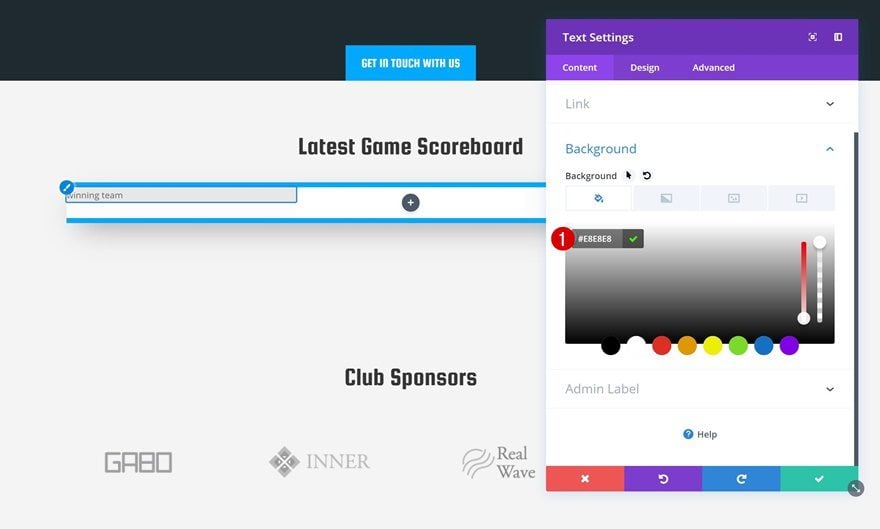
Background Color
Change the background color next.
- Background Color: #E8E8E8
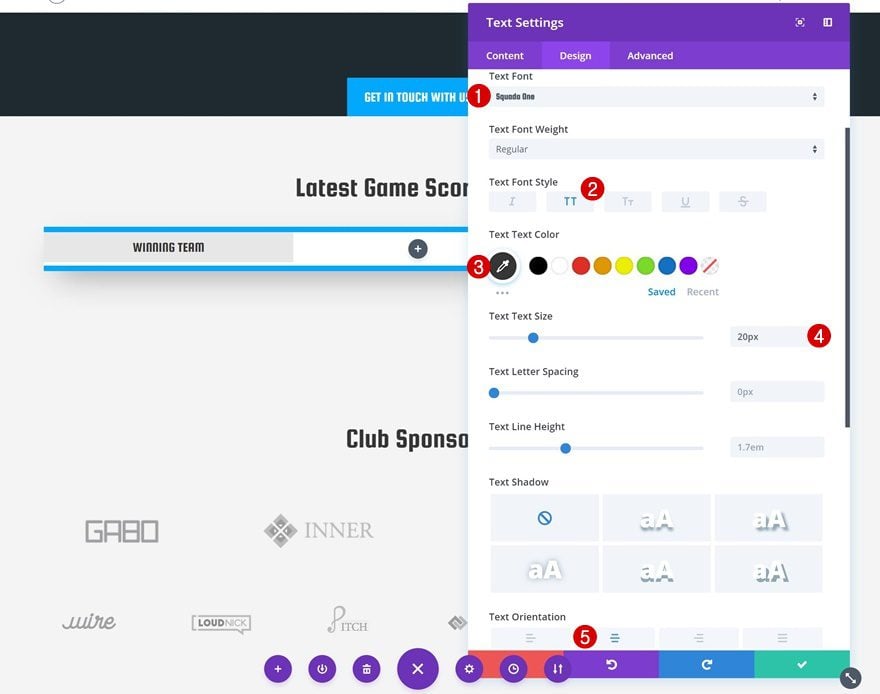
Text Settings
Continue by playing around with the text settings.
- Text Font: Squada One
- Text Font Style: Uppercase
- Text Color: #333333
- Text Size: 20px
- Text Orientation: Center
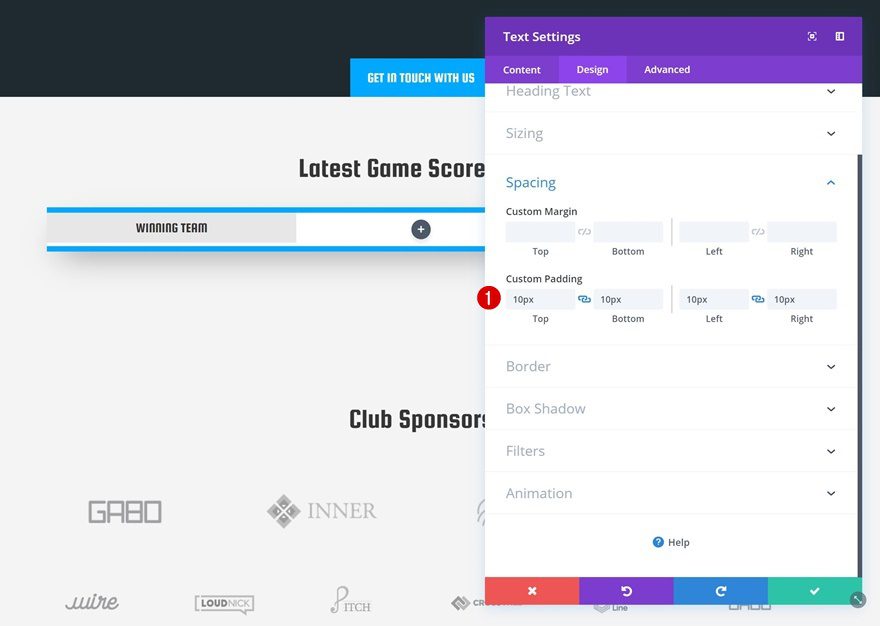
Spacing
Then, add some custom spacing values.
- Top Padding: 10px
- Bottom Padding: 10px
- Left Padding: 10px
- Right Padding: 10px
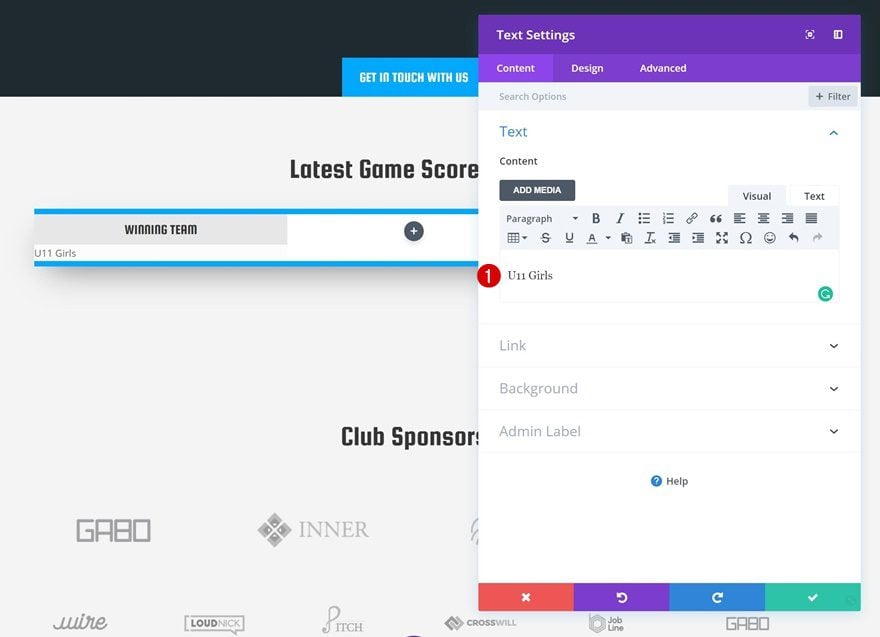
Add Text Module #2 to Column 1
Add Content
Add a new Text Module right below the previous Text Module in column 1. Once you do, add content to the content box.
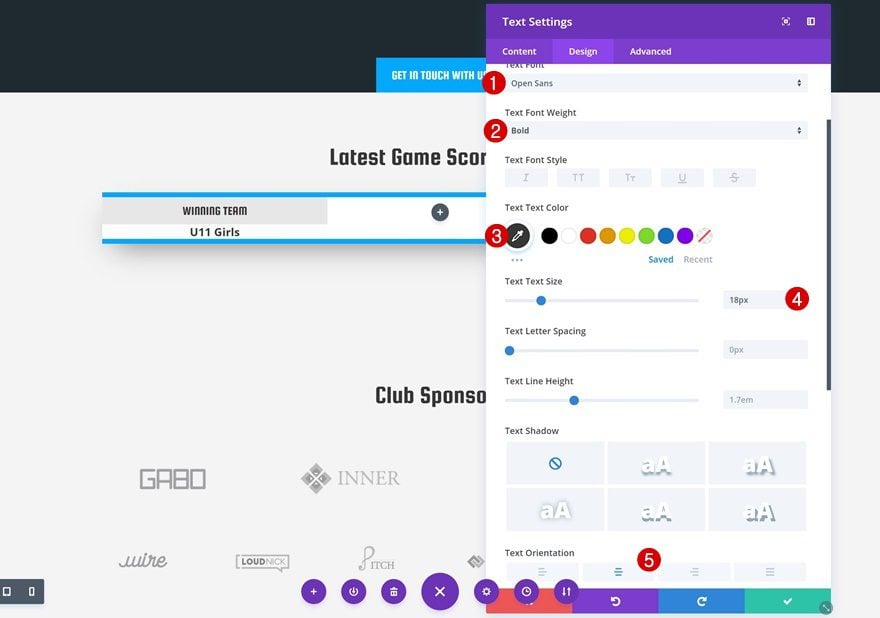
Text Settings
Change the text settings next.
- Text Font: Open Sans
- Text Font Weight: Bold
- Text Color: #333333
- Text Size: 18px
- Text Orientation: Center
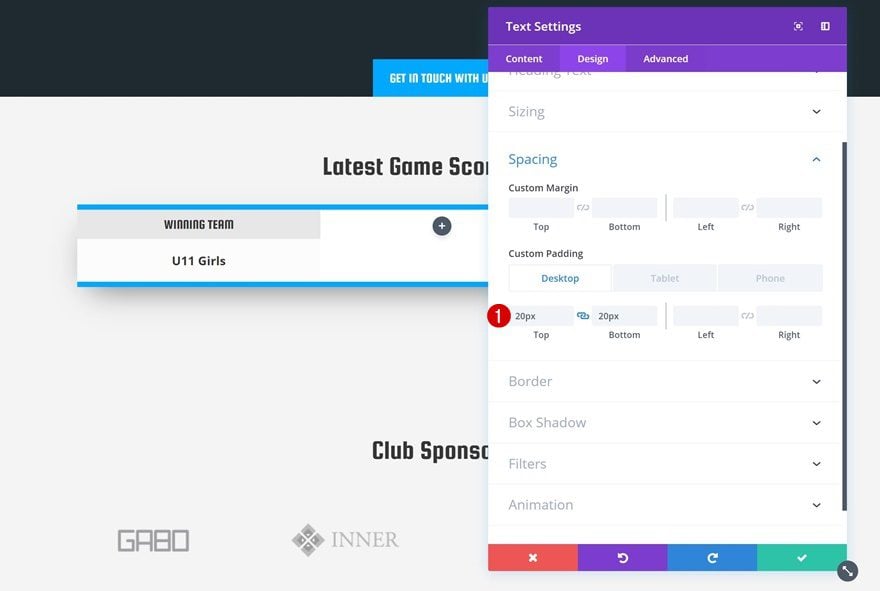
Spacing
Play around with the spacing values as well.
- Top Padding: 20px
- Bottom Padding: 20px
Add Image Module to Column 1
Upload Club Logo
The last module needed in column 1 is an Image Module containing the club logo of one of the teams competing.
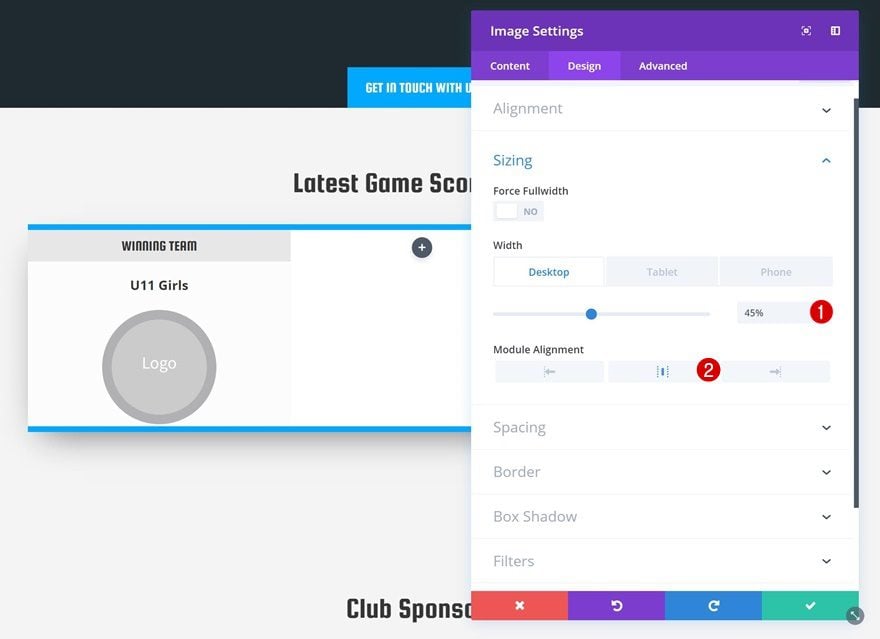
Sizing
Once you’ve uploaded the club logo image, go to the sizing settings and make some changes.
- Width: 45% (Desktop), 16% (Tablet), 28% (Phone)
- Module Alignment: Center
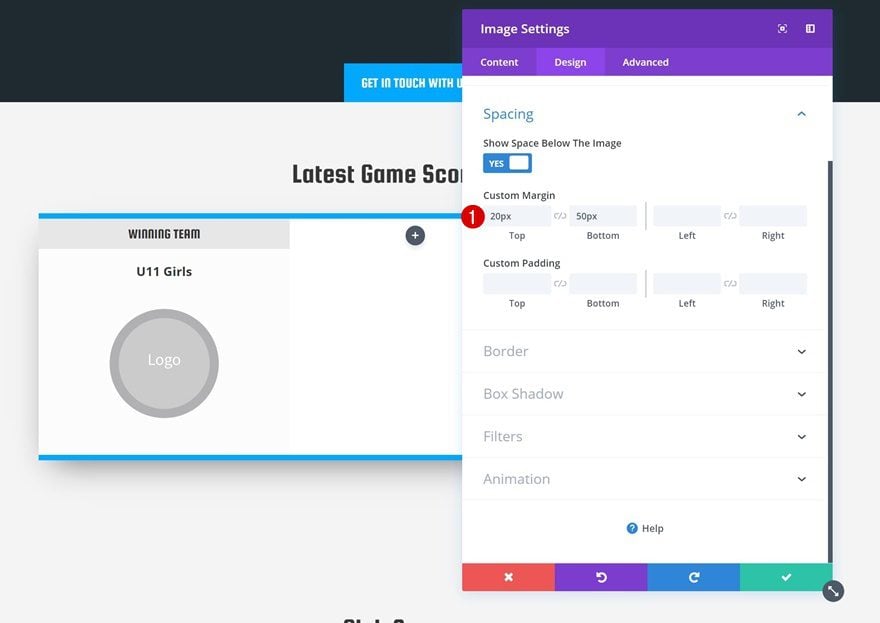
Spacing
Continue by adding custom margin values in the spacing settings.
- Top Margin: 20px
- Bottom Margin: 50px
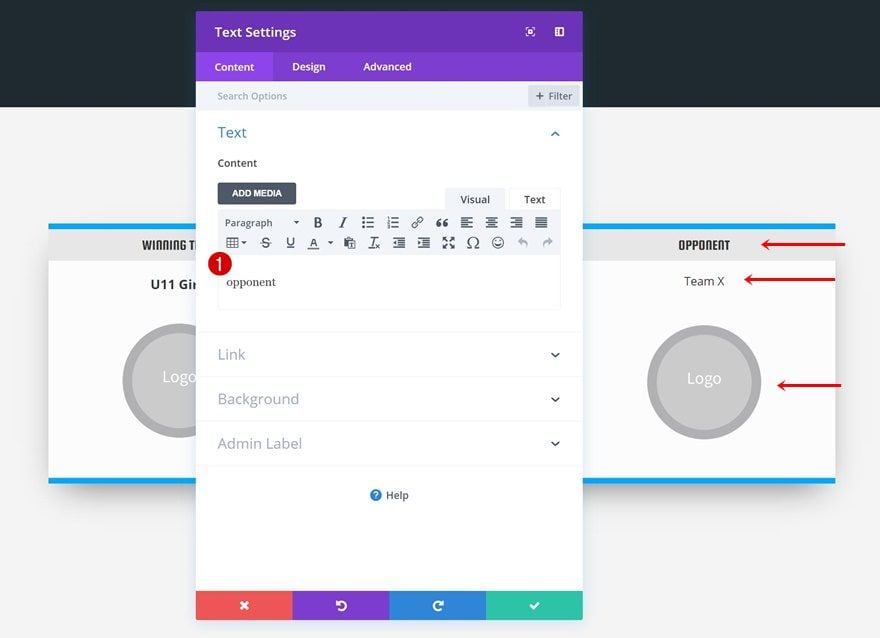
Clone Modules & Place Duplicates in Column 3
Once you’re done with all three modules in column 1, you can clone them and place the duplicates in the third column.
Change Content
Of course, you’ll need to change the content of every cloned module.
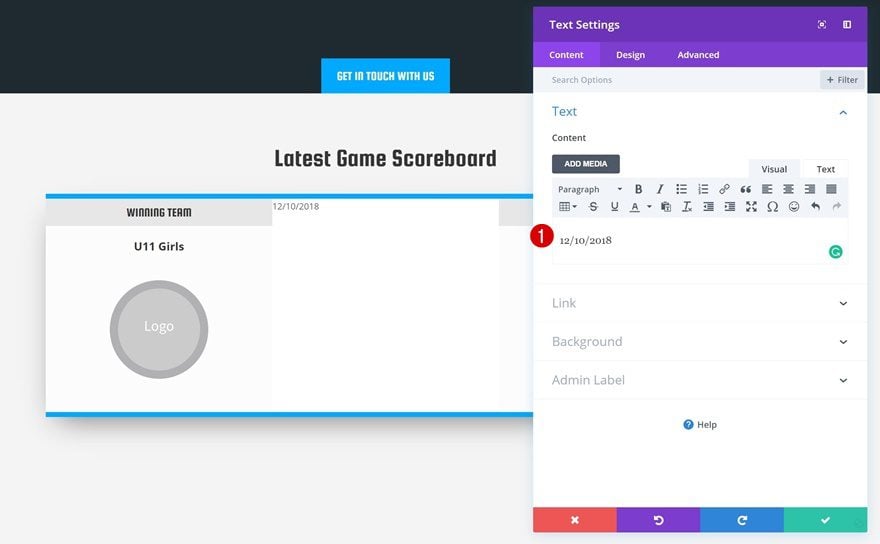
Add Text Module #1 to Column 2
Add Content
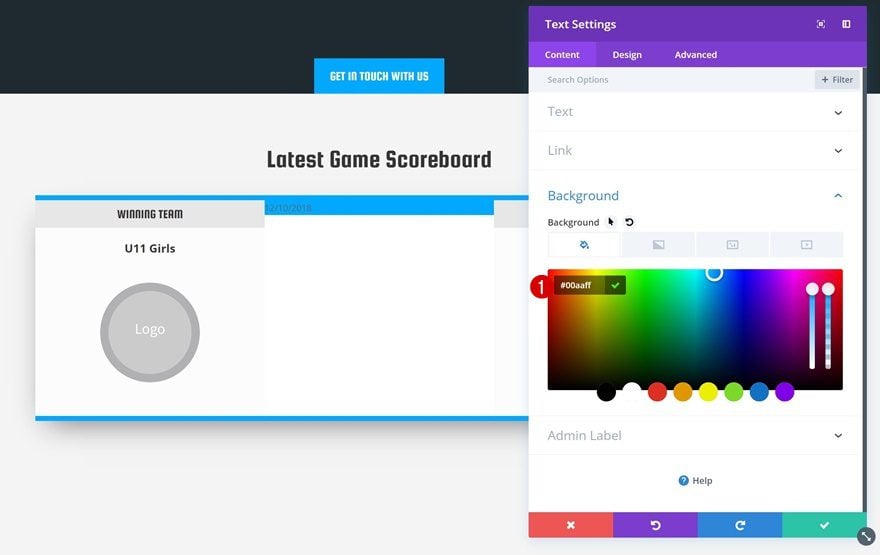
In the second column, we’ll place the date and end score. Start by adding a Text Module with a date.
Background Color
Add a background color that matches the layout pack next.
- Background Color: #00aaff
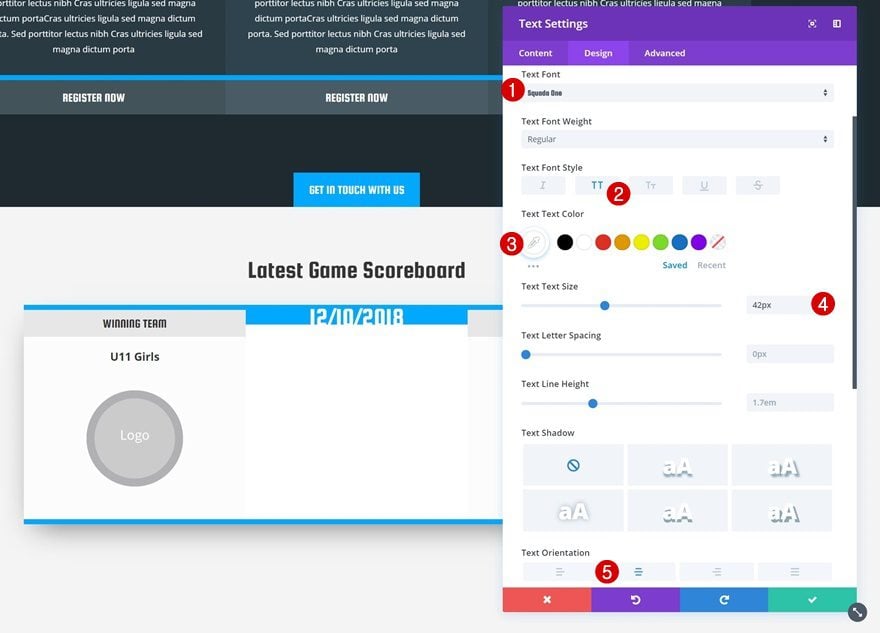
Text Settings
Change the text settings as well.
- Text Font: Squada One
- Text Font Style: Uppercase
- Text Color: #FFFFFF
- Text Size: 42px
- Text Orientation: Center
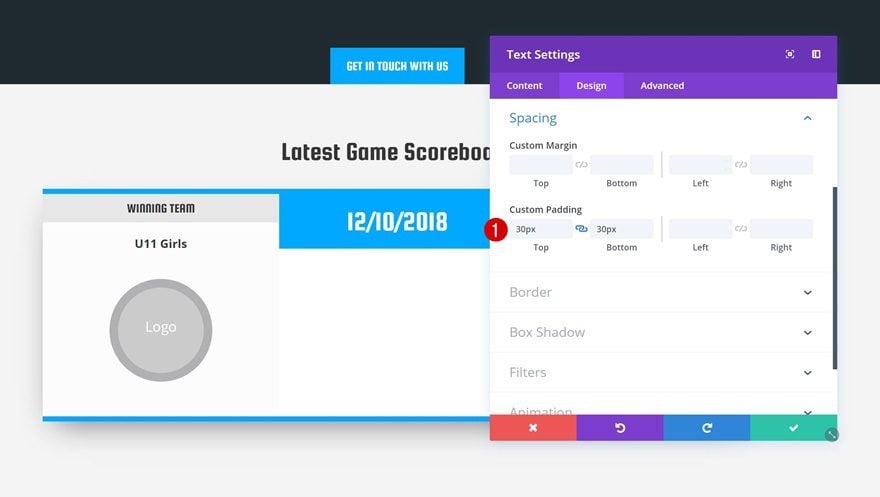
Spacing
Then, go to the spacing settings and give the module some more padding.
- Top Padding: 30px
- Bottom Padding: 30px
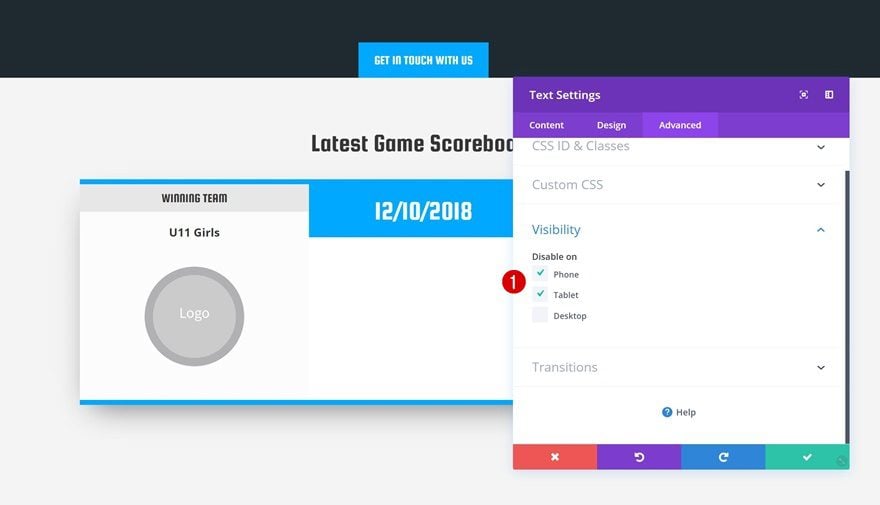
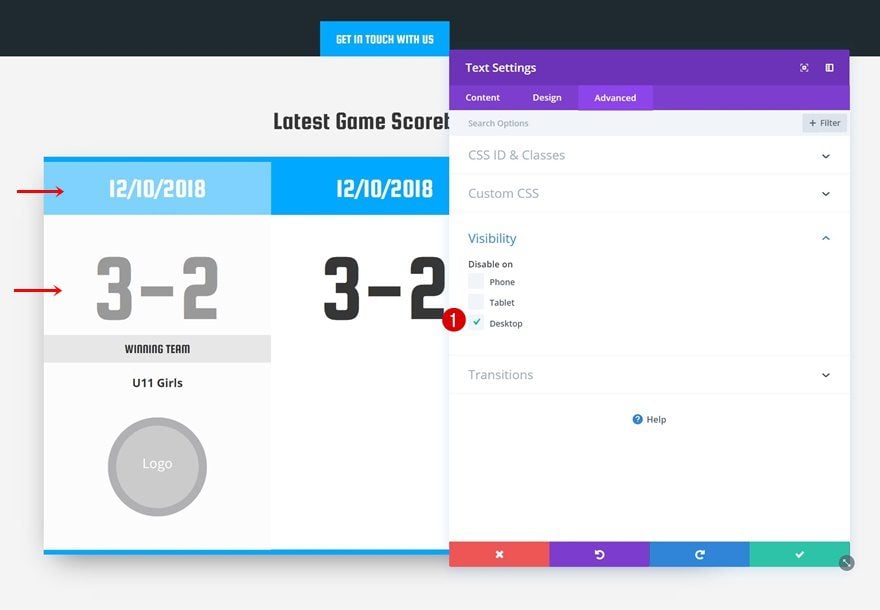
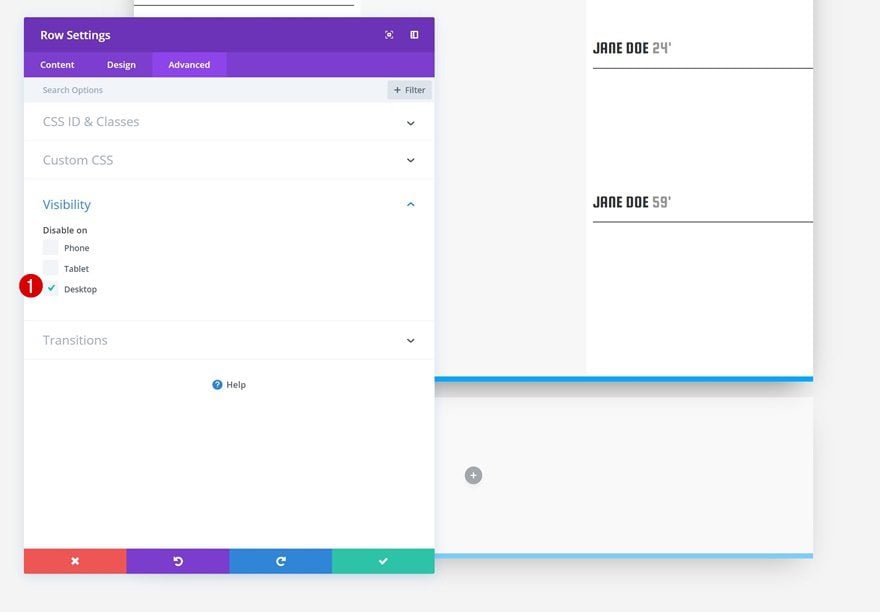
Visibility
Lastly, disable the module on phone and tablet.
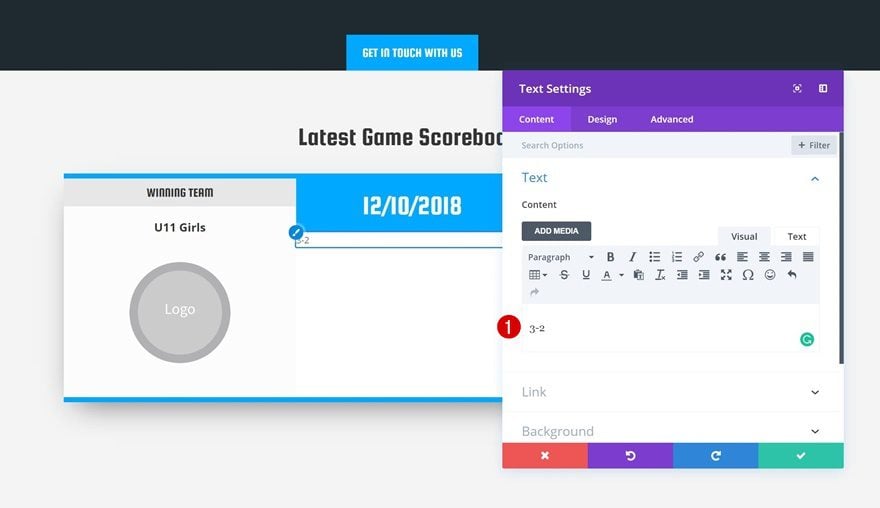
Add Text Module #2 to Column 2
Add Content
The second Text Module in column 2 needs to contain the game score.
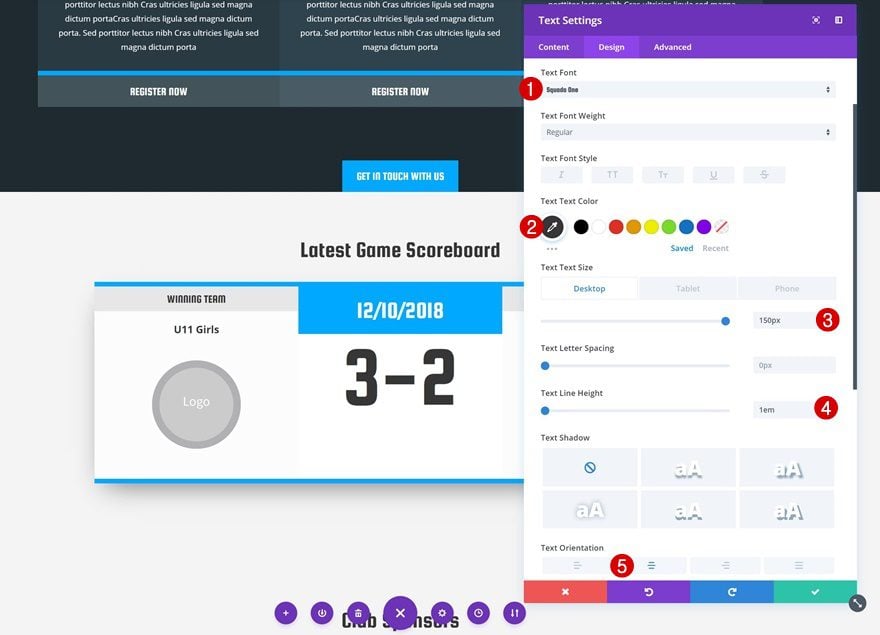
Text Settings
After adding the content, change the text settings.
- Text Font: Squada One
- Text Color: #333333
- Text Size: 150px
- Text Line Height: 1em
- Text Orientation: Center
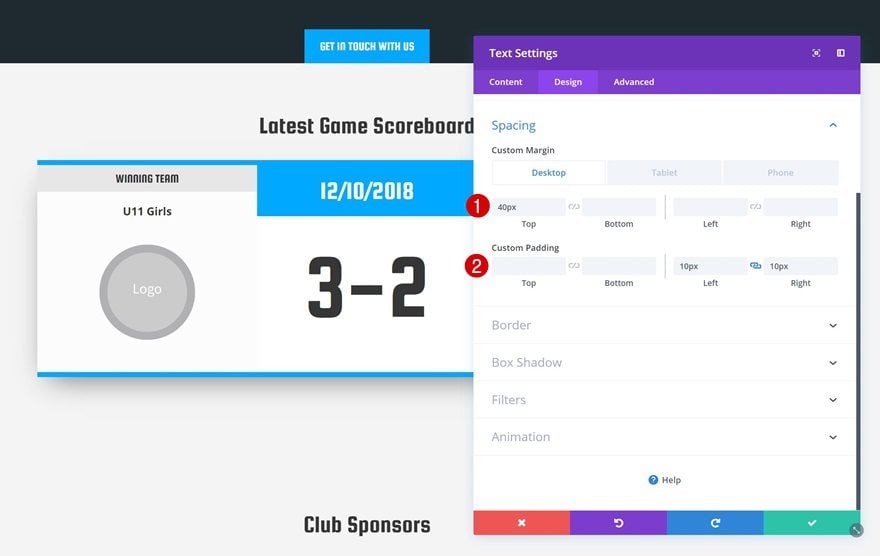
Spacing
Continue by modifying the spacing values.
- Top Margin: 40px (Desktop), 20px (Tablet & Phone)
- Bottom Margin: 20px (Tablet & Phone)
- Left Padding: 10px
- Right Padding: 10px
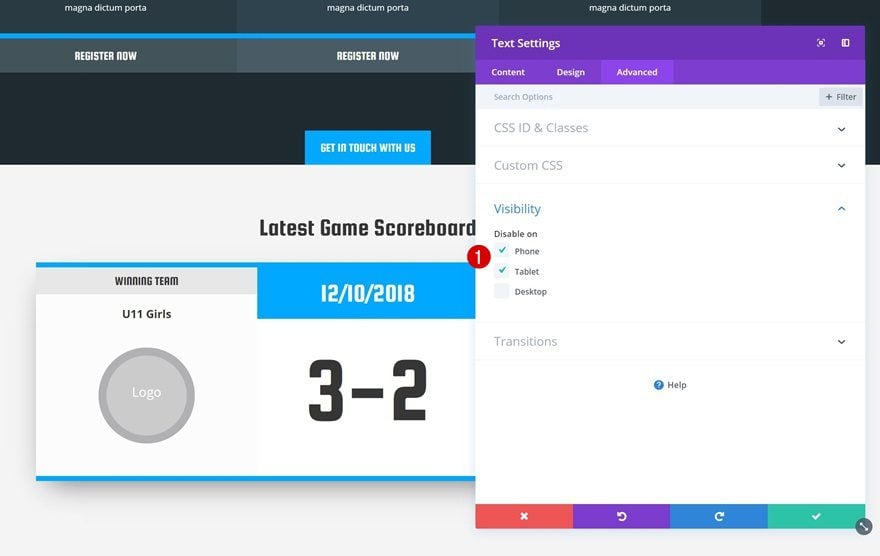
Visibility
Hide this module on phone and tablet as well. In the next part, we’re going to create the alternative for smaller screen sizes.
Clone Both Modules & Place in Column 1
Clone both modules you can find in column 2 and place the duplicates in the first column above the other modules.
Change Visibility
We’re using both these modules to have a better outcome on tablet and phone. To make sure these modules show up on smaller screen sizes only, disable them on desktop.
Add Row #3
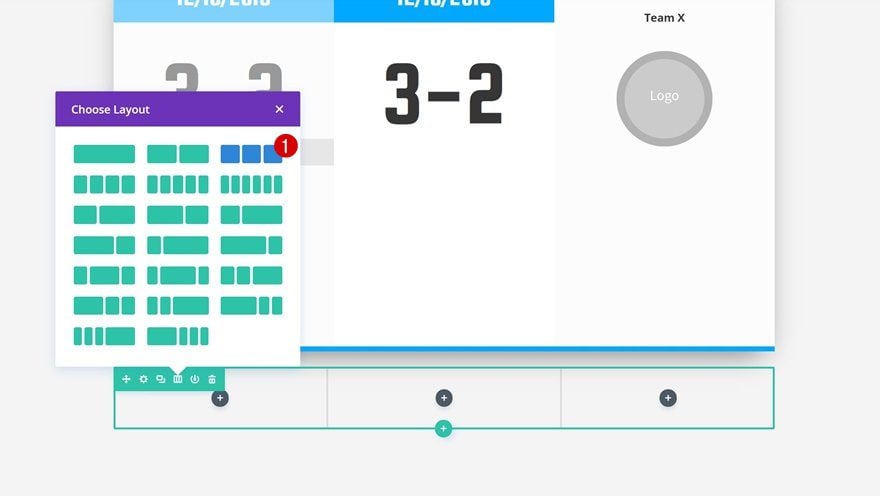
Column Structure
In the next row, we’re going to display the different goals on desktop. Use the following column structure:
Background Color
Without adding any modules yet, open the row settings and change the background color.
- Background Color: #FFFFFF
Column 2 Background Color
Change the column 2 background color as well.
- Column 2 Background Color: #f7f7f7

Sizing
Remove all space between columns in the sizing settings next.
- Use Custom Gutter Width: Yes
- Gutter Width: 0
- Equalize Column Height: Yes
Spacing
Add custom spacing values too.
- Top Padding: 0px
- Bottom Padding: 0px
- Column 1 Bottom Padding: 100px
- Column 1 Right Padding: 10px
- Column 3 Left Padding: 10px
Border
Then, add a subtle bottom border to the row.
- Bottom Border Width: 8px
- Bottom Border Color: #00aaff
Box Shadow
To create depth to the page, add a row box shadow.
- Box Shadow Vertical Position: 20px
- Box Shadow Blur Strength: 80px
- Box Shadow Spread Strength: -20px
- Shadow Color: rgba(0,0,0,0.56)

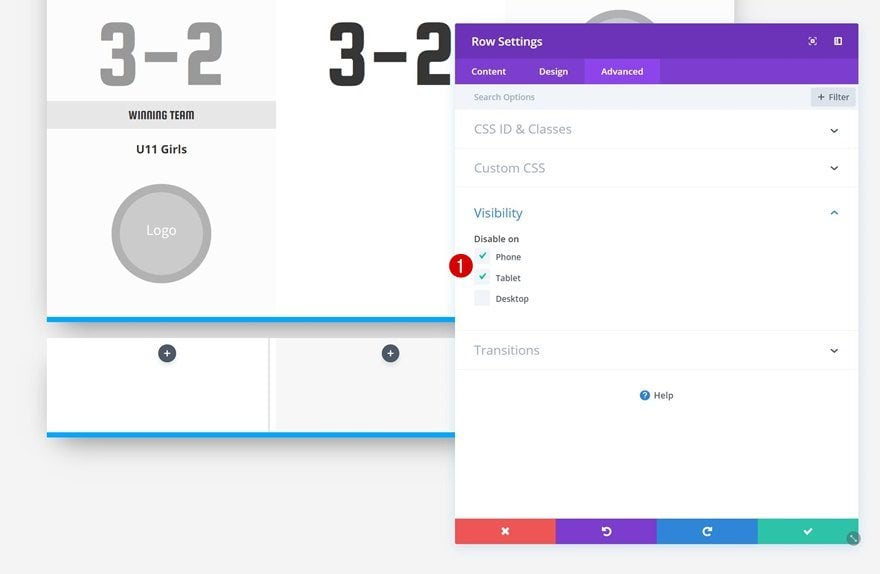
Visibility
As mentioned before, we’re using this row to display goals on desktop only so go ahead and disable the row on phone and tablet. Later on the post, we’ll create a tablet and phone alternative.
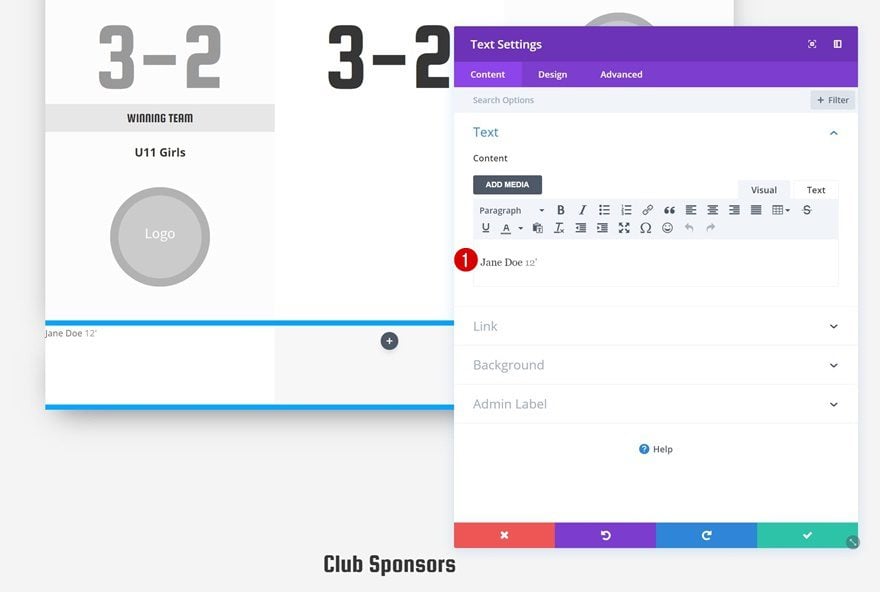
Add Text Module #1 to Column 1
Add Content
Add a new Text Module to the first column containing the first goal details.
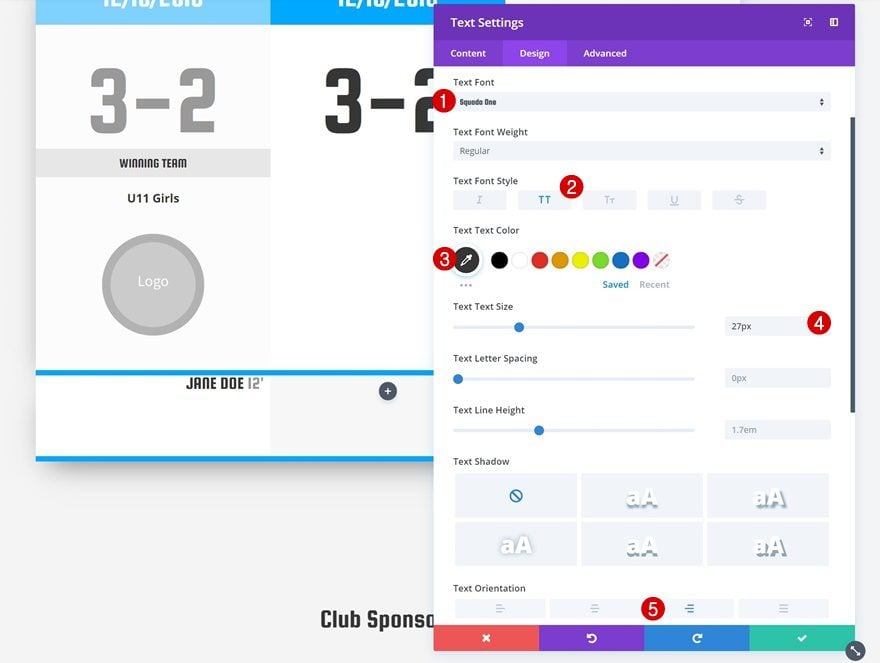
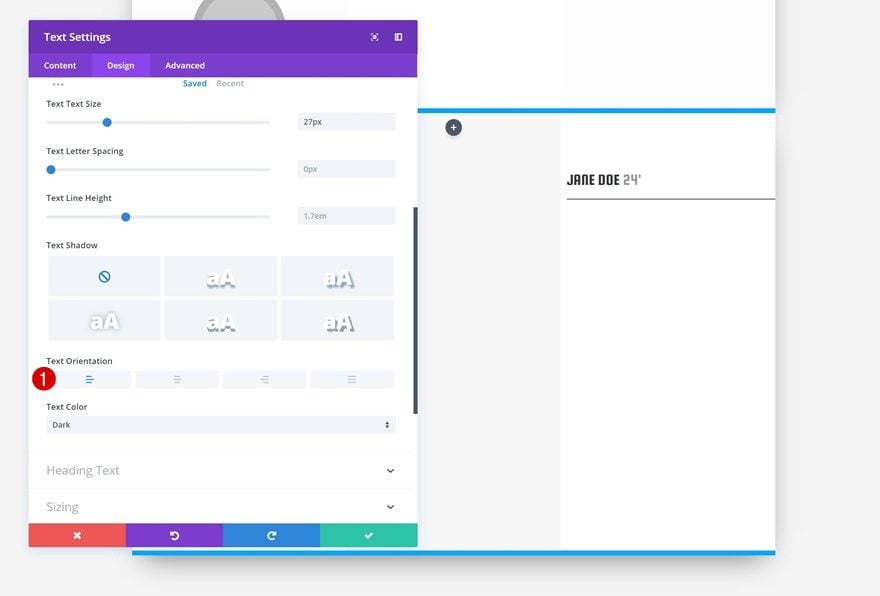
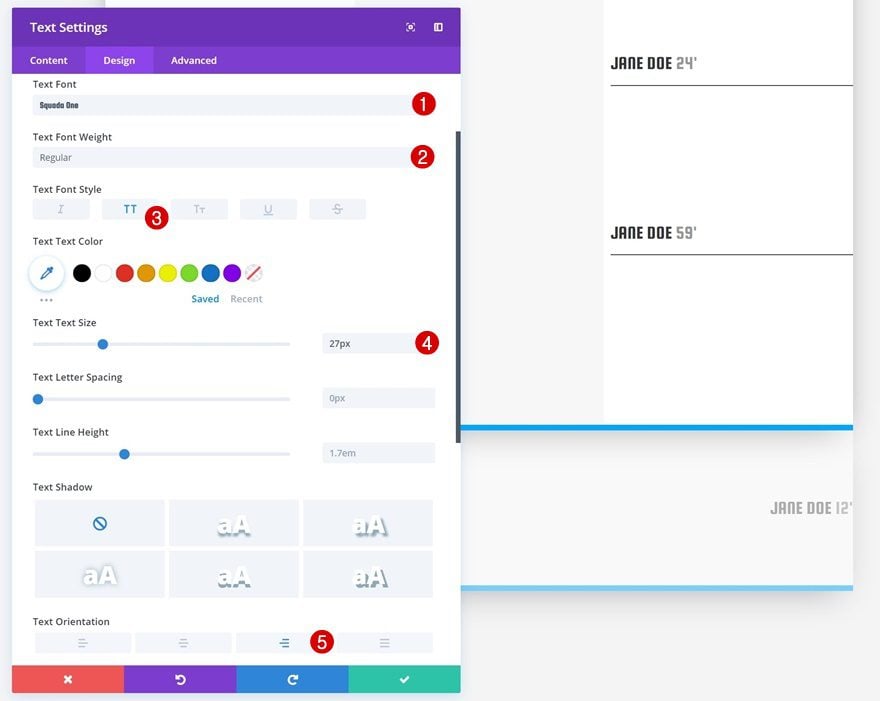
Text Settings
Change the text settings next.
- Text Font: Squada One
- Text Font Style: Uppercase
- Text Color: #333333
- Text Size: 27px
- Text Orientation: Right
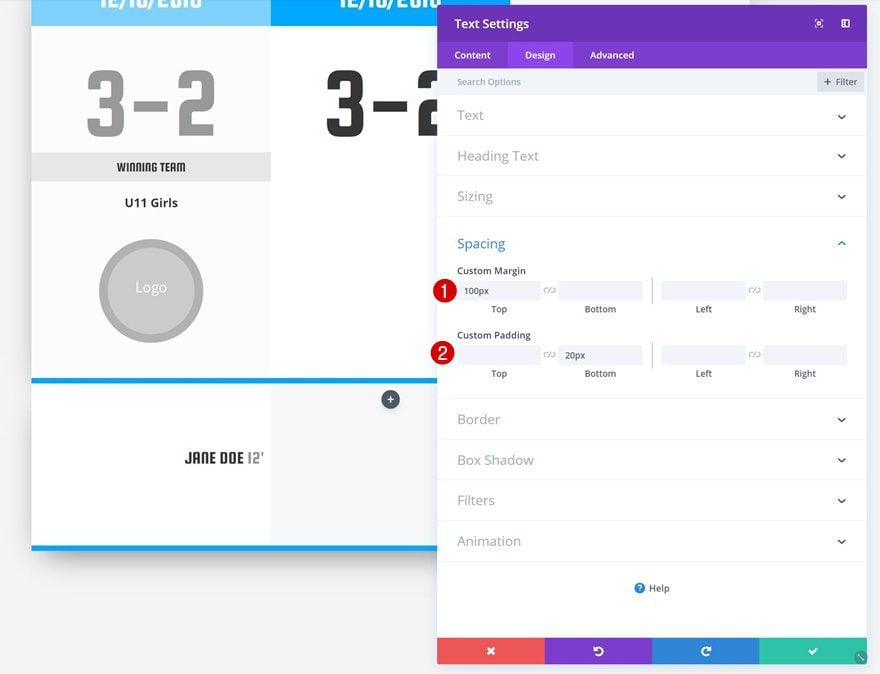
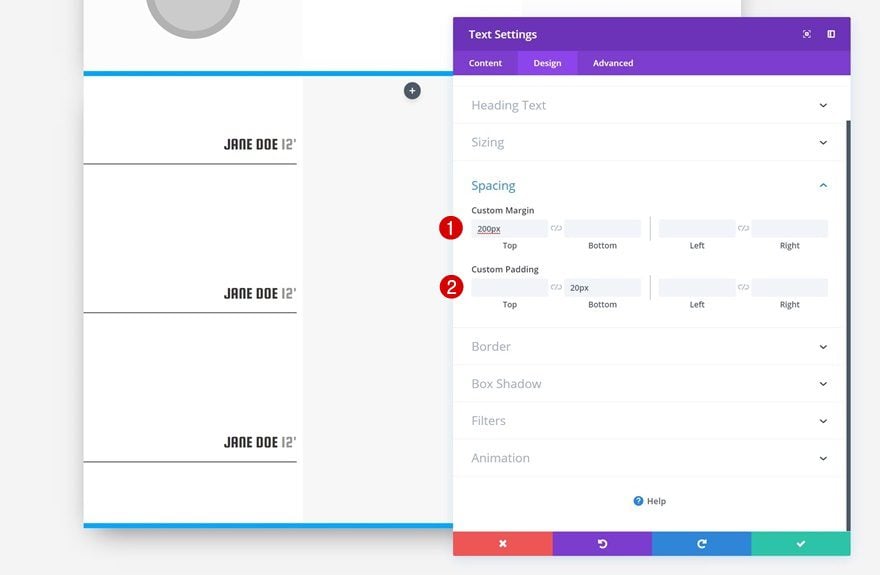
Spacing
Play around with the spacing values as well.
- Top Margin: 100px
- Bottom Padding: 20px
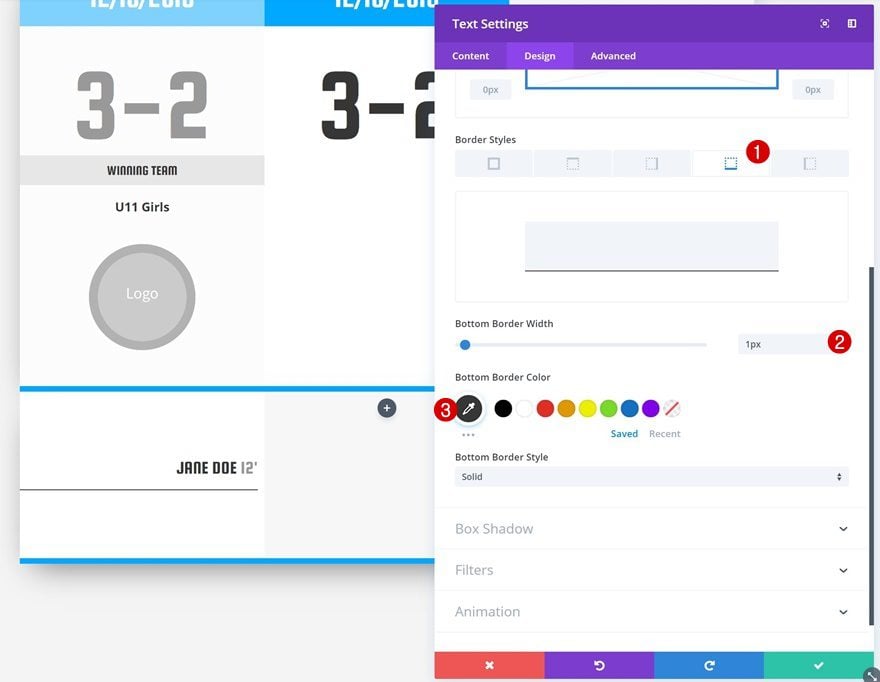
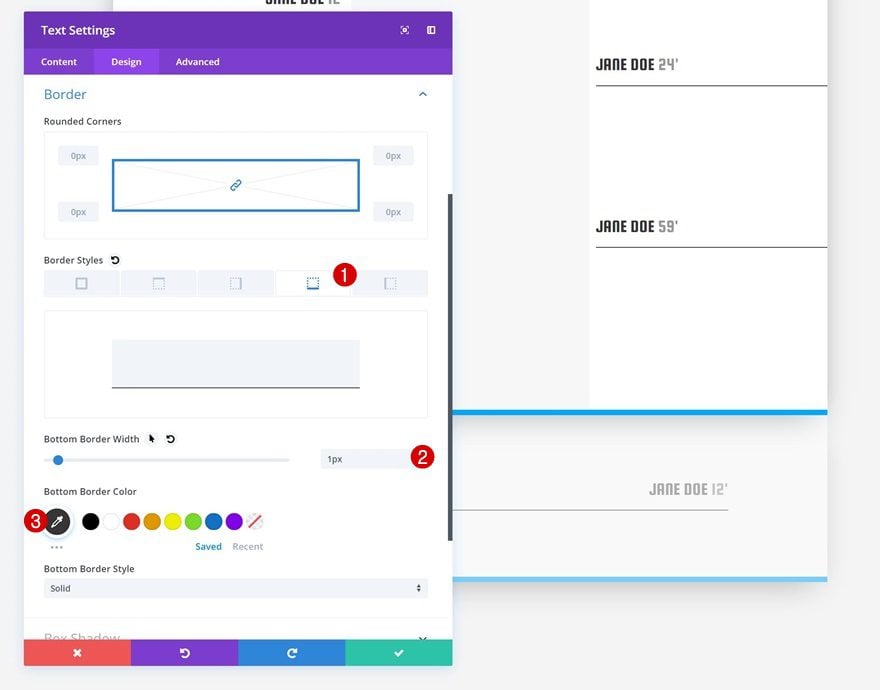
Border
Continue by adding a subtle bottom border.
- Bottom Border Width: 1px
- Bottom Border Color: #333333
Clone Text Module Twice
Change Spacing of Duplicates
Clone the Text Module you’ve just created twice and change the spacing values of both duplicates.
- Top Margin: 200px
- Bottom Padding: 20px
Clone Text Module #1 & Place Duplicate in Column 3
Change Text Settings
Clone the first Text Module in column 1 once again and place the duplicate in column 3. Proceed by change the text orientation.
- Text Orientation: Left
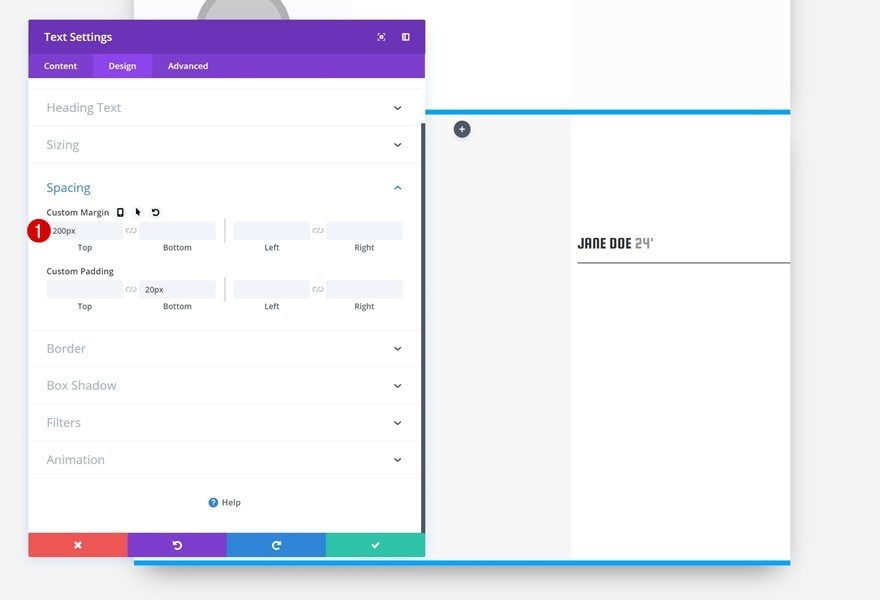
Change Spacing
The top margin needs to be increased as well.
- Top Margin: 200px
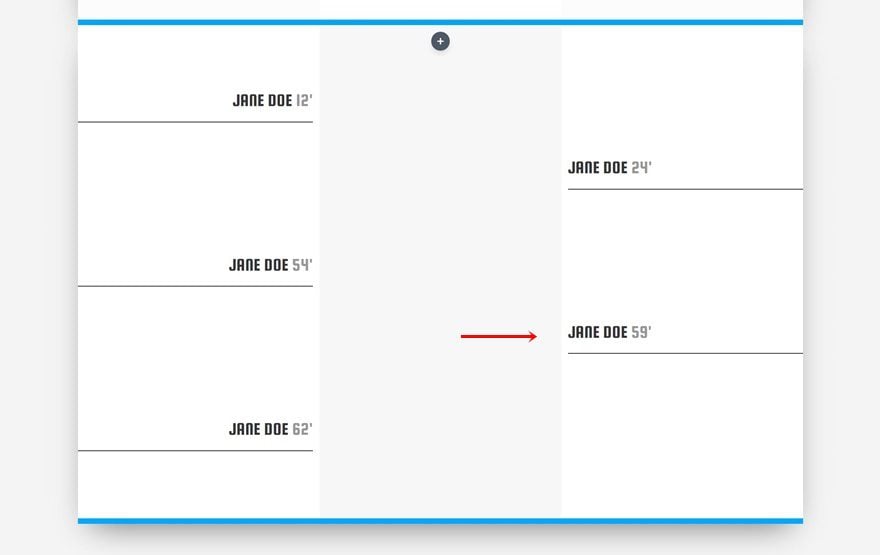
Clone Text Module in Column 3
You can now clone this Text Module once again.
Add Row #4
Column Structure
Time to add the last row! Choose the following column structure:
Background Color
Change the background color of the row.
- Background Color: #FFFFFF
Sizing
Remove all the space between columns next.
- Use Custom Gutter Width: Yes
- Gutter Width: 1
Spacing
Add some extra top and bottom padding.
- Top Padding: 100px
- Bottom Padding: 100px
Border
We’ll need a subtle bottom border for this row as well.
- Bottom Border Width: 8px
- Bottom Border Color: #00aaff
Box Shadow
Next, add a box shadow to the row.
- Box Shadow Vertical Position: 20px
- Box Shadow Blur Strength: 80px
- Box Shadow Spread Strength: -20px
- Shadow Color: rgba(0,0,0,0.56)
Visibility
Lastly, hide the row on desktop.
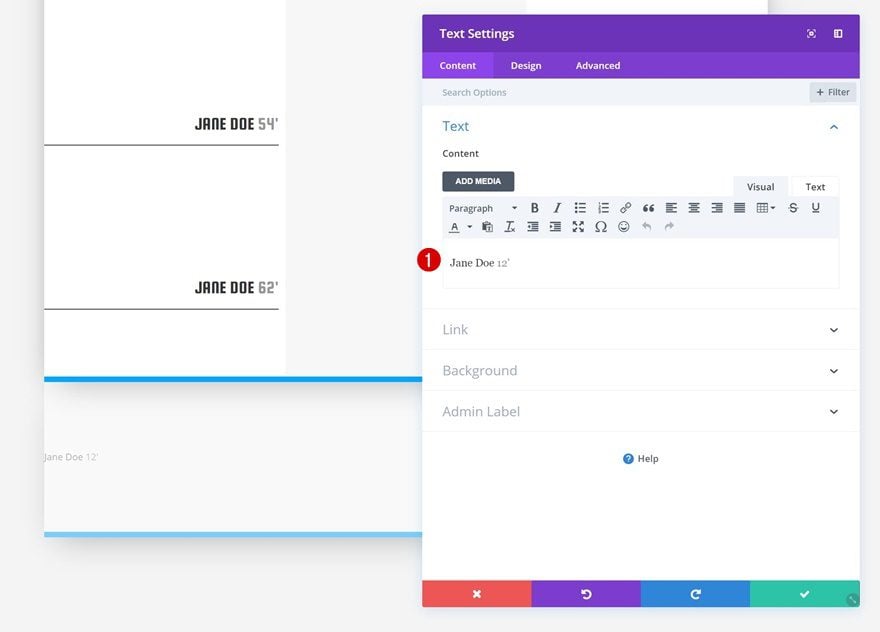
Add Text Module #1
Add Content
Add a new Text Module to the column of the row and add the goal details.
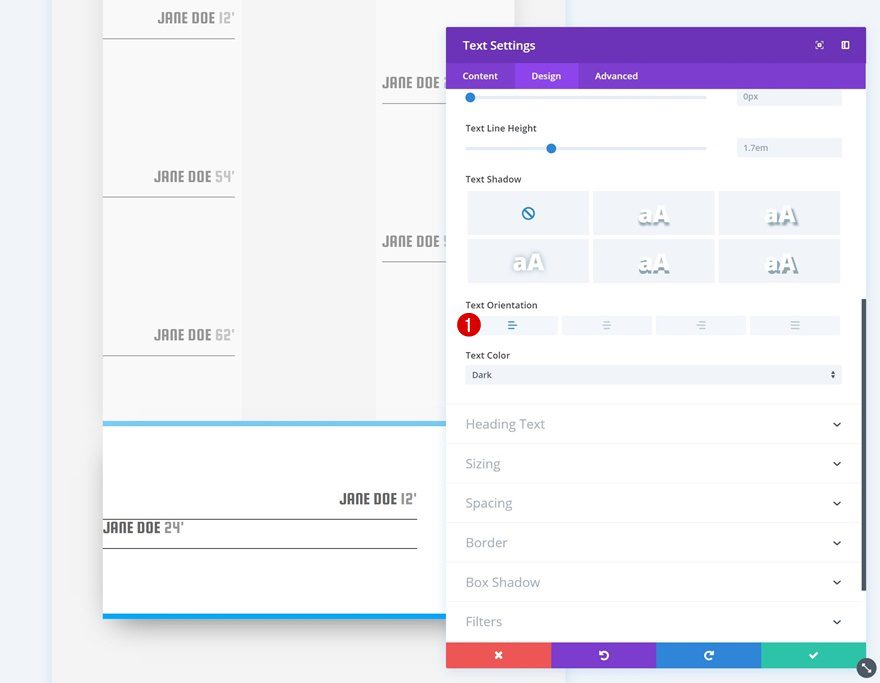
Text Settings
Change the text settings next.
- Text Font: Squada One
- Text Font Style: Uppercase
- Text Size: 27px
- Text Orientation: Right
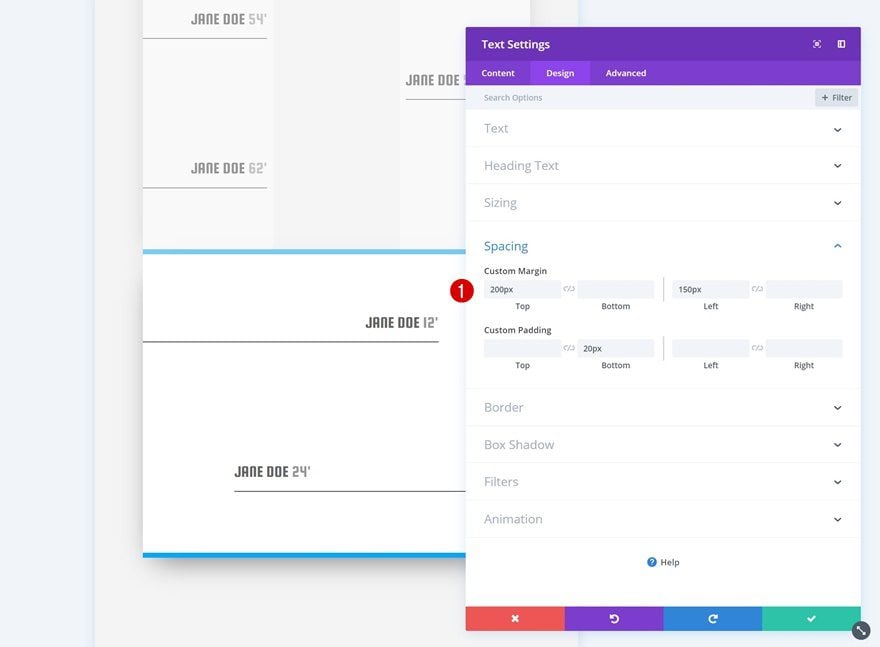
Spacing
Use custom spacing values next.
- Right Marign: 150px
- Bottom Padding: 20px

Border
We’re adding a subtle bottom border as well.
- Bottom Border Width: 1px
- Bottom Border Color: #333333
Clone Text Module
Change Text Settings
Clone the Text Module you created and change the text orientation of the duplicate.
- Text Orientation: Left
Spacing
Modify the spacing values as well.
- Top Marign: 200px
- Left Margin: 150px
Clone Both Text Modules as Many Times as Needed
You can now clone these modules as many times as you want to show all different goals.
Preview
Now that we’ve gone through all steps, let’s take a final look at the result on different screen sizes.
Final Thoughts
In this post, we’ve shown you how to create a game scoreboard using Divi’s Soccer Club Layout Pack. This is a great way to add more incentives to your website and connect with your audience. If you have any questions or suggestions, make sure you leave a comment in the comment section below!
The post How to Create a Game Scoreboard with Divi’s Soccer Club Layout Pack appeared first on Elegant Themes Blog.