
Running multiple WordPress websites is tough enough without having to deal with separate media libraries for each of them. If you need to re-use the same files, you’ll have to upload them over and over again, which wastes a lot of time and space.
In this article, we’re going to introduce you to a plugin that enables you to create a single networked library for WordPress multisite setups, and we’ll teach you how to use it. Before that, let’s talk a bit more about how a networked library for WordPress can help you be more efficient!
Why a Networked Library for WordPress Can Make Your Life Easier
When you set up a multisite network, you get to use a centralized dashboard to manage multiple websites. In some cases, a multisite setup even enables you to share resources among your network’s sites, such as themes.
However, each site on your network will still have its own media library. This can be a hassle if you plan on re-using images between multiple sites. If that’s the case, you’ll need to upload them over and over and keep jumping from one dashboard to the next.
Having a central media library that all your sites can access solves those problems. While this is something of a niche feature, it can be very helpful for multisite owners to organize their media files. Plus, it’s pretty darn cool, which is one of the reasons we wanted to show you how it works.
Introducing the Network Media Library Plugin
Network Media Library is a plugin that you can use to create a shared library across multiple sites. It works by designating one of the sites of your network as a ‘central library’. That site will still work as usual, except any file you upload to it will also be available to other websites within the network.
The plugin is also plug-and-play (pardon the pun) so it’s easy to test out. We should also mention that while the plugin is currently only available on GitHub, we can tell you first-hand it works just as well as one you’d find on WordPress.org.
Key Features:
- Create a networked media library for your multisite setup.
- Designate a site within your network to act as a central media library.
- Easy to install and use.
Price: Free | More Information
How to Create a Networked Library for WordPress Multisite (In 3 Steps)
As we mentioned earlier, the plugin we’re going to use is simple to set up. We’re now going to walk you through the process of installing the plugin from GitHub and then test to check that it’s working correctly.
Step #1: Install the Network Media Library Plugin
Downloading a plugin from GitHub is almost the same as from the WordPress.org repository. First off, go to the plugin’s GitHub repository and look for the Clone or download button to the top right of the screen. Click on it and select the Download ZIP option:

You can now open your Multisite dashboard and navigate to the Plugins > Add New tab. Select the Upload Plugin option and add the zip file you downloaded a minute ago:

Easy as pie, right? Now, remember to activate the plugin for your network and move on to step number two.
Step #2: Test the Plugin by Uploading a Media File to Your Multisite Network
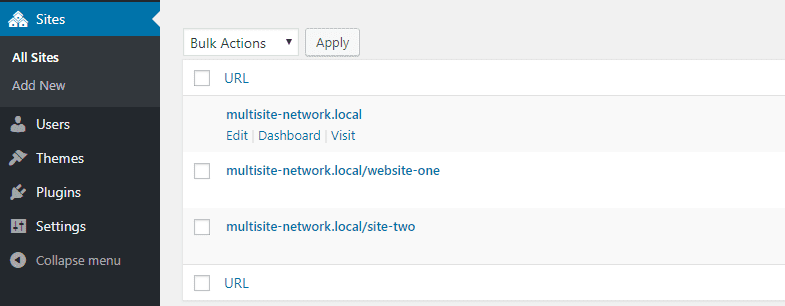
As you may know, your multisite dashboard doesn’t include a gallery tab. To get around that, the plugin designates one of your websites to act as a central library instead. By default, the plugin picks up whichever site has the ID number two.
In most cases, ID number two should correspond to the first site you created after setting up your network. For our tests, we set up a dummy multisite network (using Local by Flywheel) and added a few sites to it. In the image below, website-one corresponds to the ID number two:
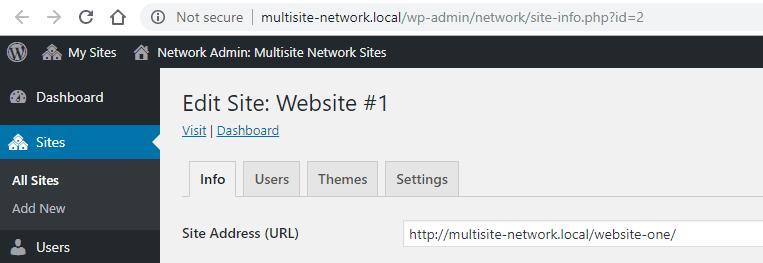
You can also check the ID of your sites by hitting the Edit option for any of them, which will open their individual settings. If you take a look at the URL for that page, you’ll see an ID number at the end of it:
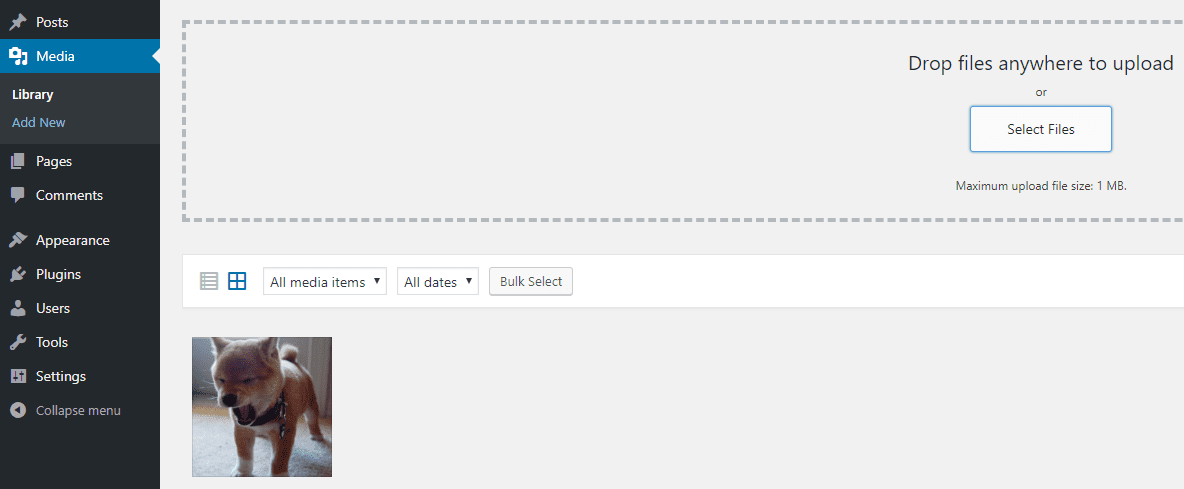
With that out of the way, navigate to the dashboard of the site that you’ll use as your central gallery. Once you’re in, go to its Media tab and upload any image you want to test if the plugin is working. If you have a picture of a puppy, we suggest going with that one, though:
Once your picture is uploaded, go ahead and access the dashboard of any other site within your network and open its media library. You should now see your test image appear here.
If you’re curious, like us, you might wonder what happens if you upload a picture to the media library of site number two. We gave that a try:
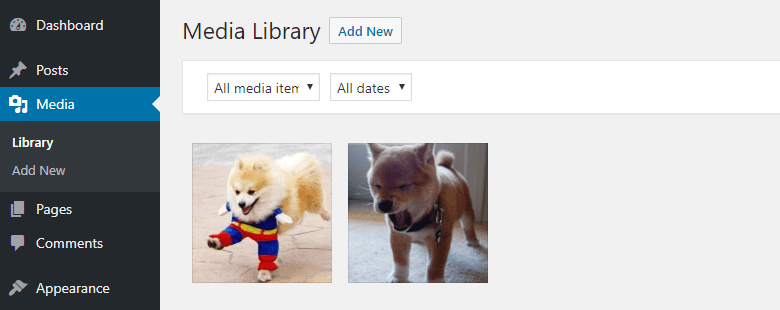
After checking the media library of site number one, we can confirm that the second image also appeared in every site’s library. The takeaway here is that once you install the plugin, all connected site’s media libraries will be synced up. However, your multisite network will only store a single copy of those images in your central library.
Step #3: Check If There’s Only One Copy of the File You Uploaded
To test if the plugin was working correctly, we decided to dig into our Multisite network’s directory. That means we went into our Multisite root folder and then into the wp-content/uploads directory. As you can see below, there are two folders inside, one for each of the websites within our test network:
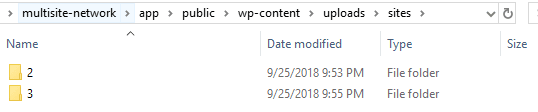
Since we’re using a local setup, we ran our tests using the Windows Explorer instead of File Transfer Protocol (FTP). That aside, we checked the uploads folder for website number two and we found it to be empty:

However, here’s what we found when checking the media folder for website number one:

If you recall, we uploaded that first image you see to the left to website number two. The plugin then moved it over to site number one and provided number two with access to that central library.
As you can see, the plugin works exactly as intended and it doesn’t create additional copies of any of your images. As such, you can go ahead and upload as many puppy photos as you want!
Conclusion
Efficiency is key when you’re managing multiple WordPress websites. Using a centralized media library for your sites can help you save time and avoid having to upload files over and over again.
All it takes to create (and test) a networked library for WordPress are three steps:
- Install the Network Media Library plugin.
- Test the plugin by uploading a media file to a multisite network.
- Check if there’s only one copy of the file you uploaded.
Do you have any questions about how to set up a networked library for WordPress Multisite? Ask away in the comments section below!
Article thumbnail image by Macrovector / shutterstock.com
The post How to Create a Networked Library for WordPress Multisite Setups appeared first on Elegant Themes Blog.