
Every week, we provide you with new and free Divi layout packs which you can use for your next project. For one of the layout packs, we also share a use case that’ll help you take your website to the next level.
This week, as part of our ongoing Divi design initiative, we’re going to show you how to create stunning gallery testimonials using Divi’s Wedding Planner Layout Pack. This tutorial will help you link testimonials to your portfolio on the same spot. This allows you to get one step closer to convincing visitors of your skills and converting them into leads. We’ll also apply a subtle effect on hover for the images you display.
Let’s get to it!
Preview
Before we dive into the tutorial, let’s take a look at the end result on different screen sizes.
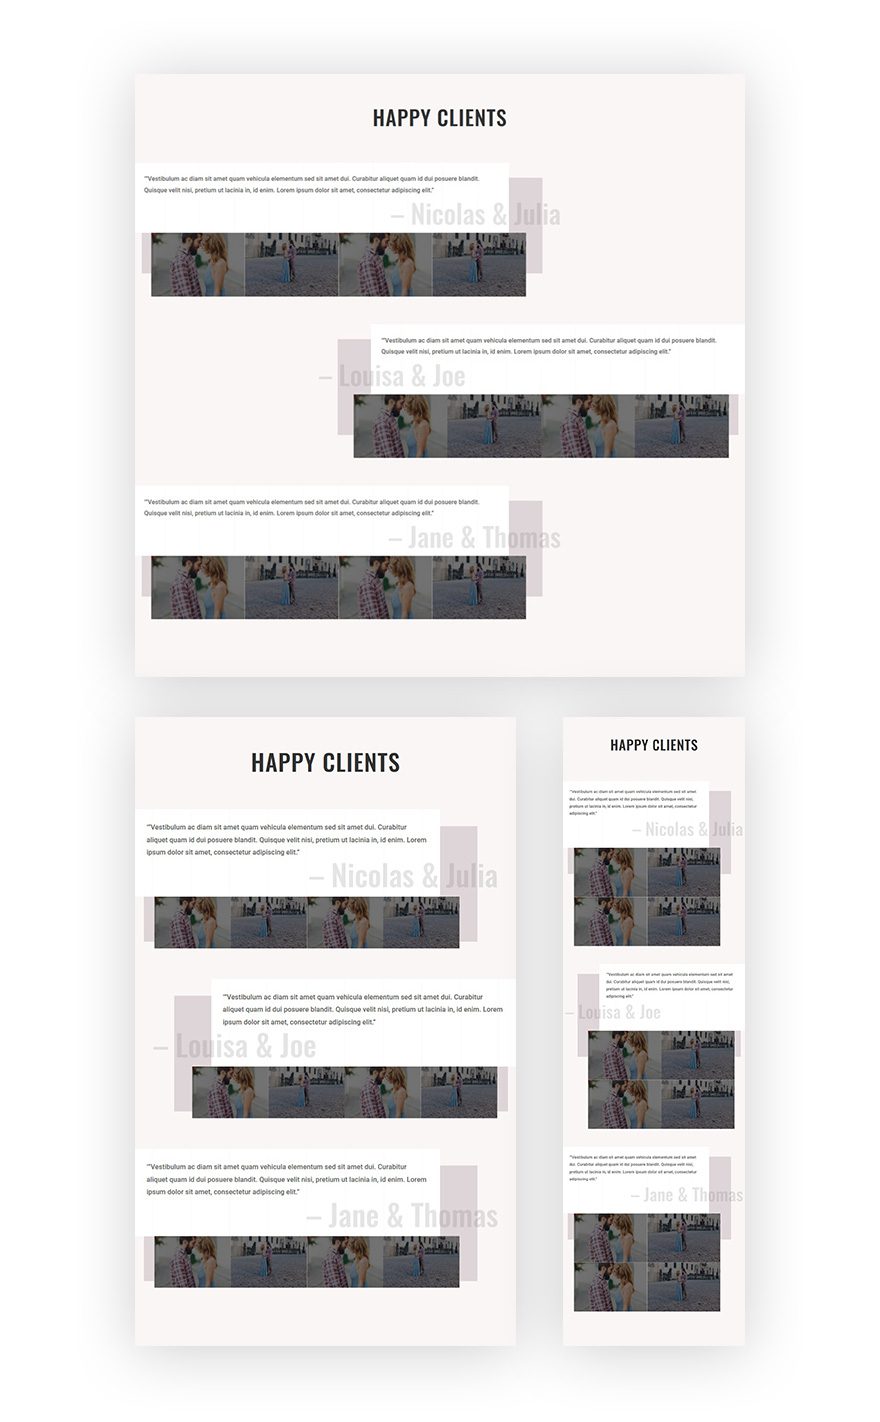
On Hover
Open Wedding Planner Layout Pack’s Landing Page
Start by opening the landing page you’ve created using Divi’s stunning Wedding Planner Layout Pack.

Modify Testimonials Section
Remove Second Row
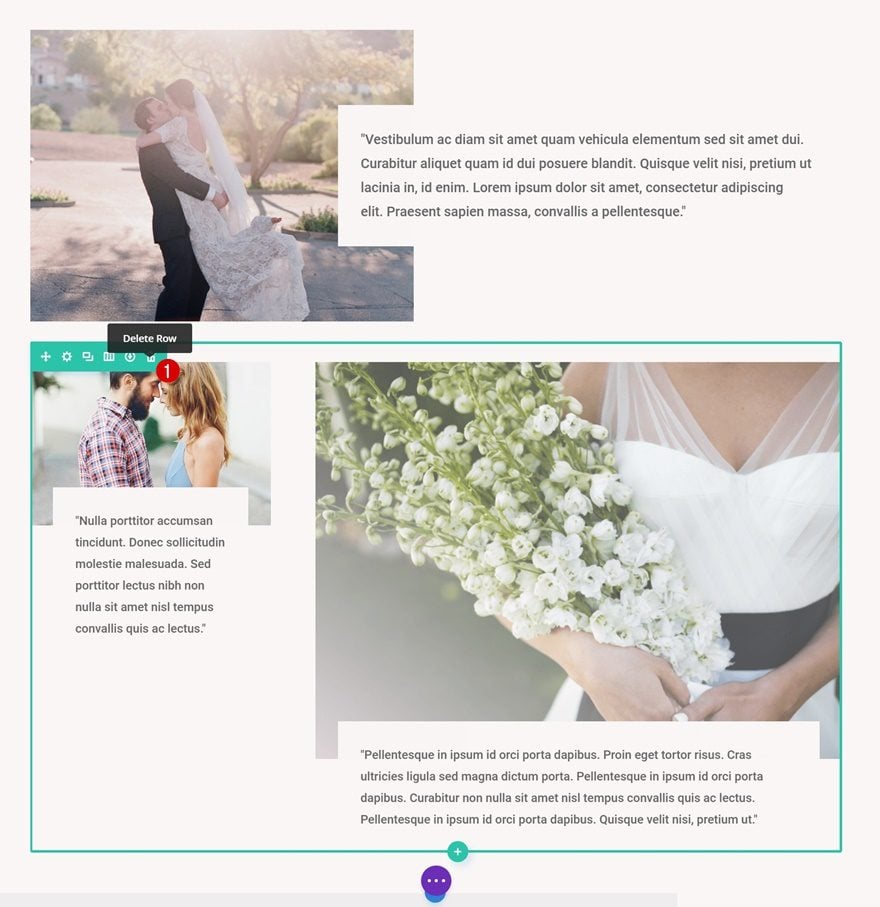
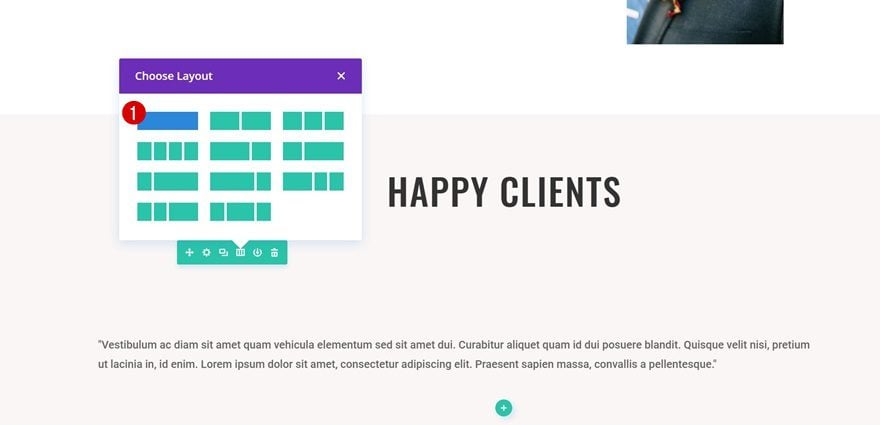
This layout already includes a testimonial section. Instead of creating a new section, we’re going to modify this section to create the gallery testimonials. Scroll down until you come across the section and delete the second row.
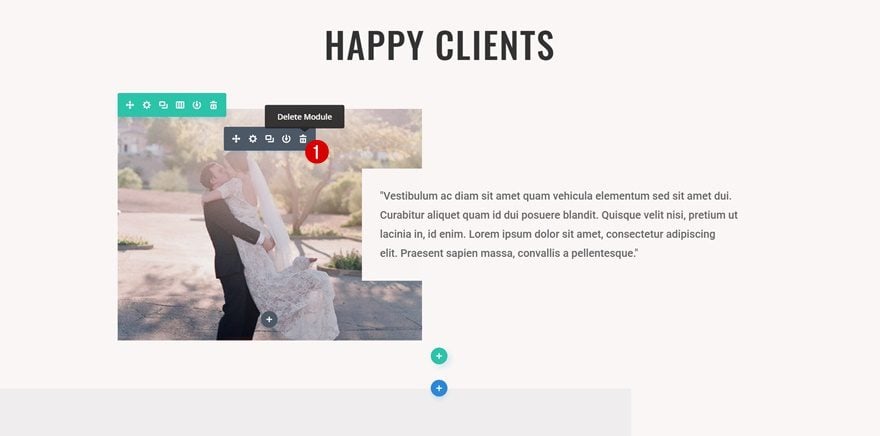
Remove Image Module in Column 1
There’s one row left in that section now. Continue by deleting the Image Module you can find in the first column of that row.
Change Row #1 Settings
Column Structure
We’ll need to make some modifications to the settings of this row to make it look the way we want to. Start by changing the column structure into one column instead of two.
Background Color
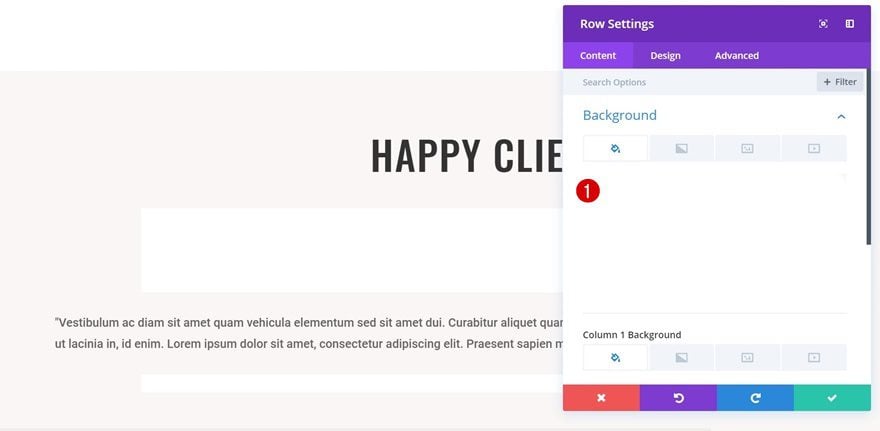
Next, add a white background color to your row.
Background Image
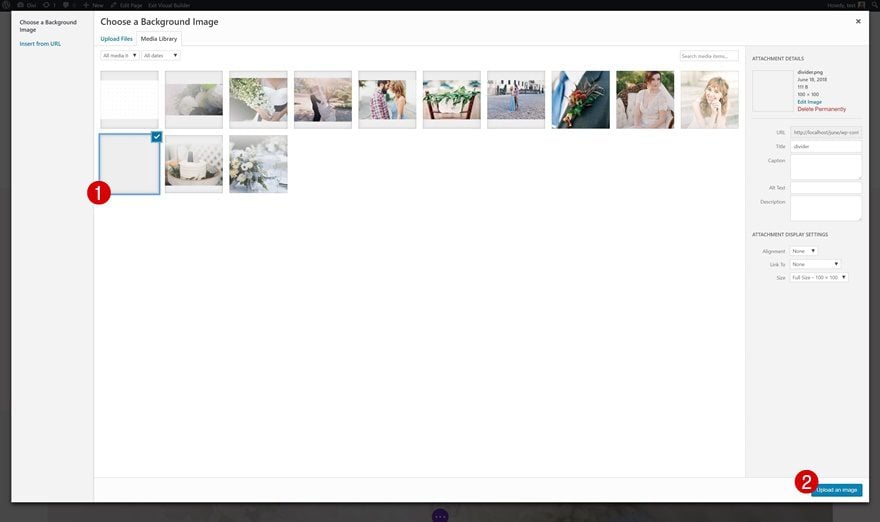
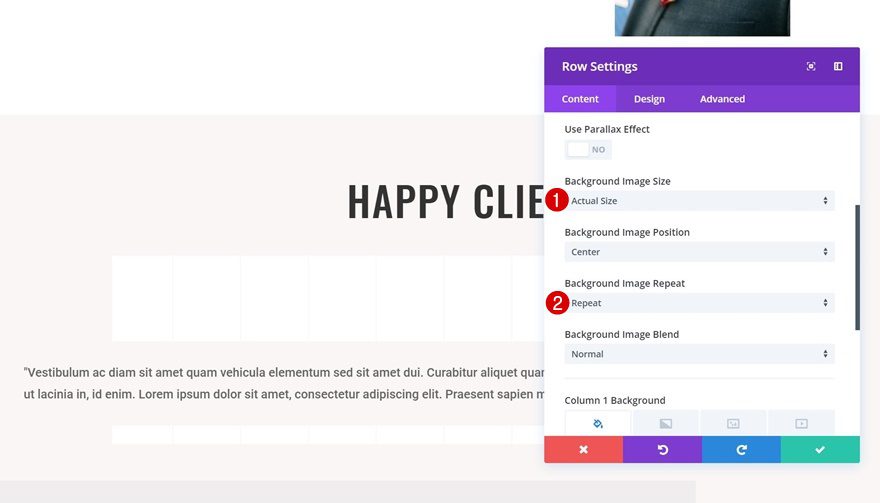
We’ll reuse a background pattern which you can find in your Media Library called ‘divider.png’. After you’ve selected this pattern as your background image, apply the following settings to it:
- Background Image Size: Actual Size
- Background Image Repeat: Repeat
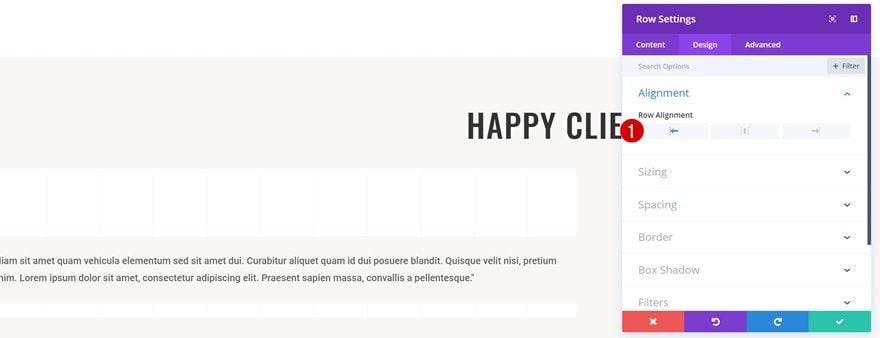
Row Alignment
We’ll create these gallery testimonials on both the left and right side of your page. We’ll start with the left side and for that, we’ll need to apply a left Row Alignment to our row.
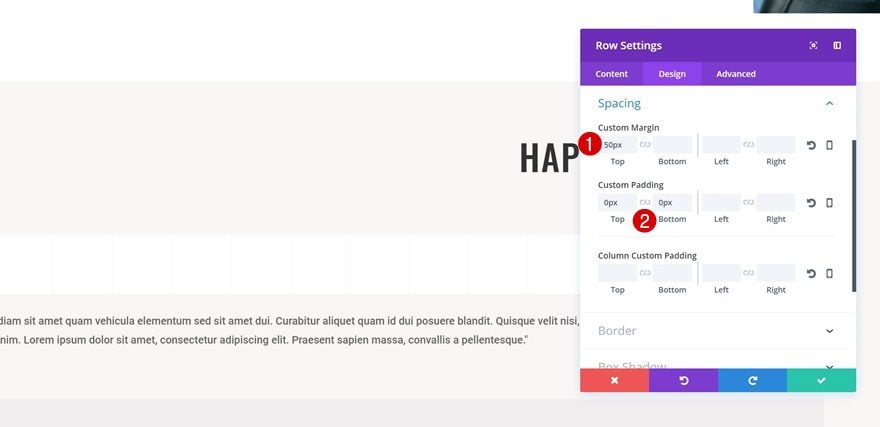
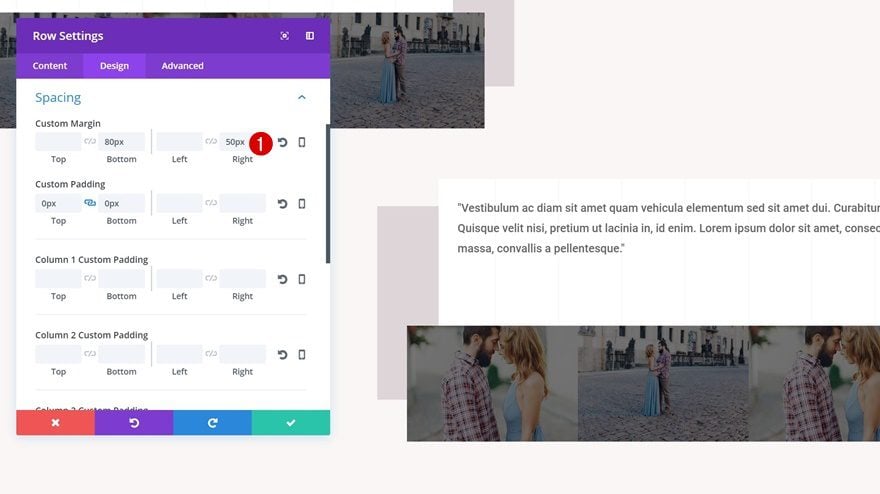
Spacing
Open the Spacing settings next and add some custom margin and padding to your row:
- Top Margin: 50px
- Top & Bottom Padding: 0px
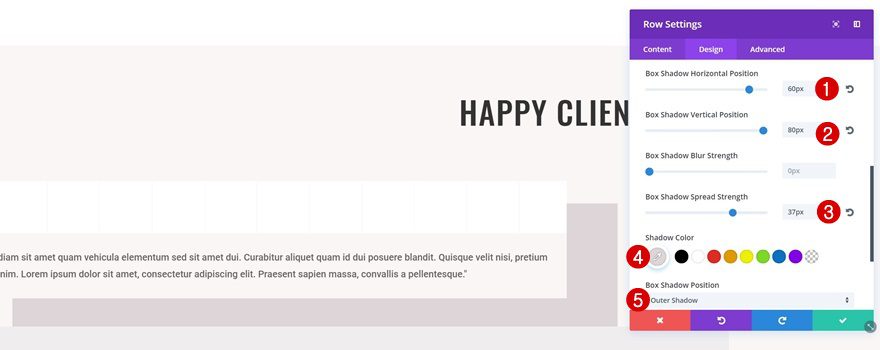
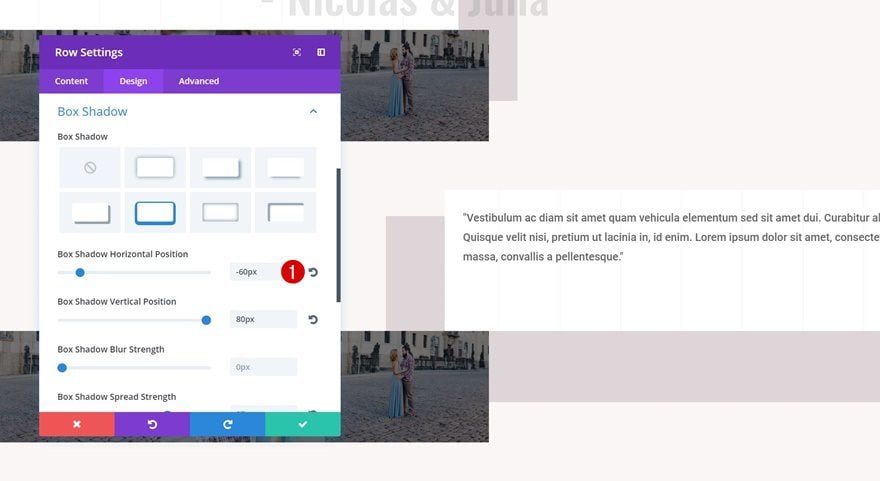
Box Shadow
Lastly, we’re also going to play around with the box shadow of this row to create a nice effect:
- Box Shadow Horizontal Position: 60px
- Box Shadow Vertical Position: 80px
- Box Shadow Spread Strength: 37px
- Shadow Color: #ded5d8
- Box Shadow Position: Outer Shadow
Change Text Module Settings
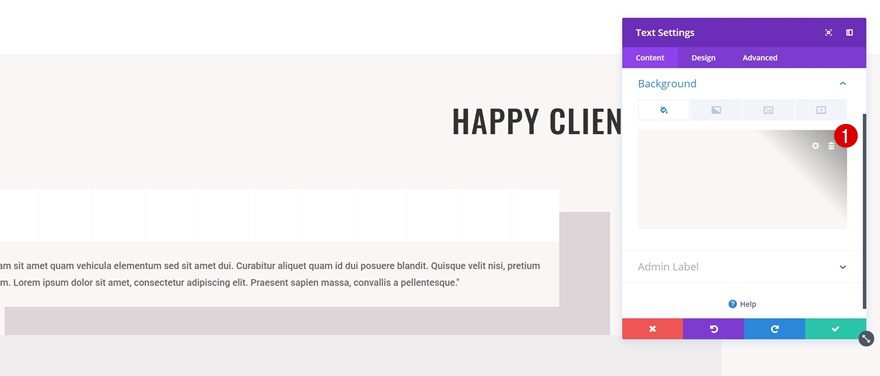
Remove Background Color
The Text Module you can find in this row already has a ton of settings we want to keep. However, we’ll also need to make some modifications to make it match with our end result. The first thing you’ll need to do once you open the Text Module’s settings is deleting the background color that has been applied to it.
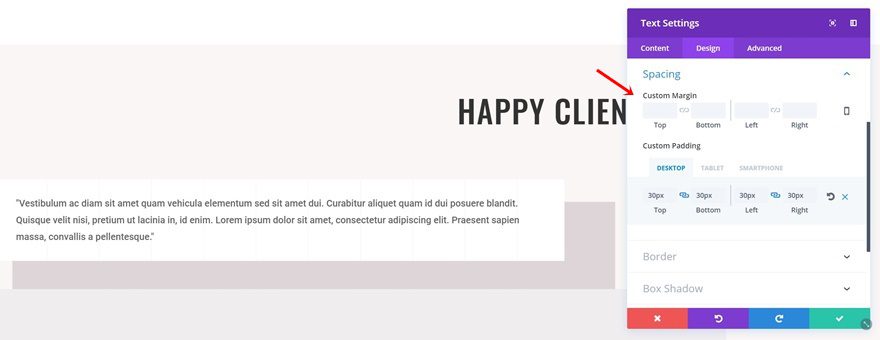
Spacing
This Text Module has some custom margin applied to it as well. Go ahead and delete all of the custom margin since we won’t need it.
Clone Text Module & Place Below Previous Text Module
Locate Text Module on Page
The next element we’ll need in our row is the Text Module containing the names of the testifier(s). We’re going to save ourselves some time and reuse one of the Text Modules you can already find on the page. Go ahead and locate the following Text Module and clone it:

Place in Row
Place the cloned Text Module right below the previous Text Module in your testimonial row.
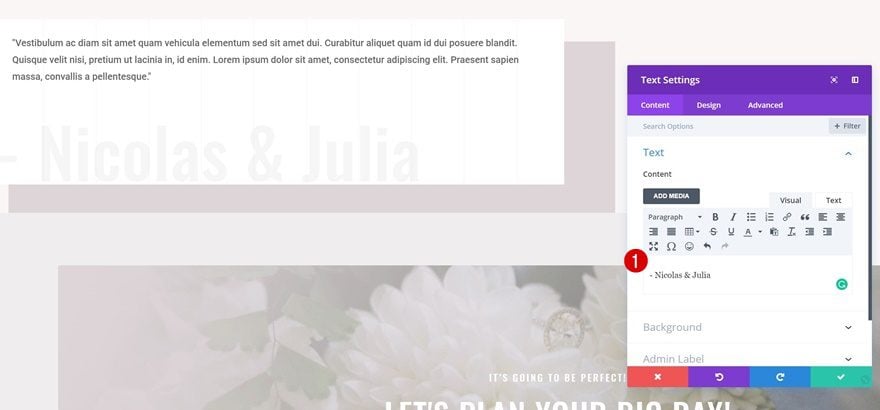
Change Content
Change the content to the names you want to appear in your testimonial.
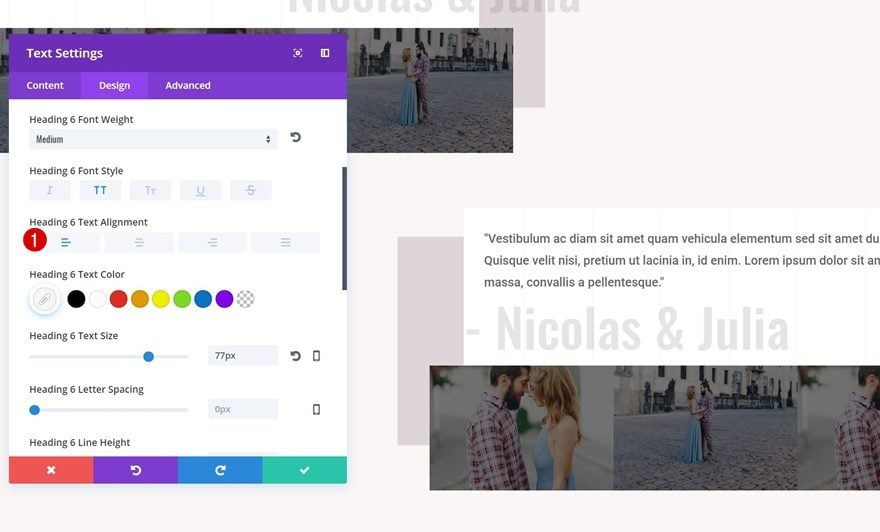
Change Text Settings
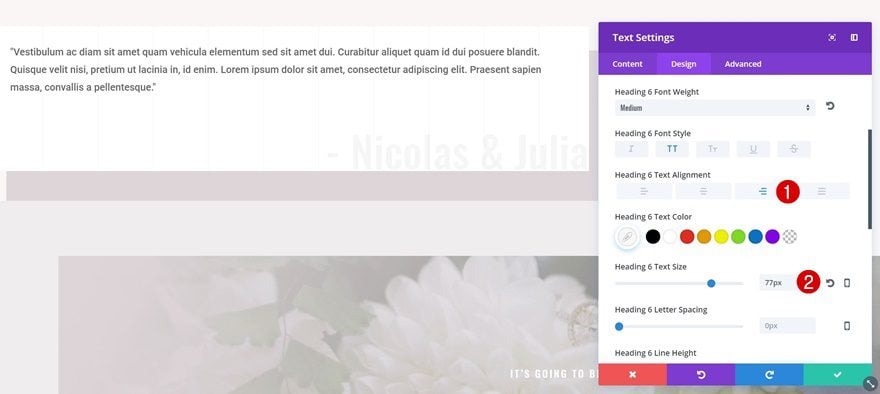
Then, open the text settings and make the following changes:
- Heading 6 Text Alignment: Right
- Heading 6 Text Size: 77px
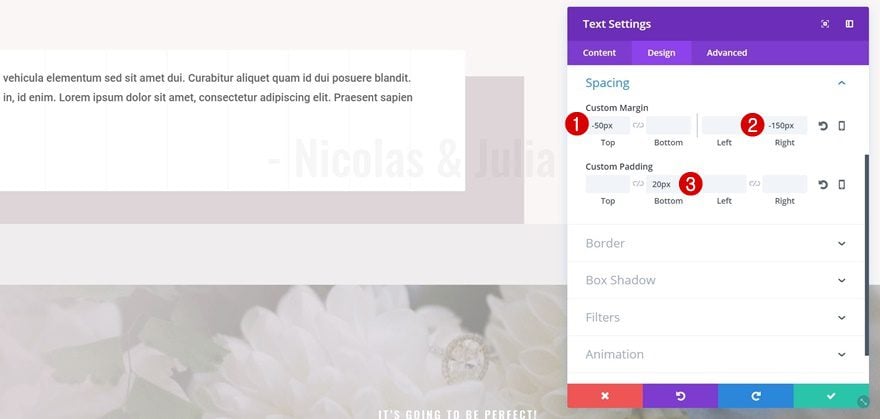
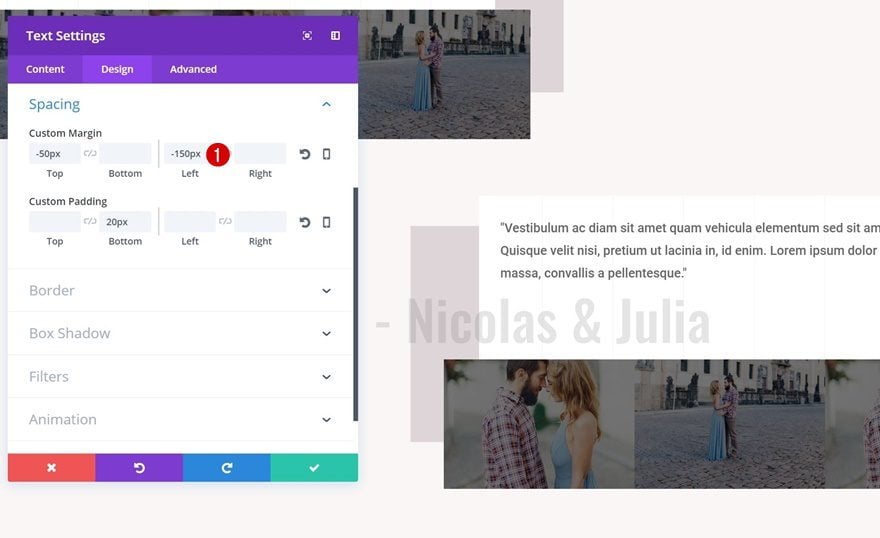
Change Spacing
We’re going to make this Text Module overlap the row box shadow and section background by applying the following spacing settings:
- Top Margin: -50px
- Right Margin: -150px
- Bottom Padding: 20px
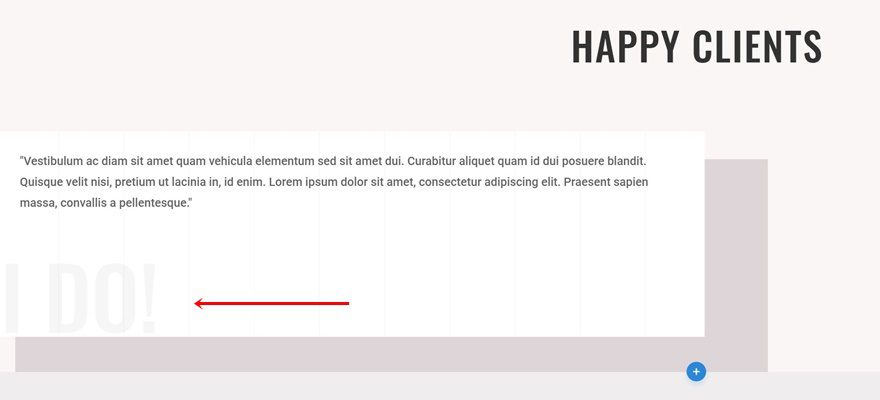
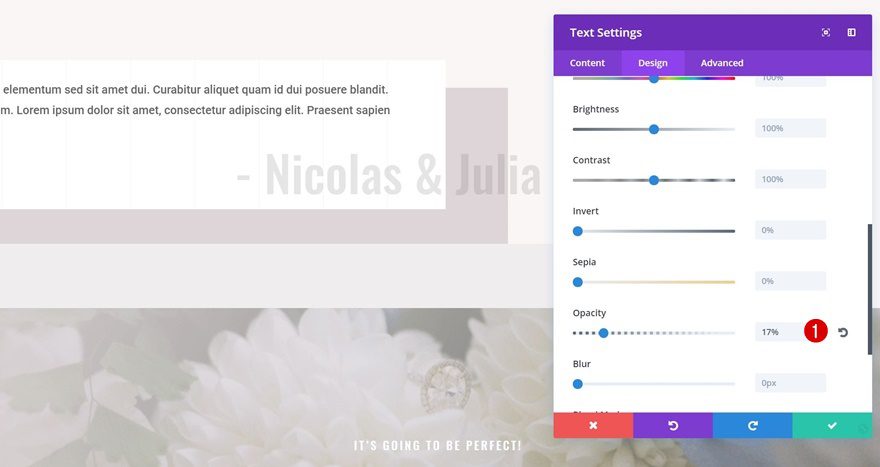
Change Opacity
We’re also going to increase the opacity of our Text Module to ‘17%’ to make it a bit more striking.
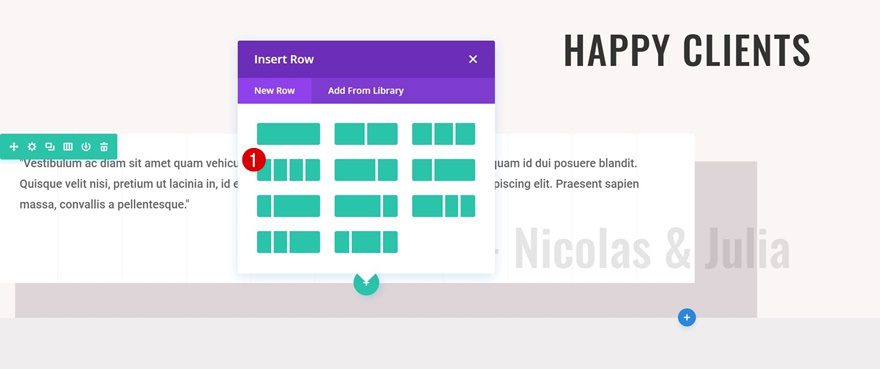
Add Row #2
Column Structure
We’ve finished the testimonial row. The next step is adding the accompanying gallery. For this, we’re going to use a new row with the following column structure:
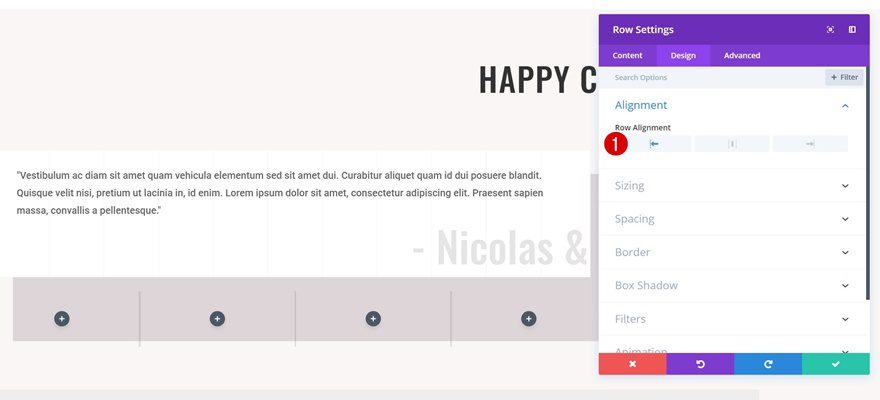
Row Alignment
We want to push this gallery to the left side of the page as well by using left Row Alignment.
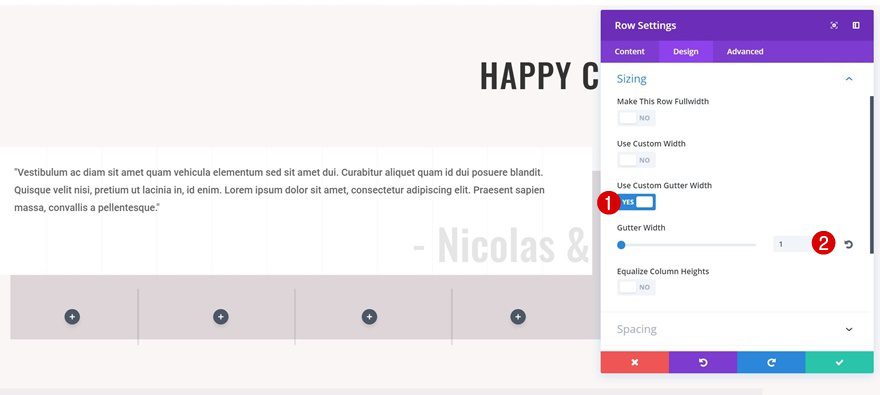
Sizing
To create the gallery, we’re simply going to use an Image Module for each one of the columns. To erase the space between columns and create a coherent result, apply the following settings to the Sizing of your row:
- Use Custom Gutter Width: Yes
- Gutter Width: 1
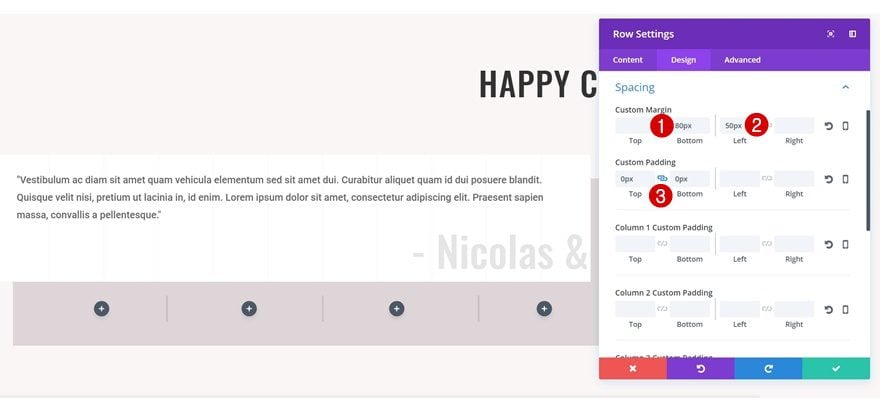
Spacing
Open the Spacing settings next and apply the following custom margin and padding to your row:
- Bottom Margin: 80px
- Left Margin: 50px
- Top & Bottom Padding: 0px
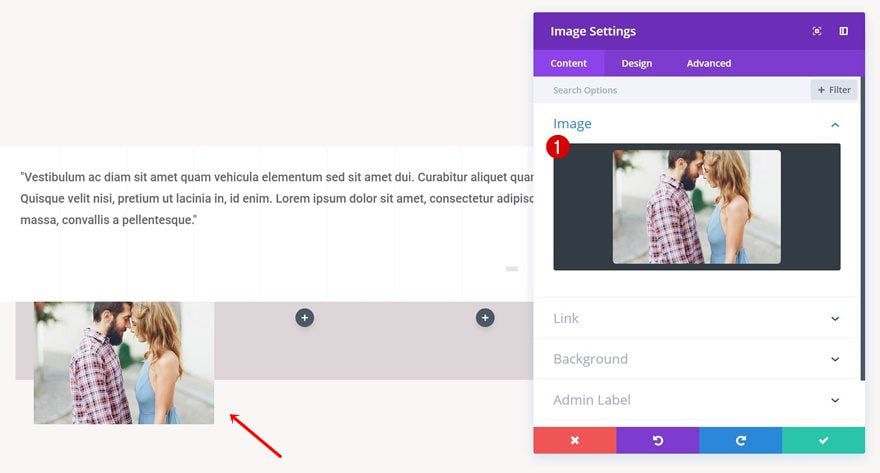
Add Image Module to Column 1
Upload Image
Although we’ll need four Image Modules in total, we’re going to start by creating one and cloning it to the other columns afterwards to save ourselves effort and time. Add an Image Module to the first column of your row and upload an image of your choice.
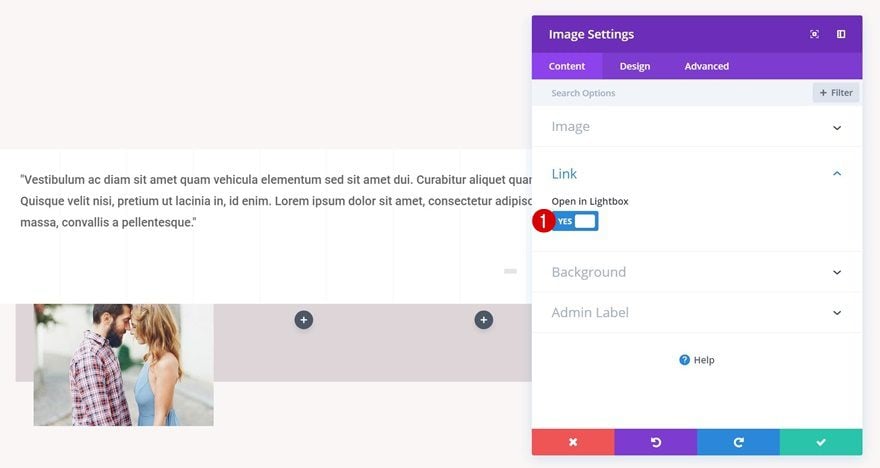
Open in Lightbox
Give users the possibility to view the image in a bigger format by enabling the ‘Open in Lightbox’ option in the link settings of your Image Module.
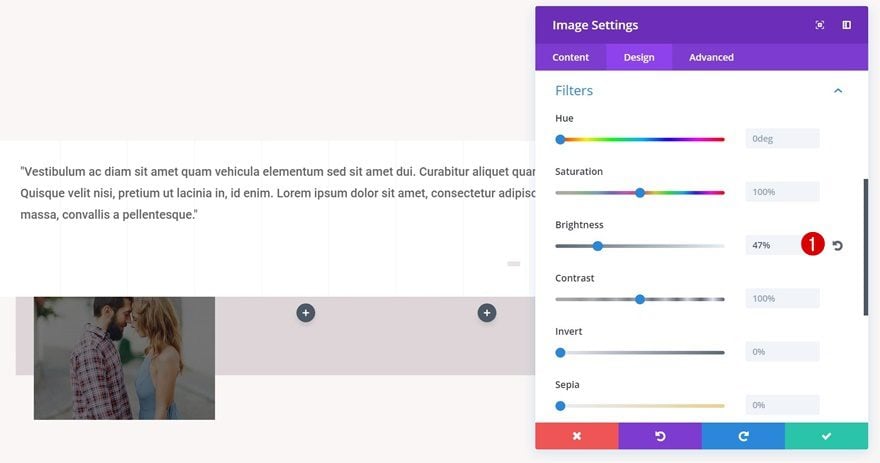
Filter
We’re also going to decrease the brightness of our Image Module to ‘47%’ in the Filters settings. Applying this setting is part of the subtle hover effect we’ll add to our gallery images.
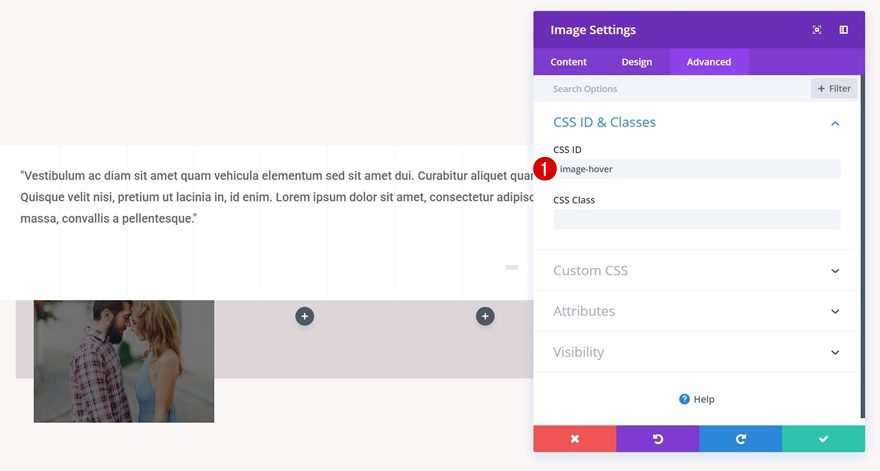
CSS ID
We’re going to use a CSS ID to remove the filter on hover later on this post, so go ahead and add ‘image-hover’ to the CSS ID of your Image Module.
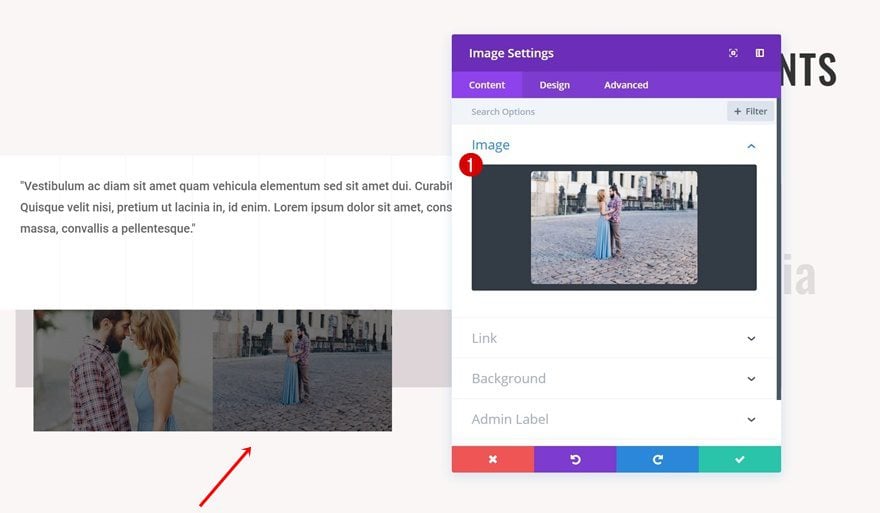
Clone Image Module 3 Times and Change Images
You can now clone the Image Module three times and place it in the remaining columns. Change the image for each one the columns according to your needs.
Create Testimonial on Opposite Side
Clone Both Existing Rows
To create the exact same gallery testimonial on the opposite side, we’ll need to make some changes. Start by cloning both rows.
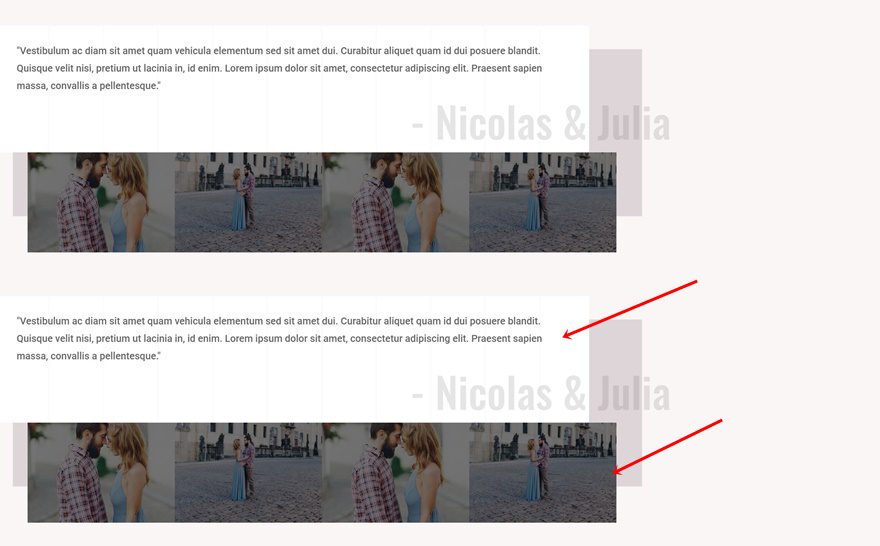
Change Row Alignment of Both Rows
Then, change the row alignment of both rows into right. You’ll notice that the second row doesn’t follow yet. That’s because we’ll need to modify the spacing settings in one of the next steps.

Change Box Shadow of Row #1
Instead of using ’60px’ for the Horizontal Repeat of your first row, use ‘-60px’ instead.
Change Spacing of Row #2
Remove the left margin of your second row and add ’50px’ to the right instead. Once you do, you’ll notice that your row has been pushed to the right side as well.
Change Text Orientation & Spacing of Second Text Module
The Text Module containing the names of the people testifying needs to be pushed to the left as well. To do that, start by using left Text Alignment in the Heading 6 text settings.
 Remove the right margin as well and add ‘-150px’ to the left margin instead.
Add Hover Effect
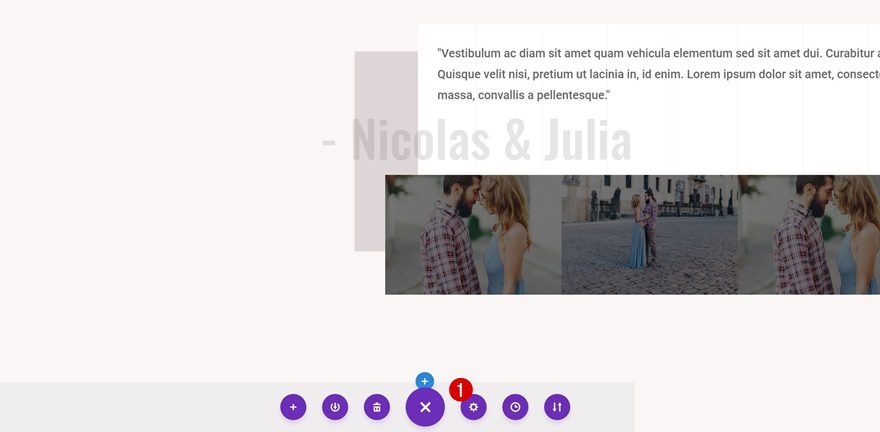
Open Page Settings
The last thing left to do for this tutorial is adding the CSS code lines that’ll enable the hover effect. To do that, open your page setting by clicking on the following icon at the bottom of your page:
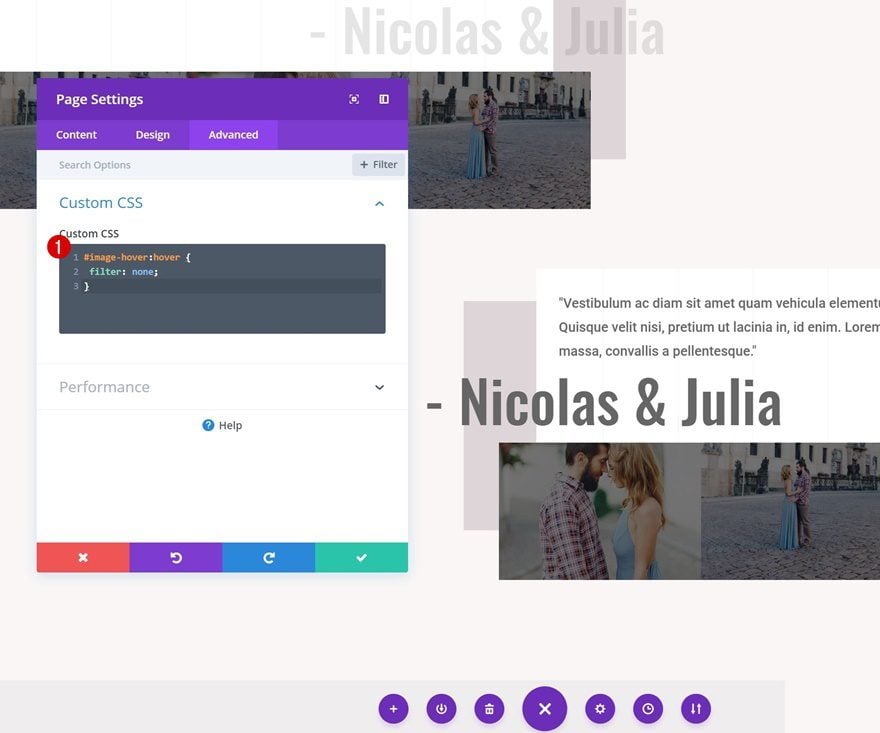
Remove Filter on Hover with CSS Code
The only thing we’re going to do is remove the filter we’ve applied to our Image Module on hover using the following CSS code lines and we’re done:
#image-hover:hover {
filter: none;
} 
Preview
Now that we’ve gone through all the steps, let’s take a final look at the end result on different screen sizes.
On Hover
Final Thoughts
In this use case blog post, we’ve shown you how to create stunning gallery testimonials using Divi’s Wedding Planner Layout Pack. These gallery testimonials help you link testimonials to your portfolio and get one step closer to converting visitors into leads and eventually into clients. If you have any questions or suggestions, make sure you leave a comment in the comment section below!
The post How to Create Stunning Gallery Testimonials with Divi appeared first on Elegant Themes Blog.