
Scalable Vector Graphics (SVGs) are fantastic if you want to design mobile-friendly websites (which you should!). They’re fully scalable, lightweight, and the best part is you can animate them (unlike with regular images). The problem is, animating an SVG can be complicated if you’re not that handy with Cascading Style Sheets (CSS).
Fortunately, there are a lot of tools that simplify the whole animation process. In this article, we’re going to introduce you to one of our favorites, called SVGator. Then we’ll teach you how to use it to animate SVG files.
Let’s get to work!
Why You Should Be Using SVGs
At first glance, SVGs look just like any other type of images. However, if you look past appearances, this particular filetype is unique due to several reasons. Let’s talk about the most important ones:
- It’s vector based. In most cases, the images you see on websites are comprised of pixels. With SVGs, it’s all about vectors, which ties in with the next couple of points.
- They’re highly scalable. Vector-based files retain their quality regardless of what resolution you display them at. This makes SVGs one of the most mobile-friendly filetypes you can use.
- They’re lightweight. Since you’re dealing with vectors instead of pixels, SVG files tend to be more lightweight, which translates to shorter loading times.
- You can animate your vectors. With SVGs, you can use CSS and JavaScript to animate your vectors. You could achieve similar effects using GIFs, for example, but those tend to be incredibly heavy.
Despite their many upsides, SVGs aren’t a perfect fit for every situation. If you want to display complex graphics, such as photographs, for example, you’re better off using traditional file formats such as PNG or JPEG.
However, when it comes to logos, icons, and other simple graphics you can replicate with vectors, using SVGs makes a lot more sense. Not only does this approach ensure they’re responsive, but it can also shave off a few milliseconds from your loading times.
In the past, we’ve already talked about how to animate SVG files using the manual CSS approach. Now, let’s check out what you can do using a specialized service.
Introduction to SVGator
SVGator is a very simple tool. It enables you to import SVG files and animate them using keyframes a collection of pre-defined effects. You have a lot of control over how your animations look and their timing. It even enables you to add multiple types of animations to the same SVG file, which can get complicated if you’re adding them using CSS.
With SVGator, you can play around with your vectors’ position, rotation, scale, and opacity. It’s not the most comprehensive list of settings, but the tool itself is quite easy to use.
Key Features:
- Import and animate your favorite SVG files.
- Transform your files’ position, rotation, scale, and opacity.
- Use keyframes for full control over your animations.
- Mix and match animations as you desire.
Price: Free seven-day trial with plans starting at $18 per month | More Information
How to Use SVGator to Animate Your SVG Files
Getting started with SVGator is simple. Just click on the Log in button located on the home page and set up a new account. You don’t need to enter any payment information to use the platform’s seven-day trial, so you can test the service thoroughly without committing.
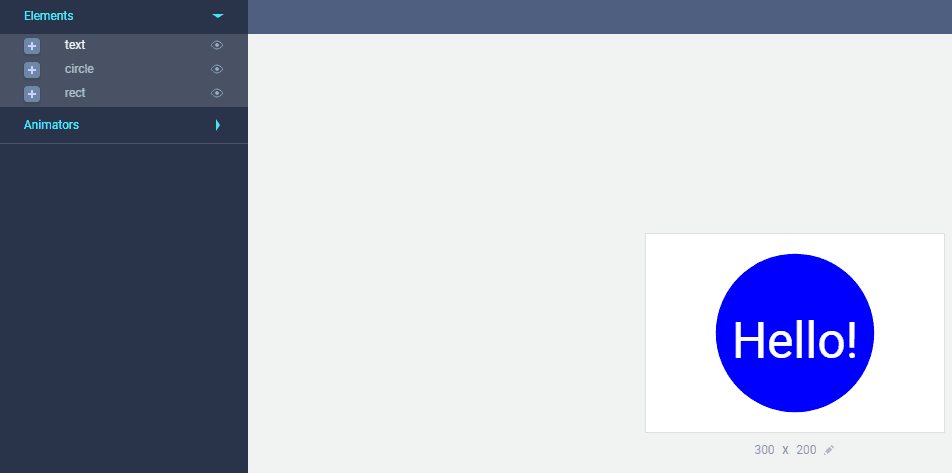
Once your account is ready, the platform will redirect you to the dashboard where all the magic takes place. As soon as you open SVGator, you’ll see a test image including a few simple animations the platform uses to show you what it can do:
To check out this test animation, click on the Play button on the lower left side on the screen:
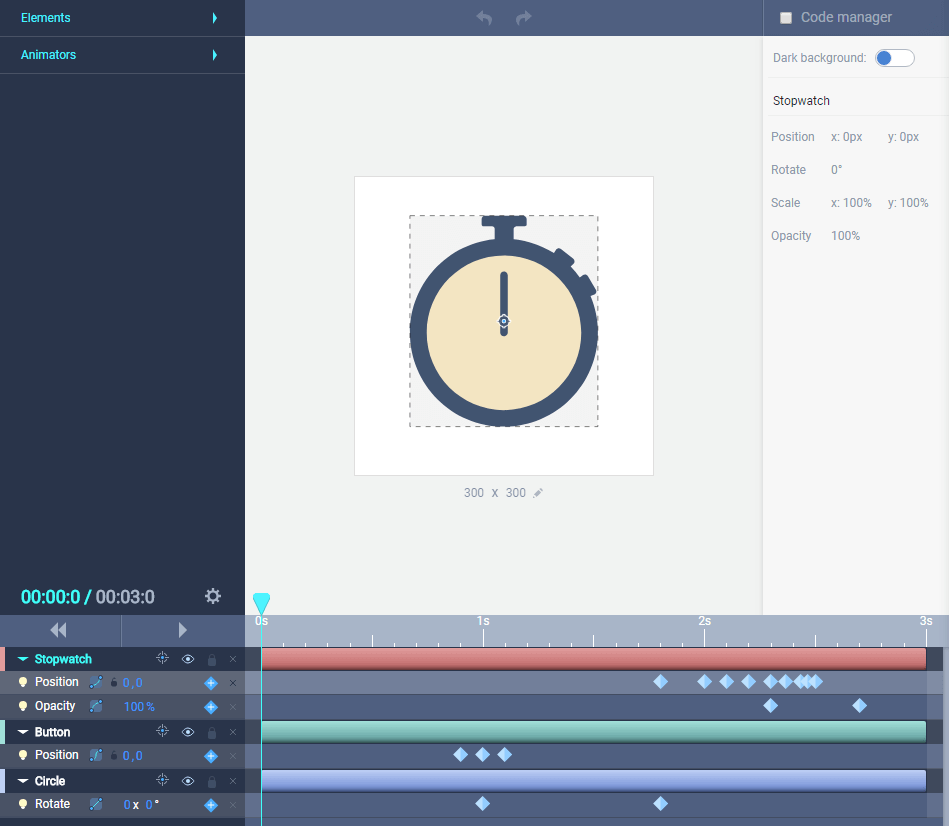
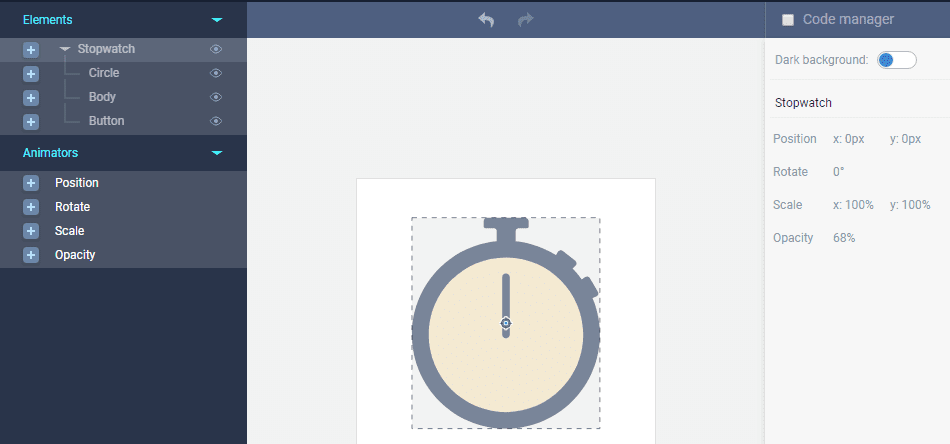
You can import SVG files by clicking on the Import SVG button at the top of the screen. When you do this, SVGator will automatically detect and layer its elements under the dedicated tab to the left:
The stopwatch, for example, is made up of three elements. The inner and outer circles, and the protruding button at the top. If you click on each component on the left tab, it’ll highlight its corresponding section.
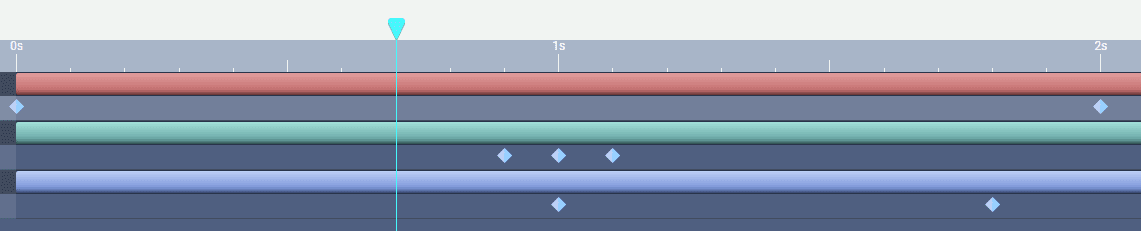
To the bottom of the screen, there’s a timeline displaying all of the animations you’ve added to your SVG file. The diamond icons on the timeline represent keyframes, and you can move them around to modify the timing of your animations:
By default, SVGator only shows three seconds on its timeline, but you can modify this by clicking on the gear icon next to the timer at the left side of the screen:
![]()
Aside from tweaking your animation’s total runtime, you can also enable a ‘mouseover’ option, which means your animation won’t trigger until you put your cursor over it.
Now, go ahead and play with the keyframes on the timeline so you can get a sense of the differences in timing you can achieve. When you’re ready, you can add new animations by clicking on the element you want to tweak using the selectors to the left of the timeline.
Once you highlight an element, look up to the Animators tab and click on the effect you want to add:
For example, if we choose the Opacity effect for the entire SVG, we can make it fade out as the animation progresses. To do so, let’s set an opacity effect of 10% under the Stopwatch element:
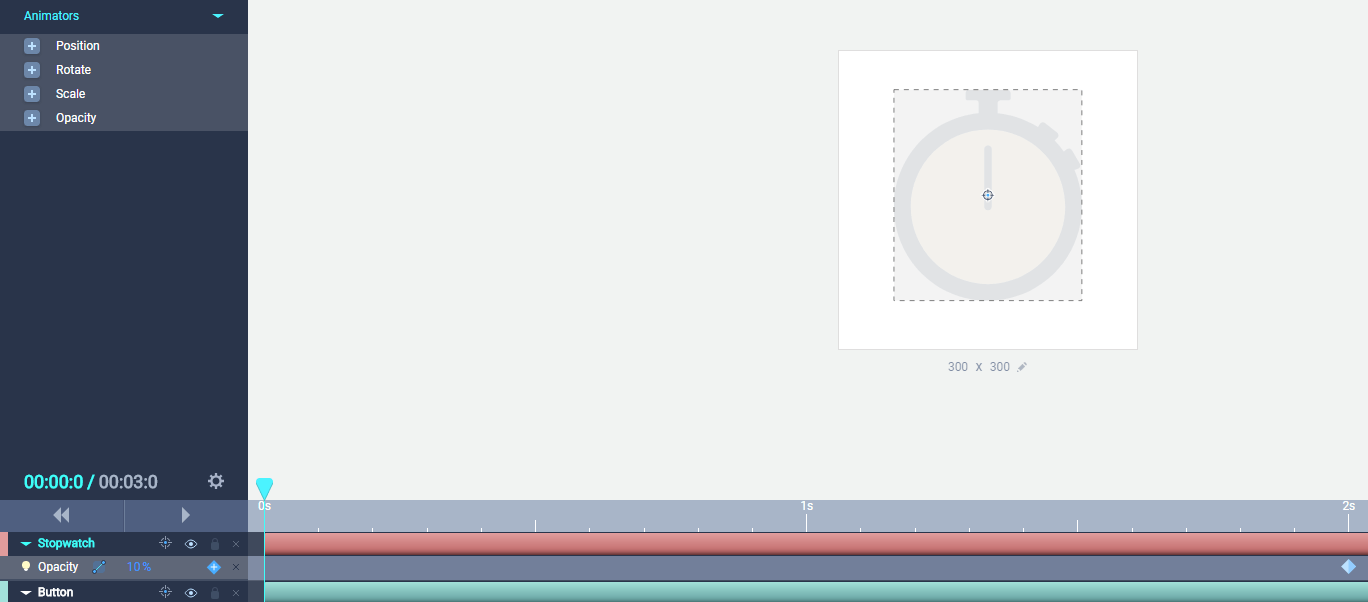
You’ll notice we set the initial keyframe to the two-second mark. However, the SVG will start off at 10% opacity unless we close the loop by adding a keyframe at 100% opacity at the beginning of the timeline:
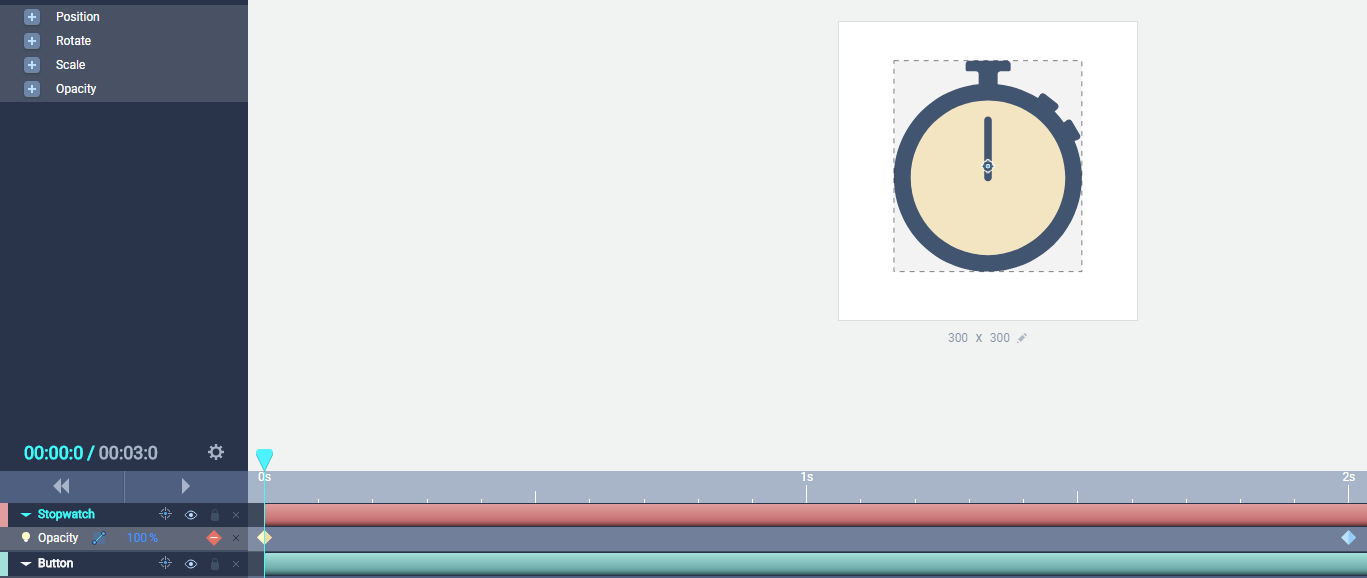
To add extra keyframes to each animation, just click on the blue diamond within each element next to the timeline. Some animations, such as Opacity, will only enable you to add up to two keyframes, whereas others, such as Position, can support more.
Now your two keyframes are in place, so click on the Play button to see your stopwatch fade out as the timeline progresses:
To sum it up, adding animations with SVGator boils down to choosing the effects you want for each element and adding keyframes to indicate their progress. You can mix andisatch animations and tweak their values to achieve unique results, but the process always remains the same.
Once you’re satisfied with your animations, you can export your files using the Export SVG button at the top of the screen and save them. Then, it’s just a matter of uploading them to WordPress after enabling support for the SVG filetype within your installation.
Conclusion
Adding a little flair to your website using animations can be a nice touch. With SVGs, you can ensure your graphics will scale regardless of what service your visitors are using. This way, your animations will always look stunning.
However, animating an SVG file requires you to use CSS. That’s not a problem if you don’t mind tinkering with some code. However, it can be hard to get the exact effect you want, especially if you’re not a coding expert. With tools such as SVGator, you can choose what animations to implement, test them, then add the resulting SVG file to your website.
Do you have any questions about how to animate SVG files? Let’s talk about them in the comments section below!
Article thumbnail image by Molnia / shutterstock.com.
The post How to Use SVGator to Animate Your SVG Files appeared first on Elegant Themes Blog.