
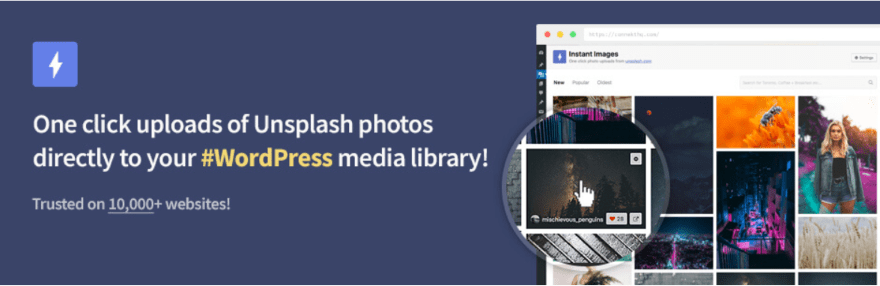
Unsplash is one of the best places online to get free images to use in your projects. They don’t require attribution, they’re high quality, there are new images added every day, it’s easy to search, and you can find photos on practically any topic you can imagine.
Most of the articles I’ve written that use example posts include images taken from Unsplash. They’re amazing quality, but they’re also very large files. They usually required several steps to get them ready for my website.
The process was usually something like this: go to Unsplash in my browser, search or scroll, download each individual image to my laptop, resize every image with my photo editing software, and then upload them to WordPress to use within my projects.
I’ve now found a way to shorten this process. It now looks like this: select Unsplash in WordPress, search or scroll, and select the images I want. The images are automatically resized and placed within my WordPress media folder where I can use them in my projects, or they’re automatically placed within my content. This means I can now use Unsplash images in WordPress with one click. No downloading. No resizing.
Instant Images – One Click Unsplash Uploads
The solution is a free plugin in the WordPress depository called Instant Images. You can download it from the depository or search for it in the WordPress Plugins menu.
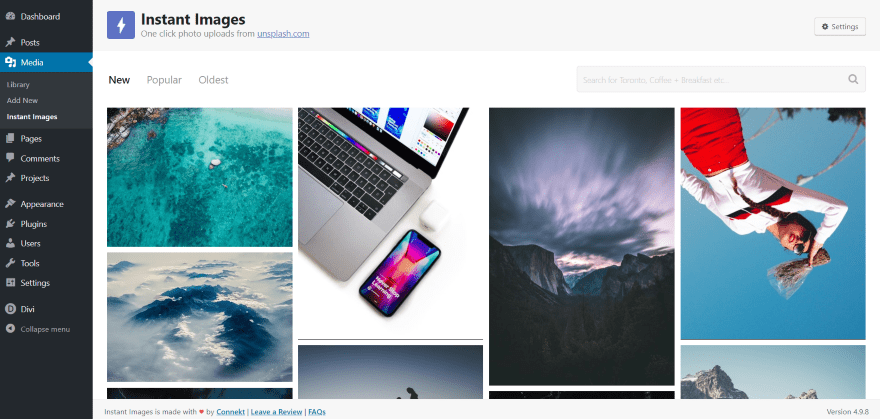
Once it’s activated, a new menu item is added to the Media menu called Instant Images. Here you can adjust the settings, see new, popular, or oldest photos, or search for photos. The images load with AJAX, so new images display as long as you scroll (which can be addictive, but that’s a different problem). A menu across the bottom of the screen provides links to connect, leave a review, or see the FAQ’s.
The plugin provides two ways to add Unsplash images to WordPress:
- Within the Media tab – this works with both the current editor and with Gutenberg.
- Within the page or post – this works with the current editor and with page builders that utilize the current WordPress editor.
Instant Images Settings
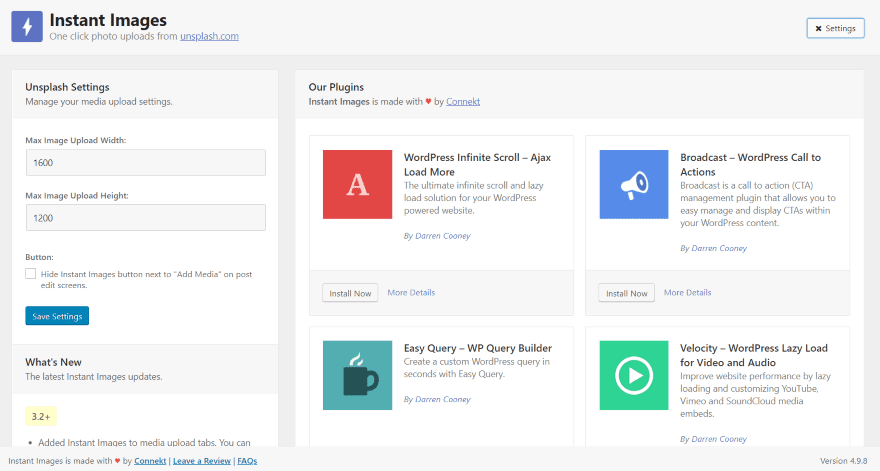
Clicking Settings in the upper right corner provides a screen with several settings and content areas. Unsplash Settings includes the image size settings for the maximum width and height and a checkbox to hide the Instant Images button that sits next to the Add Media button on the post edit screen. I’m leaving them at their defaults, but this is an excellent feature to control the size of the images.
What’s New provides information about the last two updates. Our Plugins lists other plugins by the publisher and provides buttons so you can install them from the WordPress depository. Click the X Settings button in the upper right corner to close this screen.
Setting Server Permissions
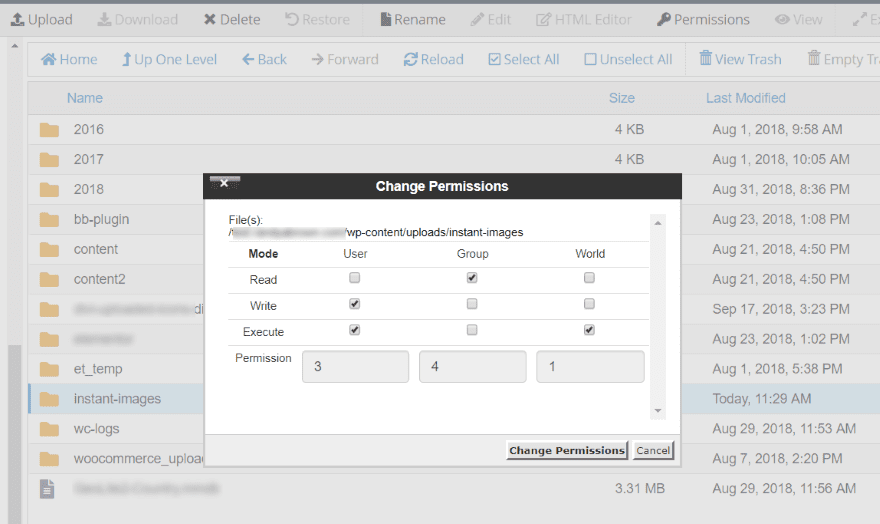
Most likely you’ll be able to upload images with no issues. I tried two different installations. The first had no issues while the second would not upload the images. The problem was the permissions settings for my server. The permissions were set to 341. It needs to at least be set to 755. If you’re using cPanel, navigate to the instant-images folder within the wp-content/uploads folder on your server and click Permissions. Yours might look different from this.
If you do run into trouble importing an image be sure to check your server permissions. If that’s not the problem check the FAQ’s for more troubleshooting information. There aren’t many issues, but I did have to set the permissions.
Adding Images to Your Media Library
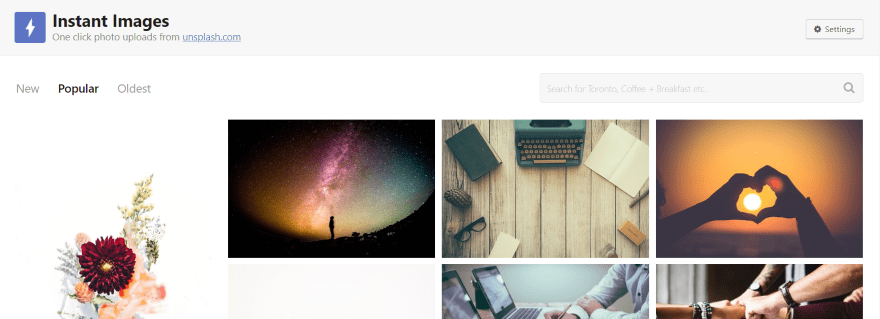
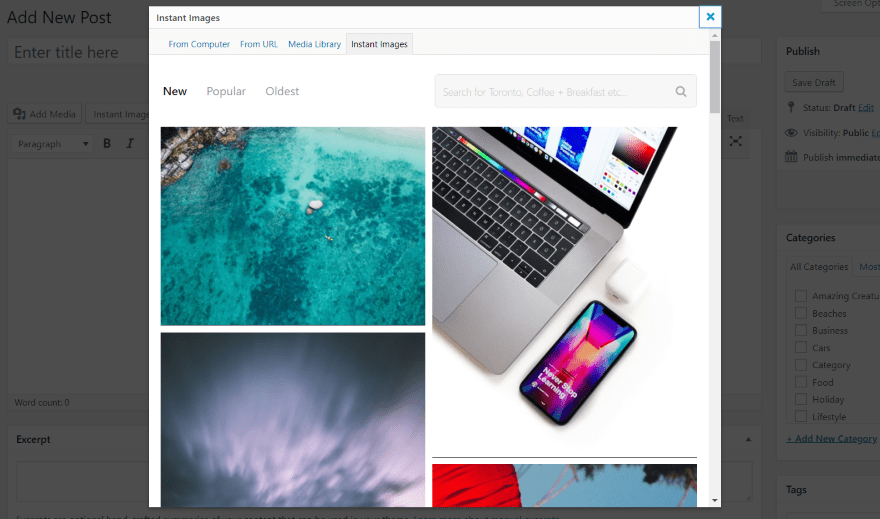
To add images directly to your media library, click Instant Images in the Media dashboard menu. You can find images selecting New, Popular, Oldest, or by searching. Scrolling reveals more images.
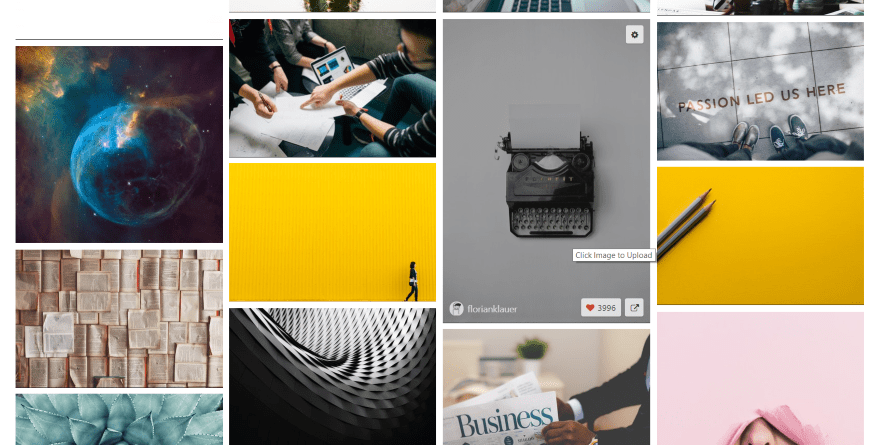
Once you find an image you want to add to your library, click the image. Hover over the image to see the button to edit the details for that image, the photographer’s thumbnail with a link to their images on Unsplash, a button to Like the image, or see the button that lets you view the image on Unsplash.com.
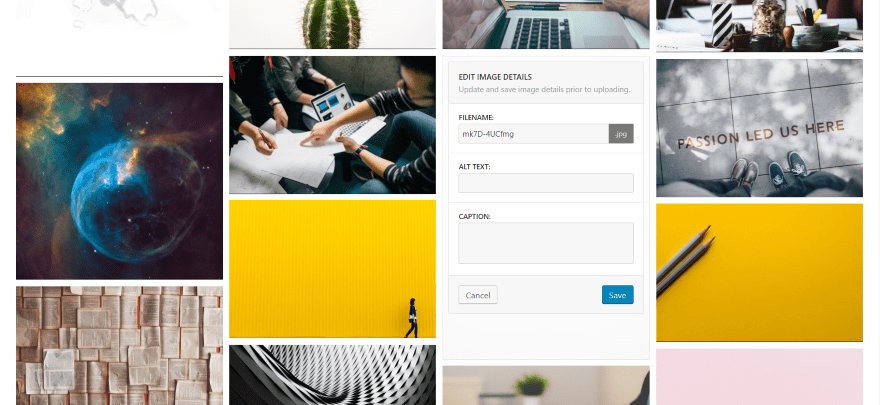
Clicking the gear opens the Edit Image Details for that image. Here you can rename it, add your own alt text, and add your own caption.

Clicking the image automatically imports it into your media library.
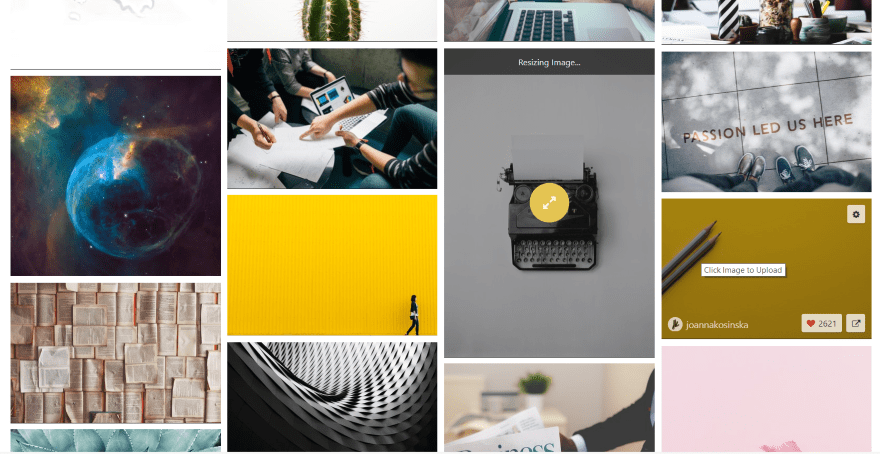
After the image imports, you’ll then get a message that the image is resizing.
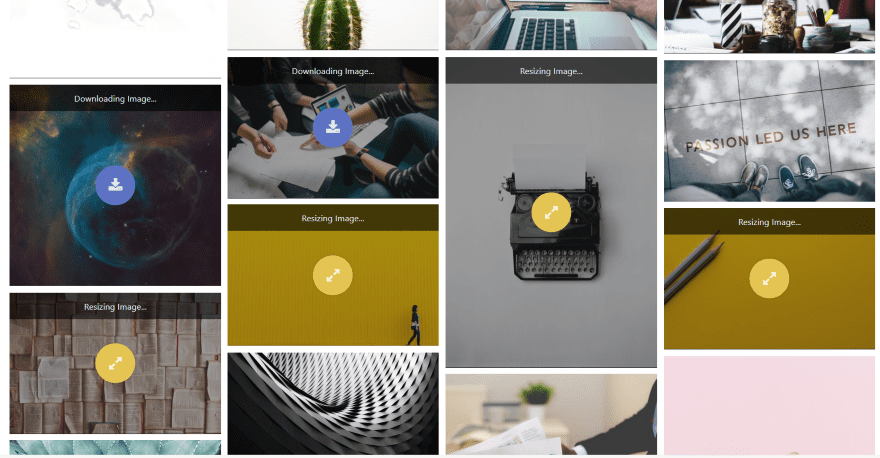
You can import multiple images at a time.
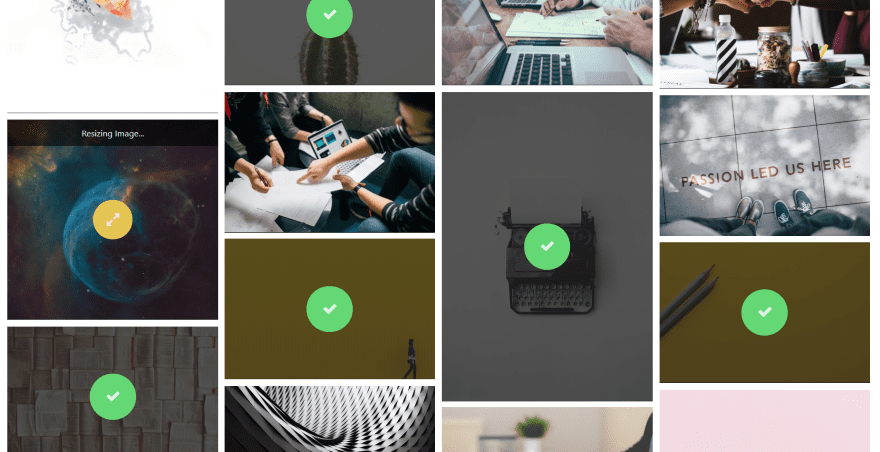
Once they’re resized and added to your media library you’ll see a green checkmark icon.
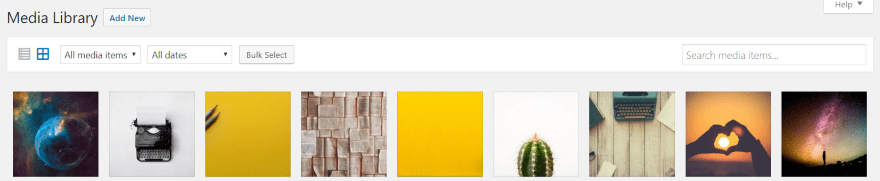
The images are now in the media library where I can use them anywhere I want.
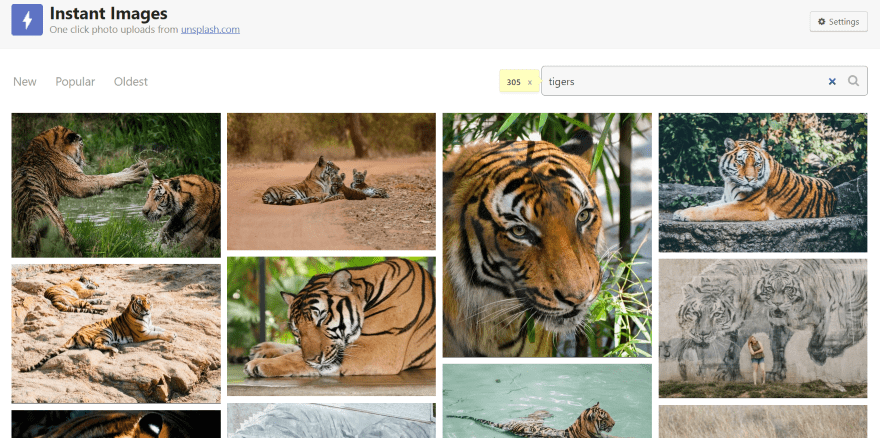
Searching provides a count of the number of images that use that keyword. Clicking the x on the number clears the search results. You can search by keyword or by photo ID. The photo ID is helpful if you’ve found the image on Unsplash.com and you want to use Instant Images to import it.
Adding Images to Directly to Posts and Pages

If you’ve already added the images to your media library then you can use them as normal. If you haven’t added them yet, you don’t have to add them to the media library first. A new button is added to the WordPress editor called Instant Images. It sits next to the Add Media button.
This opens a modal where you can scroll through the new, popular, or oldest images, and search for any images you want.
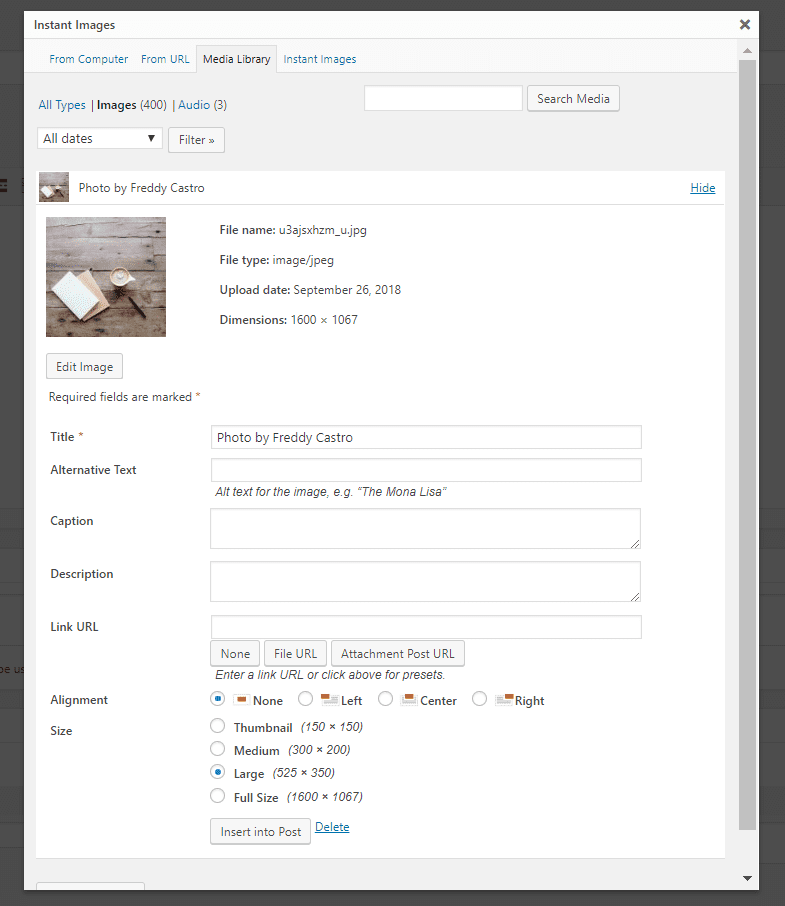
Click the image you want and it will go through its process of downloading a resizing. Once it has completed the process and has given you the green checkmark it will open a new screen within the modal where you can edit the image. Here you can see the title, alternative text, caption, description, link URL, alignment, and size. Once you’ve made your selections, click the button to insert the image into your content.
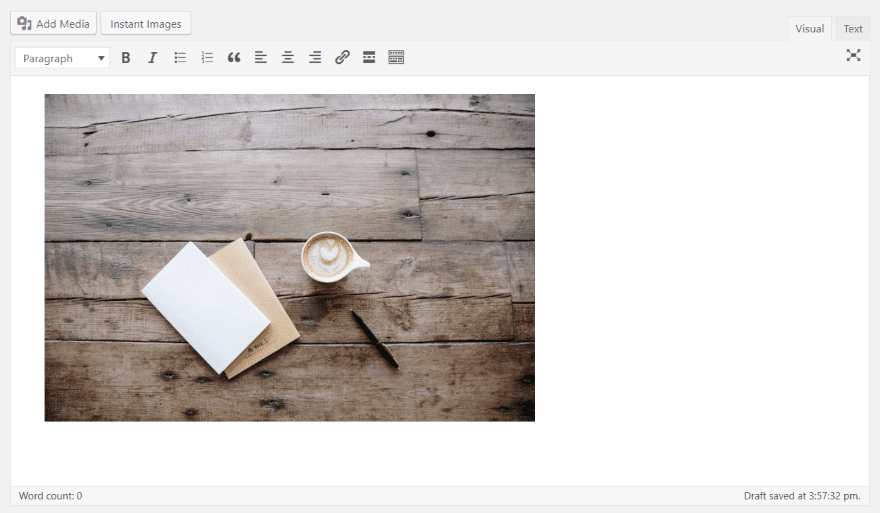
The image will be added to the post the same as if you had selected it from your media library.
In this example, I’ve added an image within the content with the Medium size and I gave it an Align Left attribute.
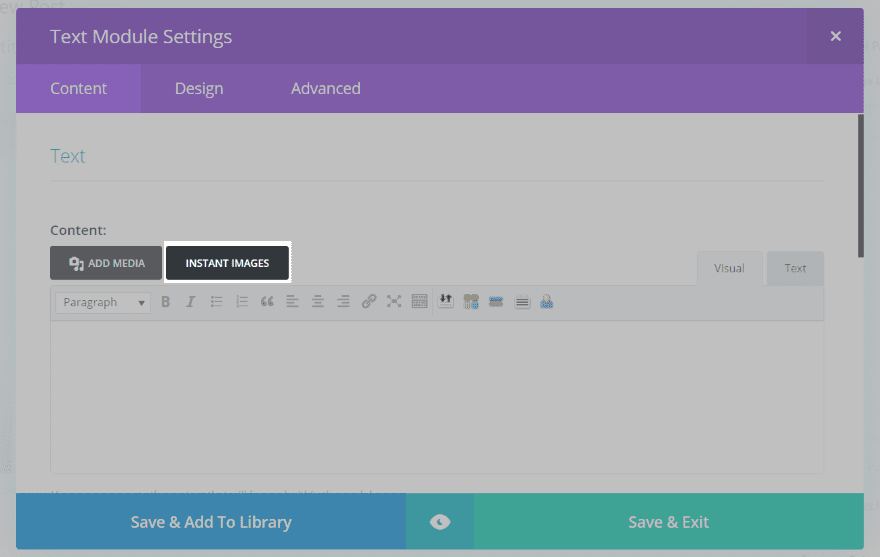
This isn’t a Divi plugin, but the Instant Images button is also available to any Divi module that uses the WordPress editor.

The Instant Images tab is not added to the front end builder, though. Of course, you can still use any images you’ve added to the media library, including those you’ve added with Instant Images.
Unsplash Images License
Photos from Unsplash are ideal for your projects because of their license. All photos on Unsplash can be used for free for both commercial and non-commercial purposes. You don’t need permission and you don’t have to provide credit to Unsplash or the photographer.
You can download, distribute, copy, and modify the photos any way you want. You can’t sell them or create a competing service to Unsplash.
Ending Thoughts
That’s our look at how to use Unsplash images in WordPress with one click. Instant Images is by far the easiest way I’ve seen to import Unsplash images into WordPress. I like the ability to set the image maximum size and that it resizes as the image imports. This is excellent for filling up your media library with high-quality photos to use in your projects.
If you have a need for high-quality photos in your projects, Instant Images might be the plugin you need to streamline the process of using them.
We want to hear from you. Have you tried Instant Images – One Click Unsplash Uploads? Let us know what you think about it in the comments below.
Featured Image via GoodStudio / shutterstock.com
The post How to Use Unsplash Images in WordPress with One Click appeared first on Elegant Themes Blog.