
If you’re a WordPress developer, you probably have a local setup where you do a lot of your work. When it comes to creating and managing multiple local WordPress websites, there are plenty of tools to choose from. However, they often require a lot of resources, which can slow your computer down, and it makes juggling numerous environments a hassle.
Containers enable you to run multiple development environments with a higher degree of compartmentalization and a reduced strain on your computer. Plus, they’re also great for reproducing development environments on other devices. In this article, we’ll talk more about what they are, when it makes sense to use them, and how to set up WordPress using containers. Let’s get to work!
What Containers Are (And When It Makes Sense to Use Them)
Containers are very similar to virtual machines, except they don’t require a full Operating System (OS) to work, making them less resource intensive. Aside from that, you can use containers to set up all the software you need for your development projects.
For example, you can have containers that include PHP, MySQL, and Apache to run WordPress. Then, you can have separate containers for running a Joomla! environment, or any other Content Management System (CMS) you want to use. As the name implies, containers are highly compartmentalized, which makes for a better development experience.
With that in mind, we recommend using containers if:
- You need access to a broad range of environments for development projects or to run tests.
- You don’t need full virtual machines to do your work.
- Your work computer can’t handle multiple virtual machines due to hardware limitations.
- You’re comfortable using the command line for your work.
That last point is important. Since containers don’t come with full OS installations, you’ll mostly (if not always) interact with them through the command line. Most container software is UNIX-based, so you’ll want to be familiar with that type of system and how to use them.
Over the past years, there’s been a boom in the use of containers for development work. That means there are plenty of great software options you can choose from. However, if you’re looking for a quick recommendation, you should try out using Docker:
Docker is open-source software that enables you to create and share containers. It’s easy to use with projects of any scale, and it offers great performance, which is why it’s one of our favorite options. We’re also fans of Kubernetes:

This particular software is a better fit if you need to manage massive numbers of containers. In fact, it even markets itself as a solution for businesses that need scalable applications. Either software is a great option if you want to dip your toes into using containers. However, we’re going to focus on Docker in this article, since it’s more beginner-friendly and easy to get started with.
How to Set Up a Local WordPress Installation Using Containers (In 3 Steps)
We’re now going to show you how you can create and configure a local WordPress environment using Docker. As we mentioned earlier, the primary way you’ll interact with Docker is through the command line, so make sure you’re comfortable using this type of interface before proceeding.
Step #1: Set Up Docker on Your Computer
First off, you’ll need to download Docker. There are several versions of the software you can use, but the one primarily used for personal development projects is called Docker Desktop:
To download Docker, you’ll need to sign up for a free account on the platform, which will give you access to links for multiple OSs. Go ahead and download the version now you need, although we’ll be using the Windows version for this example:

Once you’ve done that, you can install the program. The installation process is straightforward, so keep on until the program is ready to use.
Step #2: Create a WordPress ‘Compose’ File and Execute It
Before you run Docker, we’re going to do a little preparation to hit the ground running. With Docker, you can use something called compose files, which contain instructions for the software you want your containers to include. Now, go ahead and set up a directory somewhere on your computer where you want your local WordPress files to go, such as users/john/local-wordpress.
Once the folder is ready, create a new text file within. You can use any name you want for it, such as wordpress-compose.yml. Make sure that you use the .yml extension, which ensures that Docker will recognize it. Open that file using your favorite text editor and paste the following within:
version: "3.0"
services:
wordpress:
image: wordpress
restart: always
ports:
- 8090:80
environment:
WORDPRESS_DB_PASSWORD: root
mysql:
image: mysql:5.7
restart: always
environment:
MYSQL_ROOT_PASSWORD: root
In that code, we’re instructing Docker to install WordPress and MySQL on their own containers. We’re also assigning a password for your database and making sure WordPress knows what it is. Go ahead and save the changes to your file now and close it.
It’s now time to run Docker, so look for the Docker Quickstart Terminal application on your computer and execute it. You should see a command line terminal such as this one now:
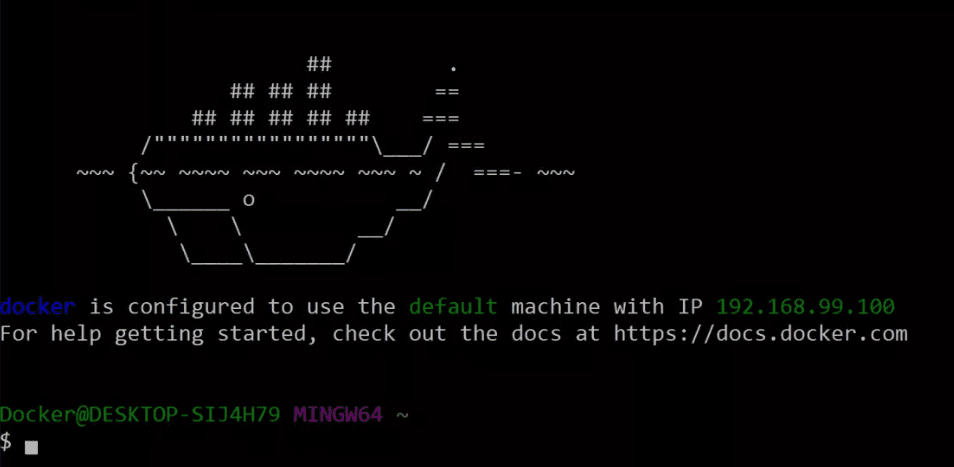
The first thing you need to do is navigate to your local WordPress directory through the command line. Once you’re in, type the following command:
docker-compose -f wordpress-compose.yml
Keep in mind that the last part of the command will vary depending on how you named your .yml file. However, as soon as you run that command Docker will download the necessary files and set everything up for you. Once both containers are ready, you’ll be able to use the Docker command line again. Try typing the docker ps command now, and you should see a list including both containers.
Your local WordPress website is now almost ready to use. All that’s left is to wrap up the WordPress installation process, which we’ll cover next.
Step #3: Finish Installing WordPress
For this last step, you won’t need to use the command line. Instead, you should open your browser and navigate to localhost:8090, which is the port we assigned to our WordPress container. If the container is running, you should see this familiar screen:
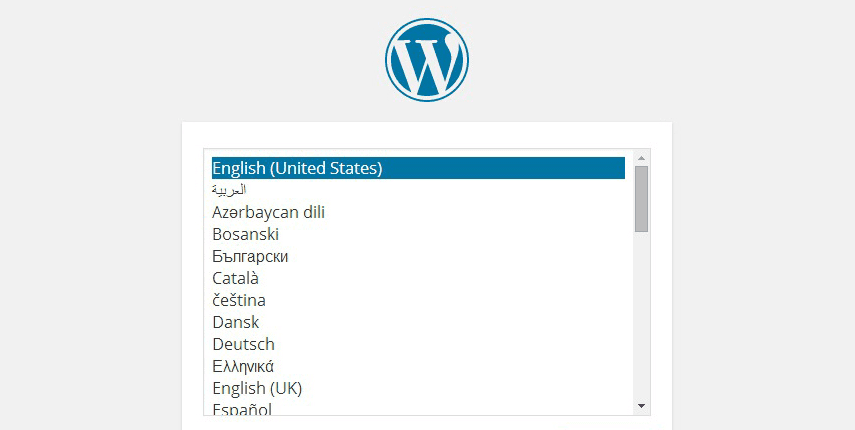
Now, go ahead and make your way through the rest of the WordPress installation process, which should only take a few minutes.
Before wrapping up, remember you can have as many containers as you want running simultaneously. That means you can have several WordPress setups alongside each other.
How to Manage and Delete Your Docker Containers
If you use Docker regularly, chances are you’ll need to delete some of your containers at some point. You can do this from the Docker command line, by using the following command:
docker rm yourcontainername
Naturally, you’ll need to replace that placeholder with the name of the container you want to delete. If you can’t remember what its name is, you can see a list of all your existing containers using the docker ps command.
Finally, it’s also possible to stop containers, so they don’t consume resources in the background. This is sometimes a better measure than outright deleting them. To stop a container, simply use the following command:
docker stop yourcontainername
When you want to start the container again, you can do so with this command:
docker start yourcontainername
With that, you’ve successfully used Docker to create one or more WordPress containers, and learned the basics of the software. We recommend that you spend some time learning more about the program and how it can help you when developing for WordPress!
Conclusion
Local WordPress development is a great option if you do a lot of work with the platform. For example, you can use local setups to develop your own themes or set up staging sites. There are plenty of ways to set up WordPress locally, but if you’re partial to the command line, containers are a pretty excellent bet. Plus, they often don’t require a whole lot of resources.
In this article, we walked you through the steps to setting up WordPress containers using Docker. These include:
- Set up Docker on your computer.
- Create a WordPress compose file and execute it.
- Finish installing WordPress.
Do you have any questions about how to set up a WordPress container using Docker? Let’s talk about them in the comments section below!
Article thumbnail image by MicroOne / shutterstock.com
The post What Containers Are (And How You Can Use Them In WordPress Development) appeared first on Elegant Themes Blog.