
Every week, we provide you with new and free Divi layout packs which you can use for your next project. For one of the layout packs, we also share a use case that’ll help you take your website to the next level.
This week, as part of our ongoing Divi design initiative, we’re going to show you how to creatively use symbols in your web design with Divi. For this tutorial, we’ll use the Life Coach Layout Pack but what I’m showing you in this post can be applied to any Divi Layout. We’re constantly looking for new and creative ways that allow you to personalize your website and this tutorial brings you one step closer.
Let’s get to it!
Preview
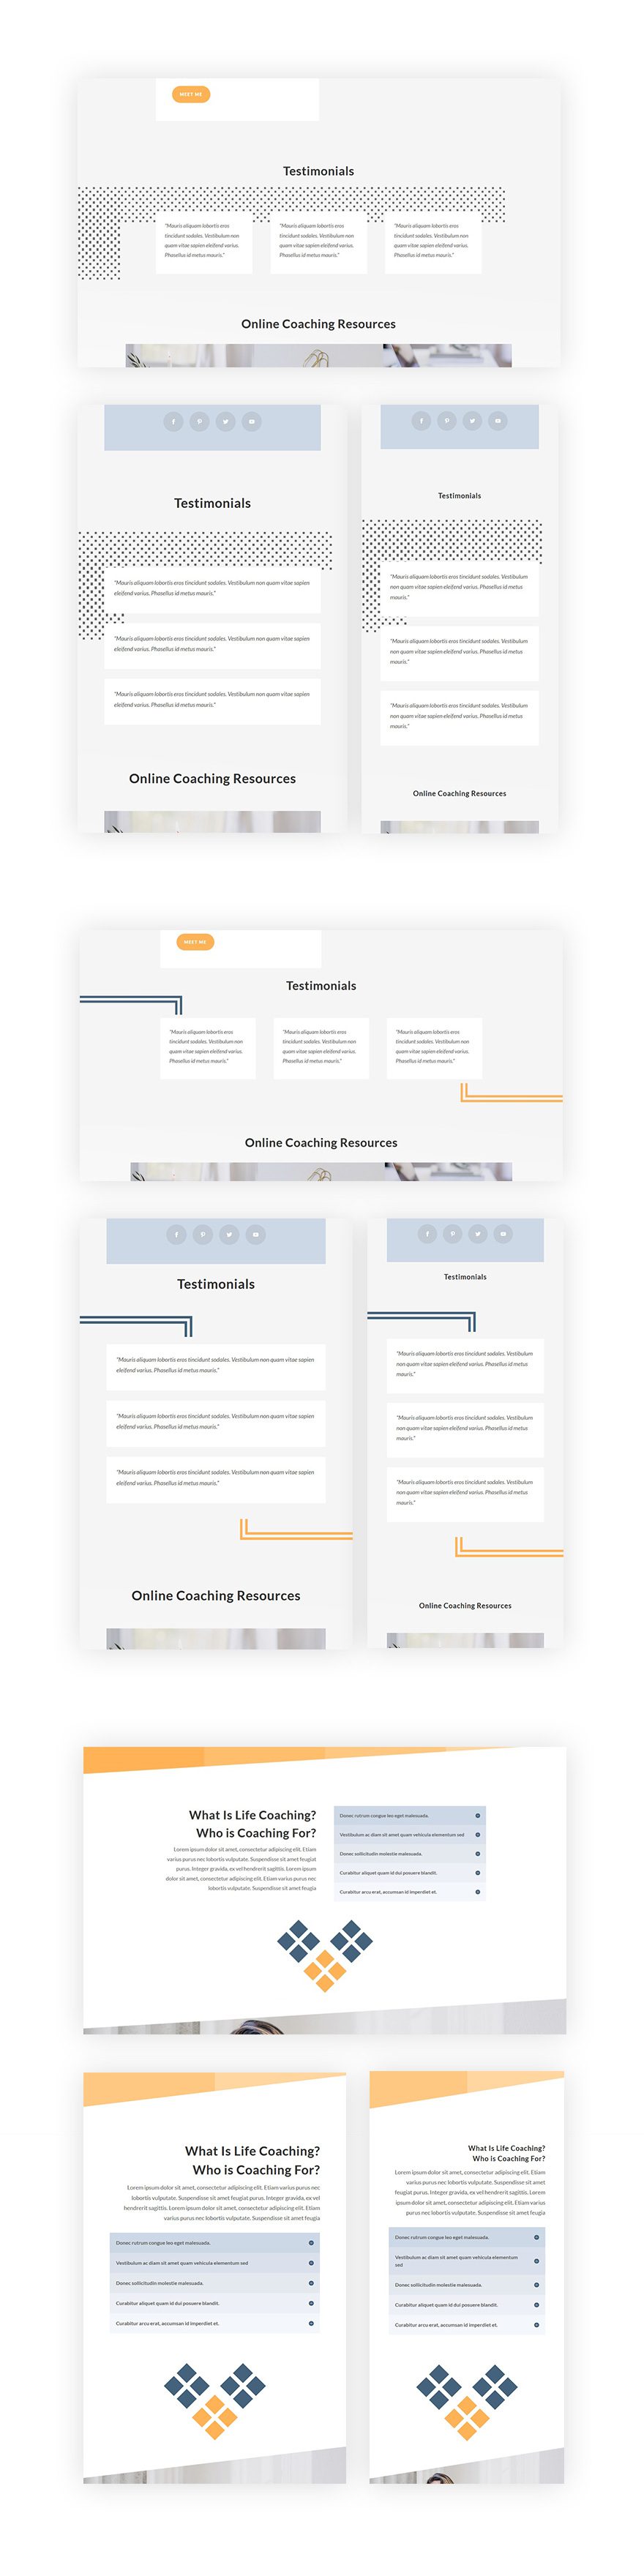
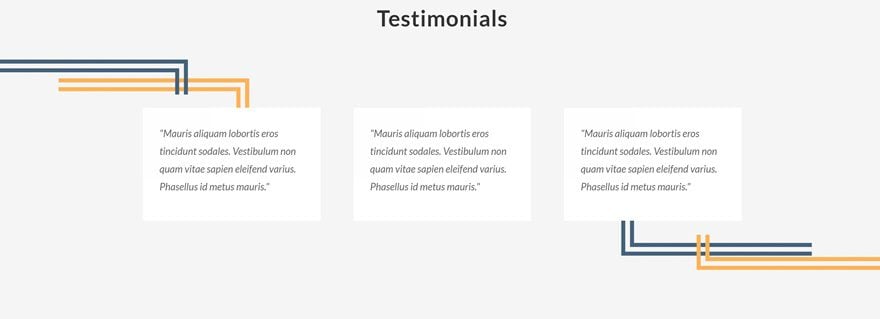
Before we dive into the tutorial, let’s take a look at the three different examples we’ll recreate on different screen sizes.
Approach
The characters on your keyboard are not the only ones that exist. As a matter of fact, there are a bunch of them that are out there but not included on your keyboard. A lot of these characters go beyond the letters of the alphabet. They contain visually appealing symbols, for instance. And like the letters of the alphabet, you can use these symbols in Text Modules on your website as well. You can find all characters by going to your computer’s Character Map (PC) or Character Palette (Mac). Or you can also find them on the following website.
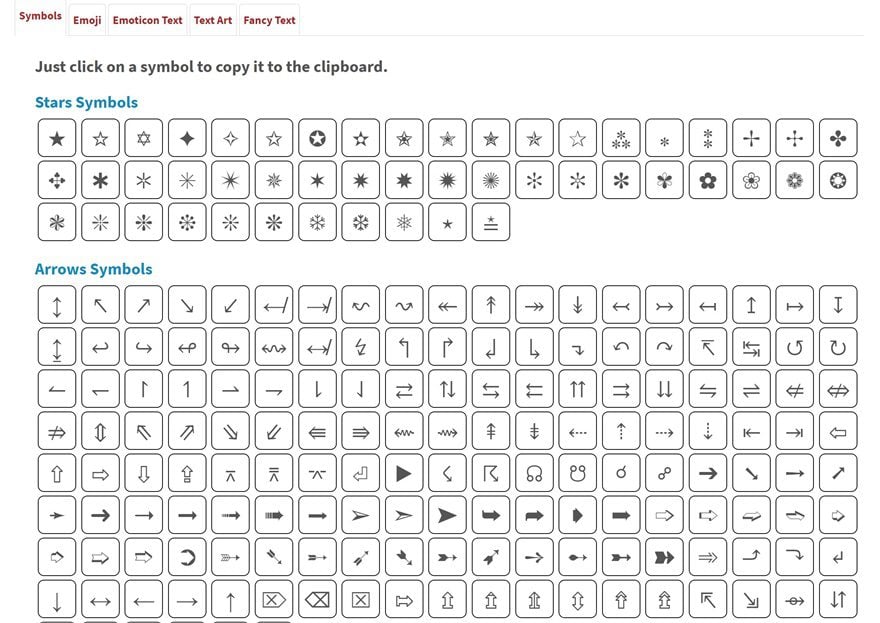
These symbols behave the same way other characters do which means you can adjust their font size, letter spacing, color and so on. This makes it extremely easy for you to adjust them on different screen sizes with Divi’s Visual Builder.
Create Example #1

Add New Row
Row Position
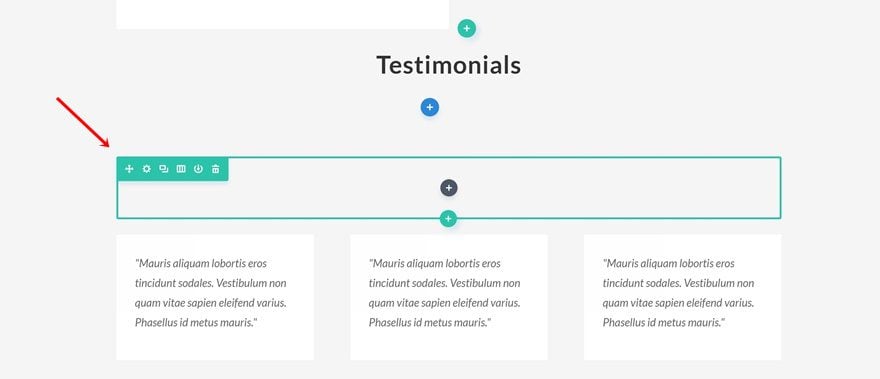
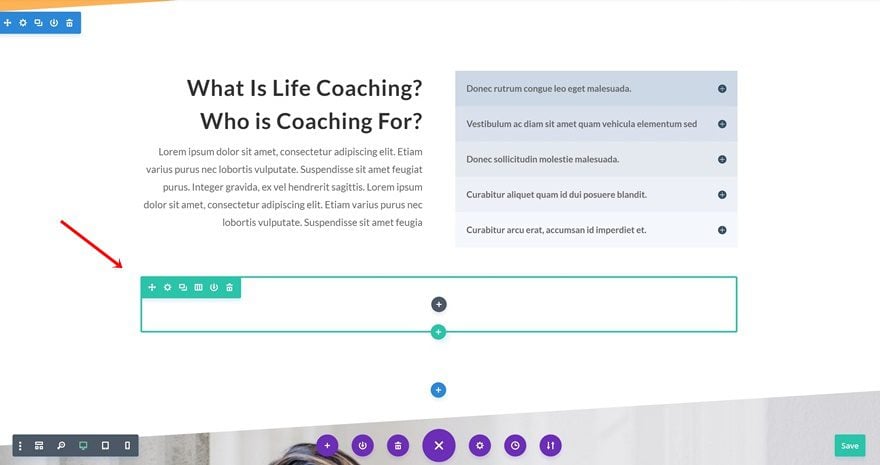
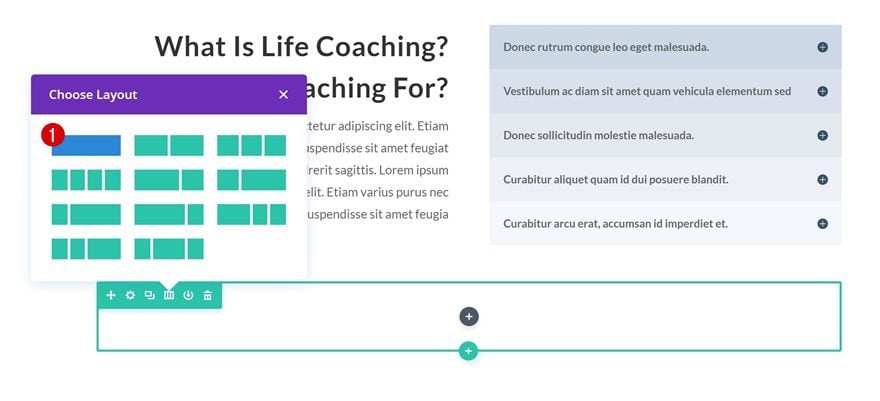
Let’s get started with the first example! Open the landing page of the website you’ve built using Divi’s Life Coach Layout Pack with the Visual Builder and add a new row on the following spot:
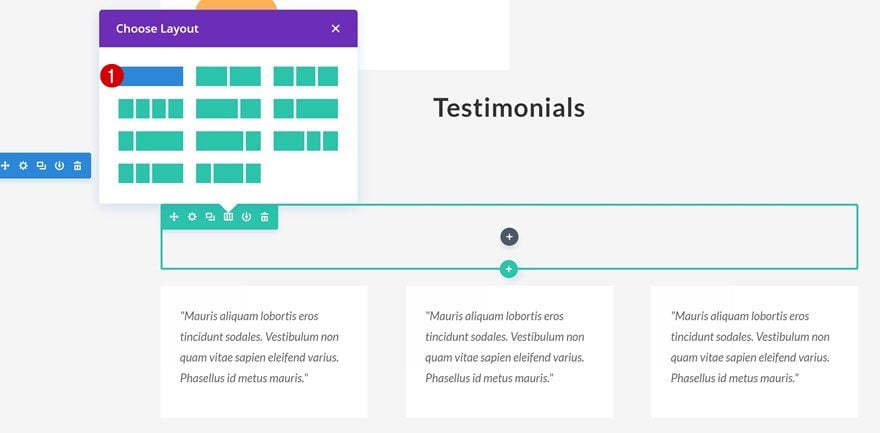
Column Structure
For this row, we’ll only need one column.
Sizing
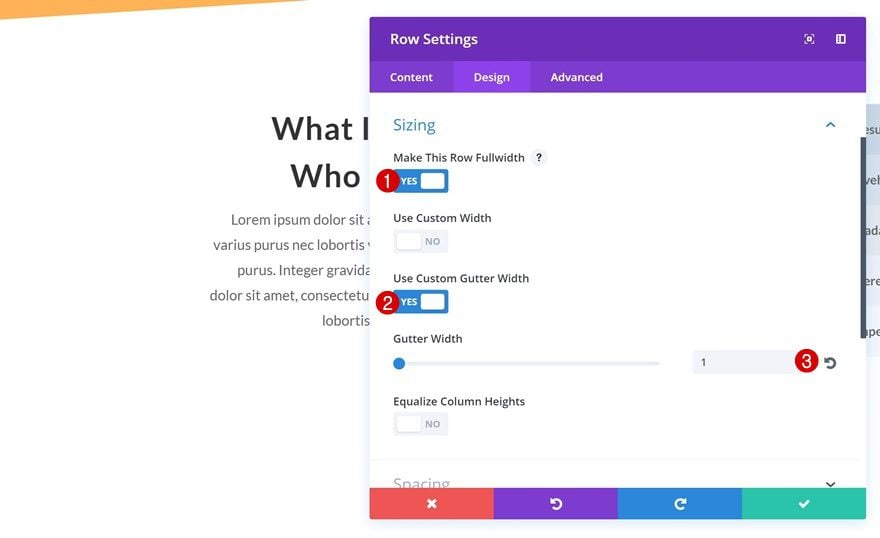
Open this row’s settings. The only thing you’ll need to do within these settings is changing the Sizing of your row to increase the width:
- Make This Row Fullwidth: Yes
- Use Custom Gutter Width: Yes
- Gutter Width: 1

Add Text Module
Symbols
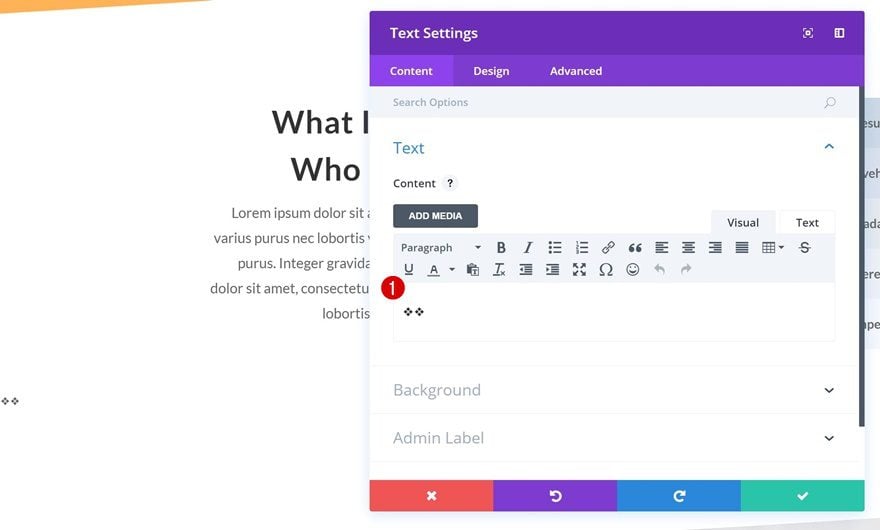
Next, add a Text Module with the following symbols:
░░░░░░░░░░░░░░░░░░░░
░░
░░
░░
░░
░░
░░
░░
░░
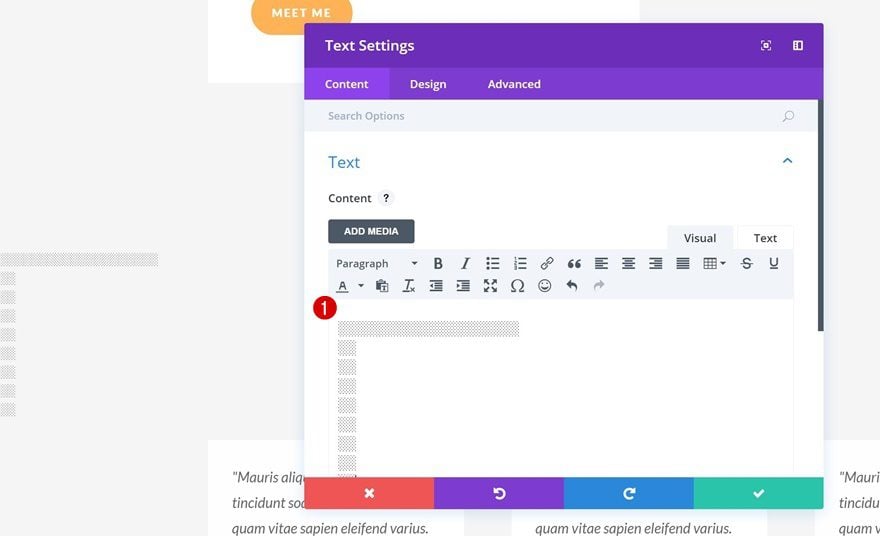
Text Settings
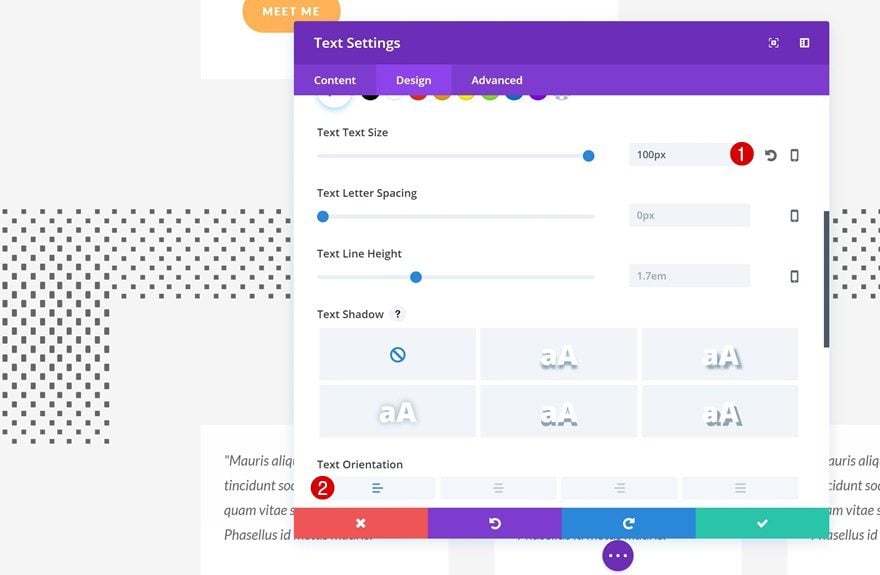
Now we can play around with the text settings of these symbols. To achieve the same result as the example, use the following settings:
- Text Size: 100px
- Text Orientation: Left
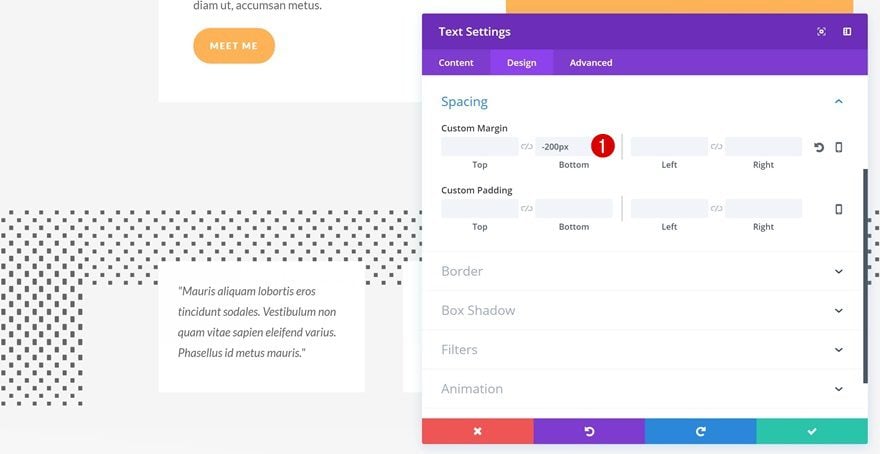
Spacing
Lastly, we’re also going to push down the Text Module by adding ‘-200px’ to the bottom margin.
Create Example #2
Add New Row #1
Row Position
The second example needs two rows. We’re going to place the first row in the same spot as in the first example:
Column Structure
We’ll only need one column for this row as well.
Sizing
Apply the following Sizing settings to your row next:
- Make This Row Fullwidth: Yes
- Use Custom Gutter Width: Yes
- Gutter Width: 1
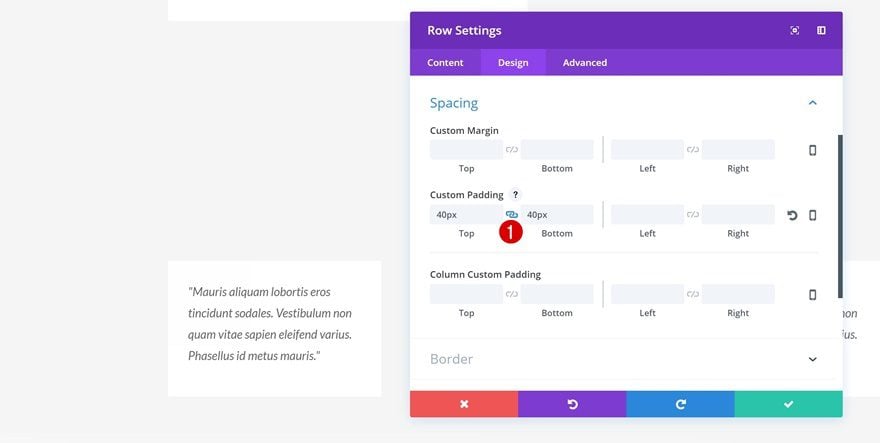
Spacing
And use ’40px’ for the top and bottom padding of this row.
Add Text Module
Symbols
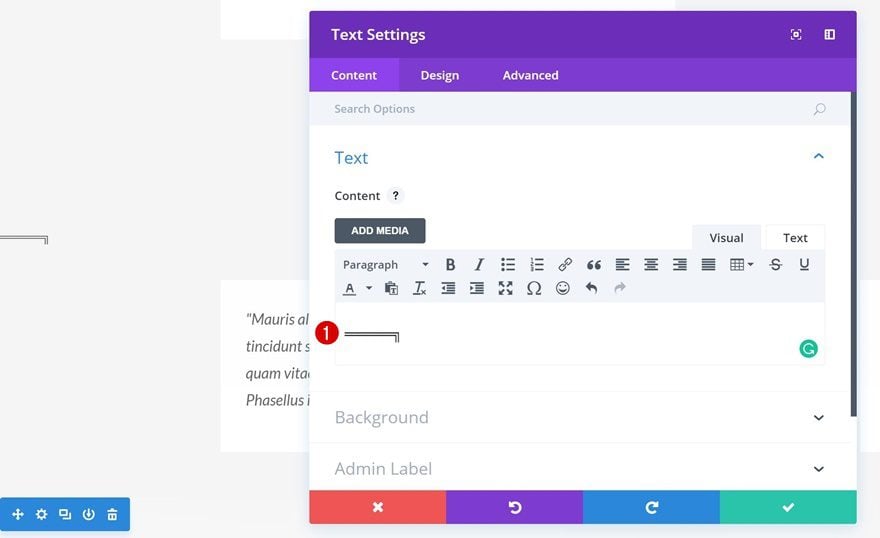
Continue by adding a Text Module to your row with the following symbols:
═════╗
Text Settings
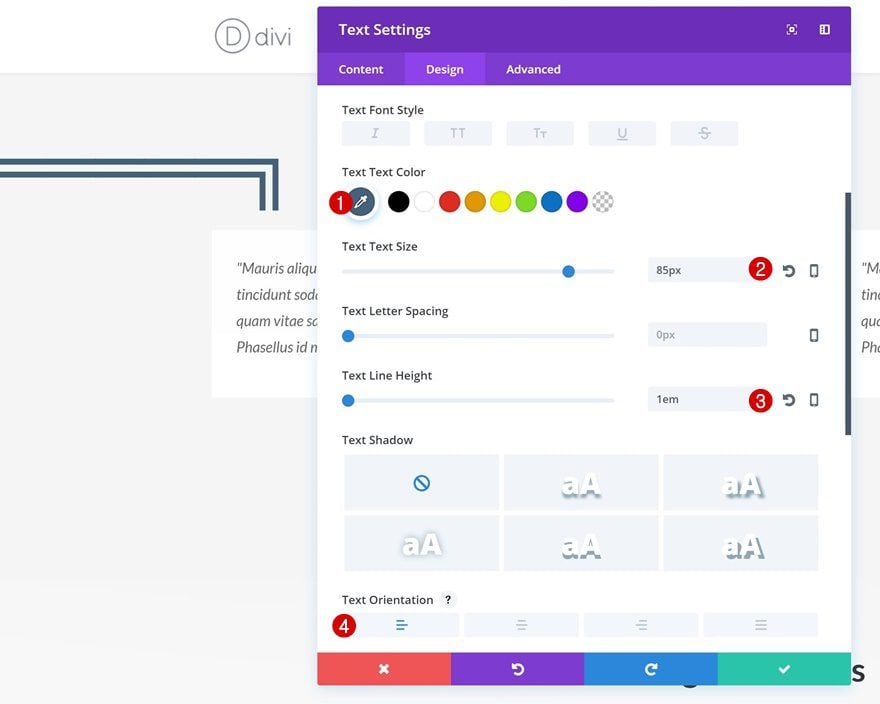
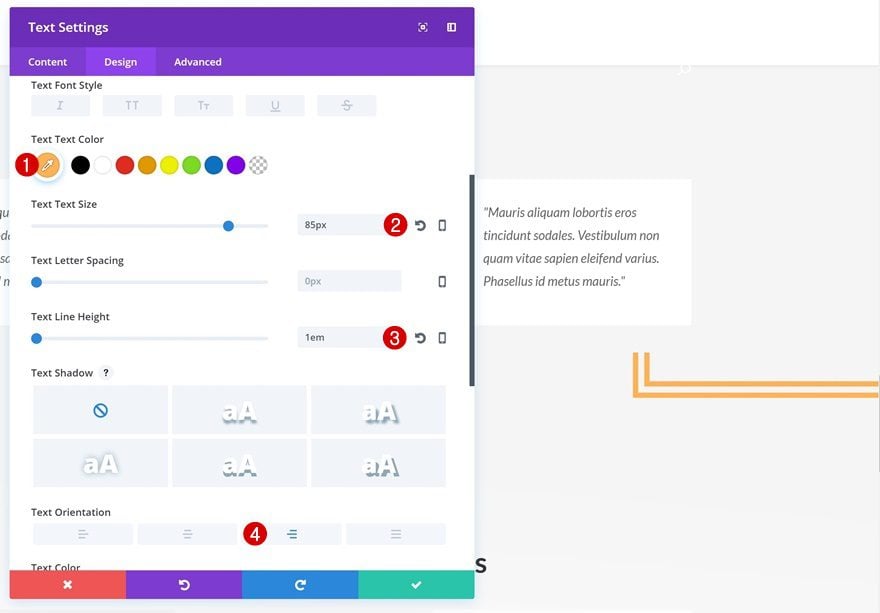
Open the text settings next and apply the following changes:
- Text Color: #44627c
- Text Size: 85px
- Text Line Height: 1em
- Text Orientation: Left
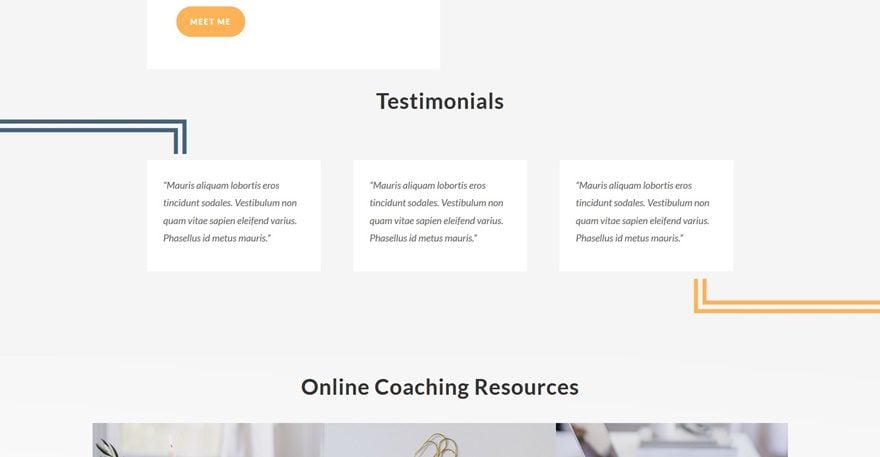
Add New Row #2
Row Position
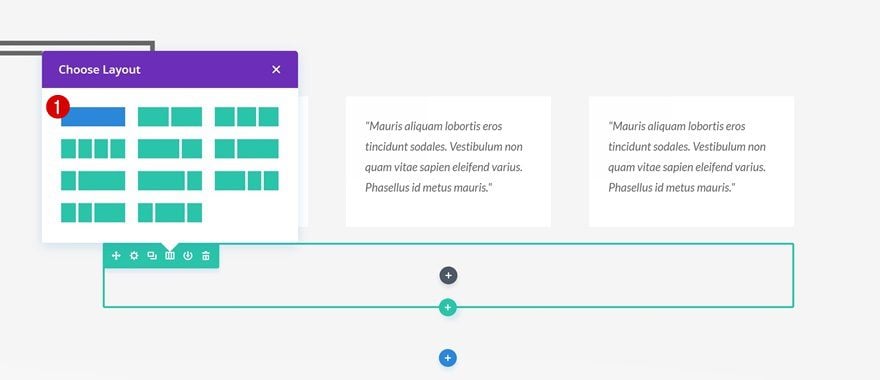
We’re going to do the exact same thing at the end of the testimonials with symmetrical symbols. Add a new row right below your testimonials.

Column Structure
Add one column to your row next.
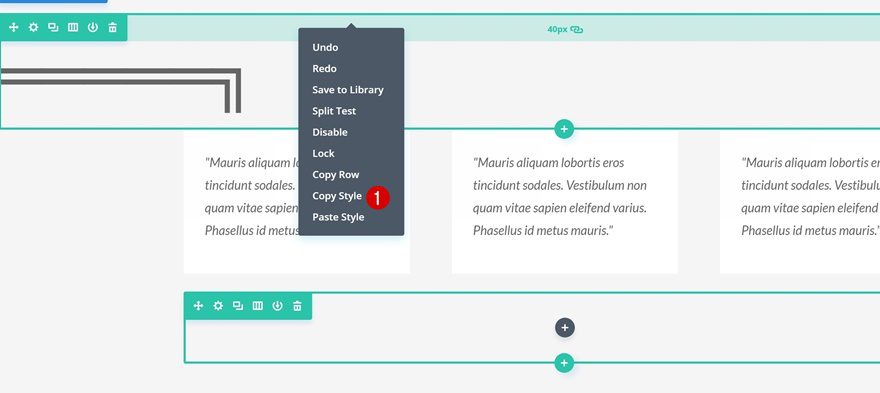
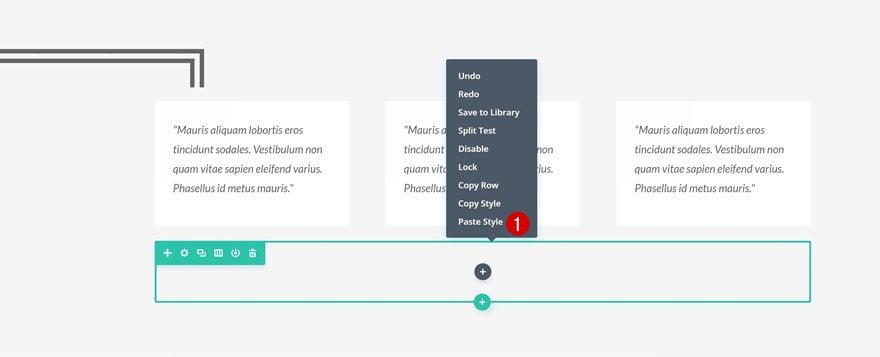
Copy & Paste Row Style
To save ourselves some time, we’re going to copy the style of the previous row we’ve created and paste it into our new row.
Add Text Module
Symbols
The Text Module in this row needs the following symbols that are symmetric to the previous ones we’ve used:
╚═════

Text Settings
Continue by opening the Text Settings of this module and apply the following changes:
- Text Color: #ffb356
- Text Size: 85px
- Text Line Height: 1em
- Text Orientation: Right
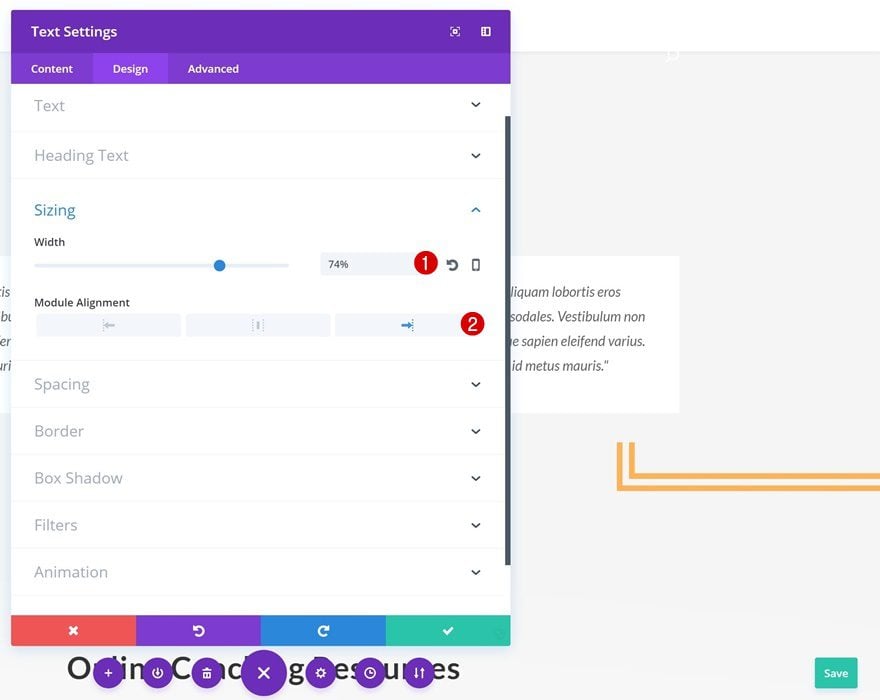
Sizing
Lastly, we’re also going to change the Sizing of this Text Module to make it look equally as good on mobile:
- Width: 74%
- Module Alignment: Right
Extra: Add Text Shadow to Symbols
Text Shadow Text Module #1
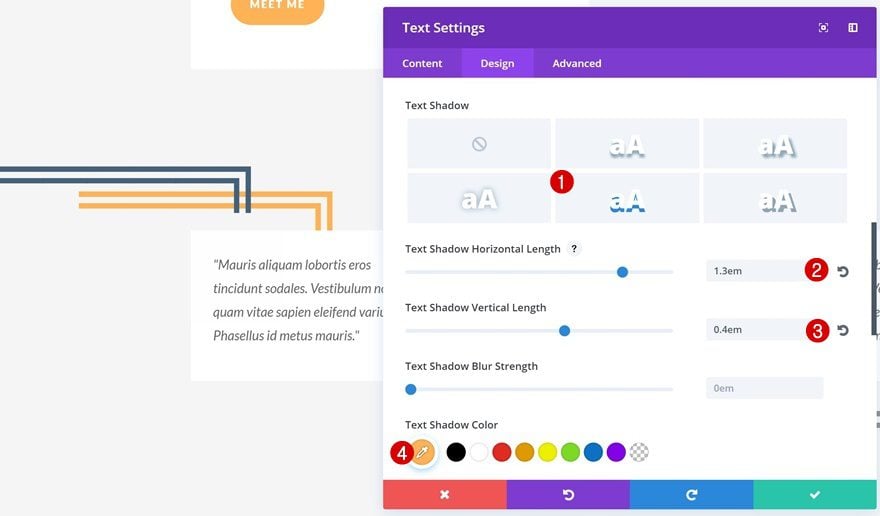
Want to take this example one step further? Add a text shadow as well. Open your first symbol Text Module and apply the following text shadow:
- Text Shadow Horizontal Length: 1.3em
- Text Shadow Vertical Length: 0.4em
- Text Shadow Color: #ffb356
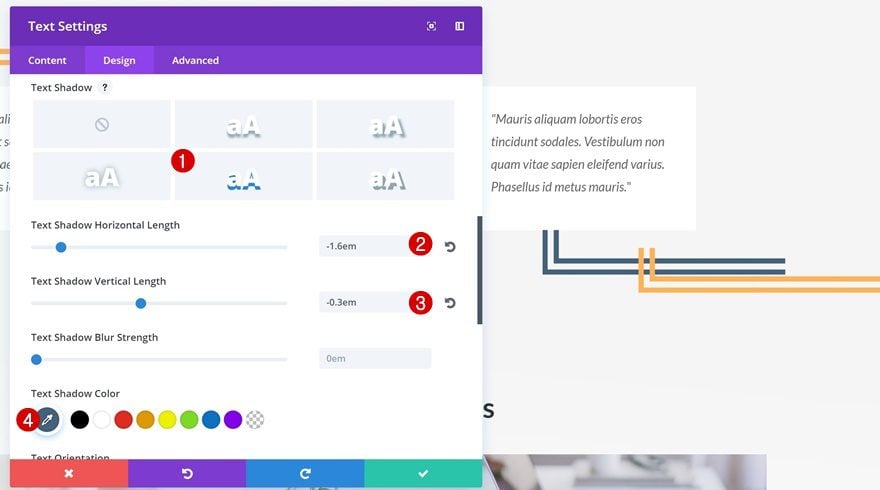
Text Shadow Text Module #2
Then, open your second Text Module and apply the following text shadow as well:
- Text Shadow Horizontal Length: -1.6em
- Text Shadow Vertical Length: -0.3em
- Text Shadow Color: #44627c
Create Example #3

Add New Row
Row Position
For the last example of this tutorial, add your row on the following spot on your landing page:
Column Structure
We’re, again, using only one column.
Sizing
And we’ll increase the width of our row using the following Sizing settings:
- Make This Row Fullwidth: Yes
- Use Custom Gutter Width: Yes
- Gutter Width: 1
Add Text Module #1
Symbols
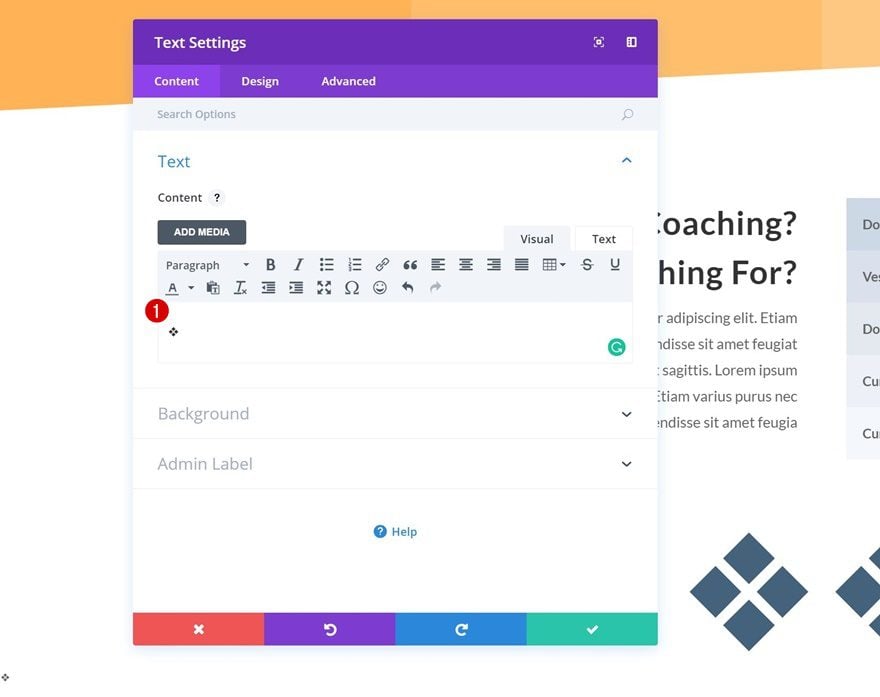
To create our example, we’ll need two Text Modules. Add your first Text Module using the following symbols:
❖❖
Text Settings
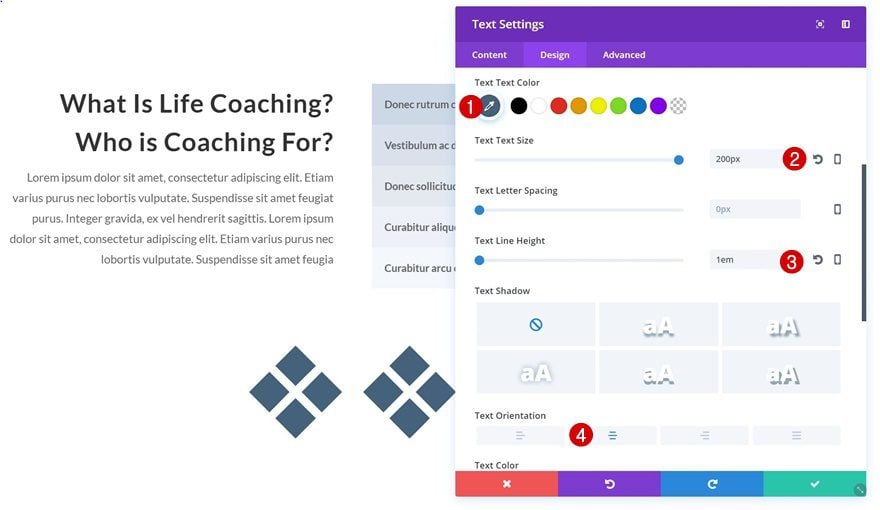
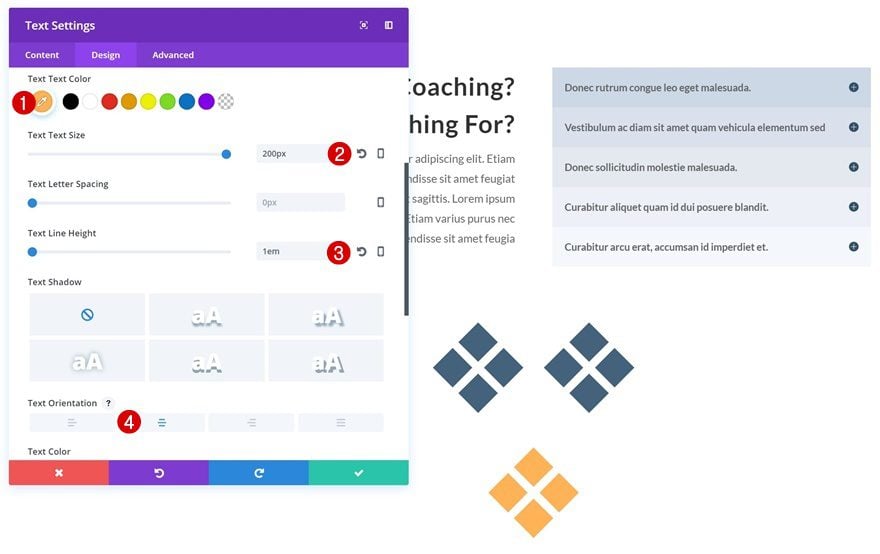
Use the following settings for this first Text Module:
- Text Color: #44627c
- Text Size: 200px
- Text Line Height: 1em
- Text Orientation: Center
Add Text Module #2
Symbols
The second Text Module only needs one symbol:
❖
Text Settings
Apply the following text settings to this Text Module:
- Text Color: #ffb356
- Text Size: 200px
- Text Line Height: 1em
- Text Orientation: Center
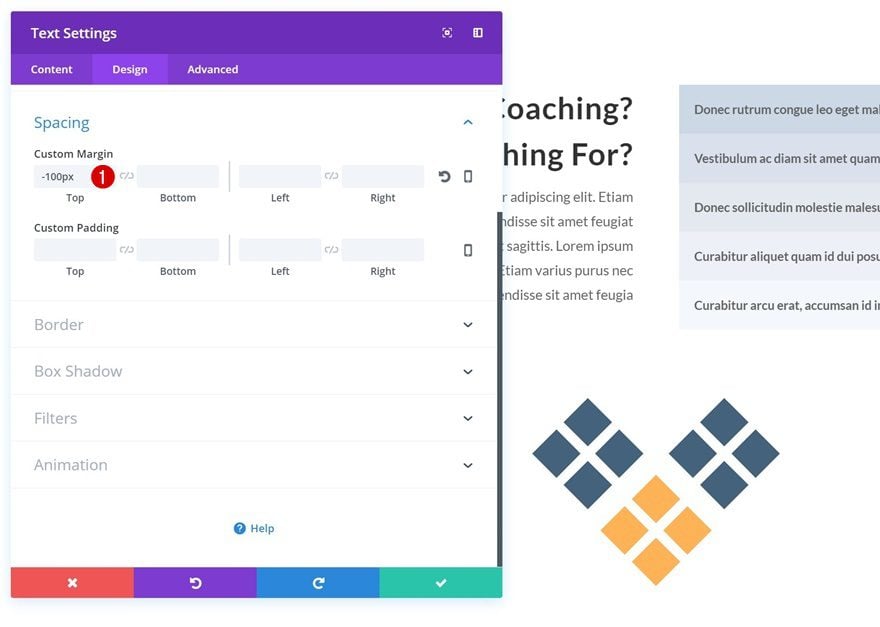
Spacing
Lastly, add ‘-100px’ to the top margin and you’re done!
Preview
Now that we’ve gone through all the steps and all the examples, let’s take a final look at the result on different screen sizes.
Final Thoughts
In this Divi design tutorial, we’ve shown you how to use symbols in your web design with Divi. We’ve applied this method to Divi’s Life Coach Layout Pack. Adding symbols to your website in a creative way can help you personalize your website and bring it to life. We’ve shown you three beautiful ways on how to do it but the sky is the limit, so go ahead and give it a try with other symbols as well. If you have any questions or suggestions, make sure you leave a comment in the comment section below!
The post How to Creatively Use Symbols in Your Web Design with Divi appeared first on Elegant Themes Blog.