
Easy Slide-Ins is a third-party plugin for Divi and Extra that allows you to create slide-ins (and popups) using the Divi builder. The slide-ins can display anything that can be built with the Divi Builder. Trigger the slide-ins with a scroll percentage, exit intent, a button with multiple locations, and with a CSS Class. It includes lifetime updates and demos.
In this article, we’ll look at Easy Slide-Ins and see what it can do and easy it is to use. We’ll also take a look at a few of the demos that are included with the plugin. The plugin is available from the developer’s website.
Installing Easy Slide-Ins
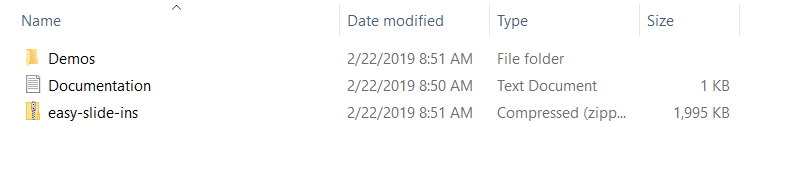
First, unzip the file. Inside the folder, you’ll find demos, a file with a link to the documentation, and the Easy Slide-Ins plugin.
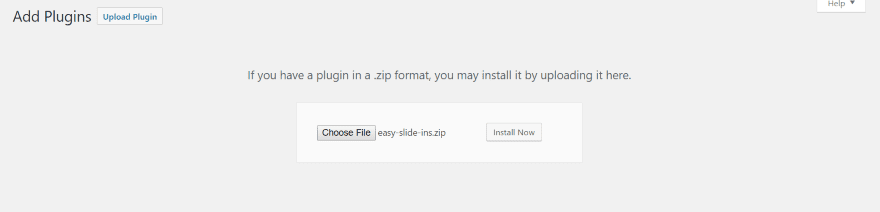
Upload and activate the plugin as normal.
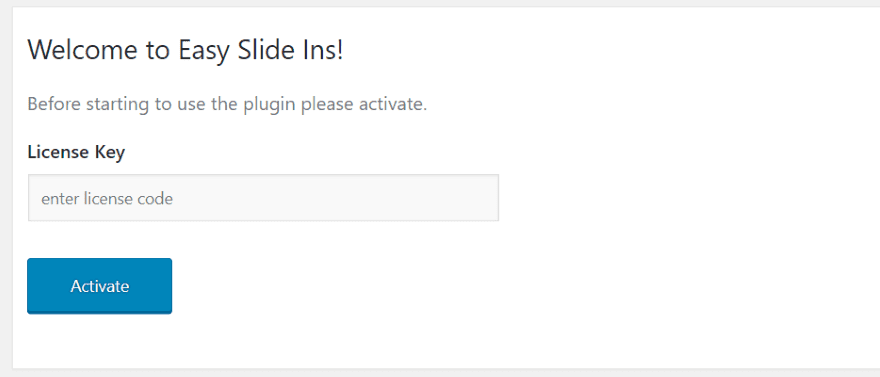
A new menu is added to the dashboard called Easy Slide-Ins. Click this menu and enter your license key.
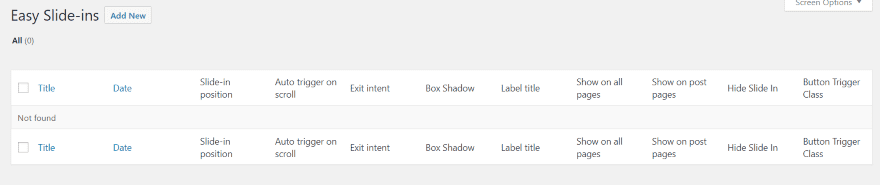
Activating the license adds two menu items (All Items and Add New) where you can see your slide-ins and create new slide-ins.
Creating a New Slide-In
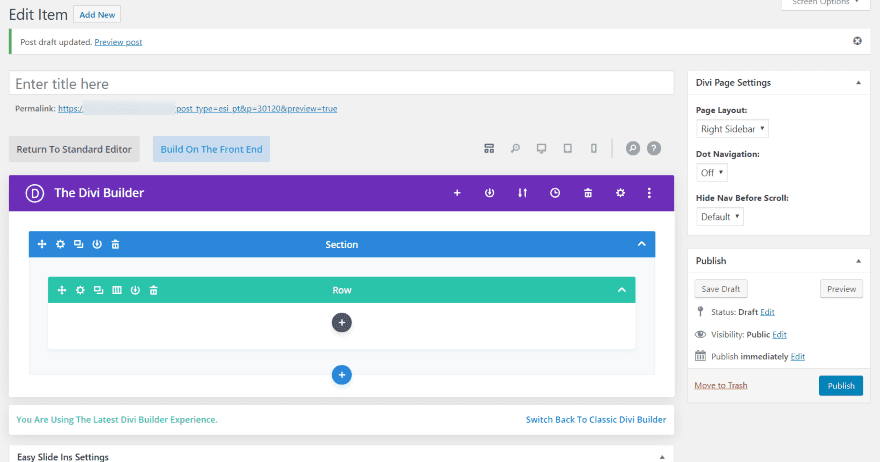
Clicking to add a new slide in opens an editor where you can use the Divi Builder to create the slide-in.
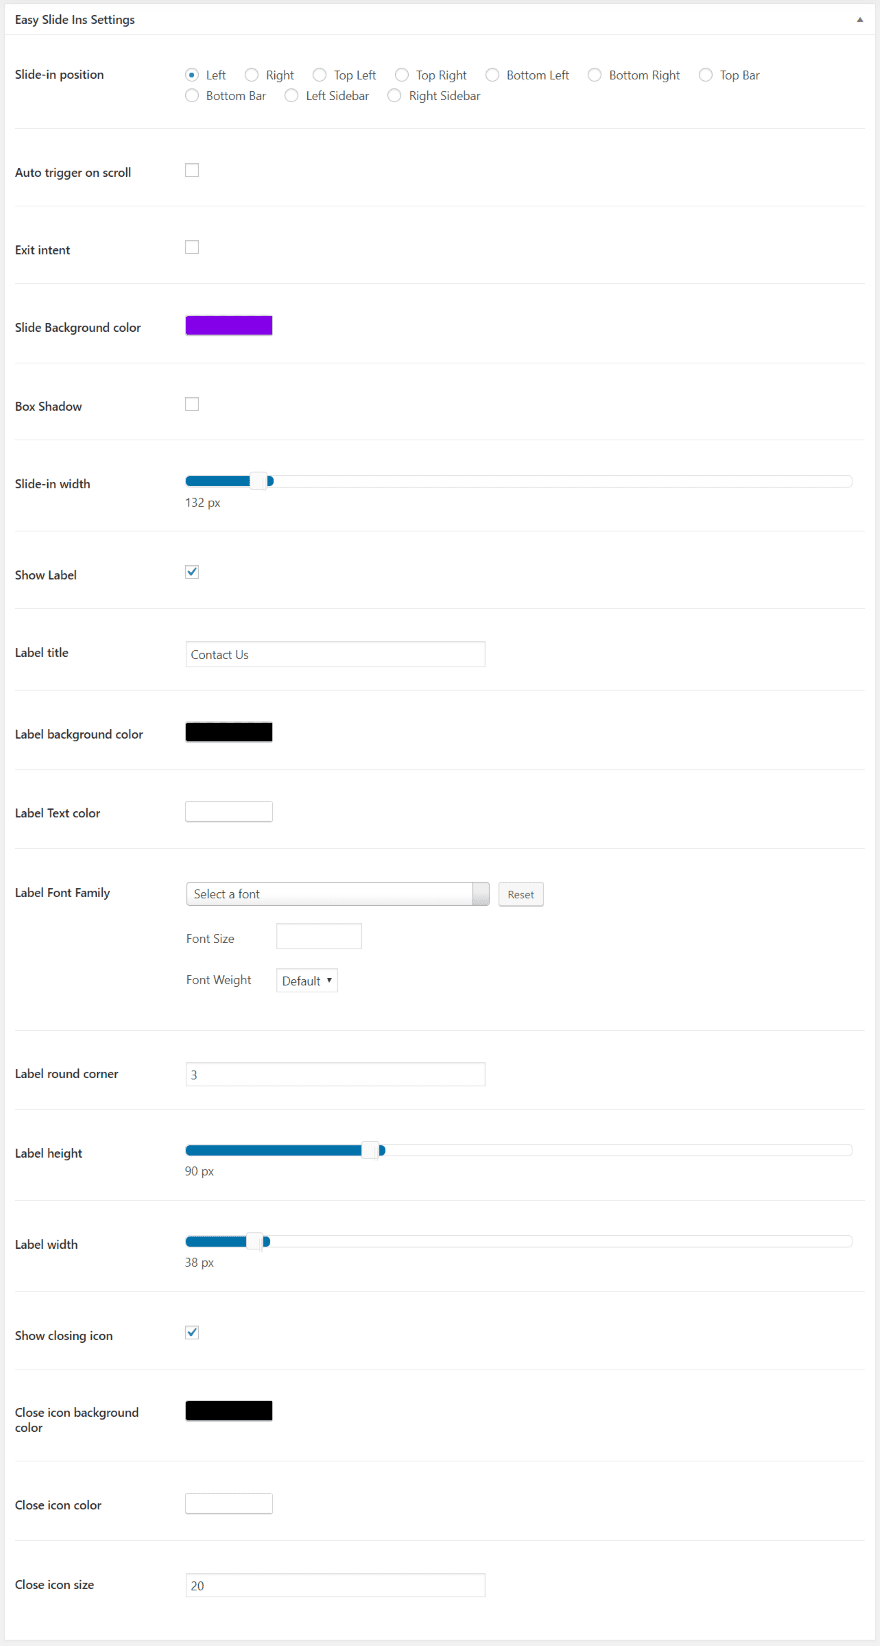
It also includes a lot of settings. They’re placed under the Divi Builder. Choose the position from left, right, top left, top right, bottom left, bottom right, top bar, bottom bar, left sidebar, or right sidebar. Set it to auto trigger on scroll and choose the scroll amount. You can also set it to open on exit intent. Set the background color, box shadow, and slide-in width.
Show the title and enter the text for it to show. Choose the title’s background and text colors, and the font family, size, and weight. Set the corner roundness, label height, and label width. Show the closing icon and choose the background and icon colors and the icon size.
The controls are intuitive to use and understand. There are enough adjustments to style the label to match your website and control how the slide-ins work.
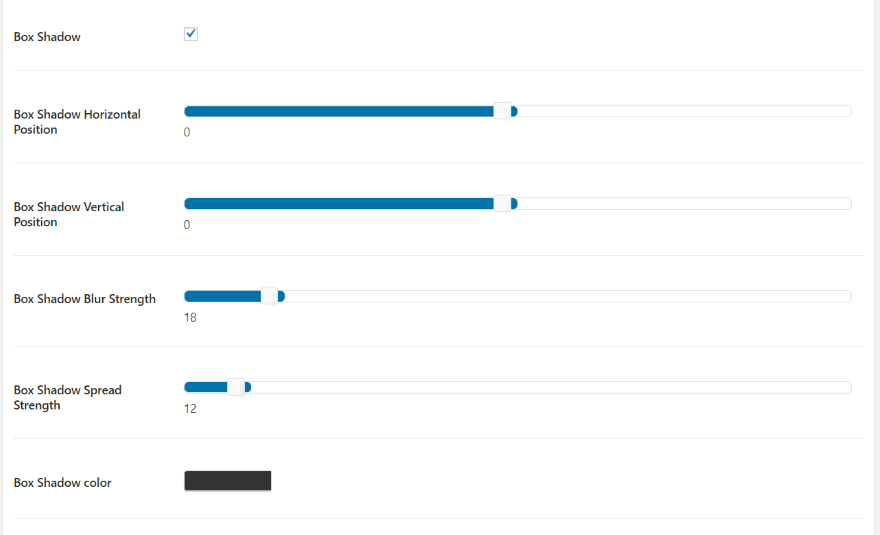
Other features are added or removed depending on the options you choose. I selected Box Shadow and it now provides options for the horizontal and vertical position, blur and spread strength, and color.
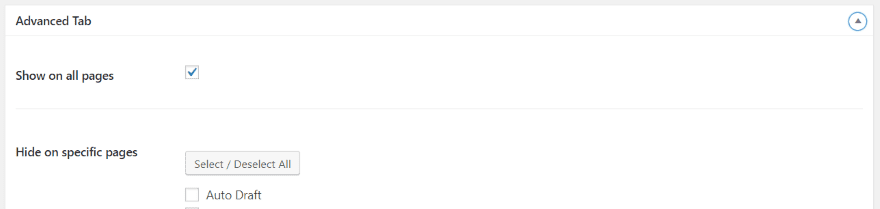
The Advanced Tab lets you choose the pages the slide in can be displayed on. You can select all pages, individual pages, and all posts. You can hide the slide-in on certain devices.
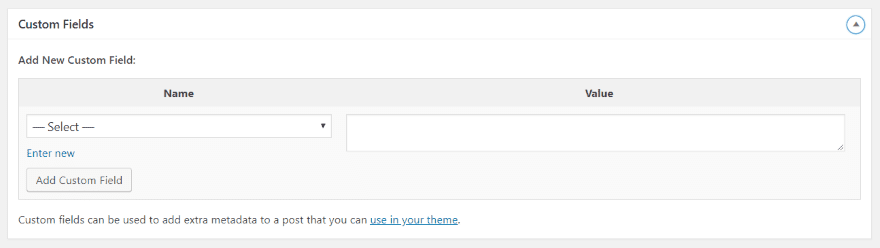
The Custom Fields tab lets you add custom fields just like any page or post.
Easy Slide-Ins Examples
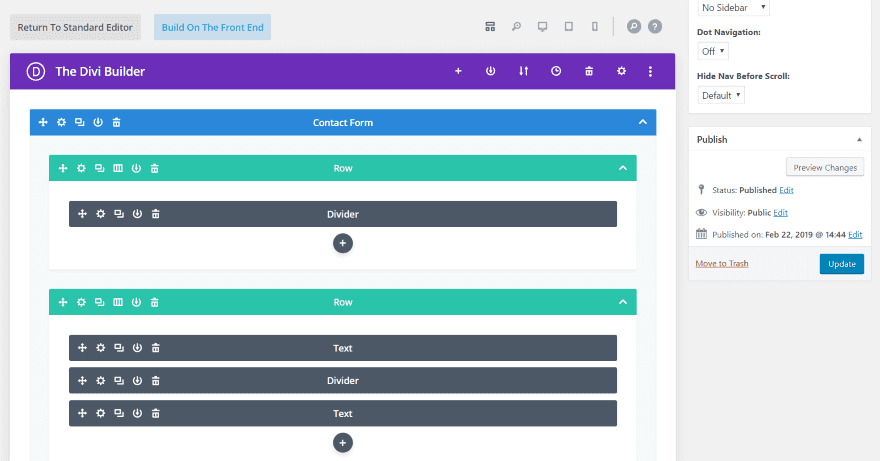
This is the contact page from the Risk Management layout. I’m using this to build the slide-in so the design will fit the layout. I’ve set to not show the sidebar or dot navigation. You can preview just like a standard page. Once you’ve designed the slide in, publish as normal.
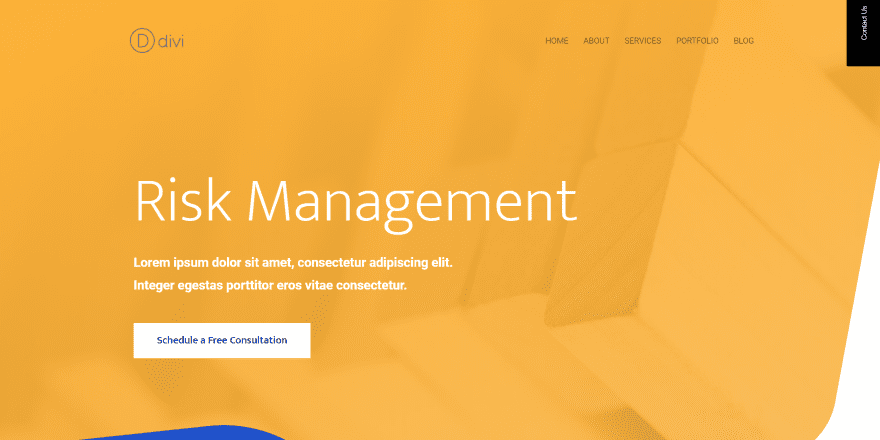
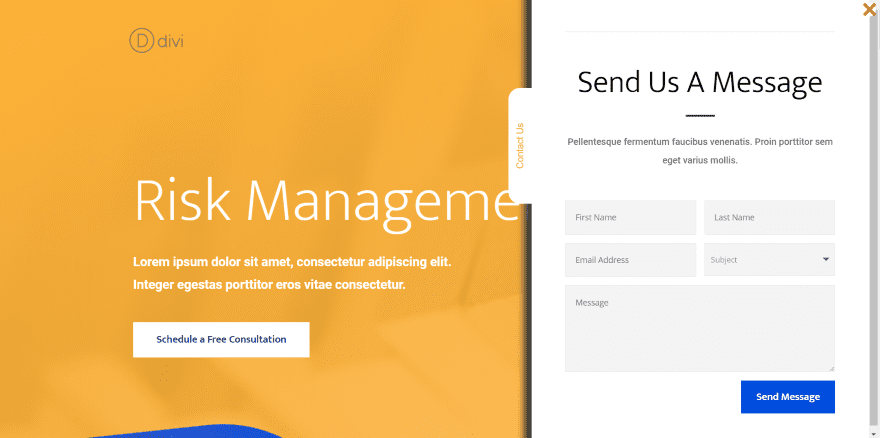
I’ve enabled the label in the settings and set the background to black and the text to white. I kept the default text (Contact Us). I’ve set it to display in the upper right corner. This is using the default height, but it can be changed easily.
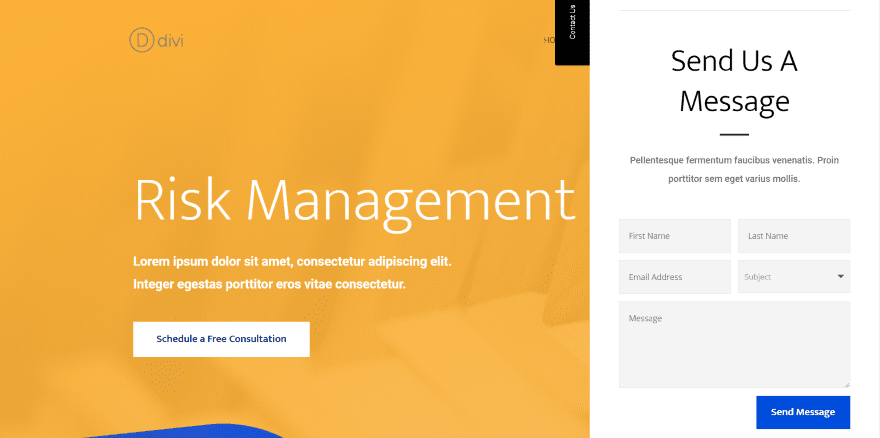
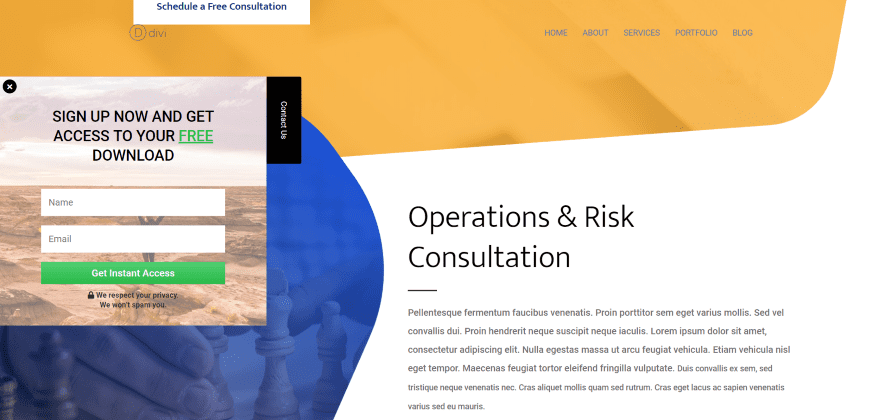
Clicking the label opens the slide in, which displays over the screen showing the contact form from the Risk Management layout pack. Clicking the Contact Us button again closes the slide-in. I have the slide-in width set to 500 pixels, the label height at 150, and the label width at 60.
The example shows the box shadow. I’ve changed the location to the right sidebar, which displays the close button. I’ve changed the colors of the label and close button and made the label’s corners more rounded. I’ve also set the slide-ins width to 600 pixels.
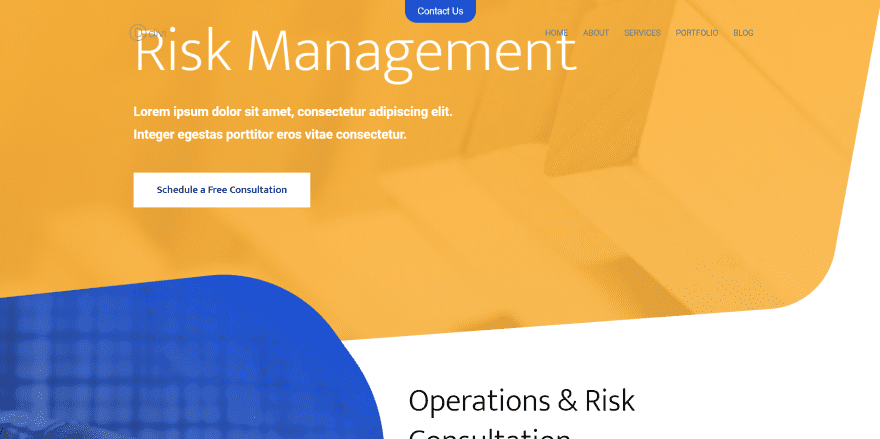
For this one, I moved the label to the top bar position. I used colors from the layout and changed the width to 122 pixels and the height to 40 pixels. As you can see in this image the label remains in place on scroll.

It opens in full screen and includes the close button.
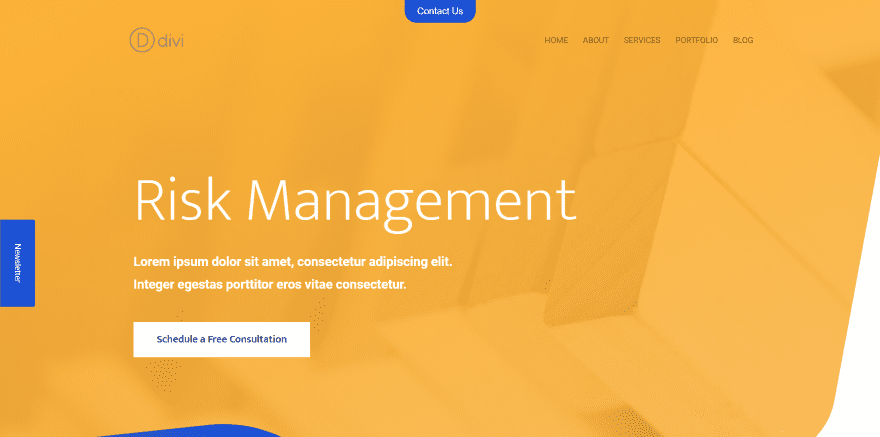
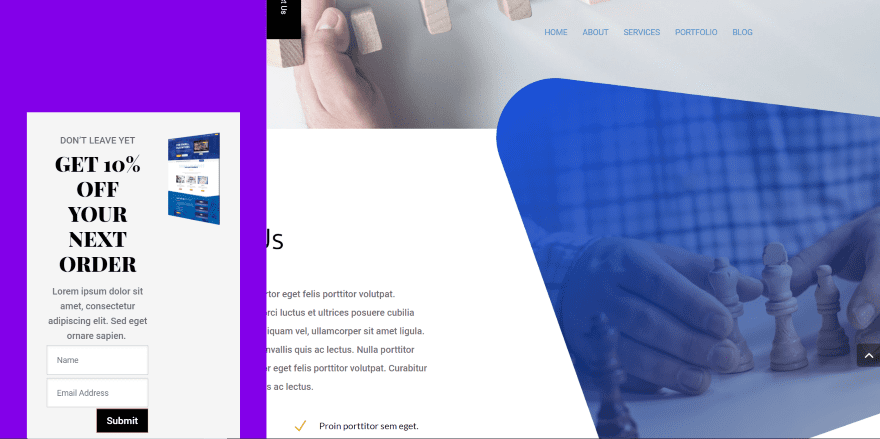
For this one, I’ve added a new slide-in to the left sidebar. I’ve styled it to match the site and left the corners of the label squared. I’m using 50% label top margin, which places the top of the label in the center of my screen height.
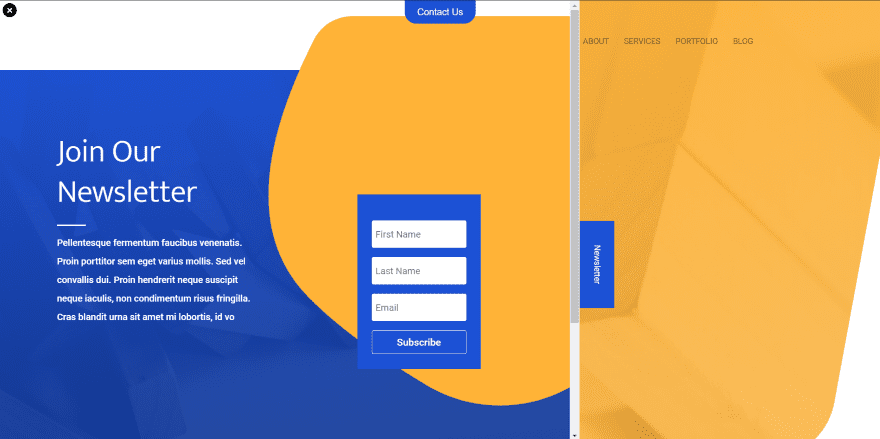
It opens from the left. I gave it a pixel width of 1000, so it covers a lot of my screen. The Contact slide-in is still showing at the top even though the menu is covered by the newsletter slide-in.
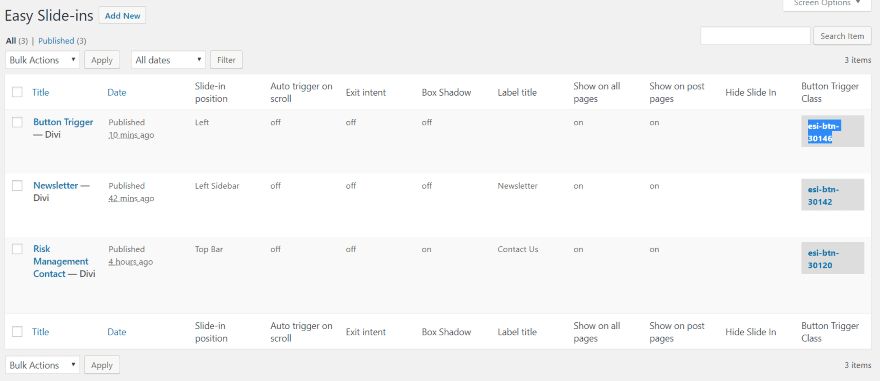
The slide-ins give you a button trigger class. You can use this with buttons to open the slide-in.
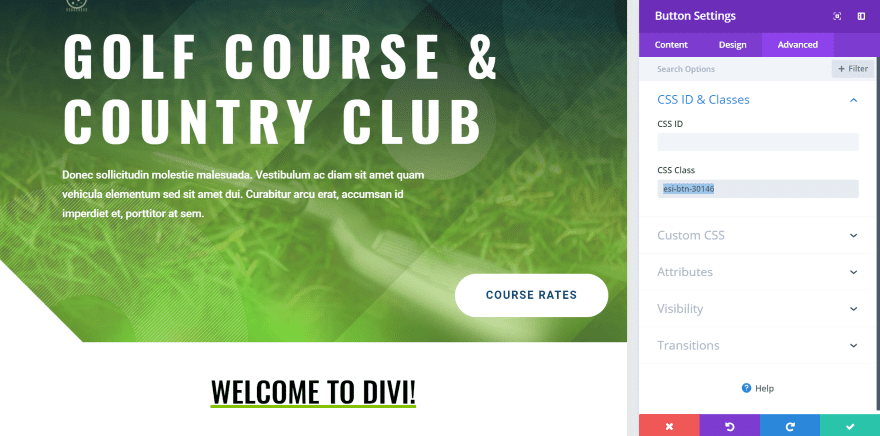
Copy the class and paste it into the button’s CSS Class field.
Now, clicking the button opens the slide-in. There doesn’t need to be labels anywhere, but it will slide-in from the direction of where you’ve placed the slide-in. This one was placed on the left, so it comes from the left. I’ve set the width to 1000 pixels.
Easy Slide-Ins Demos
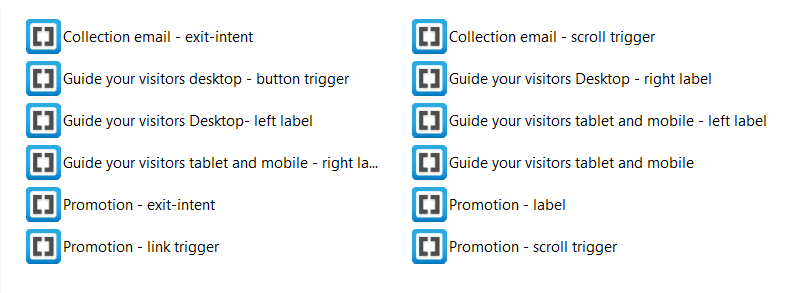
The download file includes 12 demos. These are pre-made layouts (JSON files) that you can upload into the Divi Library. Import them into the Divi library like regular layouts. They include styled modules but you’ll have to set up the design settings. Here’s a look at a few of them.
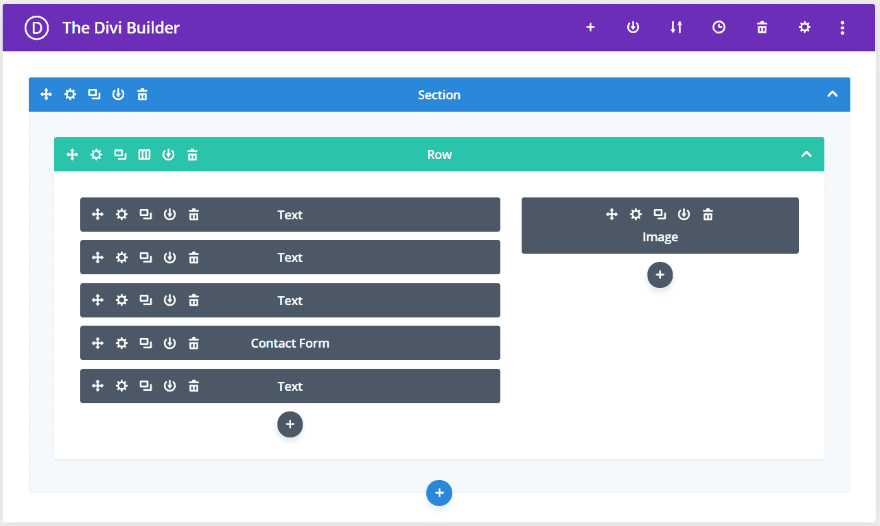
This is Collection Email with Exit Intent. It includes several text modules, a contact form, and an image module.
Here’s how it looks on screen. I’ve left everything at default here, so the button still shows the original text, location, and styling.
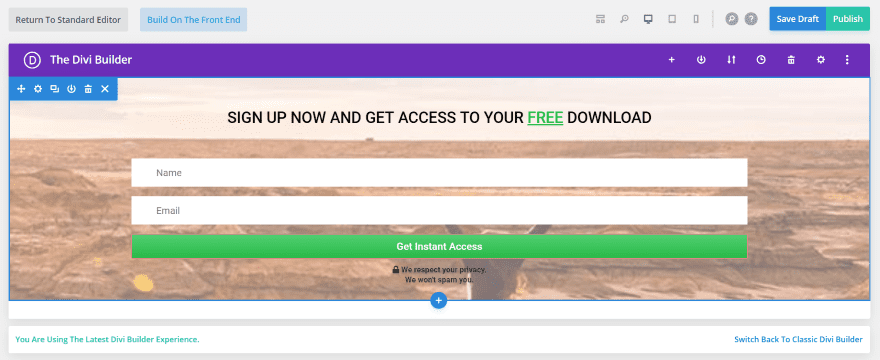
This one is Collection Email with Scroll Intent. It includes a background image, two text modules, and an email module.
Here’s how it looks on the page using the premade settings. This shows how responsive the slide-in is (which is exactly what we’d expect, since it’s showing a Divi layout). If you want to show more of the image just make the slide-in wider.
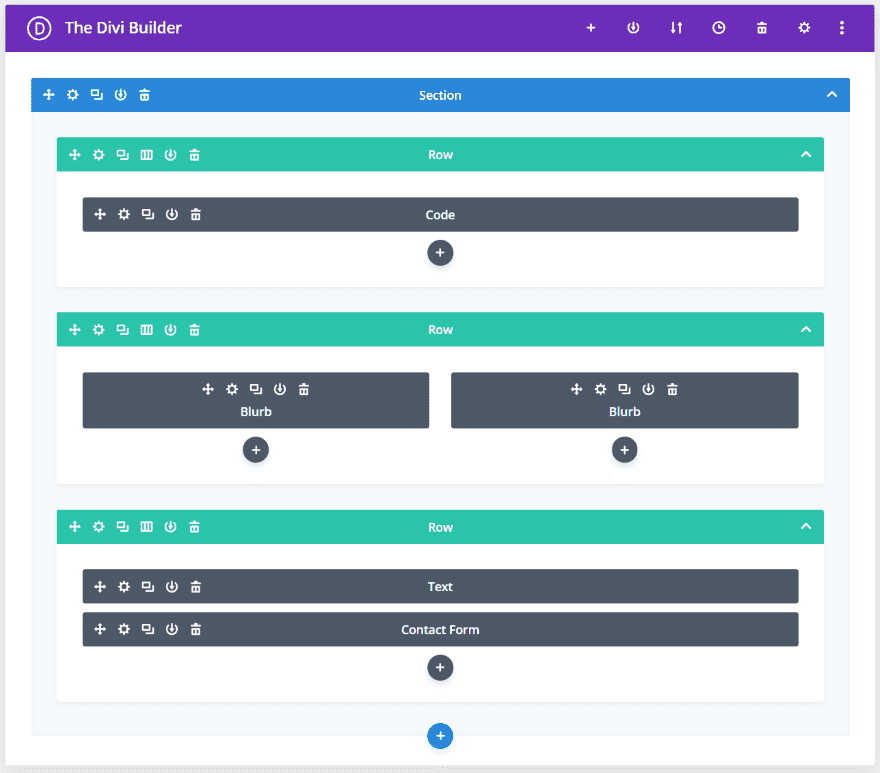
This one is Guide Your Visitors. It includes a code module (for Google Maps), several blurbs, text, and a contact form.
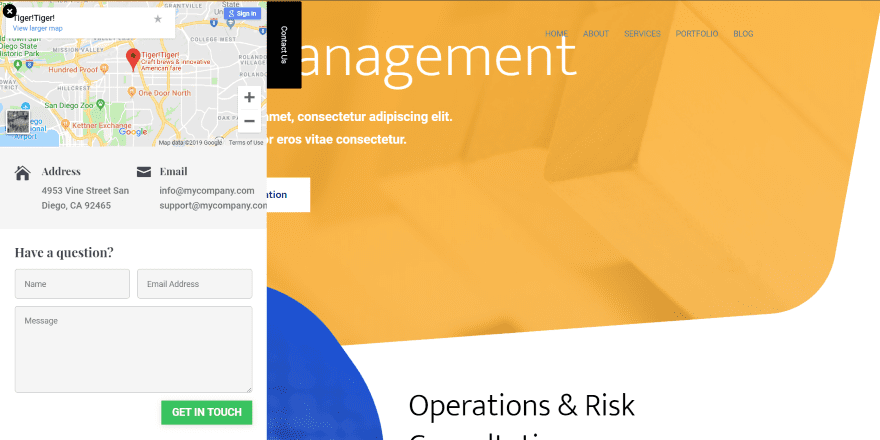
Here’s how it looks on the page using the default settings.
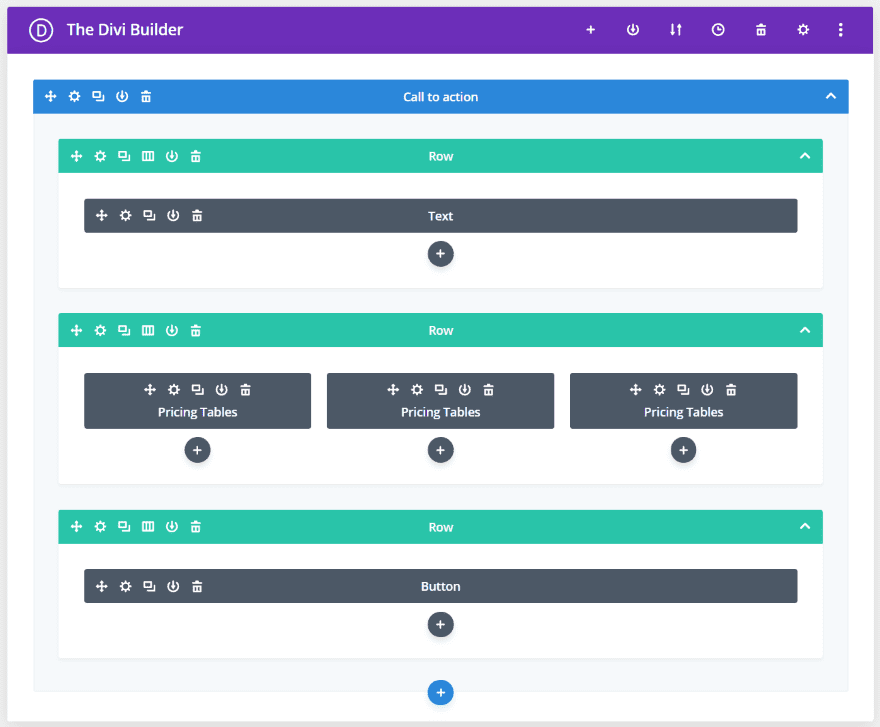
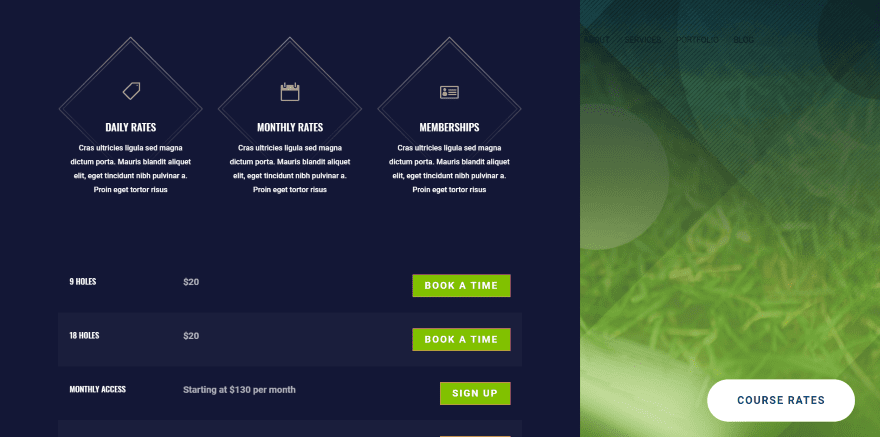
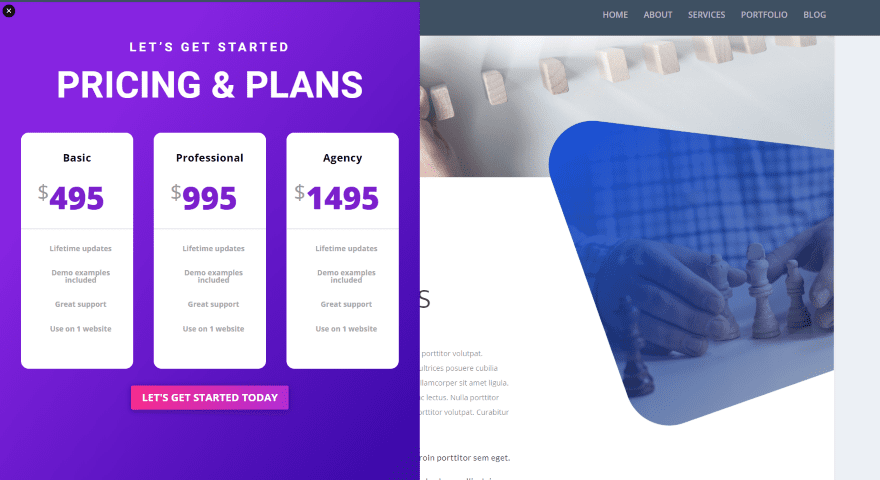
This one is Promotion with a label. It includes a text module, several pricing tables, and a button.

Here’s how it looks on screen. I’ve set it to 800 pixels so it would show the full width if the slide in. I removed the label and set it to display when the page scroll hits 60%.
Here’s the same layout when viewed with Extra. I’m glad to see that it works great with both Divi and Extra.
Easy Slide-Ins Price and Documentation
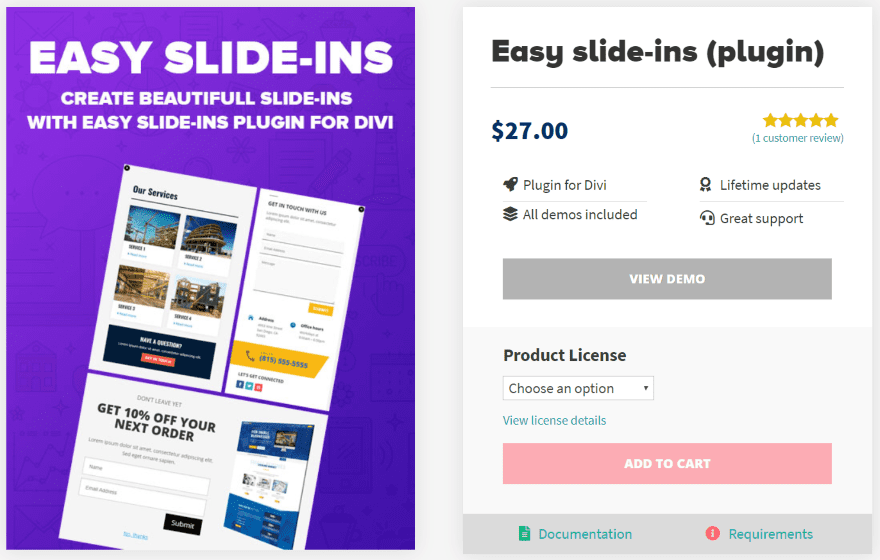
Easy Slide-Ins is available from the developer’s website. It has two purchase options:
- Single site – $27
- Unlimited sites – $97
Both licenses include the demos and lifetime updates.
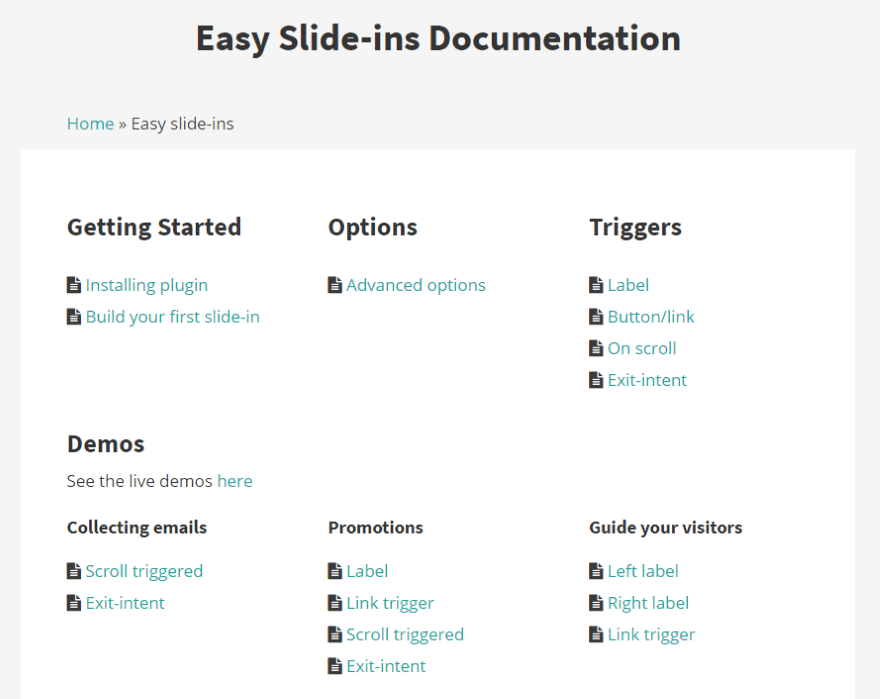
Documentation is provided at the developer’s documentation and support page. The page includes a walkthrough of each of the points with images to demonstrate them. The page also includes a link to email support.
Ending Thoughts
Easy Slide-Ins makes it easy to create slide-ins and popups for Divi and Extra. I found it easy to use. I never needed the documentation, but it’s there if needed. It’s an interesting way to bring in hidden page elements. Since anything can be used in the slide-in you can show contact forms, newsletter signups, calls to action, videos, shop modules, etc. It can be a single module or a full page layout.
I like that it has multiple trigger options. Exit intent and auto trigger make it a good choice for creating email and CTA popups. Opening by clicking the label is a nice way to add them to multiple locations on your pages. I like that you can add multiple slide-ins on a single page and that you can determine which pages they display on. Adding the CSS Class to buttons is a great way to reveal information when the visitor chooses to see it.
You can build the slide-in from the front-end but I didn’t see how to access the settings. Without the settings, I couldn’t move the labels and see their location in real-time. I had to load a page to see them. It still wasn’t difficult to use, but there was a little bit of guesswork involved. This is so minor that I wouldn’t keep me from using or recommending it.
If you’re looking for a simple and intuitive way to create slide-ins using the Divi Builder, Easy Slide-Ins is worth a look.
We want to hear from you. Have you tried Easy Slide-Ins for Divi? Let us know what you think about it in the comments.
Featured Image via ByEmo / shutterstock.com
The post Divi Plugin Highlight: Easy Slide-Ins appeared first on Elegant Themes Blog.