
Divi is an exceptionally easy to use page builder that lets you create page and post layouts with drag and drop modules. It’s ease of use has made people so passionate about it that they want to use it in every possible area of their website. That’s where the third party plugin we’re featuring in today’s Divi Plugin Highlight comes in.
Page Builder Everywhere adds the Divi Builder to areas it doesn’t normally work inside. It lets you use the builder on custom post types, category pages, search pages, archive pages, WooCommerce product pages, 404 pages, etc. You can even use it to create headers, footers, and sidebars.
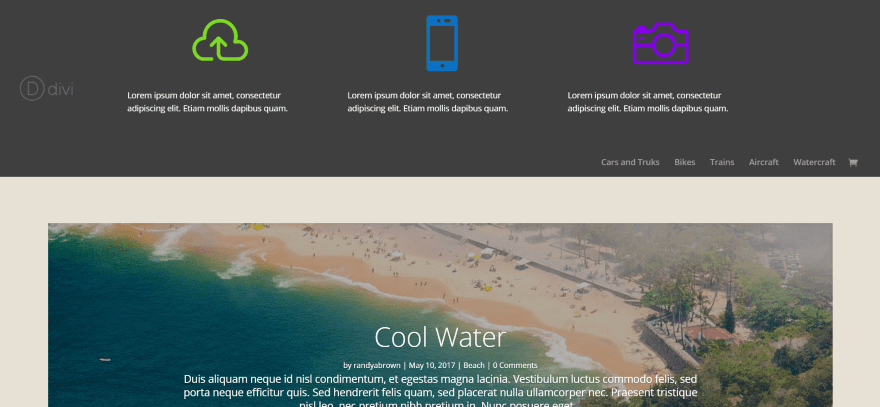
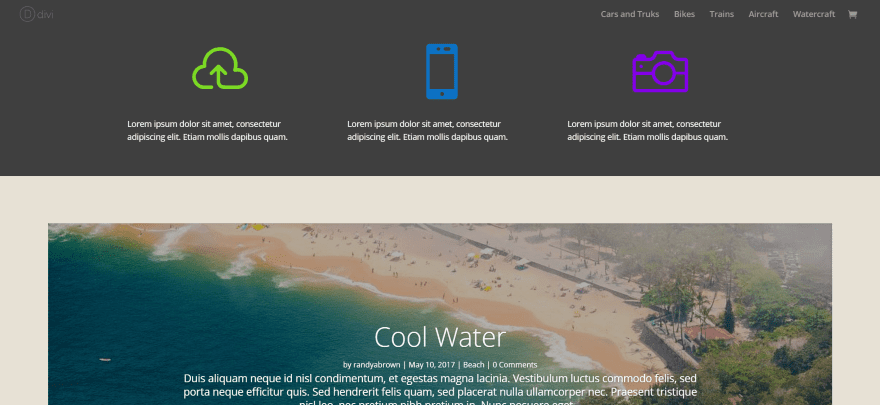
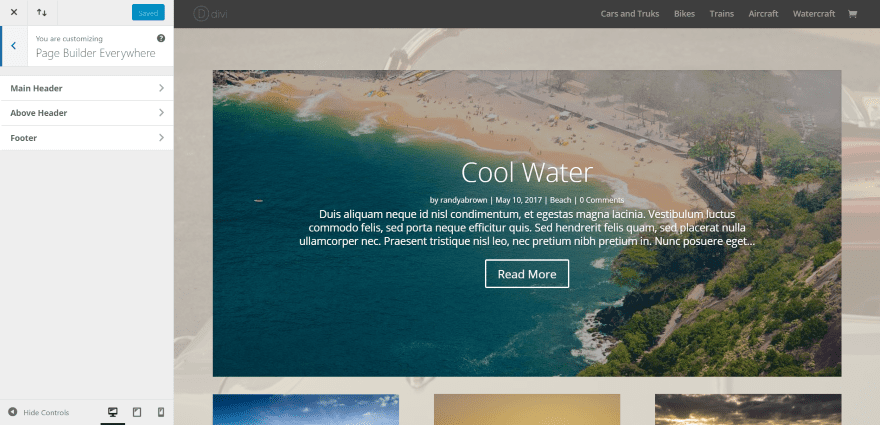
For testing I created a simple blog in a grid layout with four posts. I want to expand this layout, but I’ll do it with the plugin. Images were taken from Unsplash.com.
Divi Layouts
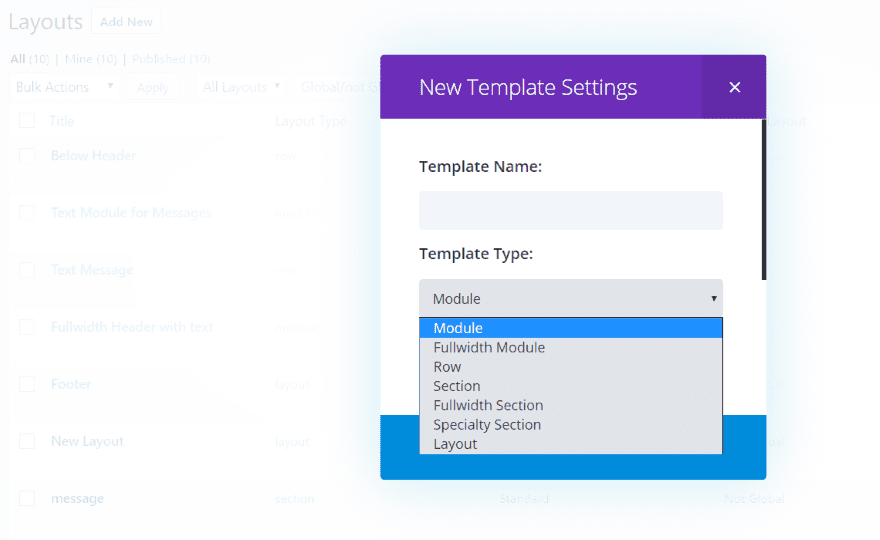
The plugin uses your premade Divi layouts, so you’ll need to create them first. Go to Divi, Divi Library in the dashboard and select Add New to create your layouts. You can create the layouts using Module, Fullwidth Module, Row, Section, Fullwidth Section, Specialty Section, or Layout.
Any of the options will work. For more control of backgrounds and to be able to add multiple modules and columns, create your layouts using rows or sections rather than choosing module when you create them in the library. I mostly used rows for these examples.
Widget Areas
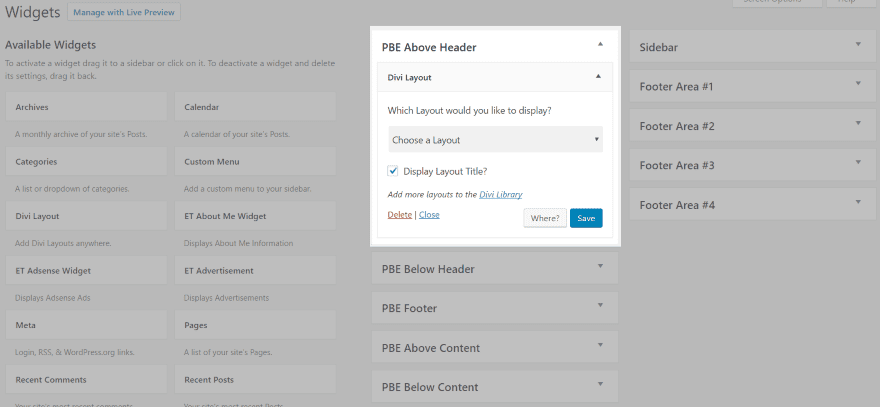
The plugin adds five new widget areas to Divi and allows you to place your layouts in those locations:
- Above Header
- Below Header
- Footer
- Above Content
- Below Content
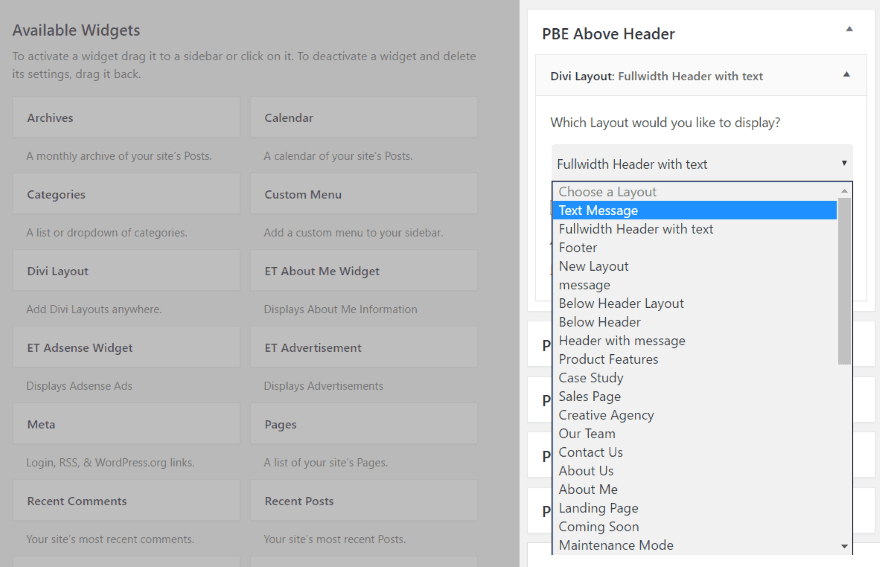
Once you’ve created the layout you want, drop the Divi Layout widget into the location you want it to appear and choose the layout from the drop-down box. If you haven’t created the layout you can click the link labeled Add more layouts to the Divi Library and it will take you to the library.
Conditional Logic
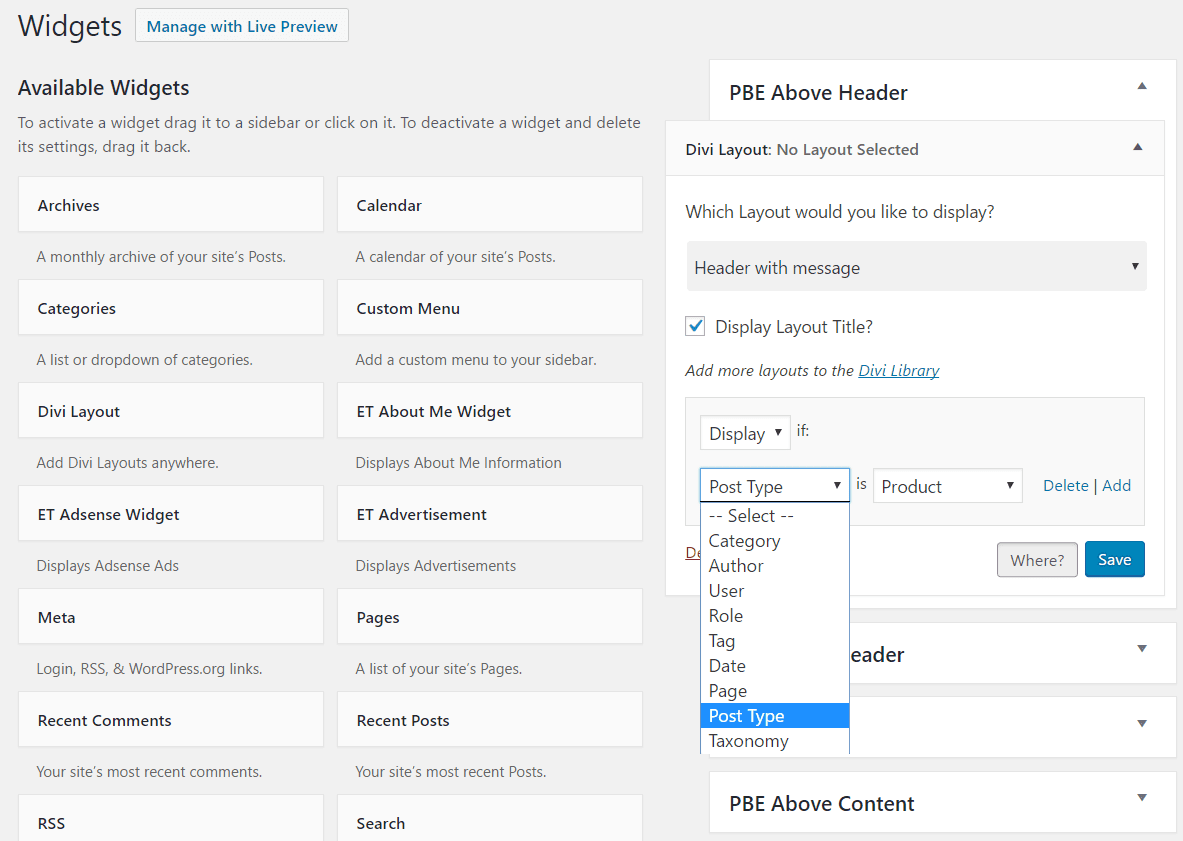
The widget lets you use conditional logic so you can decide when the layout appears. I selected Header with message and clicked Where. This brings up the conditional logic so you can choose whether to display or not, select the post type, and choose the result from drop-down boxes. You can add as many conditions as you want. They use OR logic, so it will display IF This = That OR this = That OR…
For example, you could display a module based on the post type, user, on specific pages, taxonomies, etc. This means you could create a layout that would only display a message if the user wasn’t logged in, or only on WooCommerce product pages. You can even use multi-layered logic to determine when to show a layout. Different sections can be shown for different categories. Different parts of your website can have their own menus.
Conditional logic is great if you want to show an opt-in form, message, or ad if the user isn’t logged in. Those that are logged in wouldn’t see the form, message, or ad. This allows you to control your sales-pitches. That one use alone can benefit a website enough to use the plugin. The possibilities are endless.
Page Builder Everywhere Examples

I created an example row that I wanted to move from one location to another. Let’s see how it looks in different areas of the page. I’ll add a few more examples as we go.
Above the Header
Here’s a sample row to show how it looks above the header. Notice the logo appears with the new row. This is on purpose and can easily be changed.
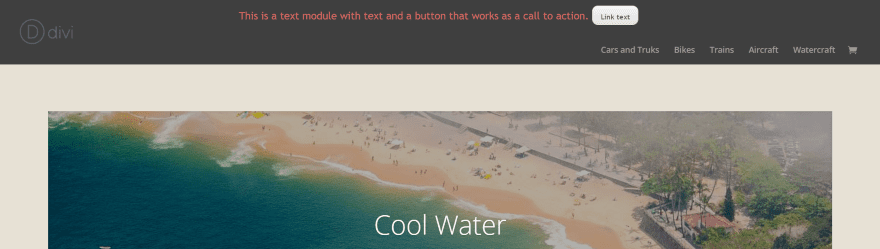
I created a layout with a text module and adjusted the font size, colors, and padding. It places the text above the menu using the same background as the header unless I custom style it. This one includes a button that can take the reader to a page, post, product, etc. This is a great way to create a CTA above the header.
Below Header
Below the header moves the row to the area below the menu. This content stays with the header, so if the header remains on screen when users scroll the content in this area will remain on screen as well. Just like above the header, this one uses the header’s color unless you style it yourself.
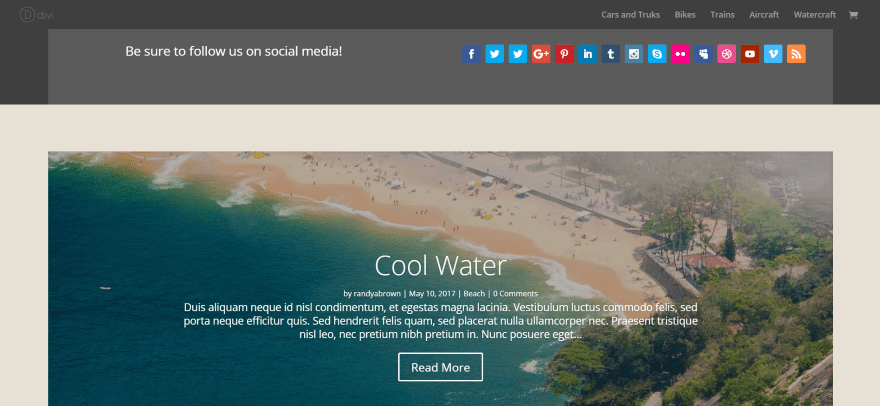
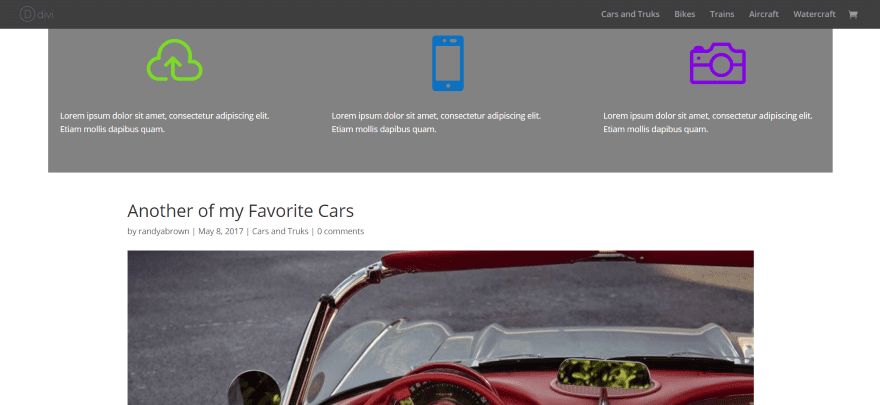
Here’s a row with two sections – a text module for a message and a social media follow module with one of every social network it includes. I styled the background of the row so it stands out just a little.
Of course this space can be used for anything that you want to have remain on screen including newsletter sign-up forms, contact information, operating hours, images, etc.
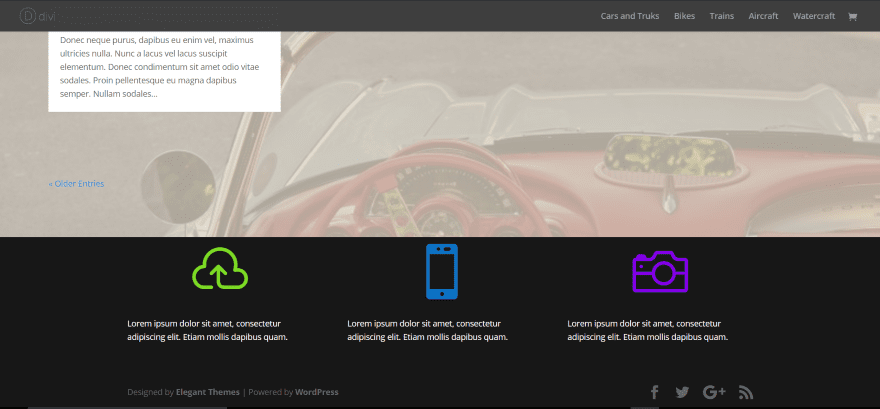
Above Content
In this example I’ve placed it on a regular blog post that isn’t using the Divi Builder. Any of the locations work with regular posts and pages. This is a great way to add Divi layouts and add modules to regular posts. Above the content scrolls with the content.
Below Content
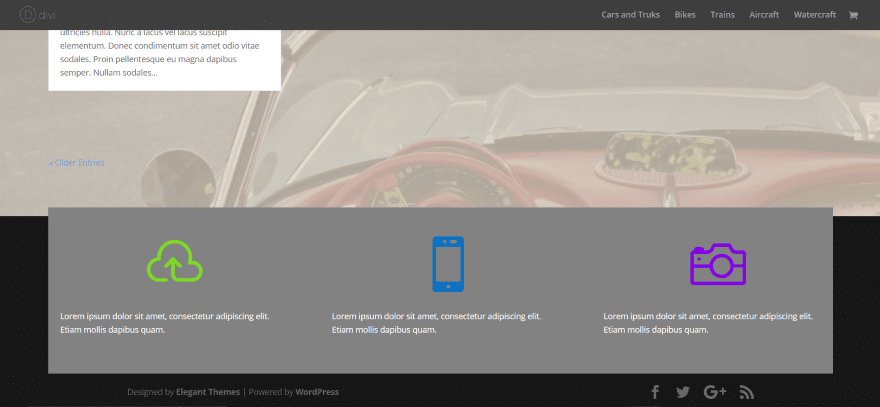
This one places the module under the content and just above the footer. Unless you style it yourself it will take on the footer’s styling. It will scroll with the content, so if you’re using parallax it will stand apart from the footer.
Footer
Here’s a look at my layout within the footer. It can be styled separately from the footer and it scrolls with the footer so it will stand apart from the content if you’re using parallax.
WooCommerce Product Pages

For this example I’ve added two layouts. The first will go above the product and includes a text module and a video module.
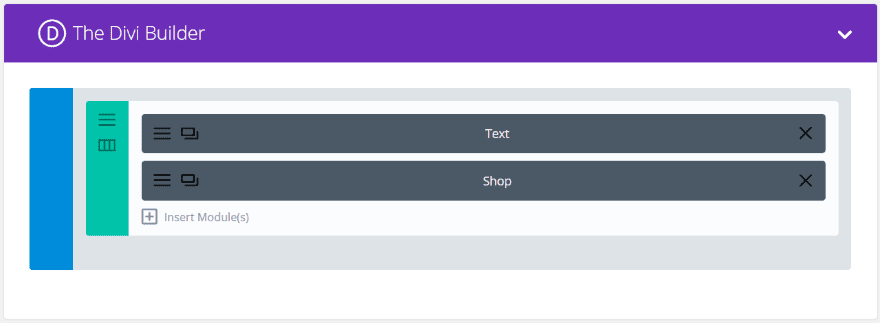
The second layout will go below the product and includes a text module and a shop module.

I then placed the two widgets in their locations, chose the layout in the widgets, and set the condition to only show the layout on pages that use the Product post type.
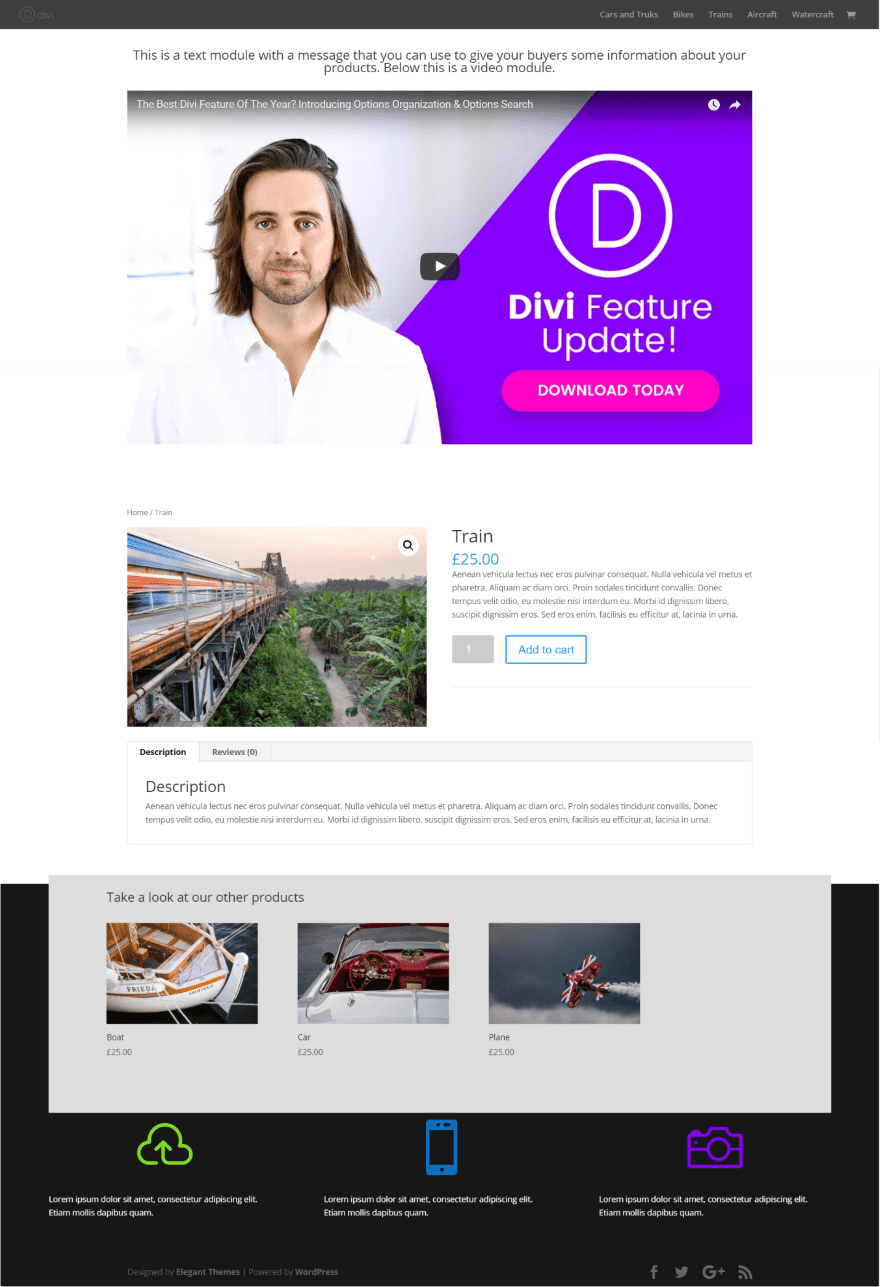
The result is a product page with Divi layouts above and below the product.
404 Page
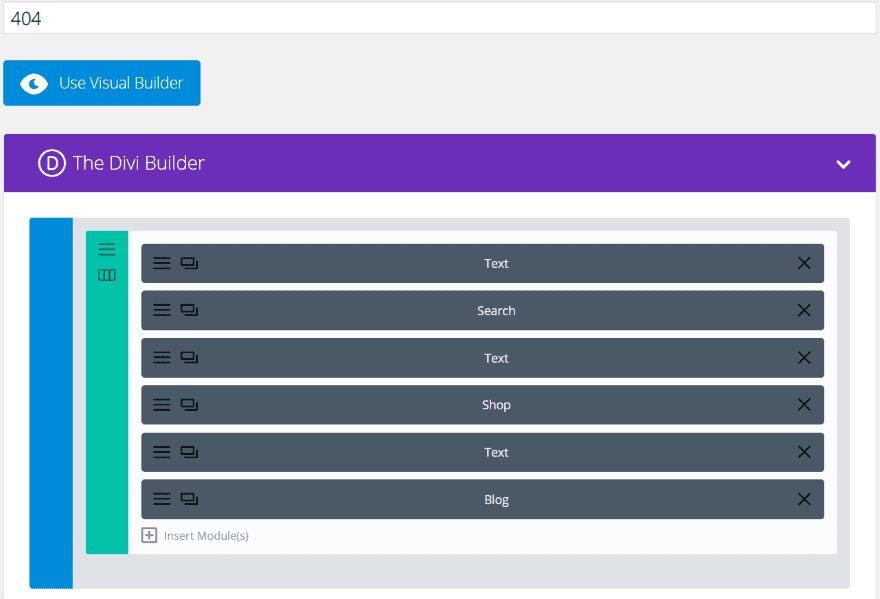
I created a layout to use as a 404 page.
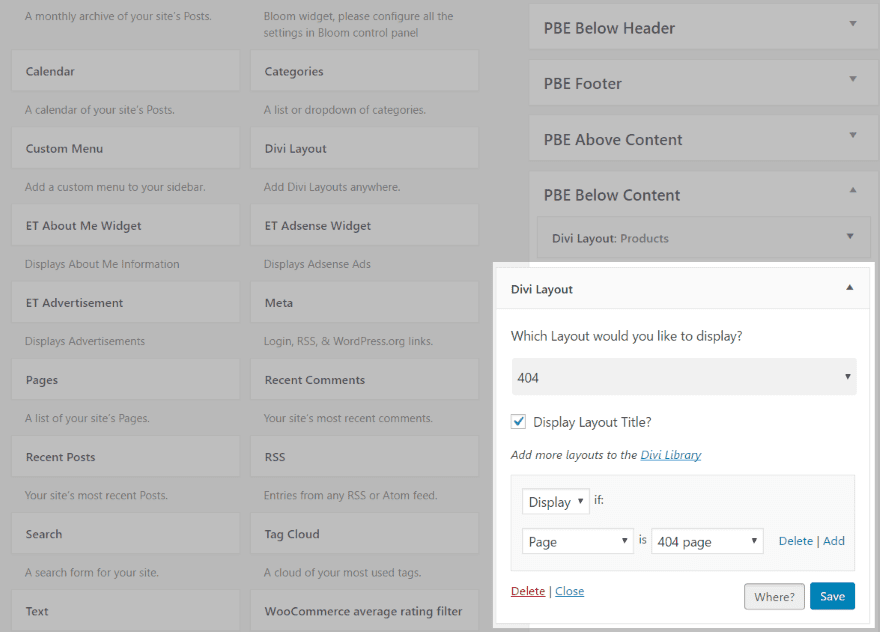
I then placed the widget, selected the layout, and chose the conditions for it to display only on the 404 page. Notice the widgets of the Product pages are still in place. The conditions keep them from showing where I don’t want them to.
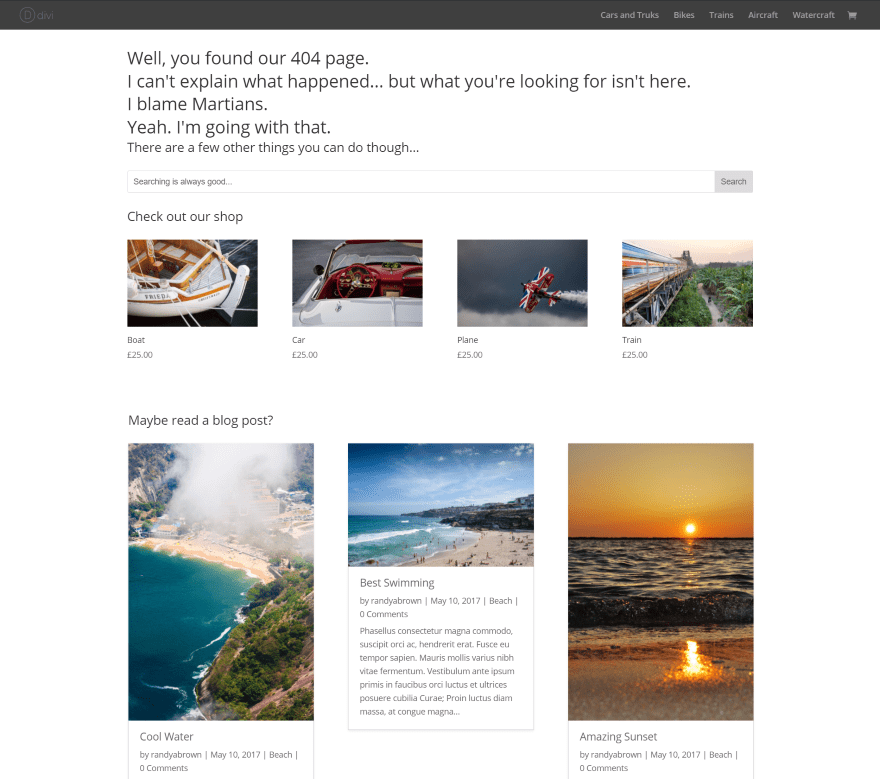
This is a great way to create 404 pages using the Divi Builder.
Page Builder Everywhere Customizer
A new customizer called PBE Customizer is added to the drop-down menu on the front end and within the Theme Customizer menu. It includes sections for:
- Main Header
- Above Header
- Footer
Here’s a look at each one.
Main Header
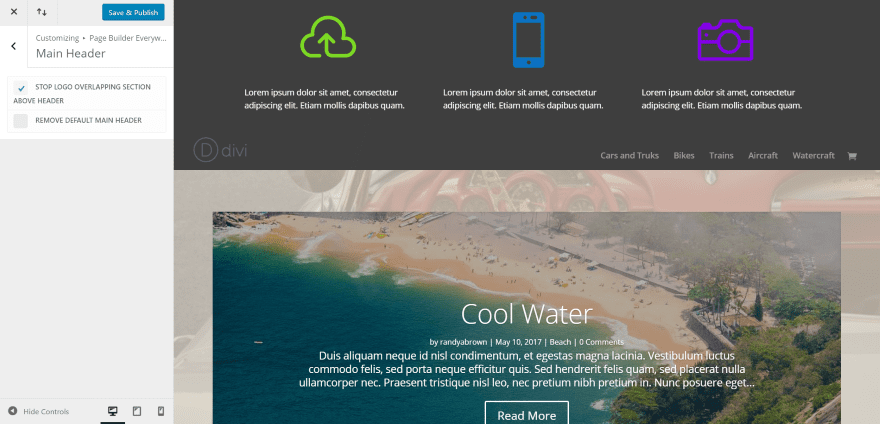
As you can see in the example for above the header, the logo overlaps the sections of above the header and the header. You can keep this from overlapping and leave the logo in its original location by selecting Stop Logo Overlapping Section Above Header.
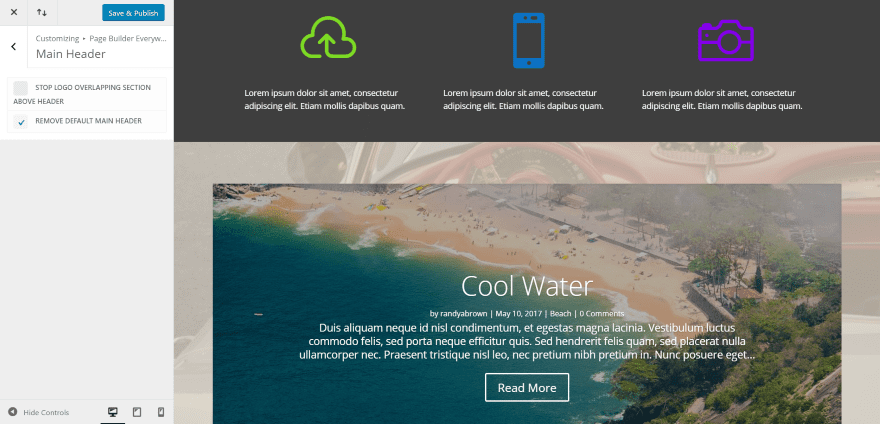
Choose Remove Default Main Header to hide the original header. The features for the main header work for both above and below the header areas.
Above Header
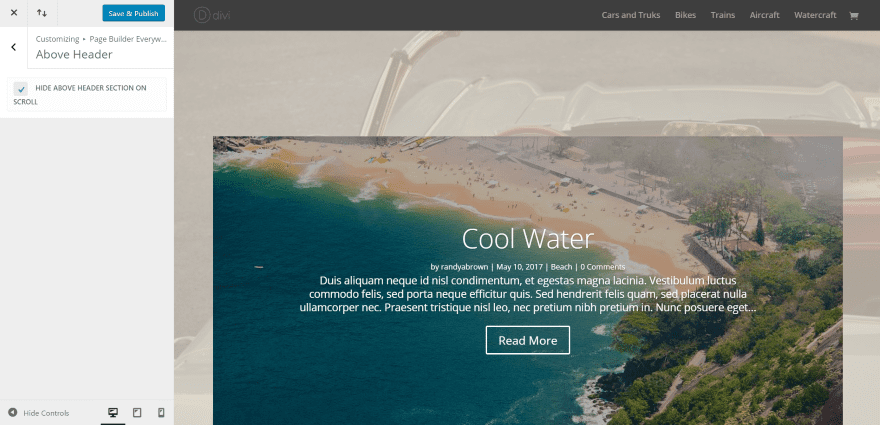
Above Header allows you to hide the content above the header when the reader scrolls.
Footer
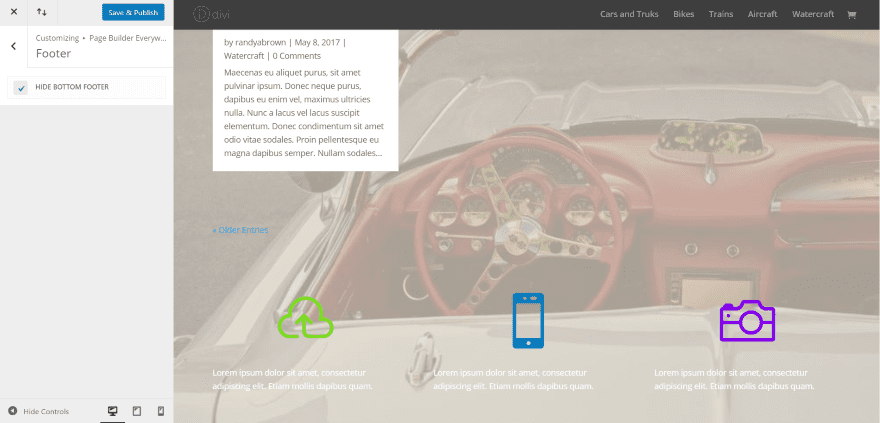
Selecting Hide Bottom Footer turns off the original footer. In this example I didn’t style the module so it takes on the styling around it. Here it’s placed over the background image.
Price and Documentation
Page Builder Everywhere costs $14. The sales page includes instructions and an FAQ to help you get started.
Final Thoughts
Page Builder Everywhere is an easy plugin to use. It gives you five new locations to add Divi layouts plus you can add them to specific post types, categories, authors, dates, taxonomies, and more and create multiple conditions. You can even display or hide them based on whether or not the user is logged in. The plugin might conflict with Divi Widget Builder, but you won’t need that plugin if you’re using Page Builder Everywhere.
We want to hear from you. Have you tried Page Builder Everywhere? Let us know about your experience in the comments below!
Featured Image via Sentavio / shutterstock.com
The post Divi Plugin Highlight – Page Builder Everywhere appeared first on Elegant Themes Blog.