
Every week, we provide you with a new and free Divi layout pack which you can use for your next project. Along with every layout pack, we also share a use case that’ll help you take your website to the next level.
This week, as part of our ongoing Divi design initiative, we’re going to show you how to add book previews to your website using Divi’s Author Layout Pack and the free 3D Flipbook plugin. Adding previews to your website helps visitors in their decision making. They can get a taste of your product and be convinced of the content that you’re sharing. To share a book preview, you will need a PDF file containing the number of pages of your (e)book you are willing to share for free.
Sneak Peek

Part 1: Download & Install the Free Interactive 3D FlipBook Plugin
Step 1: Download the Plugin
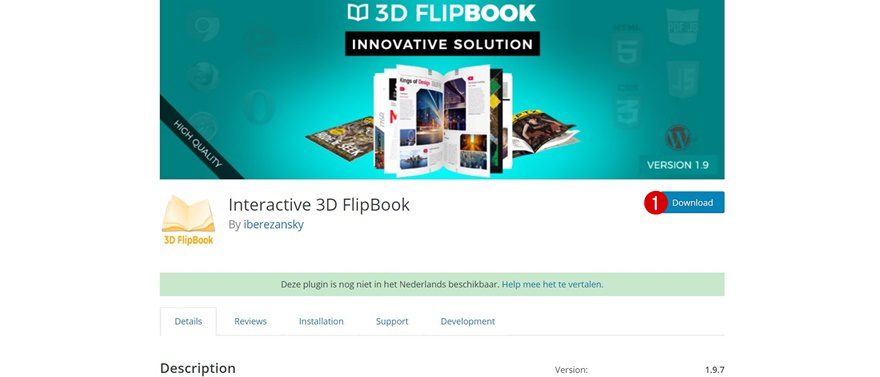
To create the book preview, we’ll need to download the free Interactive 3D FlipBook plugin by going to the following page and clicking on the download button.
Step 2: Upload & Install the Plugin
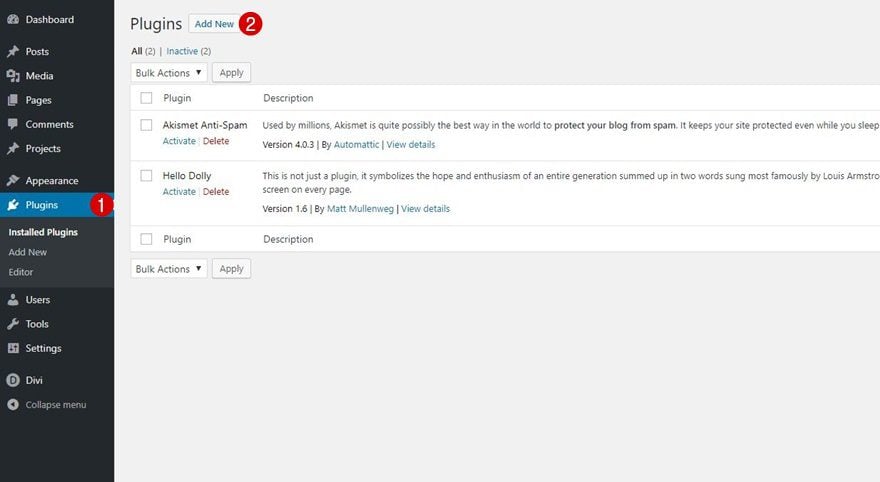
Once you’ve downloaded the plugin, and located it on your computer, go ahead and upload it to your plugins by going to Plugins > Add New. After uploading, make sure you activate the plugin as well.
Part 2: Upload Your Book Preview PDF File
Step 1: Add New 3D Flipbook
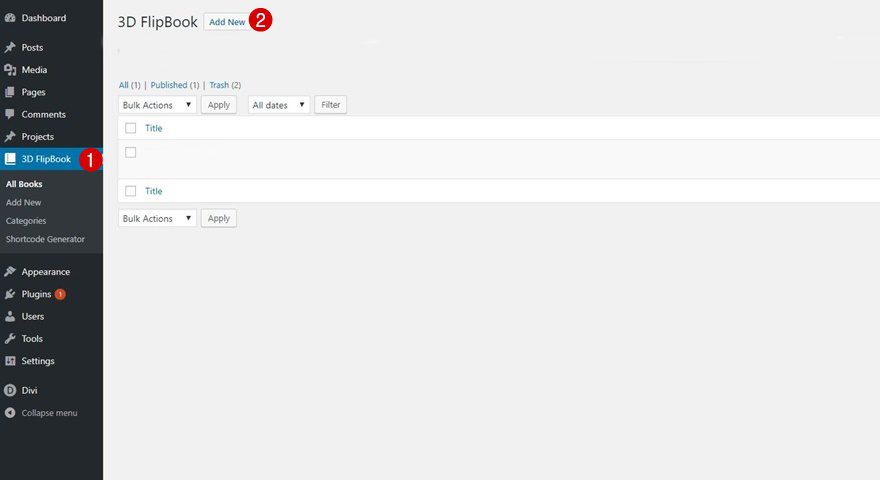
The first thing you’ll need to do, after uploading and installing the 3D Flipbook plugin, is adding your book preview PDF files. You can add up to as many book previews as you desire. Go to 3D Flipbook> All Books > Add New.
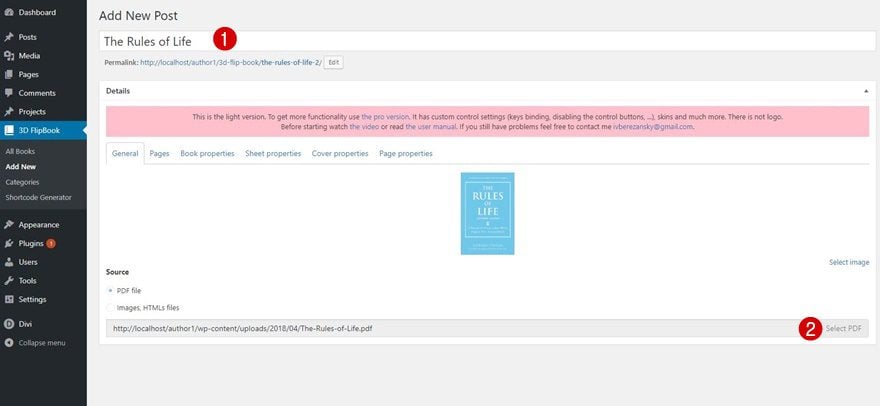
Step 2: Upload Your Book Preview PDF File
Upload every PDF file as a separate book. This includes giving it a title as well.
Part 3: Generate Shortcode #1: Lightbox Activation Link
Step 1: Go to Generate Shortcode
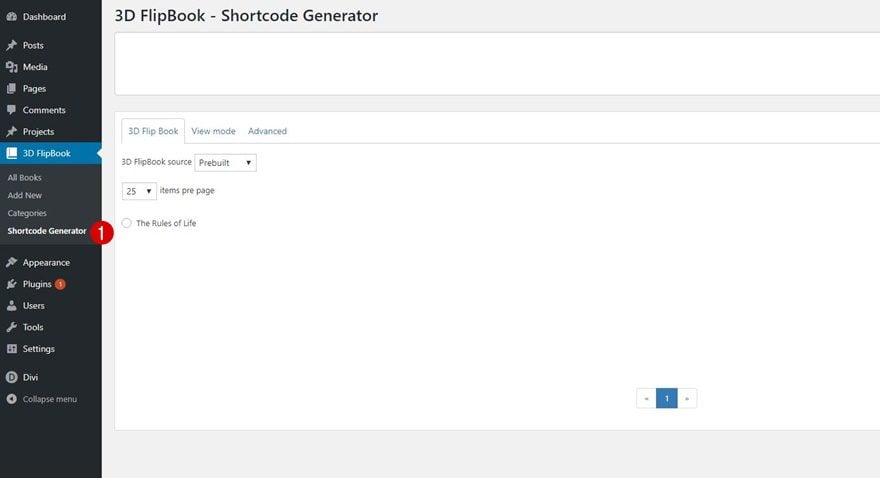
We’re going to show you two ways on how to include these book previews. The first one is on click and the second one will appear on the page itself. We’ll start off with the book preview on click. Go to 3D Flipbook > Shortcode Generator.
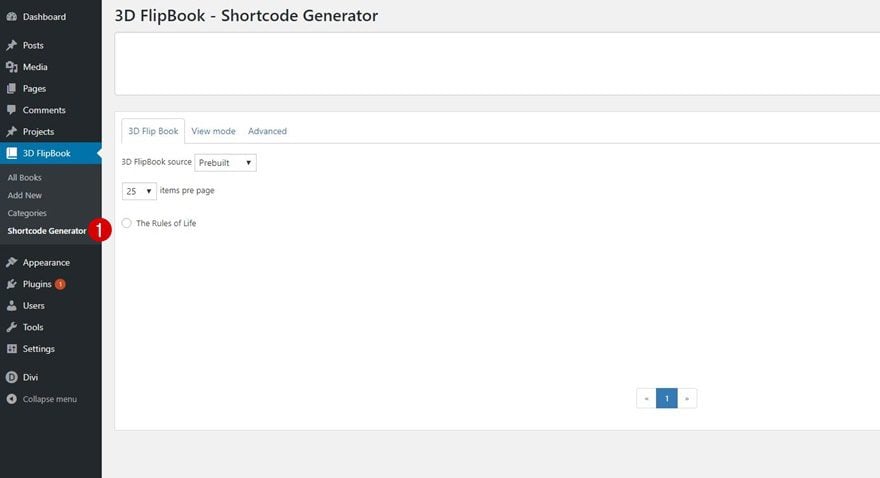
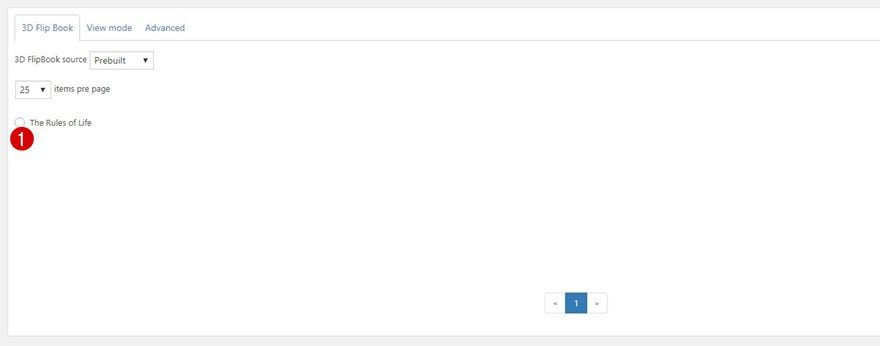
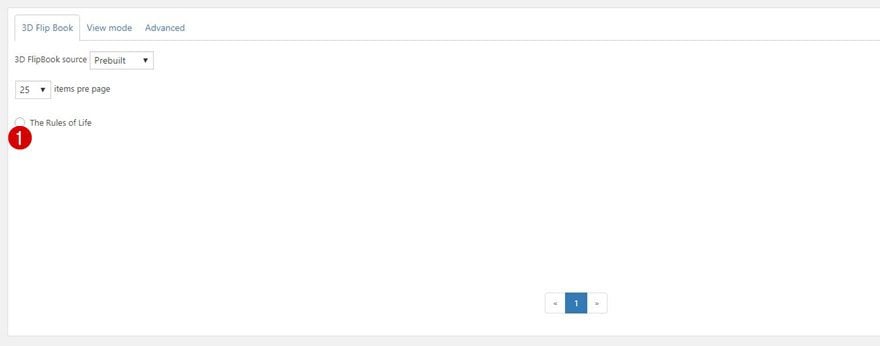
Step 2: Choose PDF File
Within the 3D Flip Book tab, select the PDF file you want to use.
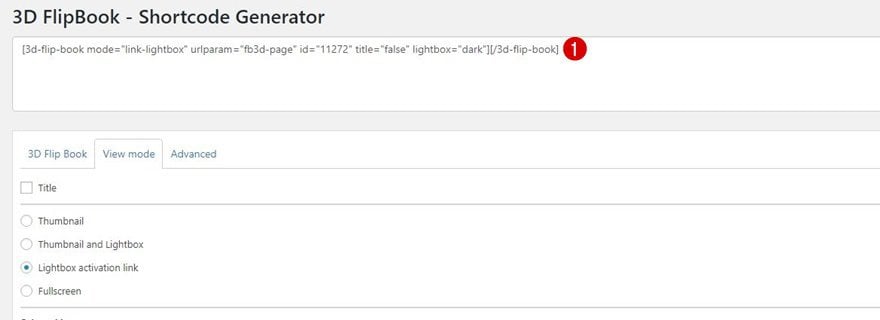
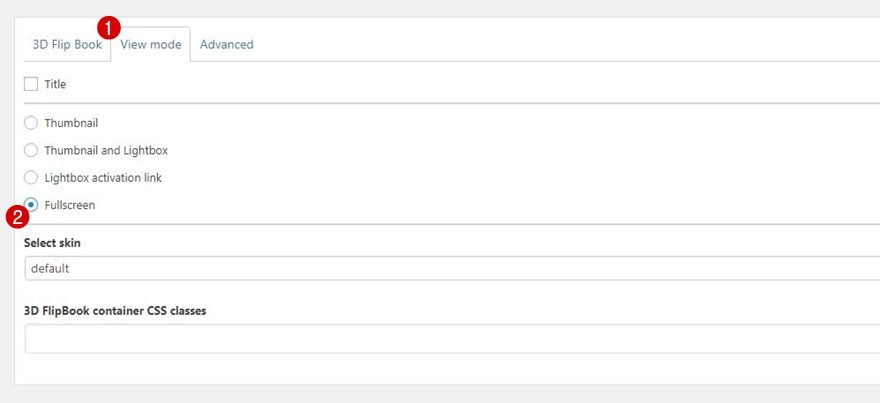
Step 3: Change View Mode
Then, switch over to the View mode tab and select ‘Lightbox activation link’.

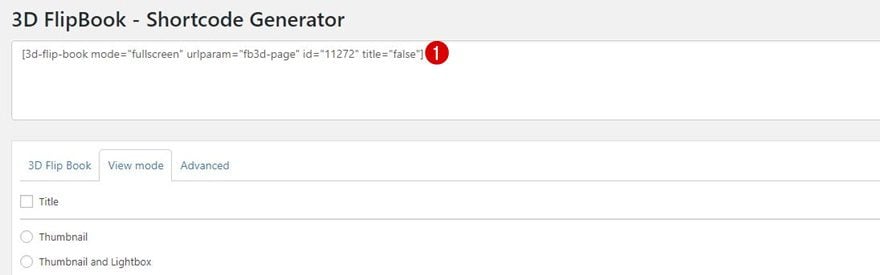
Step 4: Copy Shortcode
The shortcode will automatically update according to the changes you make. Go ahead and copy this shortcode. We’ll need it in the next part of this tutorial.
Part 4: Add Lightbox Activation Link to Hero Section of Home Page
Step 1: Go to Homepage & Enable Visual Builder
It’s time to add the book preview on click to your homepage! Go ahead and open the page with the Visual Builder.

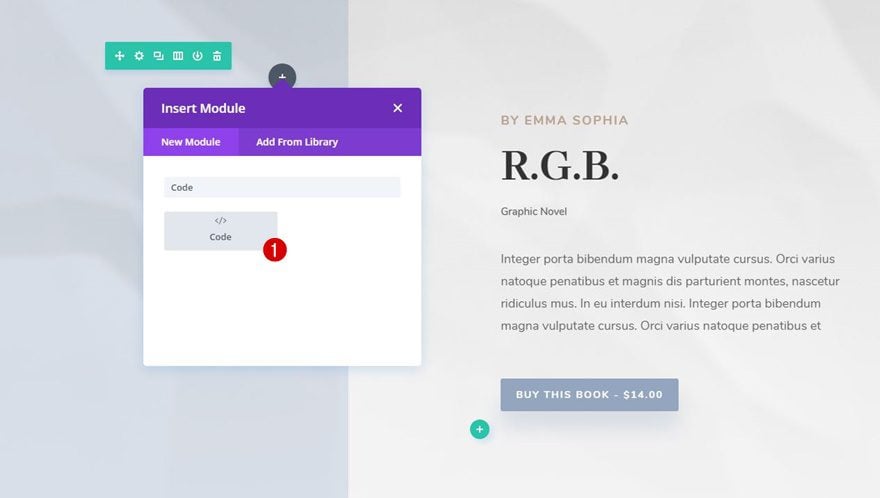
Step 2: Remove Book Image Module in First Column of Hero Section
Then, remove the Image Module in the first column of the hero section. Because of the way the shortcode functions, we’re going to use a Code Module instead.

Step 3: Add Code Module Instead
Go ahead and add a new Code Module to the first column.
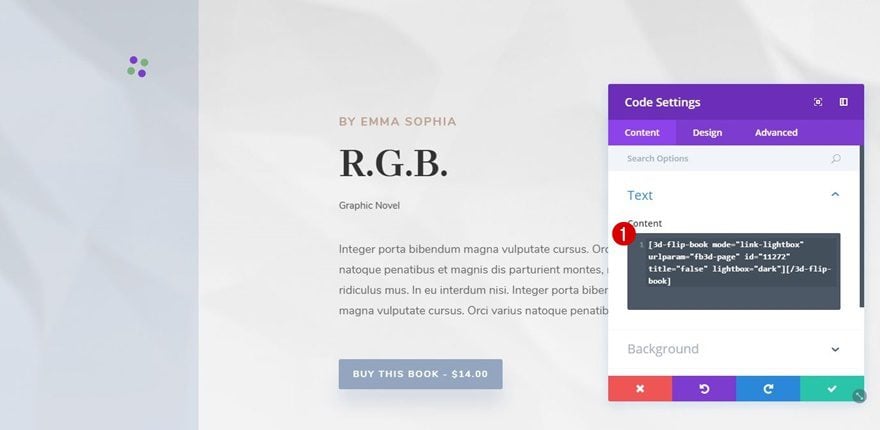
Step 4: Add Your Shortcode
Next, add the shortcode you’ve created to the content box of this Code Module.
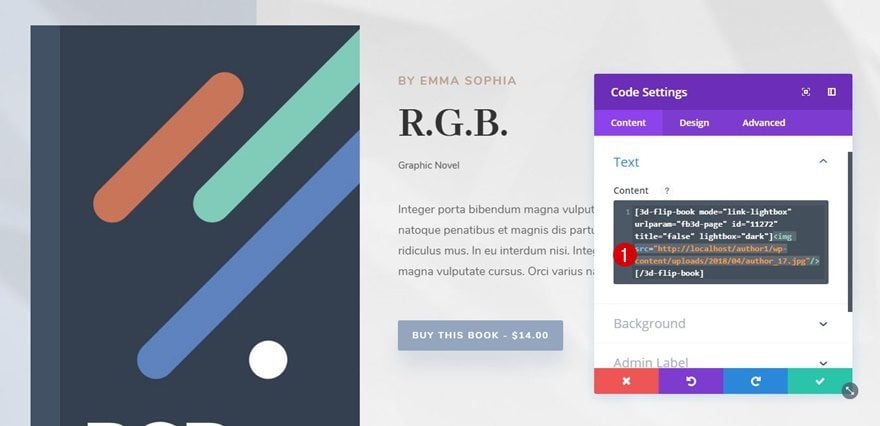
Step 5: Add Image HTML Between Shortcode
And right in the middle of the shortcode, you have the space to add some additional HTML code. We’ll use this HTML code to add an image. Copy the following HTML code and replace the URL with your own Image URL:
<img src="place your image url here"/>
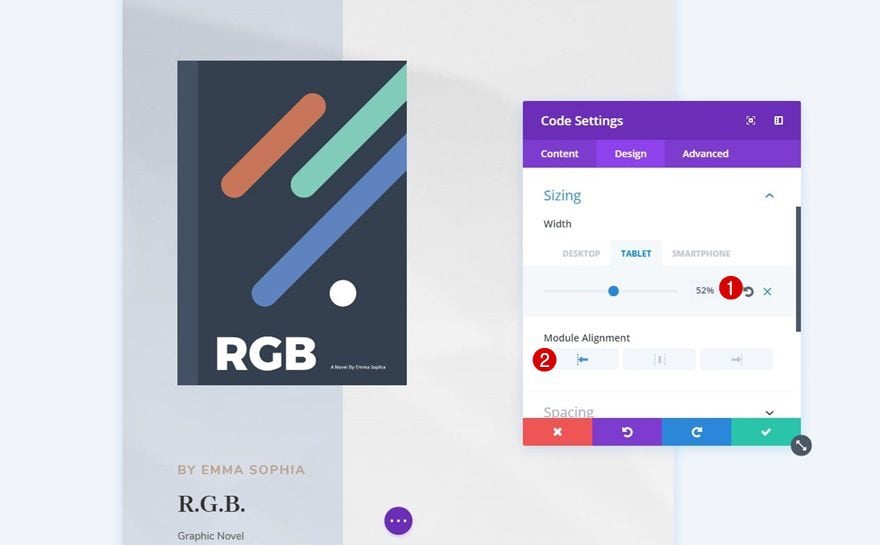
Step 6: Change Sizing of Code Module
Of course, we want this image to be responsive. That’s why we’ll change the Width for tablet and phone to ‘52%’ in the Sizing subcategory. Go ahead and click on the image after saving and exiting the Visual Builder to see the result!
Part 5: Generate Shortcode #2: Fullscreen
Step 1: Go to Generate Shortcode
Want to include the book preview on the page itself without having to click somewhere? No problem! You can easily do that as well. Go back to 3D Flipbook > Shortcode Generator.
Step 2: Choose PDF File
Select the PDF file of your choice again.
Step 3: Change View Mode
Then, move on to the View mode tab and instead of choosing the ‘Lightbox activation link’ option, choose ‘Fullscreen’ instead.
Step 4: Copy Shortcode
Copy the shortcode that automatically adjusts itself to the changes you make.
Part 6: Create Book Preview Section using Fullscreen Book Preview
Step 1: Go to Homepage & Enable Visual Builder
We’re going to add this book preview to our page next. Go to your homepage and enable the Visual Builder.

Step 2: Add New Section Below Hero Section
Right below the hero section, add a new regular section.

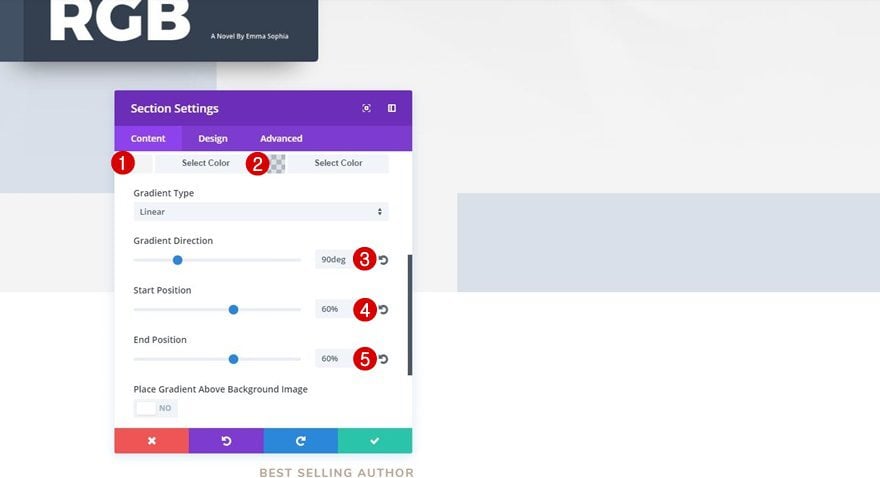
Step 3: Add Section Gradient Background
To match it with the hero section, we’re going to use the following gradient background for this section:
- Color 1: #f4f4f4
- Color 2: rgba(148,166,191,0.34)
- Gradient Direction: 90deg
- Start Position: 60%
- End Position: 60%
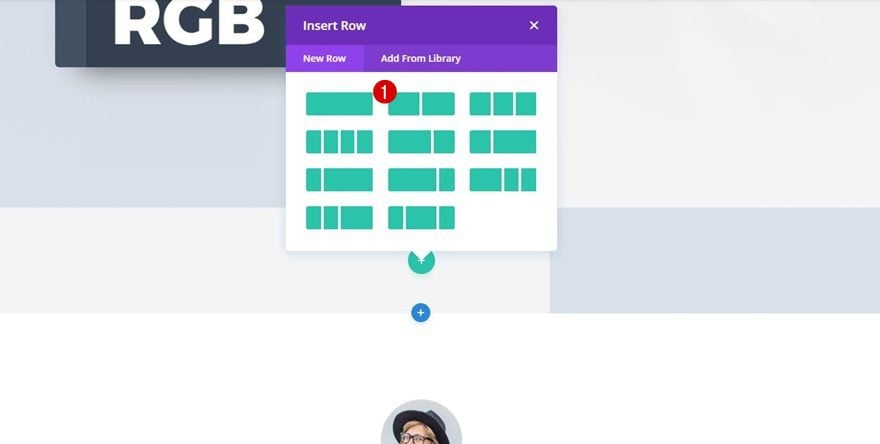
Step 4: Add Two-Column Row to Section
Once you’re done with the section settings, add a two-column row to it.
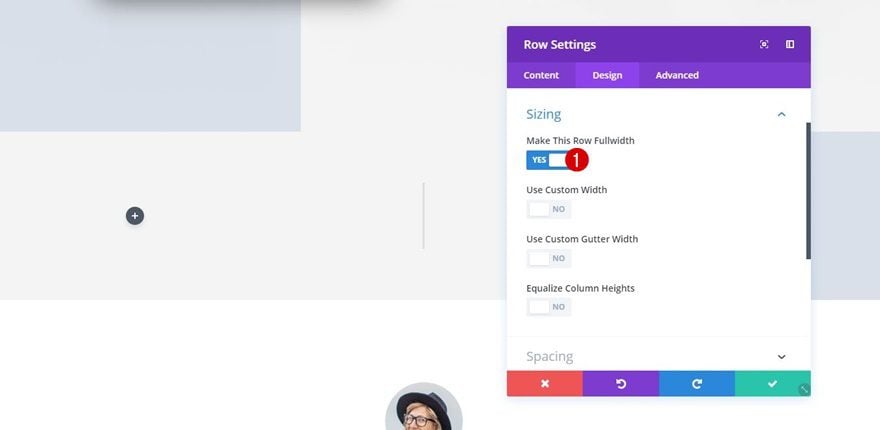
Step 5: Change Row Sizing
Before adding any modules, open the row settings and enable the ‘Make This Row Fullwidth’ option within the Sizing subcategory of the Design tab.
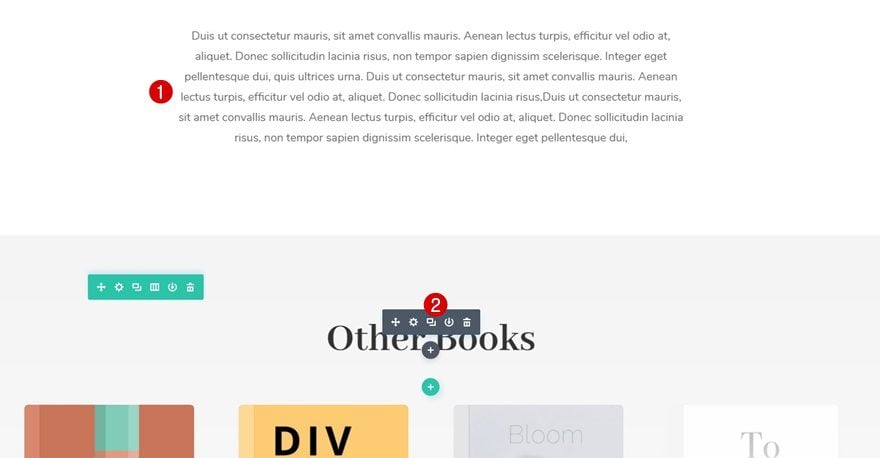
Step 6: Clone Text Modules, Change Content & Place in Column 1
We’re going to save ourselves some time by cloning modules that are already on the page instead of creating ones from scratch. Locate the following two Text Modules on your page and drag them to the first column of the row you’ve just created:

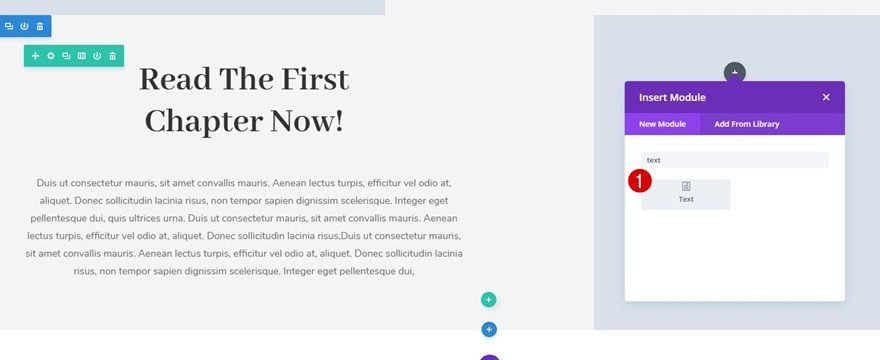
Step 7: Add Text Module to Column 2
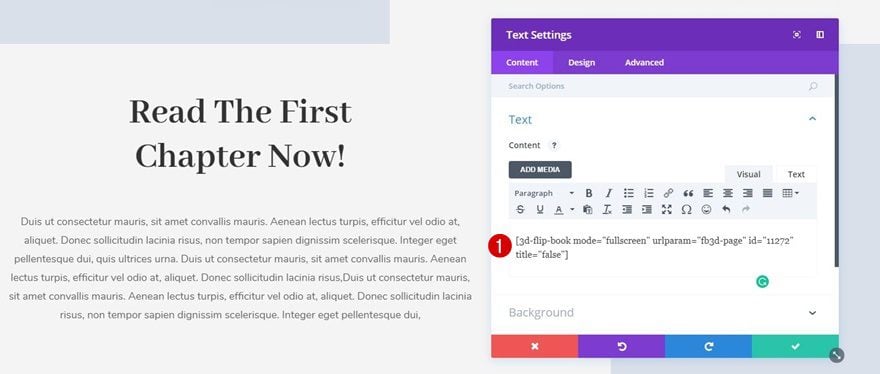
We’ll add the book preview to the second column of this row by adding a new Text Module to it.
Step 8: Add Shortcode to Text Module
Place the shortcode you’ve copied within the Content box of this Text Module and there you have your result!

Final Thoughts
In this use case blog post, we’ve shown you how to add book previews to your website with Divi’s Author Layout Pack and the 3D Flipbook plugin. This use case is part of our ongoing Divi initiative where our design team shares a new layout pack with you each and every week. If you have any questions; make sure you leave a comment in the comment section below!
The post How to Add Book Previews to Divi’s Author Layout Pack appeared first on Elegant Themes Blog.