
One of the most exciting parts of creating a new website is the design creation phase. In a lot of cases, people just spin up WordPress and begin trying designs out. However, this approach is not the best if you want to get your website up and running as soon as possible.
Web design mockups enable you to sketch out what your website is going to look like. Once you have a mockup in place, all you have to do is translate it to the screen and you’re good to go. In this article, we’re going to talk about why it makes sense to use mockups for your next web project. Then we’ll introduce you to Adobe XD, a free tool you can use to create mockups, and teach you how to use it.
Let’s mock it up!
Why You Should Be Creating Mockups for Your Web Pages
A lot of us like to sketch out rough designs for new websites before we get to work on them. It doesn’t need to be anything fancy – imagine the kind of sketch you’d do on the back of a napkin, and you get the idea.
That’s what we call a design ‘wireframe’. It’s a low-fidelity representation of what the final product would look like. The point is for you to be able to get your ideas down on paper, see if they make sense, and share them with others.
Mockups, on the other hand, are much more high-fidelity. Instead of a napkin, you’d probably want to use a dedicated design tool. The goal, in this case, is to design something that looks as much like the final product as possible.
There are a lot of upsides to creating mockups for your web projects, such as:
- Getting to plan your website’s entire design without having to touch a line of code or a page builder.
- You can visualize the placement for each element, how they should look, and the way they fit together.
- You can go over mockups with other members of your team to get more feedback.
- It’s much easier to show a client a mockup than it is to build an entire website and then ask for their opinion.
There are a lot of upsides to creating mockups for your site’s pages. However, they also involve a lot of extra work since they won’t put themselves together. To create a high-fidelity mockup, you’ll need experience with specialized design applications. With this in mind, let’s move on to the next section.
An Introduction to Adobe XD
Adobe XD is a lightweight application created to help UX/UI designers create high-fidelity wireframes, artboards, interactive prototypes, and mockups. Unlike other Adobe applications, you don’t need a subscription to use Adobe XD. Simply sign up for an Adobe free account, download and install the application, and you’re good to go.
While the application includes similar features to other programs such as Photoshop, Adobe XD is more geared towards UX/UI design. For example, it enables you to easily add elements such as buttons and forms to your designs. It can even update elements across multiple artboards, such as logos if they’re all part of the same website. Combined, all these features make creating mockups a cinch.
Key Features:
- Create artboards for your wireframes and mockups.
- Design layouts for the web and mobile devices.
- Easily add almost any type of element you can imagine to your designs.
- Update linked elements (such as logos) across multiple designs at once.
Price: Free | More Information
How to Create Web Mockups Using Adobe XD
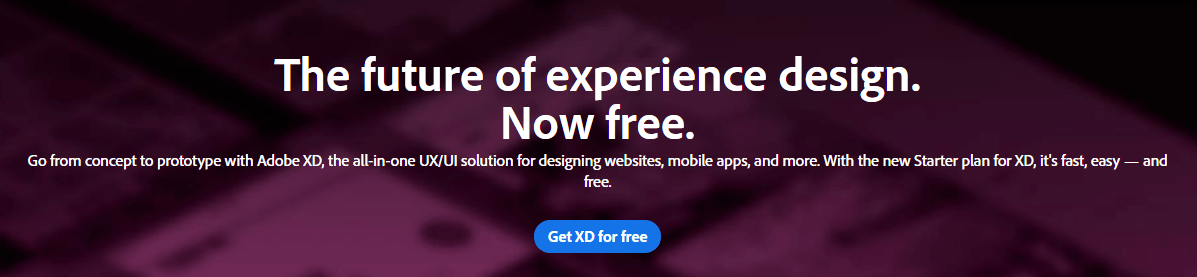
To get started, go to the Adobe XD home page and click on the Get XD for free button. A new page will open now and your download should begin automatically. When it’s done, launch the installer file, which will ask you for your Adobe account credentials before you can proceed:
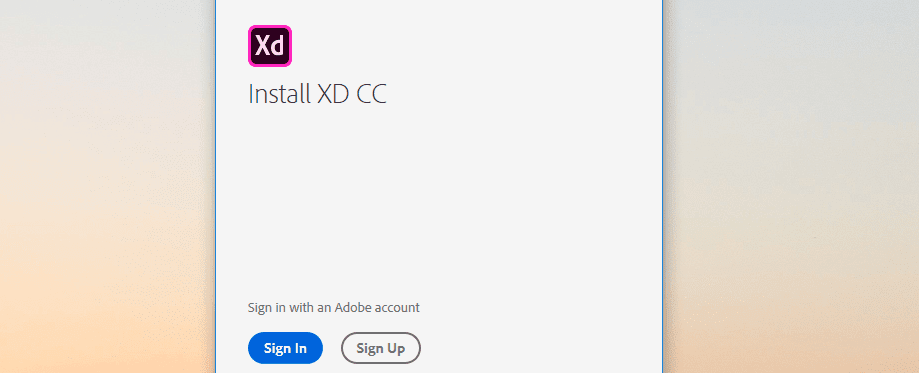
Remember you don’t need a paid subscription to complete this step, so just sign up for a free Adobe account if you don’t have one. Once that’s done, enter your credentials into the installer, and the Adobe XD application download will begin. The process should only take a few minutes, but keep in mind Adobe will also install its Creative Cloud at the same time.
Once Adobe XD is ready to go, you can launch the program and it will ask you what type of project you want to tackle first:
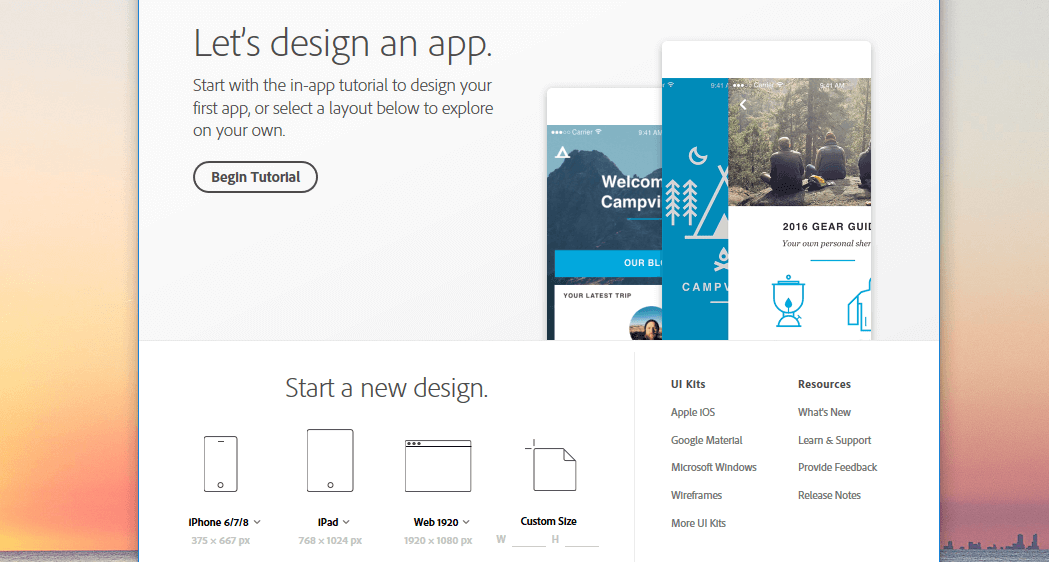
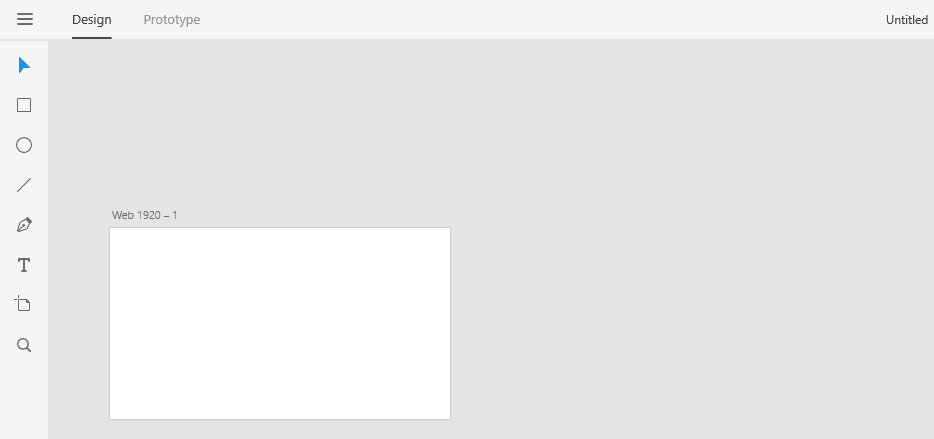
For this tutorial, we went with the Web 1920 option you see in the image above. Once you enter Adobe XD, you’ll see a blank square in the middle of the screen, representing your new artboard:
You can add multiple artboards – each one representing a unique page – by clicking on the Layers button on the bottom left of the screen. Now select your initial artboard, choose the Duplicate option, and a new artboard will appear on your dashboard:
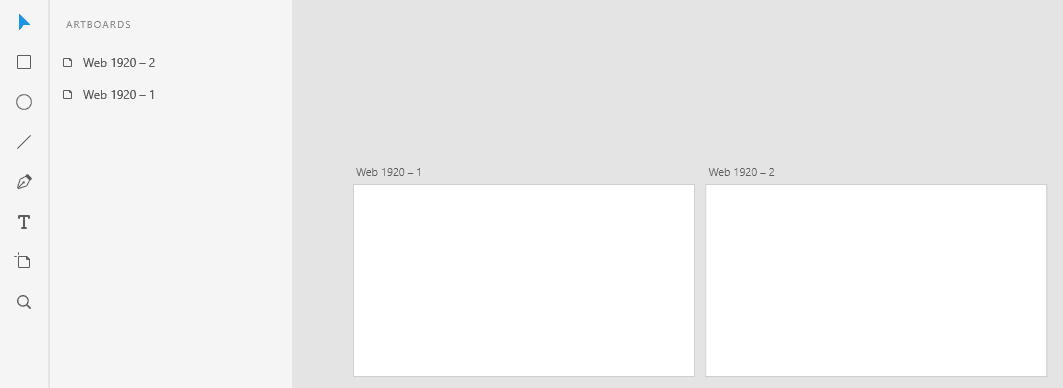
You can jump between artboards at will, but for now, let’s focus on how to edit just one, which will be our home page mockup. Let’s go ahead and select one of the artboards and dial up the zoom a bit, using the menu on the right side of the screen:
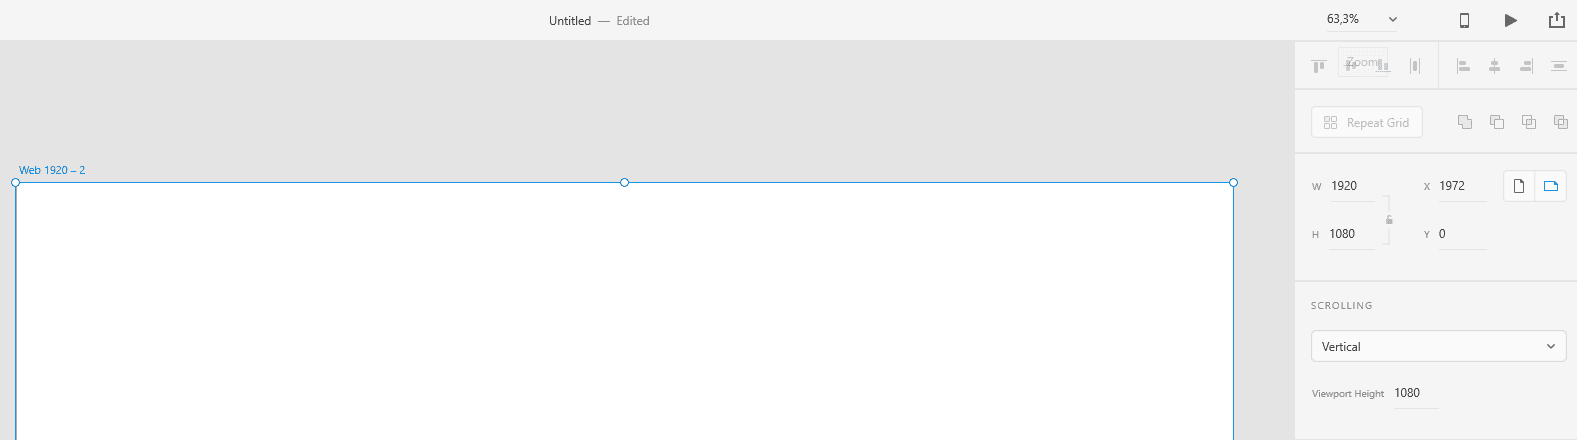
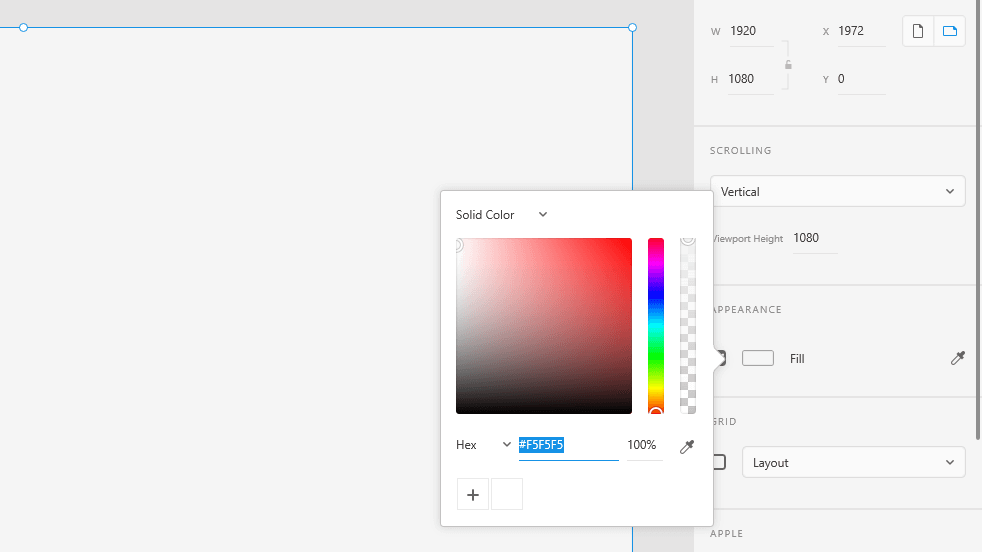
The same menu includes options to tweak your artboard’s size, fill it with a color, and display a grid so you have better control over the elements you place within. For now, just set a color for your background:
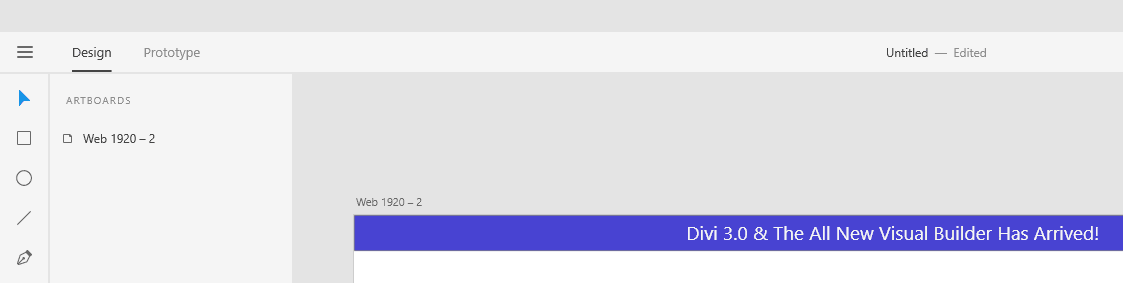
Now, let’s add our mockup’s first element, a secondary navigation bar at the top of the screen. We can do this by using the rectangle tool on the left-side menu:

We went ahead and added some background color to the navigation bar, as well as text, using the Text tool from Adobe XD’s menu:
Now, let’s go ahead and see how Adobe XD deals with a Call To Action (CTA). To add one, let’s use the Rectangle tool again. We also rounded the button’s corners using the menu to the right, as well as set a background color, and added text to it:
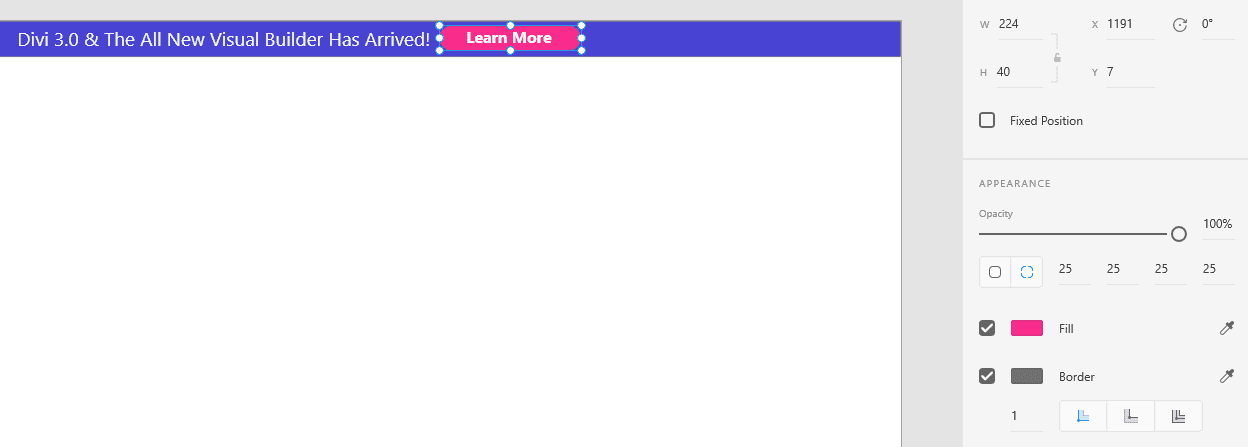
In the screenshot above, you can see the option to use rounded corners instead of regular ones, and you already know how to add text and change the background color. Next, let’s work on the regular menu using the Text and Rectangle tools once more. Here’s how our mockup looks after a couple of passes:

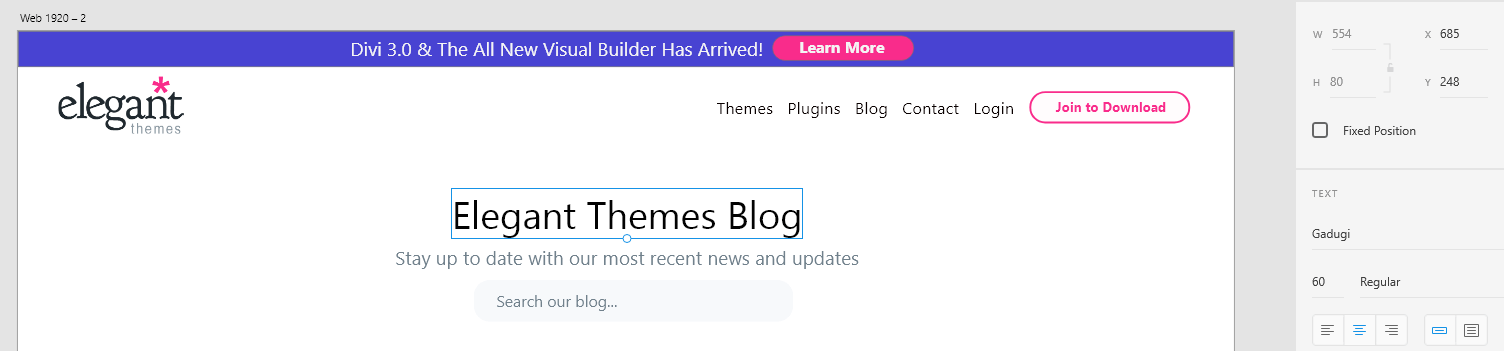
At this point, we’re ready to add the Elegant Themes logo by dragging the image file from our computer into our artboard:

In case you haven’t noticed, we’re creating a mockup of the Elegant Themes blog index. The proportions aren’t perfect, of course, and a few details are off. However, our goal was to show you what you can do with Adobe XD even without any practice.
Next up, let’s add the main heading and a search bar using (you guessed it), the Rectangle and Text tools:
Now, for the coup de grace, let’s add some blog post excerpts to our mockup. To start with, let’s add two more rectangles to our artboard. You can create one and duplicate it to make things easier for you. When you drag them around, you’ll notice Adobe XD shows you measurements to keep them in line:
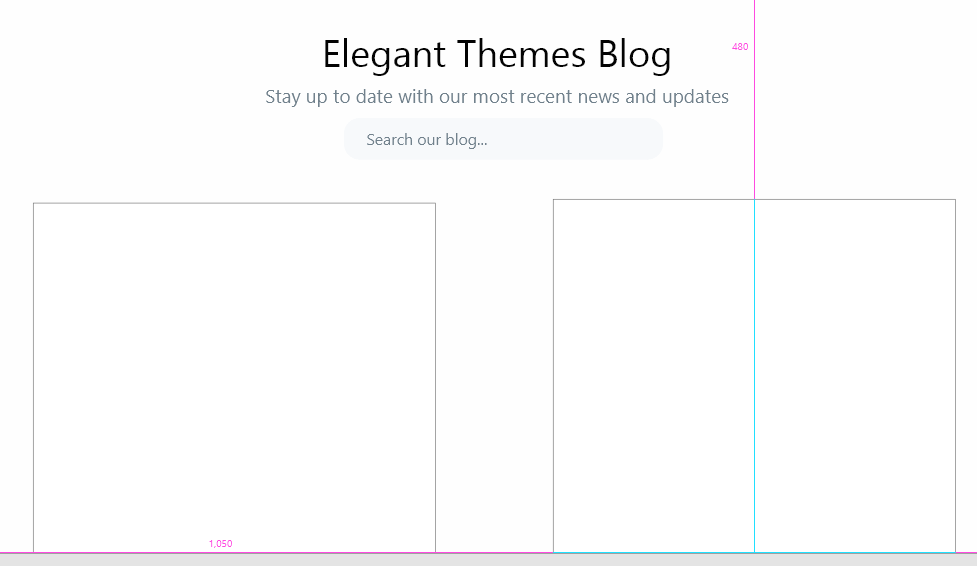
Now we have our two empty rectangles. Let’s add titles to them using the Text tool:

Finally, let’s go ahead and add each post’s featured images. Just like before, you need to drag the image files into Adobe XD from your computer.
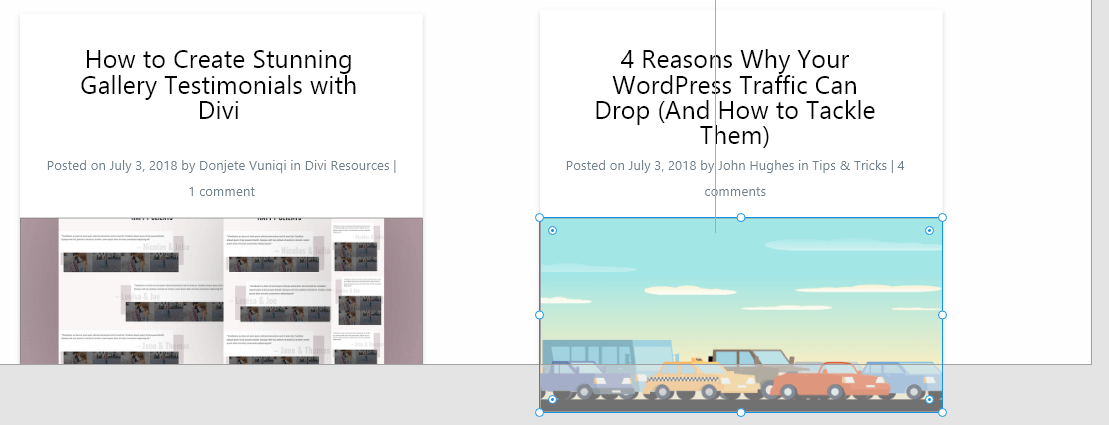
Now let’s take a step back and look at our complete mockup:
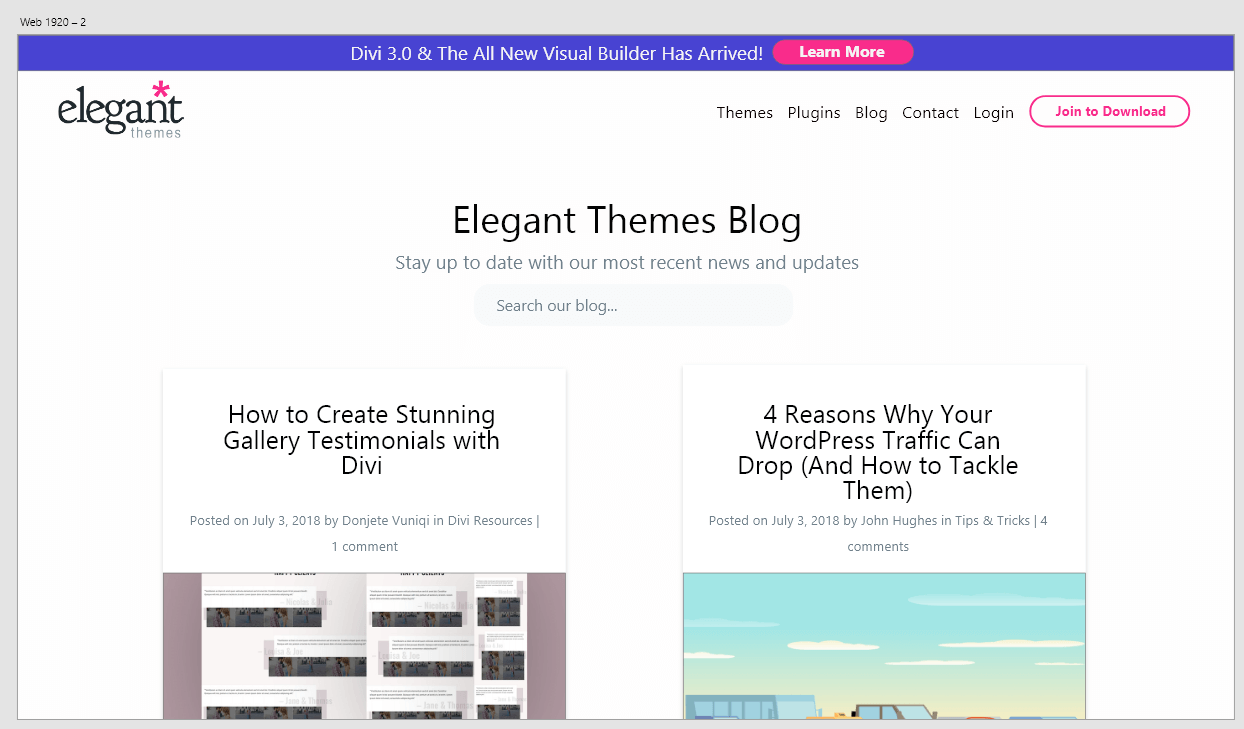
It’s not a pixel-perfect recreation, but it looks good enough for a fledgling attempt. In other words, using Adobe XD should be a walk in the park even if you’re new to using design tools – and you can create some really cool mockups with it.
Ultimately, every mockup you create with Adobe XD involves adding the elements you want, using the right colors, and placing images where needed. Each of these actions are quite simple, so there’s no reason to be scared of the process.
Conclusion
Mockups are an excellent way to get all of your ideas down on paper (or screen). Then, you can refine them until you land on the perfect design for your website. It’s far easier to create multiple mockups, then attempt to replicate them on your site later, so it’s a technique you should embrace.
Using Adobe XD, creating high-fidelity mockups becomes very simple. It doesn’t pack as much of a punch as Photoshop does, but it can do a great job when it comes to wireframes and mockups (plus, it’s free!).
Do you have any questions about how to use Adobe XD to create mockups for your websites? Let’s talk about them in the comments section below!
Article thumbnail image by Darko 1981 / shutterstock.com
The post How to Create a Mockup for Your Next Web Project Using Adobe XD appeared first on Elegant Themes Blog.