
Welcome to post 5 of 5 in our miniseries How to Create Stunning Grid Layouts with Divi’s Video Module. In this series we are going to walk you through how to create amazing grid layouts from scratch using the Divi Visual Builder. And if you are worried about this being too complicated, think again! All of these layouts can be created and styled using the Visual Builder without additional code.
Here it is! Today is the last post in the miniseries. And if I could compare this miniseries to a five course dining experience (I’m thinking French cuisine maybe?), this one would be the dessert because it is both light and colorful. The subtle checkered background is clean and not too complicated. And when adding color, the design becomes playful, like stacking legos. It is easy (and fun) to build using Divi, but it is also customizable to fit the color scheme of your site.
So here we go. I’m going to show you how easy it is to build this grid layout using the video module and a simple trick using background gradients.
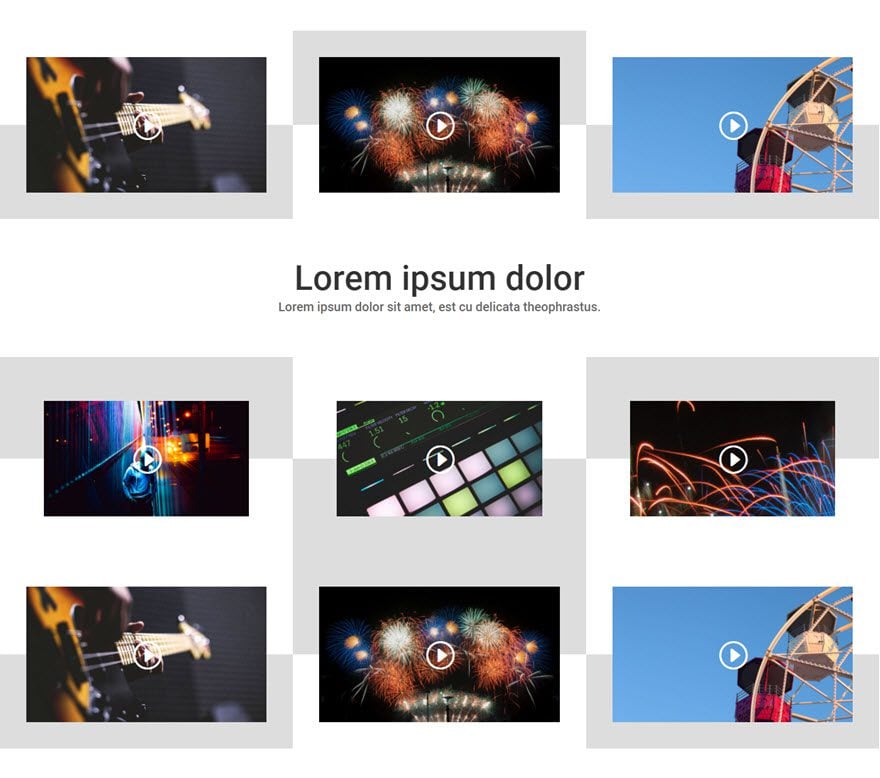
Here is what the Final Result will Look Like
The Concept & Inspiration
I liked the idea of stacking blocks and making things look a little more playful with the design. The design is originally meant for large screen sizes because it can be a tad distracting on smaller screen sizes (mostly the colorful version). Anyway, my desire was to keep it simple, clean, and fun.
Let’s get started.
Implementing The Design With Divi
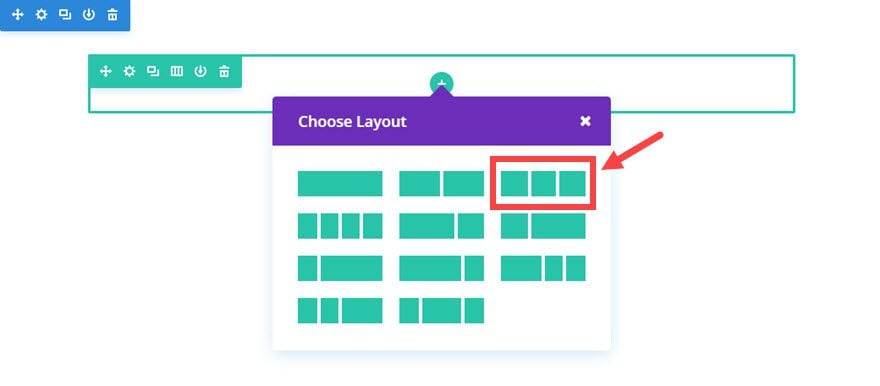
First, add a regular section with a ⅓ ⅓ ⅓ (3-column) structure row.
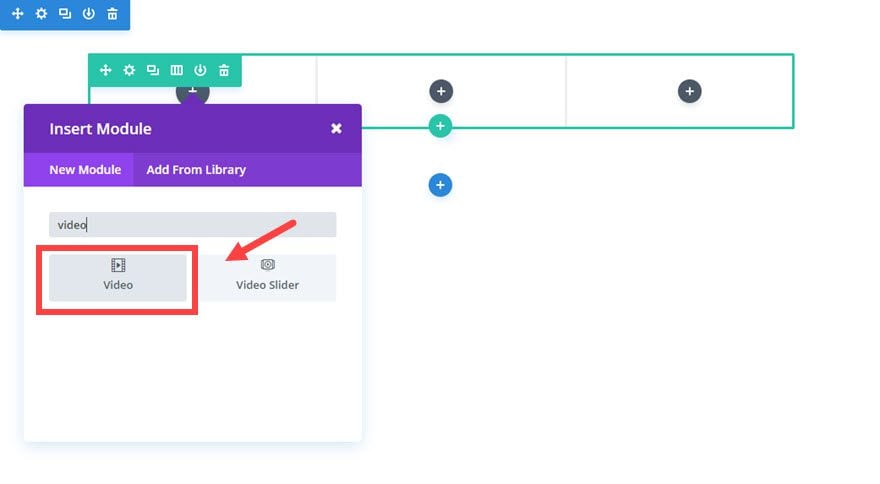
Next add a Video Module to the column.
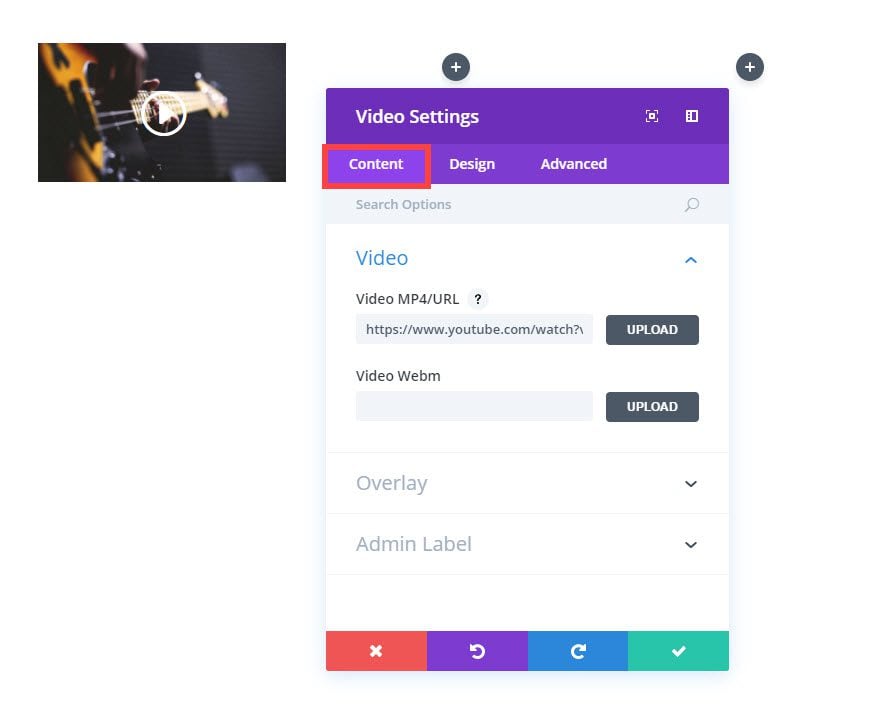
Update the Video Settings as follows:
Content Options
Video MP4/URL: [enter URL of your video]
Image Overlay URL: [enter overlay image URL]
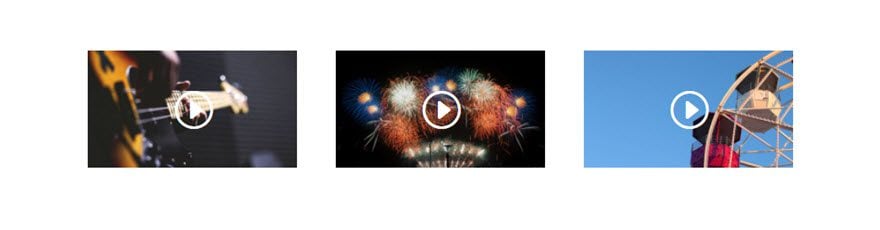
Now duplicate (or copy) the video module twice and drag (or paste) each video module in the second and third column so that all three columns have a video module. Then update the content for the duplicated video modules according to your needs.
Now your page should look something like this.
Save settings
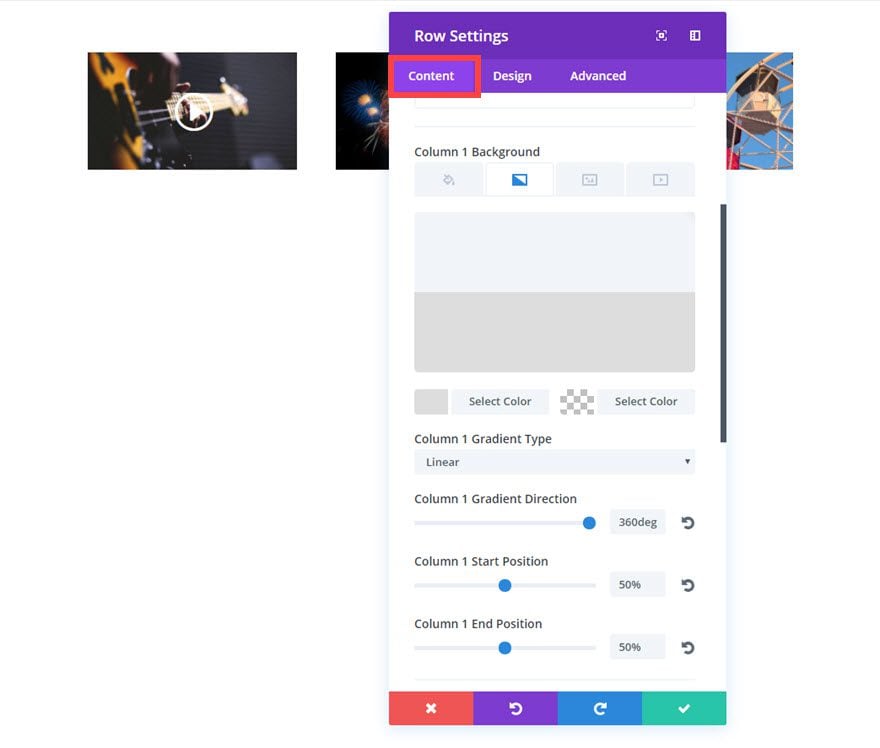
Now go to your Row Settings and update the following:
Content Options
Column 1 Background Gradient Colors: #dddddd, rgba(255,255,255,0)
Column 1 Gradient Direction: 360deg
Column 1 Start Position: 50%
Column 1 End Position: 50%
Column 2 Background Gradient Colors: #dddddd, rgba(255,255,255,0)
Column 2 Gradient Direction: 180deg
Column 2 Start Position: 50%
Column 2 End Position: 50%
Column 3 Background Gradient Colors: #dddddd, rgba(255,255,255,0)
Column 3 Gradient Direction: 360deg
Column 3 Start Position: 50%
Column 3 End Position: 50%
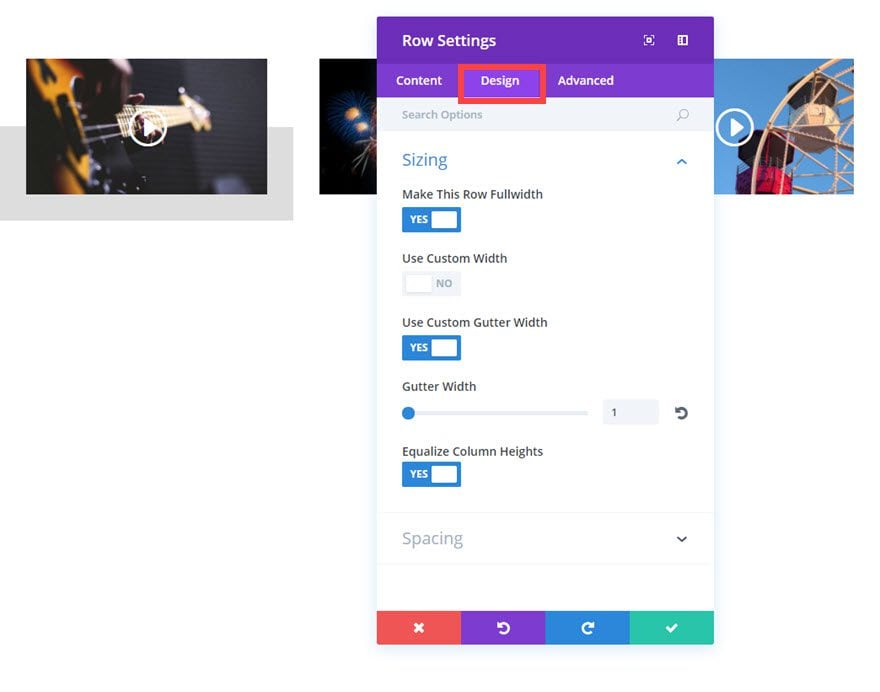
Design Options
Make This Row Fullwidth: YES
Use Custom Gutter Width: YES
Gutter Width: 1
Equalize Column Heights: YES
Custom Padding: 0% Top, 0% Bottom
Column 1 Custom Padding: 3% Top, 3% Right, 3% Bottom, 3% Left
Column 2 Custom Padding: 3% Top, 3% Right, 3% Bottom, 3% Left
Column 3 Custom Padding: 3% Top, 3% Right, 3% Bottom, 3% Left
Save settings
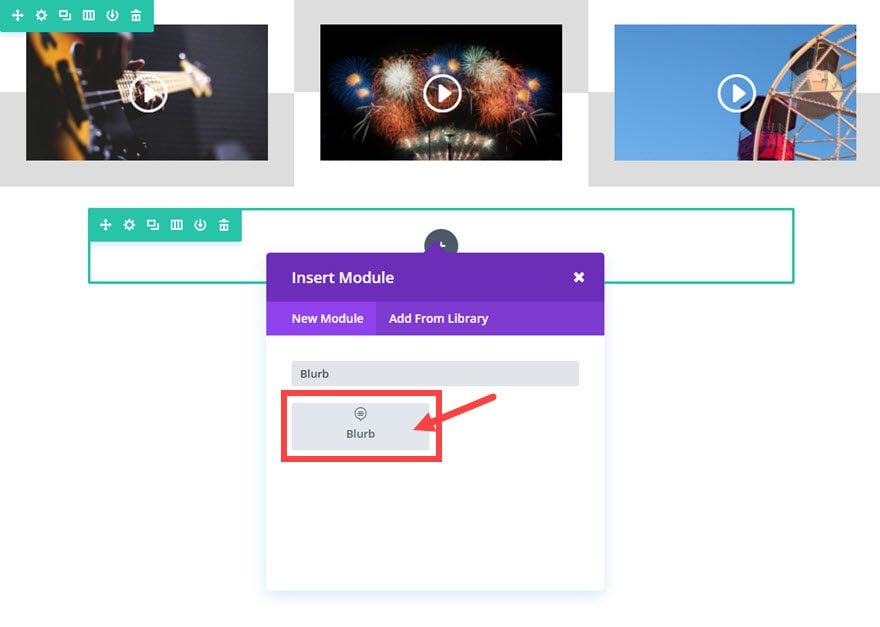
Next we are going to need to add a 1 column row under our current row. Then add a Blurb Module to the row.
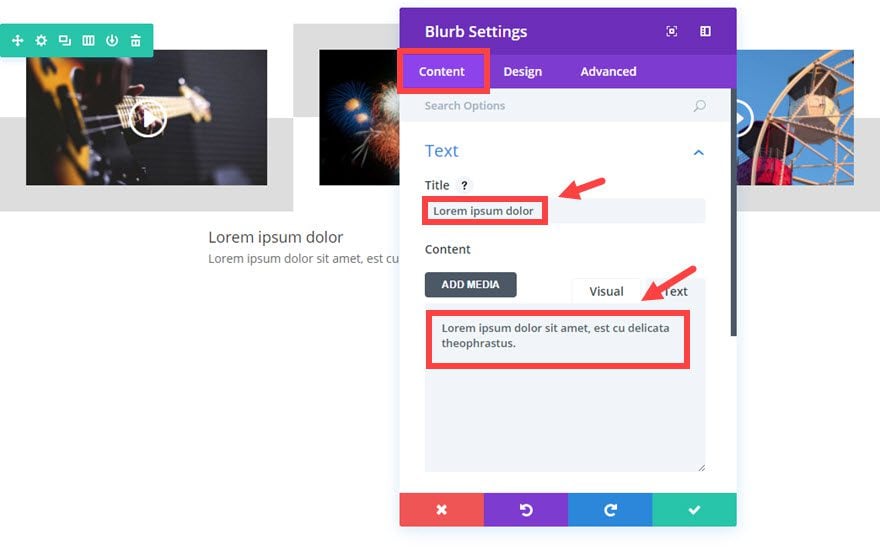
Then update the Blurb Settings as follows:
Content Options
Title: [enter title]
Content: [enter content]
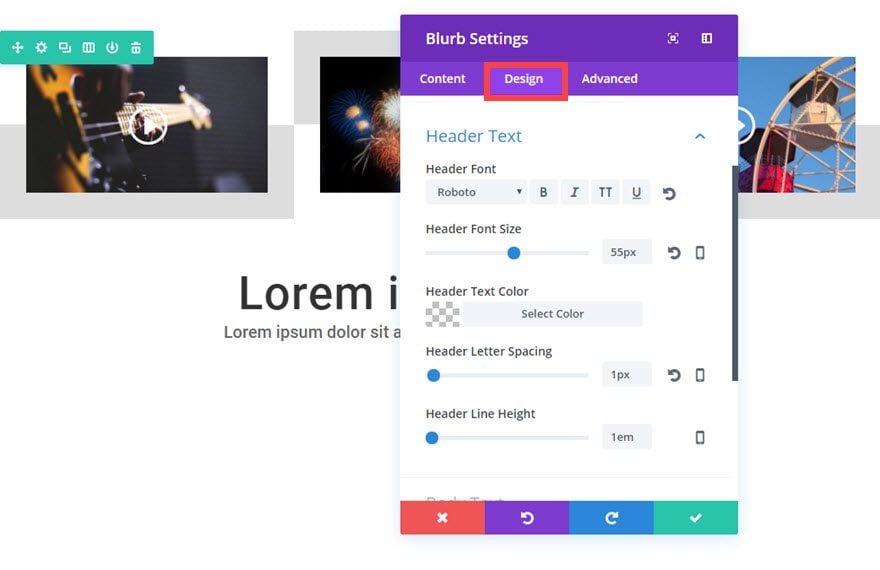
Design Options
Text Color: Dark
Text Orientation: Center
Header Font: Roboto
Header Font Size: 55px
Header Letter Spacing: 1px
Body Font: Roboto
Body Font Size: 20px
Body Line Height: 1.3em
Custom Padding: 40px Top, 40px Bottom
Save Settings
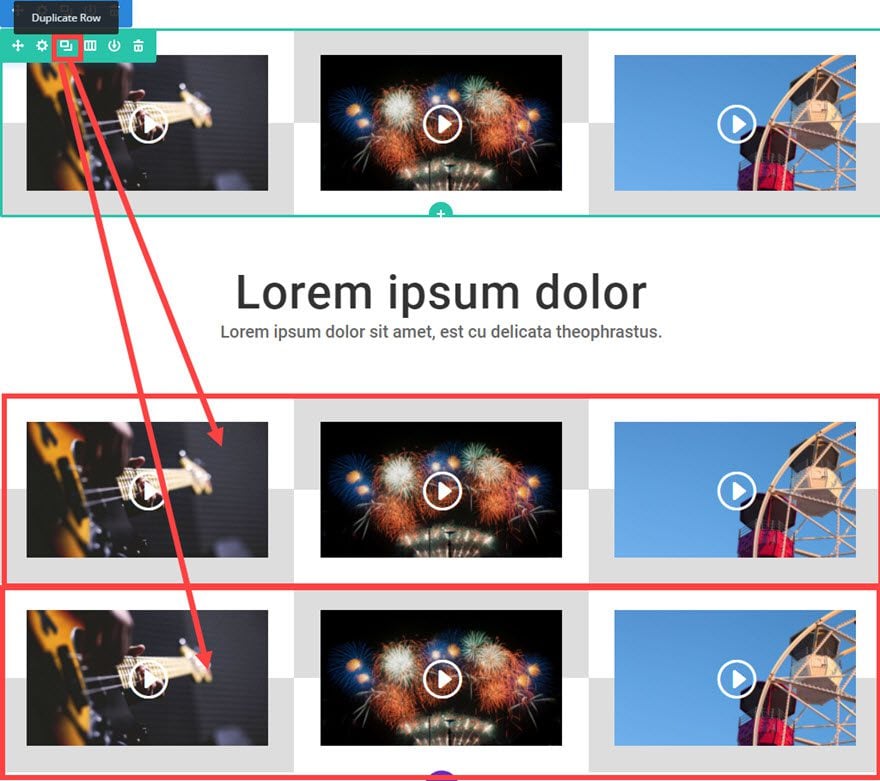
Most of the work is done! Now we need to add two more rows under the blurb module. To do that, duplicate (or copy) the top row twice and drag (or paste) the two rows under the Blurb Module.
Almost done. All we have to do now is update the row settings for the middle row (the row just underneath the blurb module) with the following:
Content Options
Column 1 Gradient Direction: 180deg
Column 2 Gradient Direction: 360deg
Column 3 Gradient Direction: 180deg
Save settings
Then update the content of your video Modules to include the right video URLs and overlay images.
That’s it! Check out your results.
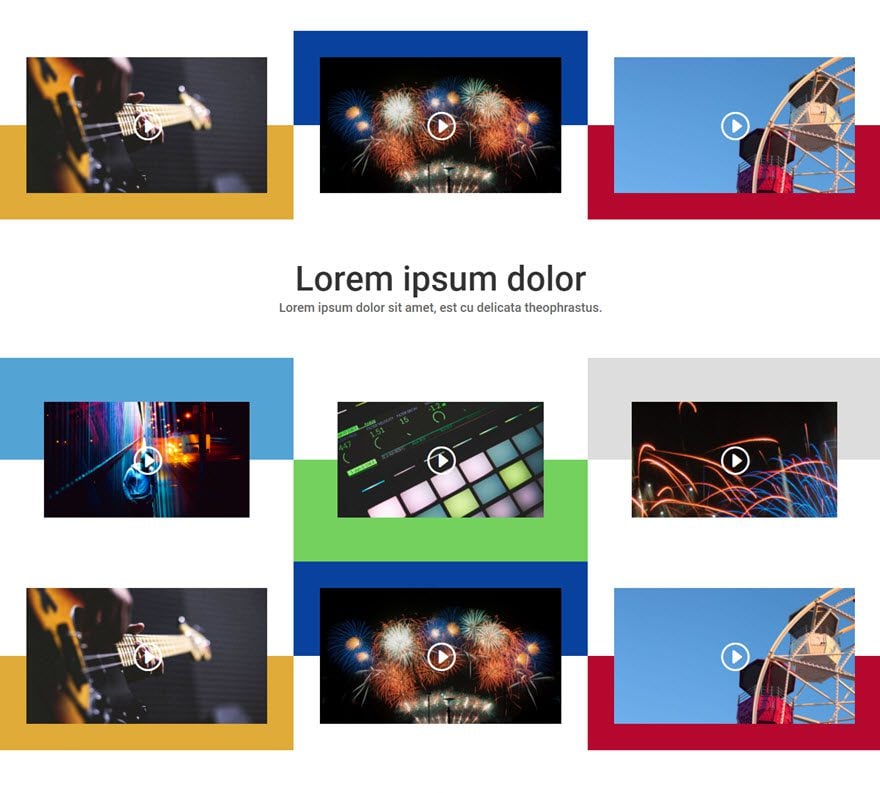
Creating the Colorful Version of the Video Grid Layout
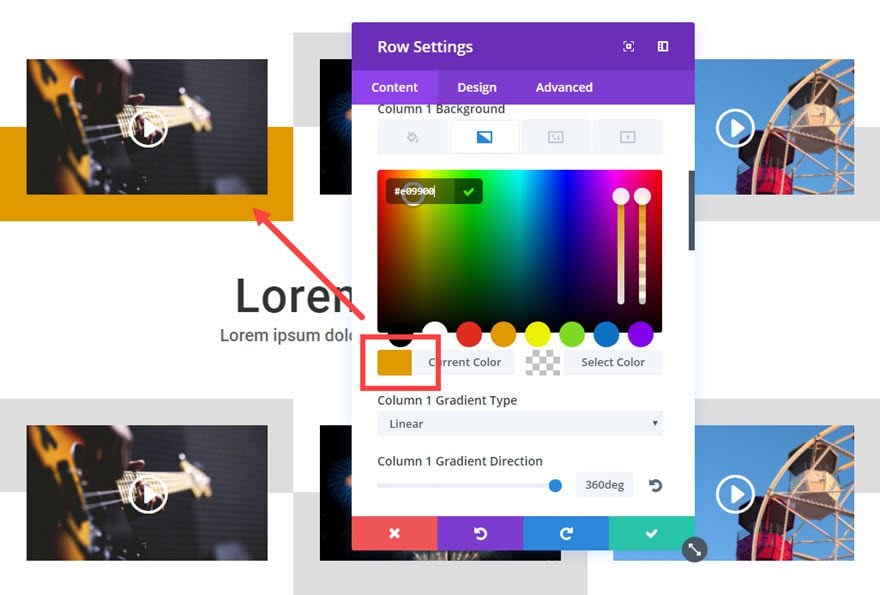
If you want to add some color to your grid, I suggest replacing the light gray gradient color in the background of each of the video modules with a color that matches the overlay image of the video.
To do this, go to your row settings and update the background gradient colors by replacing the color code #dddddd (the light gray) with the color of your choice. You can use the color picker tool with the module to match your color to your image.
Repeat this process for all of you column backgrounds. And, that’s it.
Now you have a colorful grid that matches all of your videos.
Wrapping Up…
Well that concludes our miniseries. Whether you are a videographer, teaching an online course, or showcasing videos for your products, I hope you find these grid layouts useful. If anything, I hope that it opened your eyes just a little more to the power of Divi and the Visual Builder.
By the way, if you haven’t already thought of it, you can use these grid layouts for other things like images!
Until next time, I look forward to hearing from you in the comments.
Cheers!
The post How to Create Stunning Grid Layouts with Divi’s Video Module (Part 5) appeared first on Elegant Themes Blog.