How to Create Text & Images that Change on Scroll in Divi

Divi scroll effects are great for creating interesting layouts. We’ve published quite a few since the feature was launched. In this tutorial, we’ll show you how to create a layout with text and images that change on scroll. This design can be used for a services page or any type of page you require. We kept it clean and simple for the scroll effect to take the spotlight.
You can download the layout as a JSON file or recreate it on your own Divi website.
Let’s get started.
Preview
Before we begin, let’s take a look at the layout on different screen sizes.
Desktop

Mobile
Download The Text & Images That Change On Scroll Section for FREE
To lay your hands on the free section with text & images that change on scroll, you will first need to download it using the button below. To gain access to the download you will need to subscribe to our Divi Daily email list by using the form below. As a new subscriber, you will receive even more Divi goodness and a free Divi Layout pack every Monday! If you’re already on the list, simply enter your email address below and click download. You will not be “resubscribed” or receive extra emails.
.et_bloom .et_bloom_optin_1 .et_bloom_form_content { background-color: #4843d2 !important; } .et_bloom .et_bloom_optin_1 .et_bloom_form_container .et_bloom_form_header { background-color: #ffffff !important; } .et_bloom .et_bloom_optin_1 .carrot_edge .et_bloom_form_content:before { border-top-color: #ffffff !important; } .et_bloom .et_bloom_optin_1 .carrot_edge.et_bloom_form_right .et_bloom_form_content:before, .et_bloom .et_bloom_optin_1 .carrot_edge.et_bloom_form_left .et_bloom_form_content:before { border-top-color: transparent !important; border-left-color: #ffffff !important; }
@media only screen and ( max-width: 767px ) {.et_bloom .et_bloom_optin_1 .carrot_edge.et_bloom_form_right .et_bloom_form_content:before, .et_bloom .et_bloom_optin_1 .carrot_edge.et_bloom_form_left .et_bloom_form_content:before { border-top-color: #ffffff !important; border-left-color: transparent !important; }
}.et_bloom .et_bloom_optin_1 .et_bloom_form_content button { background-color: #f92c8b !important; } .et_bloom .et_bloom_optin_1 .et_bloom_form_content .et_bloom_fields i { color: #f92c8b !important; } .et_bloom .et_bloom_optin_1 .et_bloom_form_content .et_bloom_custom_field_radio i:before { background: #f92c8b !important; } .et_bloom .et_bloom_optin_1 .et_bloom_border_solid { border-color: #f7f9fb !important } .et_bloom .et_bloom_optin_1 .et_bloom_form_content button { background-color: #f92c8b !important; } .et_bloom .et_bloom_optin_1 .et_bloom_form_container h2, .et_bloom .et_bloom_optin_1 .et_bloom_form_container h2 span, .et_bloom .et_bloom_optin_1 .et_bloom_form_container h2 strong { font-family: “Open Sans”, Helvetica, Arial, Lucida, sans-serif; }.et_bloom .et_bloom_optin_1 .et_bloom_form_container p, .et_bloom .et_bloom_optin_1 .et_bloom_form_container p span, .et_bloom .et_bloom_optin_1 .et_bloom_form_container p strong, .et_bloom .et_bloom_optin_1 .et_bloom_form_container form input, .et_bloom .et_bloom_optin_1 .et_bloom_form_container form button span { font-family: “Open Sans”, Helvetica, Arial, Lucida, sans-serif; } p.et_bloom_popup_input { padding-bottom: 0 !important;}
Download For Free
Join the Divi Newsletter and we will email you a copy of the ultimate Divi Landing Page Layout Pack, plus tons of other amazing and free Divi resources, tips and tricks. Follow along and you will be a Divi master in no time. If you are already subscribed simply type in your email address below and click download to access the layout pack.
You have successfully subscribed. Please check your email address to confirm your subscription and get access to free weekly Divi layout packs!
Recreate Section With Text & Images That Change On Scroll
Add New Section
Background
To start recreating the design, add a new section on a new or existing page. Add the background images we provided in the download above.
- Background Image: box and dots design
- Desktop: Image 1
- Tablet: Image 2
- Phone: Image 3
- Image Size: Cover
- Background Image Repeat: Repeat Y (vertical)

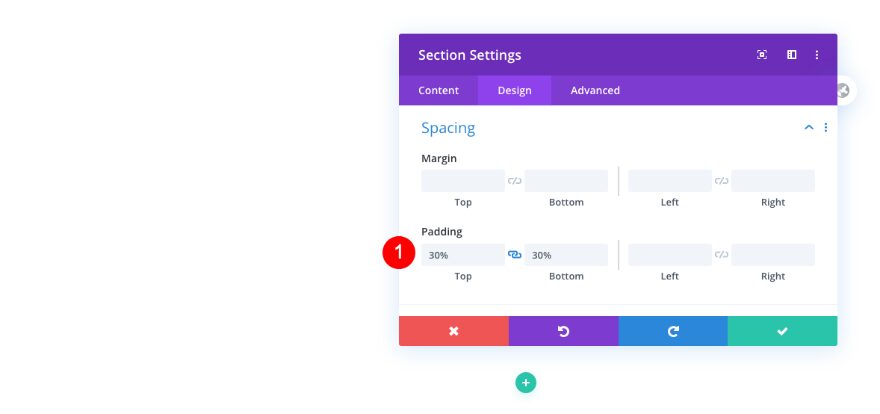
Spacing
Add some spacing to the section.
- Top and Bottom Padding: 30%
Visibility
Hide the overflows as well.
- Horizontal and Vertical Overflow: Hidden

Add New Row
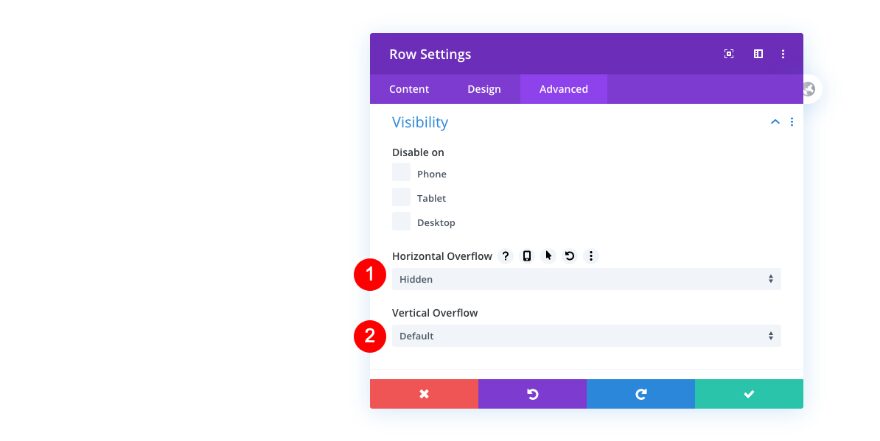
Visibility
Now add a first row and adjust the visibility settings in the advanced tab.
- Horizontal: Hidden
- Vertical Overflow: Default
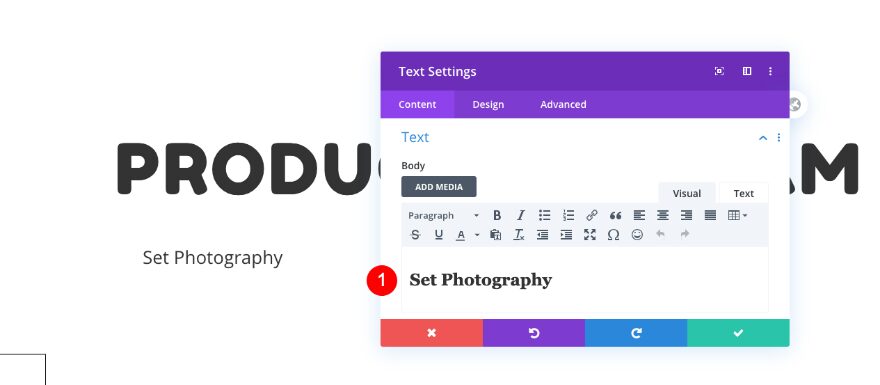
Add Text Module
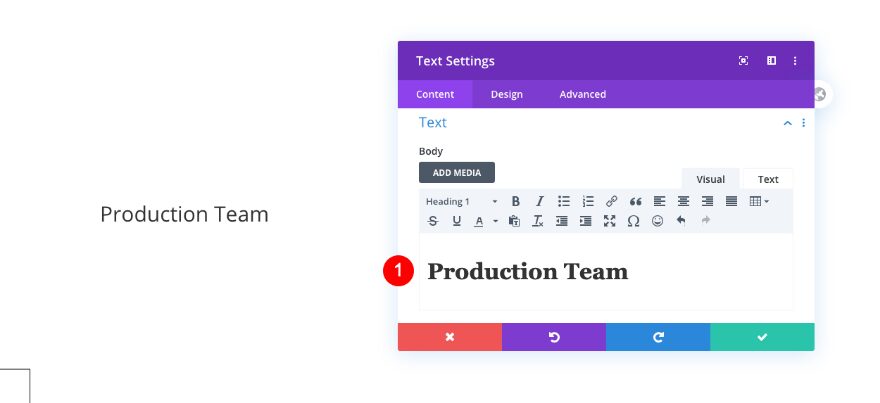
Text
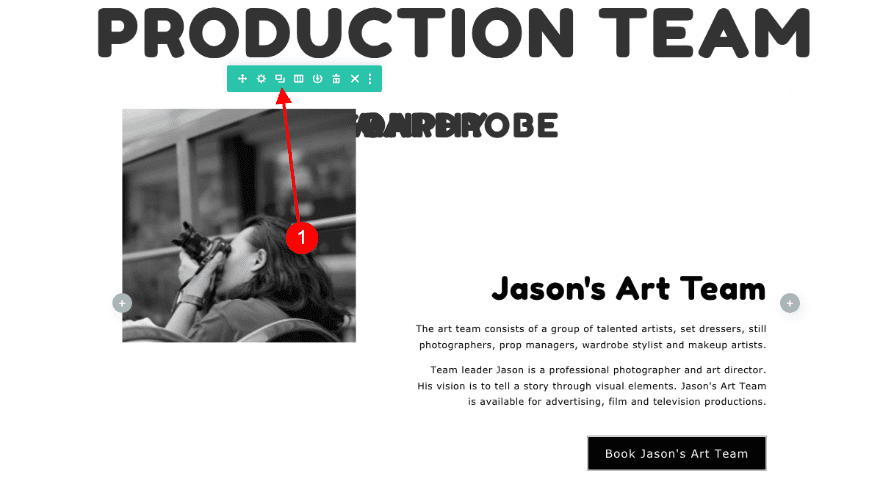
Add a first text module for the title. Insert some H1 content of your choice.
- Body: H1 Content – Production Team
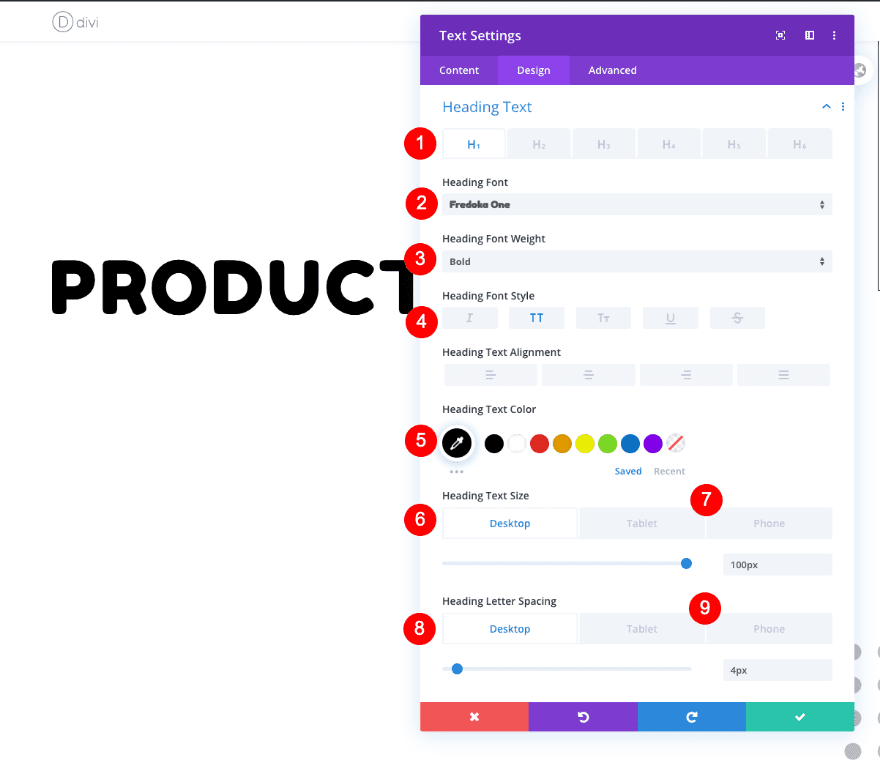
Heading Text
Move on to the design tab and style the heading text.
- Heading Level: H1
- Font: Fredoke One
- Weight: Bold
- Color: Black
- Size
- Desktop: 100px
- Tablet: 75px
- Phone: 33px
- Letter Spacing
- Desktop: 4px
- Tablet: 3px
- Phone: 2px
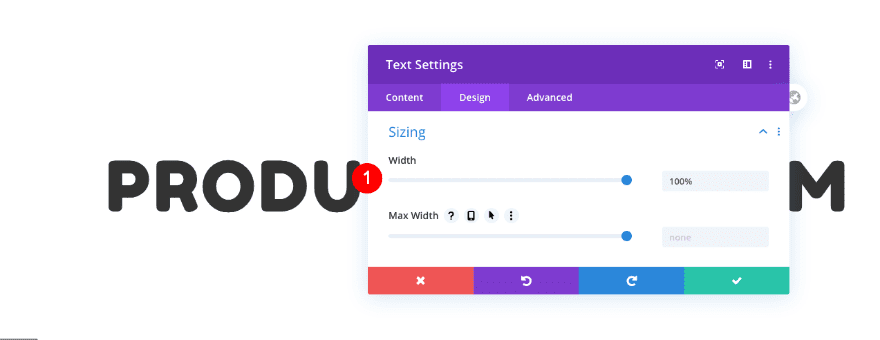
Sizing
Then, adjust the width.
- Width: 100%
Add New Row
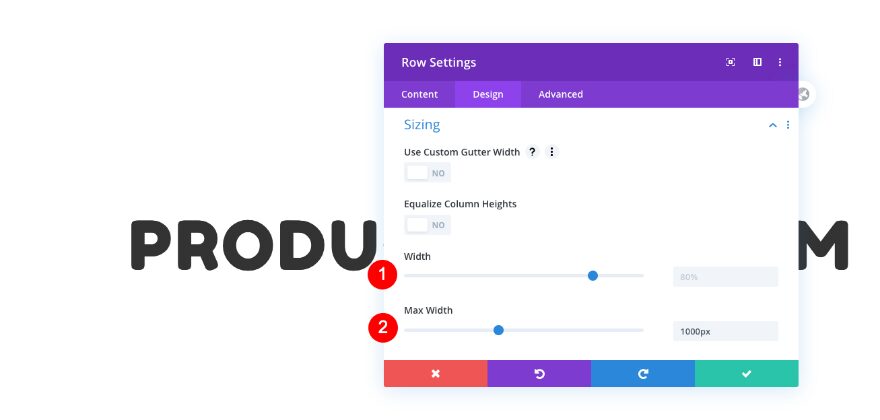
Sizing
Now add a second row and adjust the sizing settings accordingly:
- Width: 80%
- Max Width: 1000px
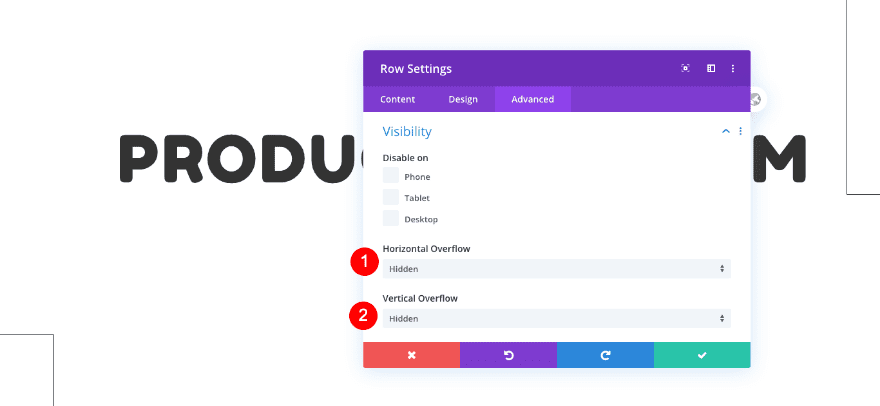
Visibility
Hide the overflows as well.
- Horizontal and Vertical Overflows: Hidden
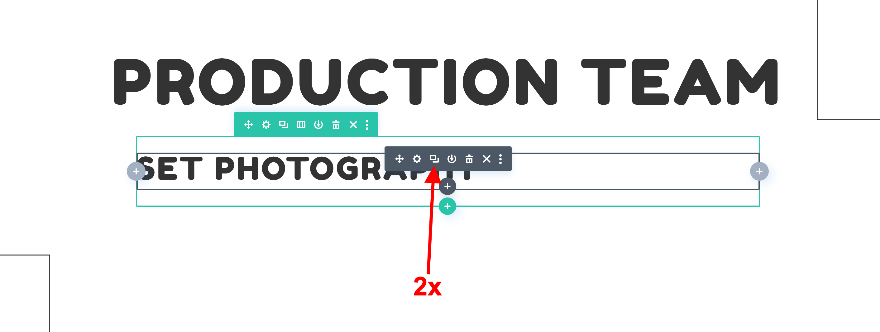
Add 1st Text Module
Text
Add another text module. This time, enter some H2 content of your choice.
- Body: H2 Content – Set Photography
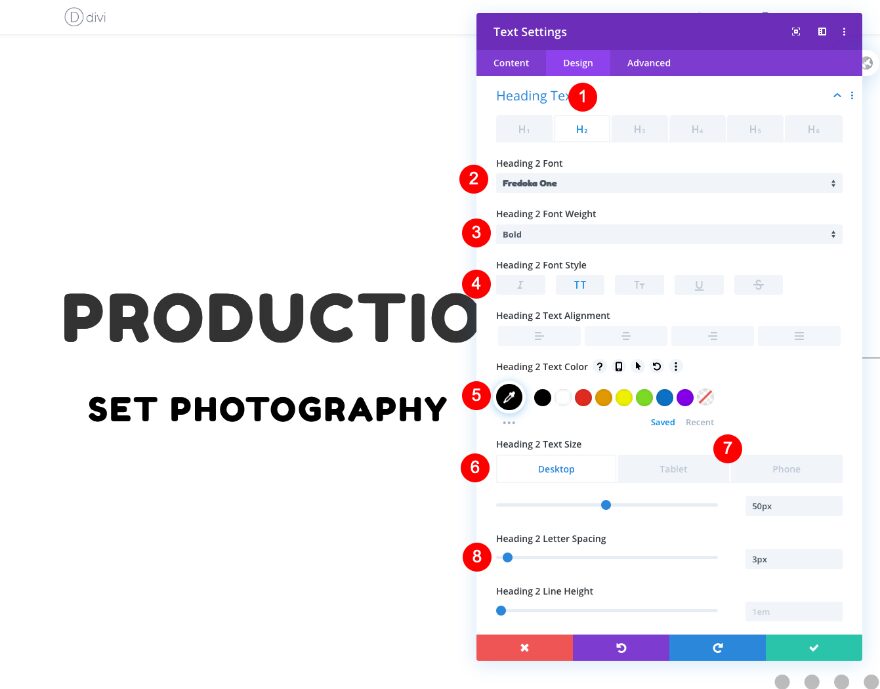
Heading Text
Style the heading next.
- Heading Level: H2
- Weight: Bold
- Style: TT
- Color: Black #000000
- Size
- Desktop: 50px
- Tablet: 40px
- Phone: 28px
- Letter Spacing: 3px
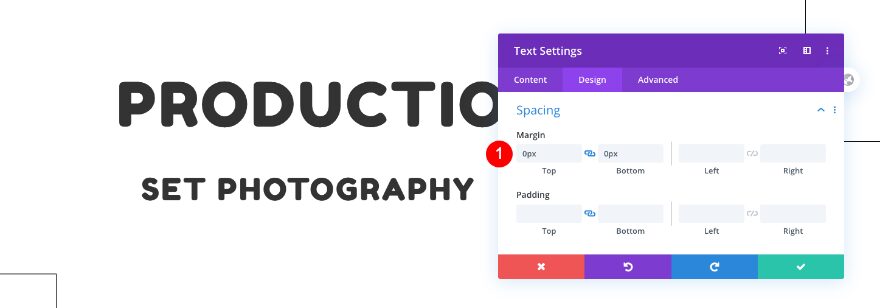
Spacing
Set some spacing for the module too.
- Top and Bottom Margin: 0px
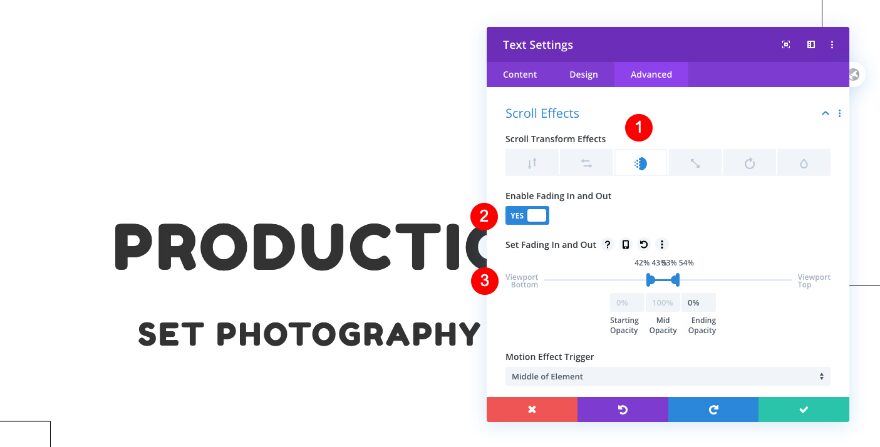
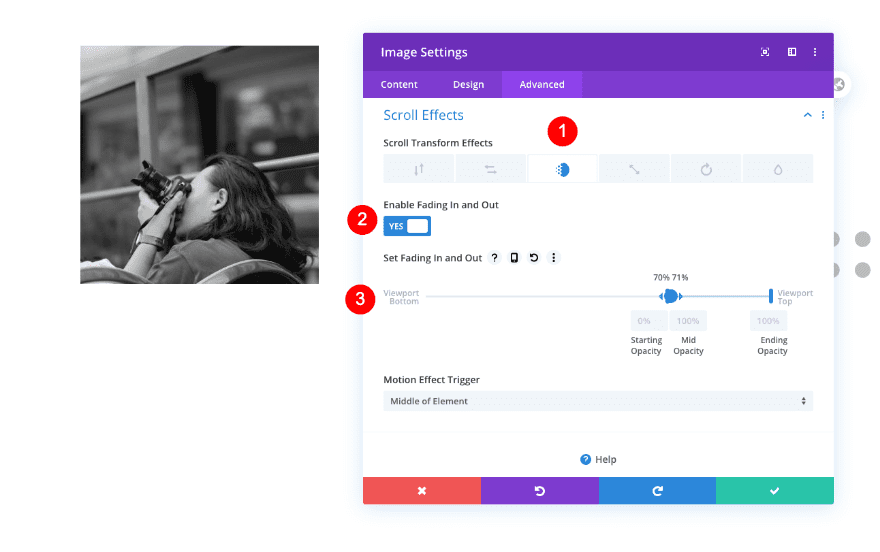
Scroll Effects
Complete the module settings by adding the following scroll effects:
- Fading In and Out: Enable
- Viewport Bottom
- Position: 42%
- Starting Opacity:0%
- Mid Opacity
- Bottom Position: 43%
- Top Position: 53%
- Mid Opacity: 100%
- Viewport Top
- Position: 54%
- Ending Opacity: 0%
Duplicate Text Module Twice
Clone the text module twice.
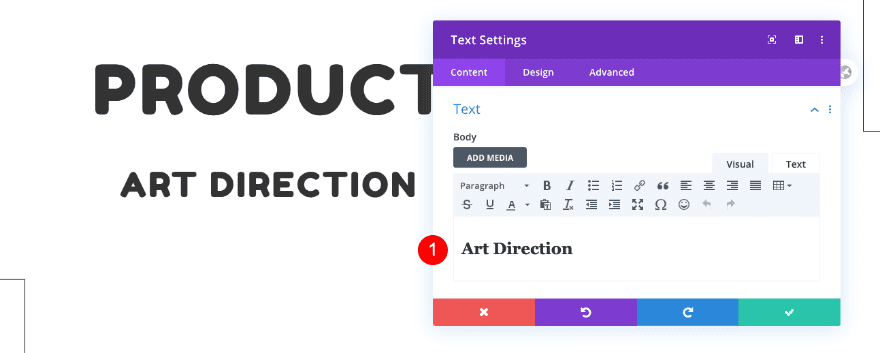
Adjust 2nd Text Module
Text
Change the content in the new text module.
- Body: H2 Content – Art Direction
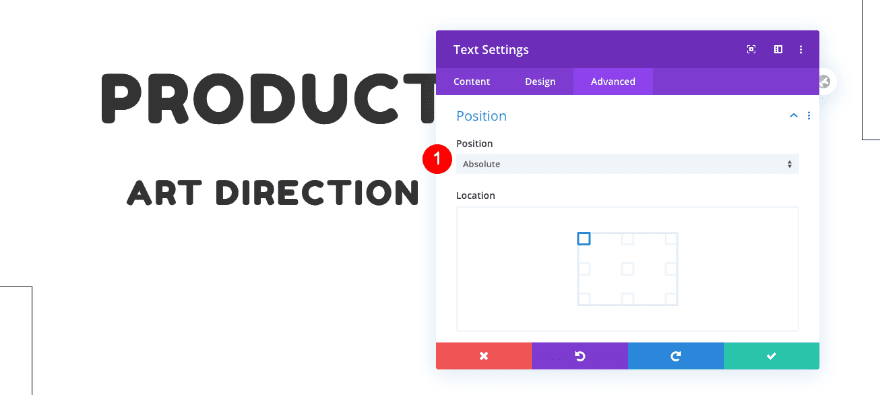
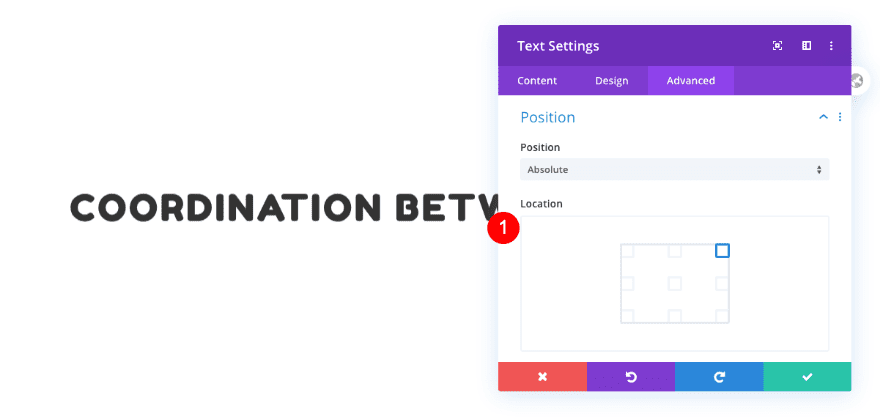
Position
Add absolute positioning to the module too.
- Position: Absolute
- Location: Top Left
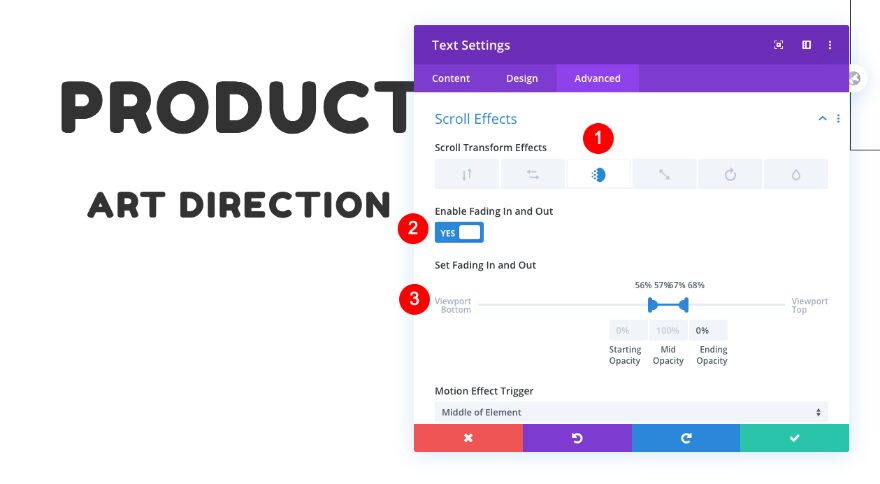
Scroll Effects
Next, update the scroll effect settings.
- Fading In and Out: Enable
- Viewport Bottom
- Position: 56%
- Starting Opacity:0%
- Mid Opacity
-
- Bottom Position: 57%
- Top Position: 67%
- Mid Opacity: 100%
- Viewport Top
-
- Position: 68%
- Ending Opacity: 0%
-
Adjust 3rd Text Module
Text
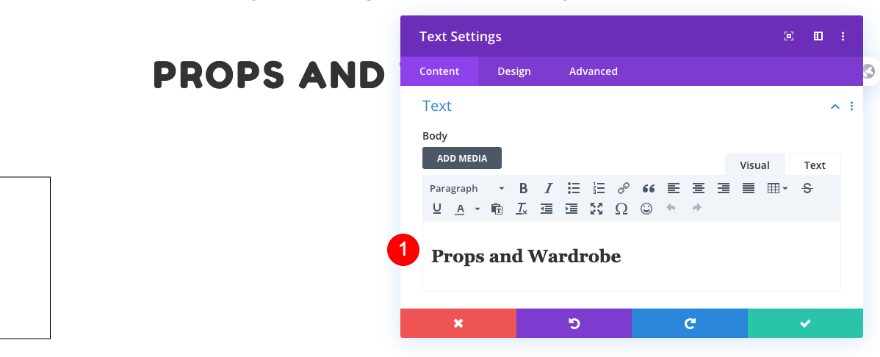
Now adjust the second text module duplicate. Change the content first.
- Body: H2 Content – Props and Wardrobe
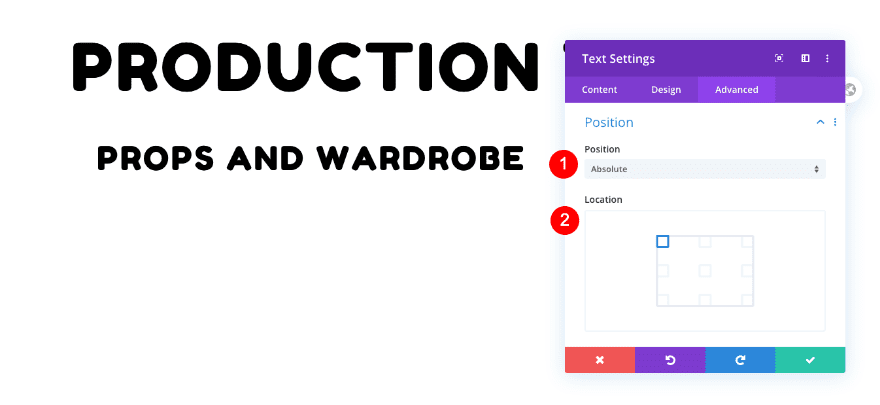
Position
Add an absolute position next.
- Position: Absolute
- Location: Top Left
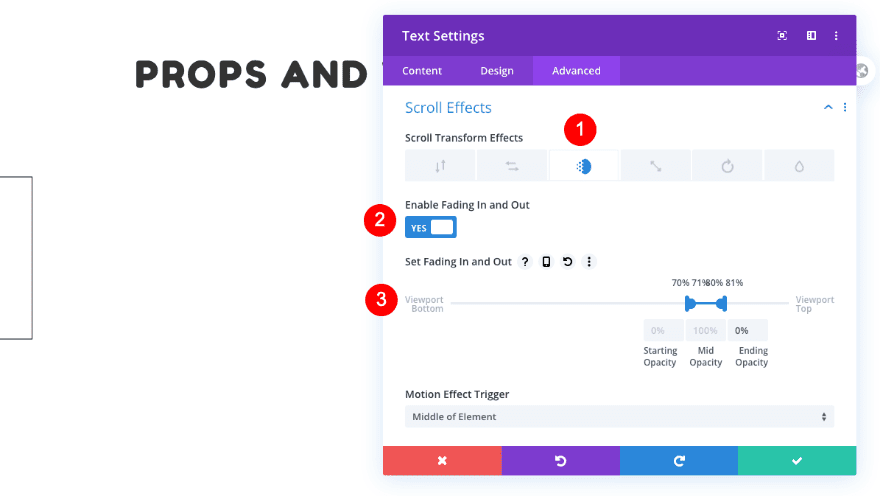
Scroll Effects
Then, modify the scroll effects.
- Fading In and Out: Enable
- Viewport Bottom
- Position: 70%
- Starting Opacity:0%
- Mid Opacity
- Bottom Position: 71%
- Top Position: 80%
- Mid Opacity: 100%
- Viewport Top
- Position: 81%
- Ending Opacity: 0%
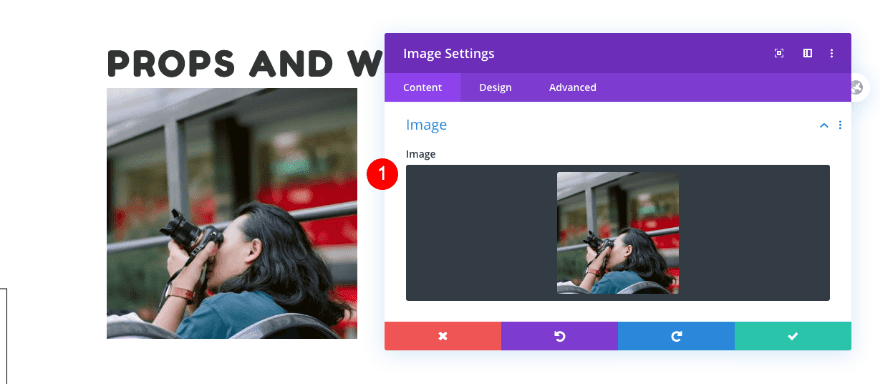
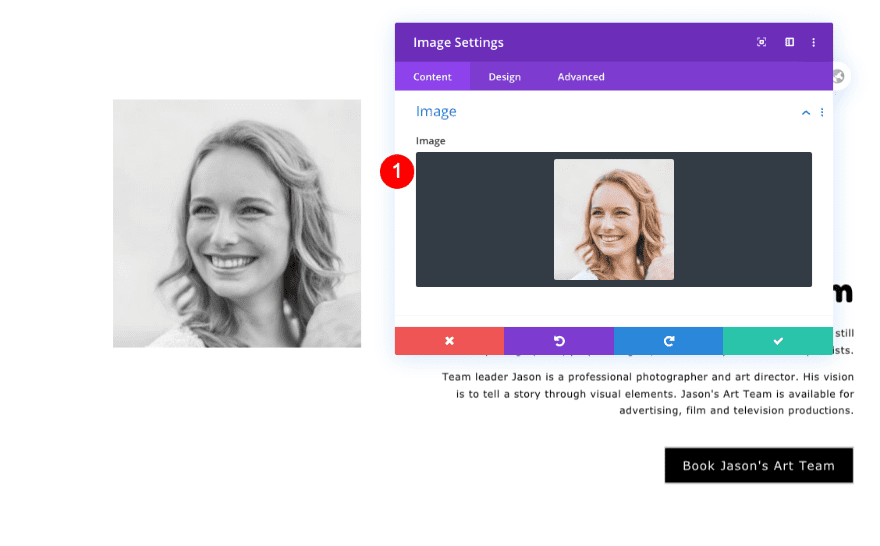
Add Image Module
Image
Now it’s time to add an image module. Use a square image with a 350 x 350 px image size.
- Image: Square image 350 x 350 px
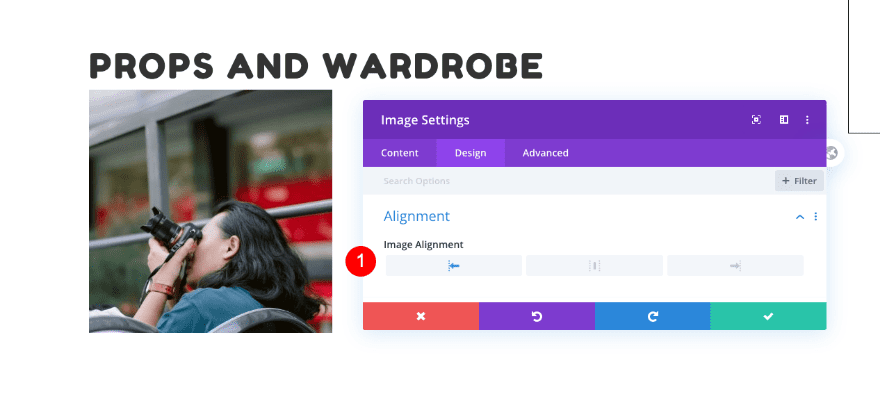
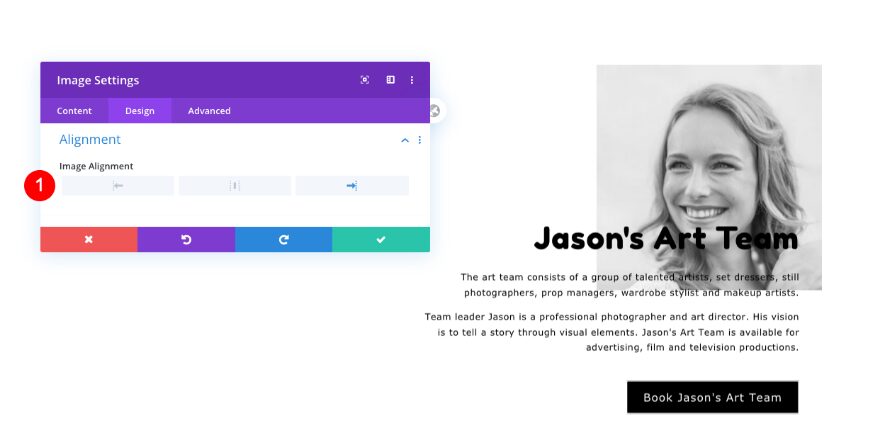
Alignment
Set the alignment to the left.
- Image Alignment: Left
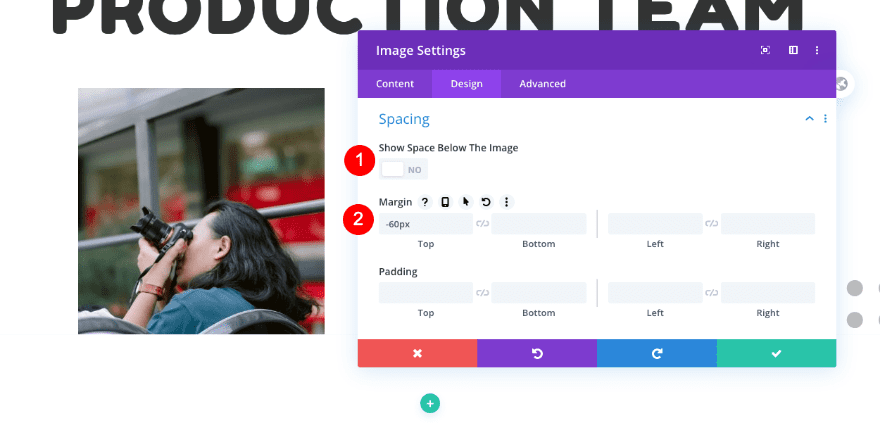
Spacing
Adjust the spacing too.
- Show Space Below The Image: No
- Top Margin: -60px
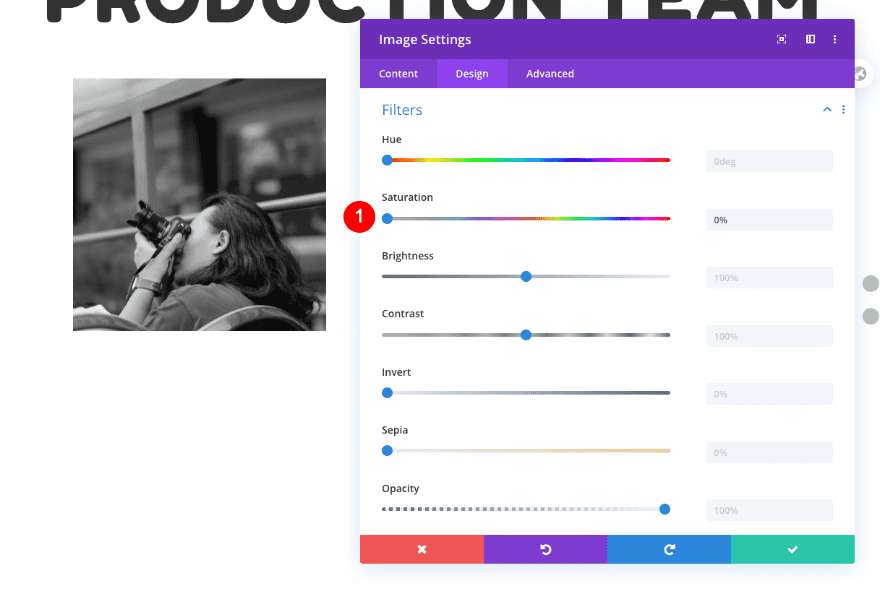
Filters
Then, add a filter to make the image desaturated.
- Saturation: 0%
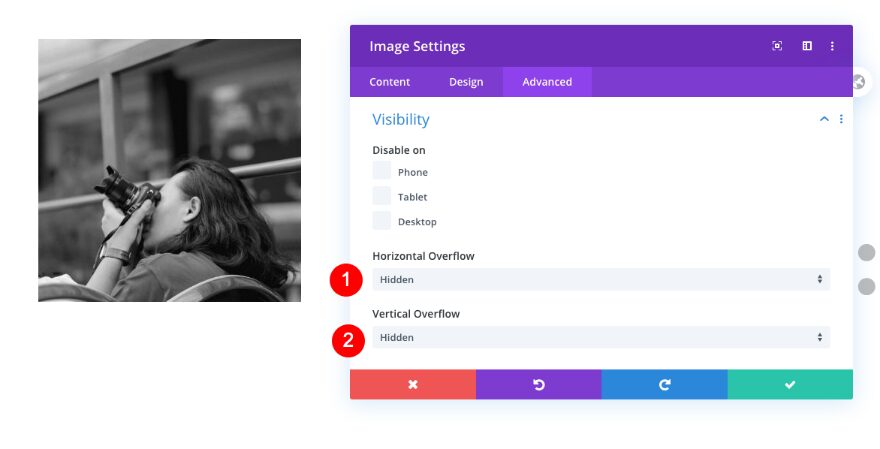
Visibility
Now, move over to the advanced tab and set the overflows to hidden.
- Horizontal and Vertical Overflow: Hidden
Scroll Effects
Last but not least, add a fading in and out scroll effect.
- Fading In and Out: Enable
- Viewport Bottom
- Position: 70%
- Starting Opacity:0%
- Mid Opacity
- Position: 71%
- Mid: 100%
- Viewport Top
- Position: 100%
- Ending Opacity: 0%
Add Call To Action Module
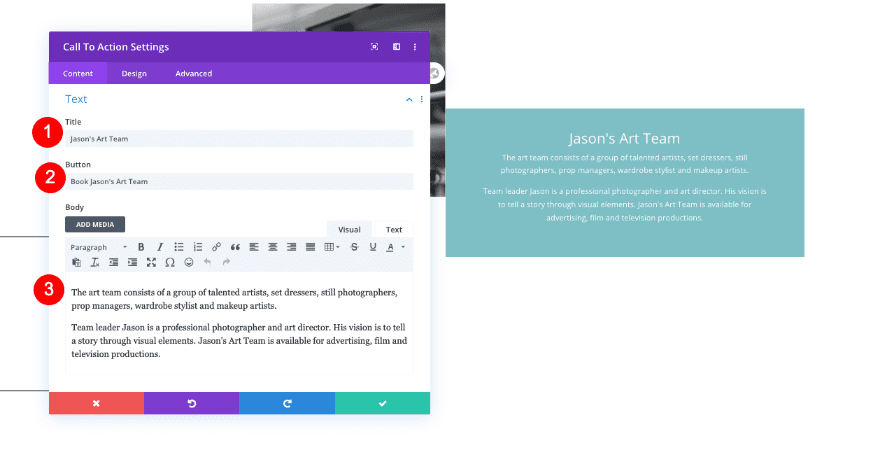
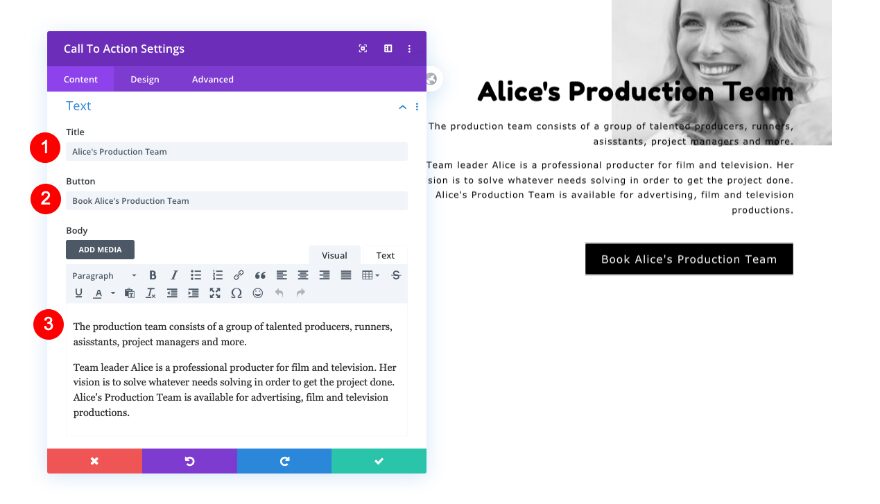
Text
On to the next module, which is a call to action module. Include some content of your choice.
- Title: Jason’s Art Team
- Button: Book Jason’s Art Team
- Body: Descriptive content
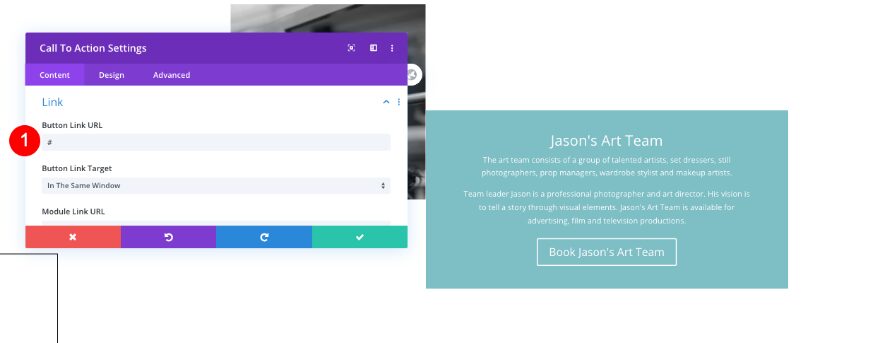
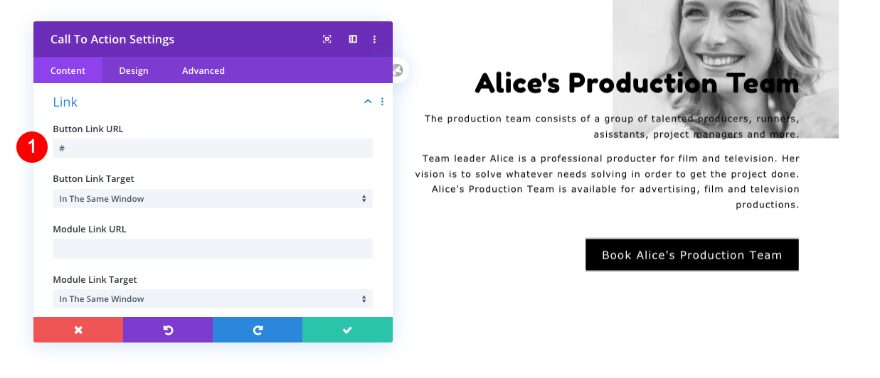
Link
Add a link next.
- Link: Your link
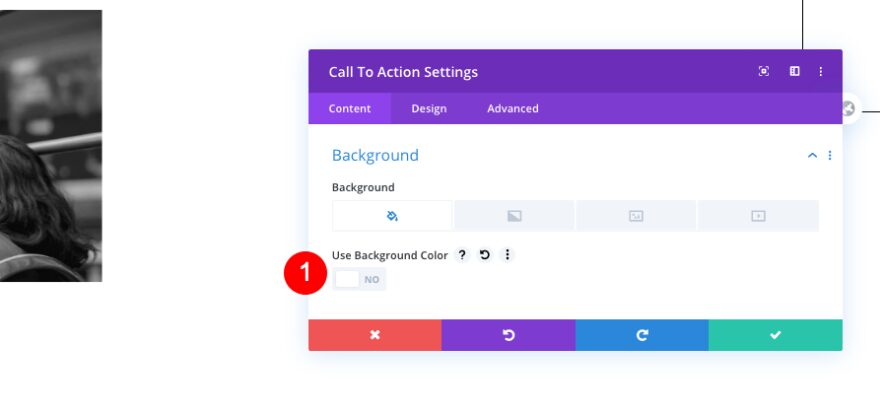
Background
Remove the default background color too.
- Use Background Color: No
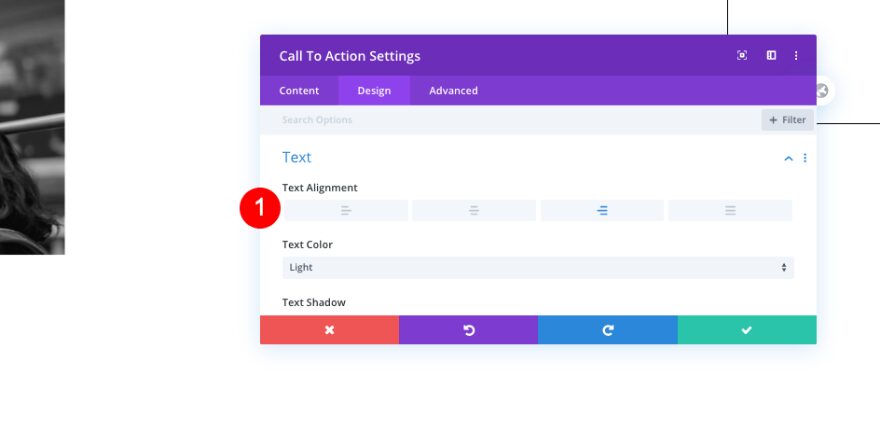
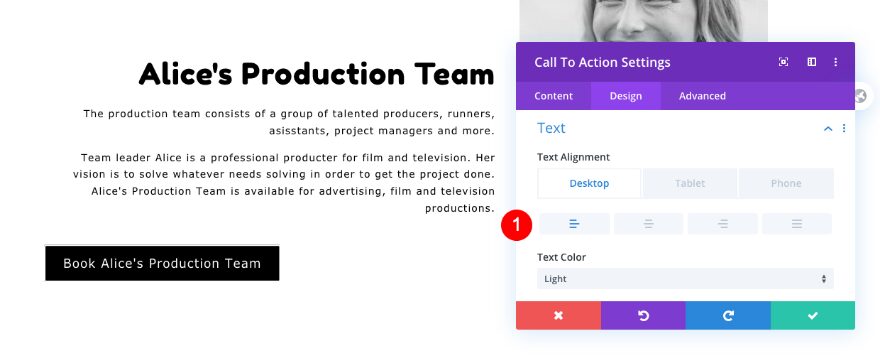
Text
Then, set the alignment to the right.
- Text Alignment: Right
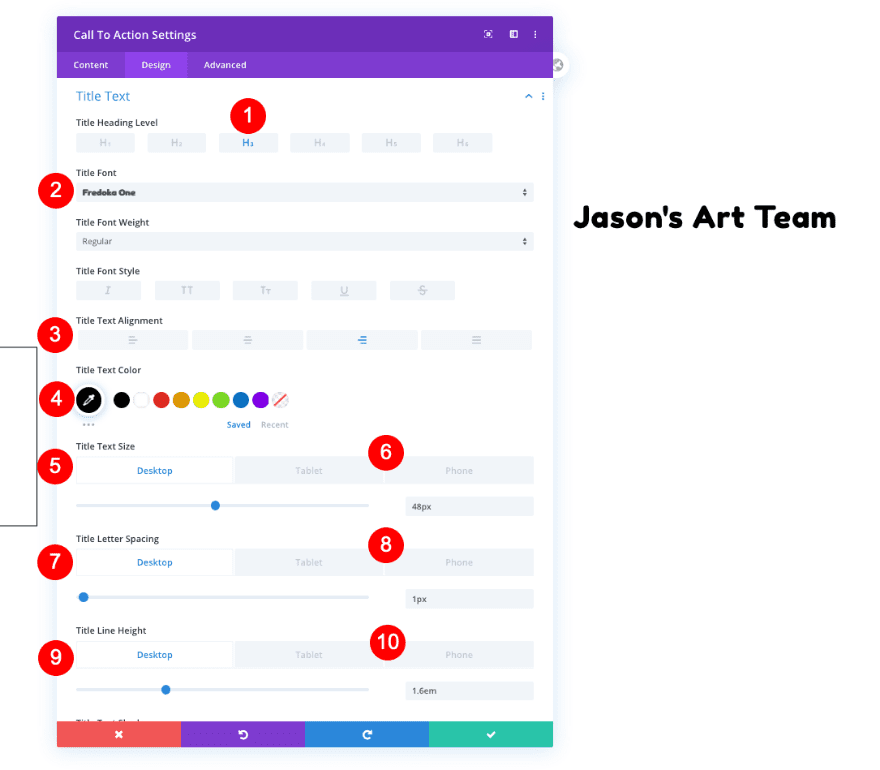
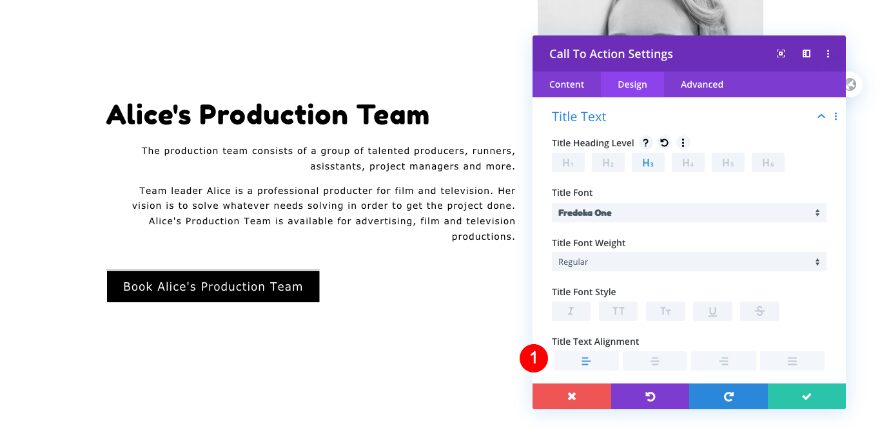
Heading Text
Style the heading text as well.
- Heading Level: H3
- Font: Fredoke One
- Title Text Alignment: Left
- Color: Black #oooooo
- Size
- Desktop: 48px
- Tablet: 42px
- Phone: 33px
- Letter Spacing
- Desktop and Tablet: 1px
- Phone: 0px
- Line Height
- Desktop and Tablet: 1.6em
- Phone: 1.1em
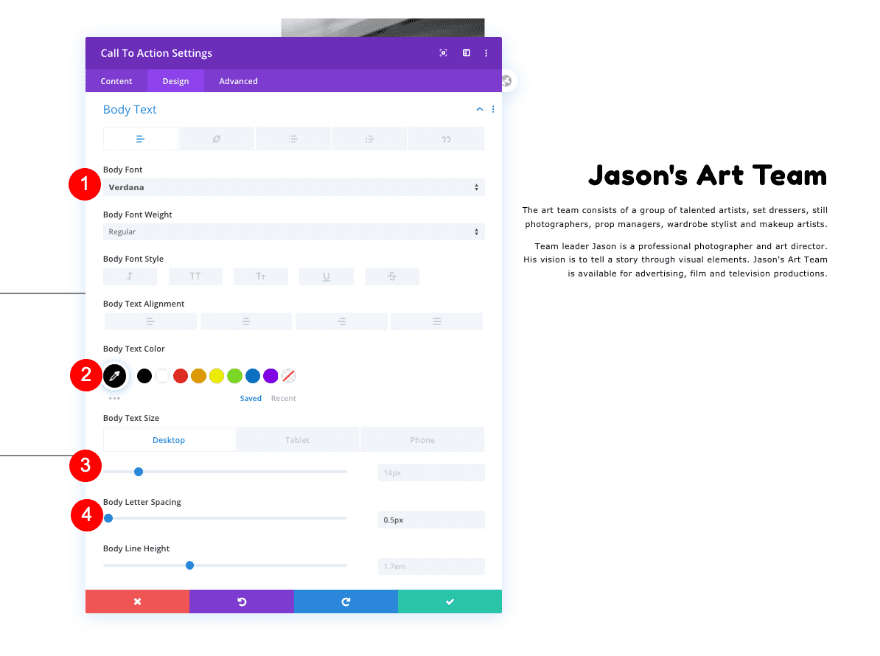
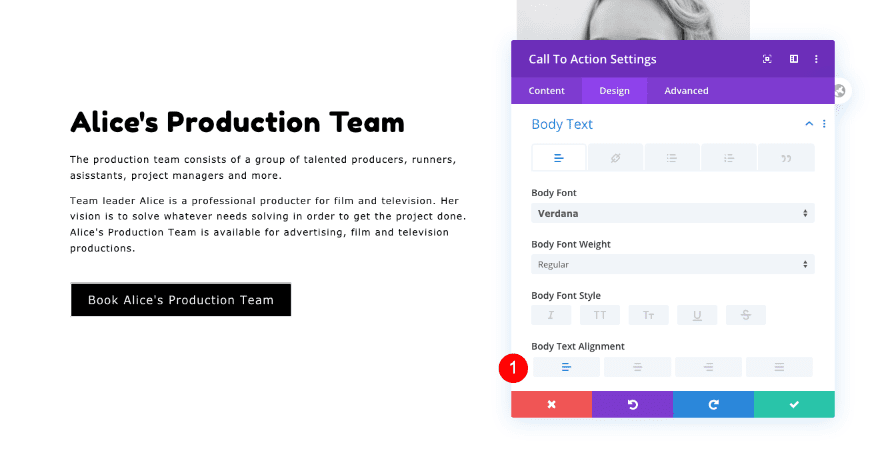
Body Text
Then, the body text.
- Font: Verdana
- Color: Black #000000
- Size: 14px
- Letter Spacing: 0.5px
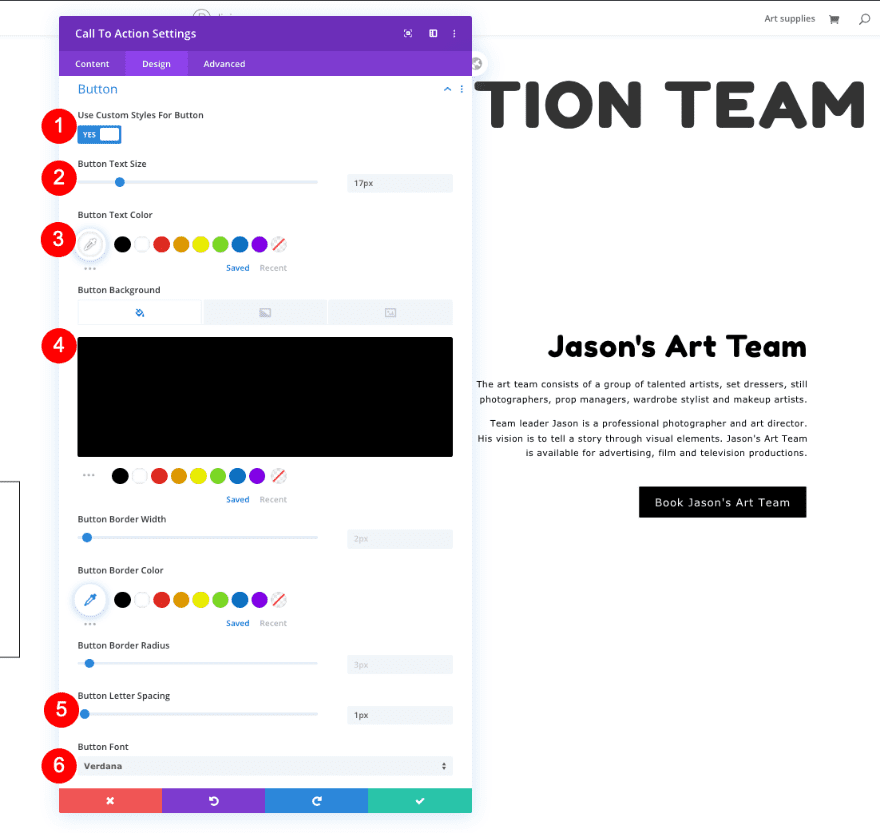
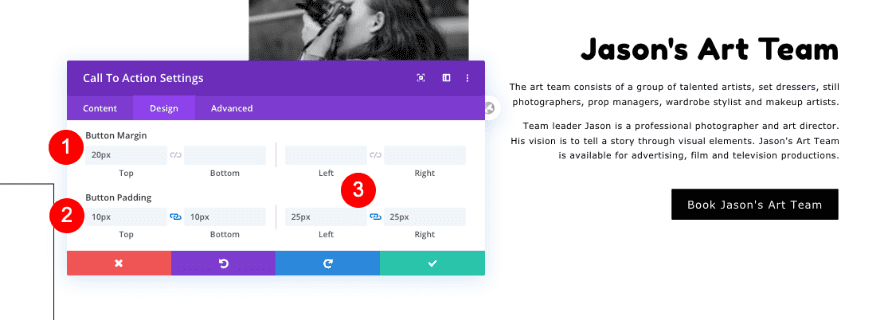
Button
Adjust the button styles too.
- Custom Styles
- Text Size: 17px
- Text Color: White #ffffff
- Background: Black #000000
- Letter Spacing: 1px
- Font: Verdana
- Top Margin: 20px
- Top and Bottom Padding: 10px
- Left and Right Padding: 25px
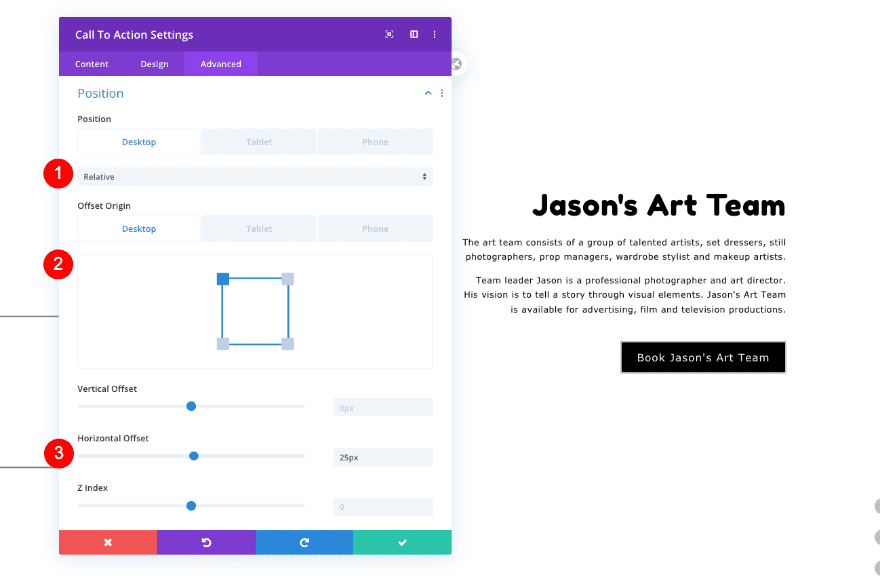
Position
Move on to the advanced tab and change the position settings as follows:
- Position: Relative
- Offset Origin: Top Left
- Horizontal Offset: 25px
Visibility
Then, hide the overflows.
- Horizontal and Vertical Overflow: Hidden
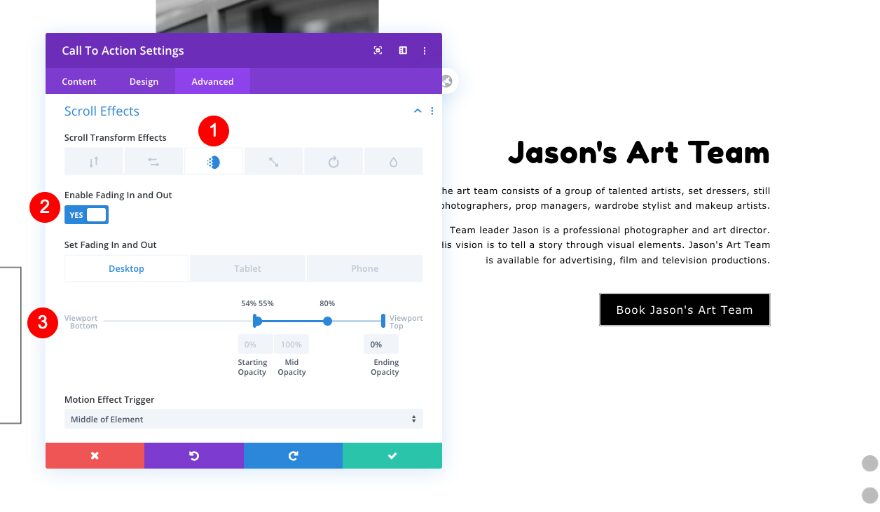
Scroll Effects
Last but not least, enable a fading in and out scroll effect.
- Fading In and Out: Enable
- Viewport Bottom
- Position: 54%
- Starting Opacity:0%
- Mid Opacity
- Bottom Position: 55%
- Top Position: 80%
- Mid: 100%
- Viewport Top
- Position: 100%
- Ending Opacity: 0%
Duplicate 2nd Row
Clone the row with all its modules.
Adjust 1st Text Module
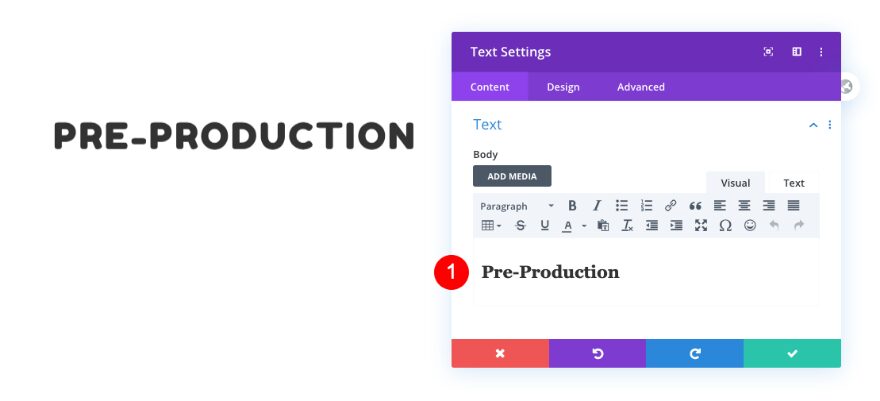
Text
Now change the content of the cloned text modules. Start from the top.
- Body: H2 Content / Pre-Production
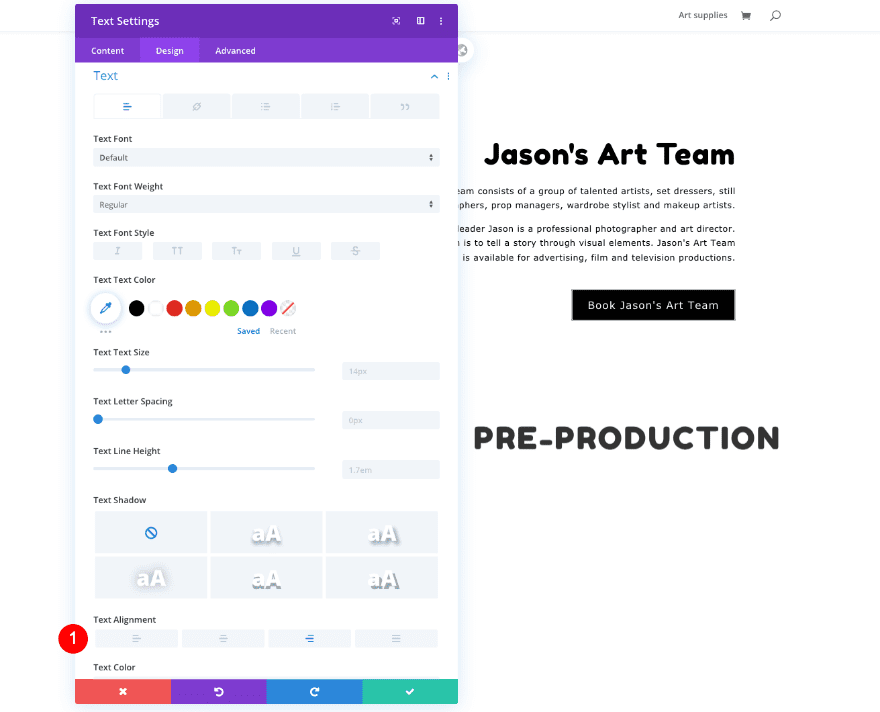
Text
Change the alignment to right.
- Text Alignment: Right
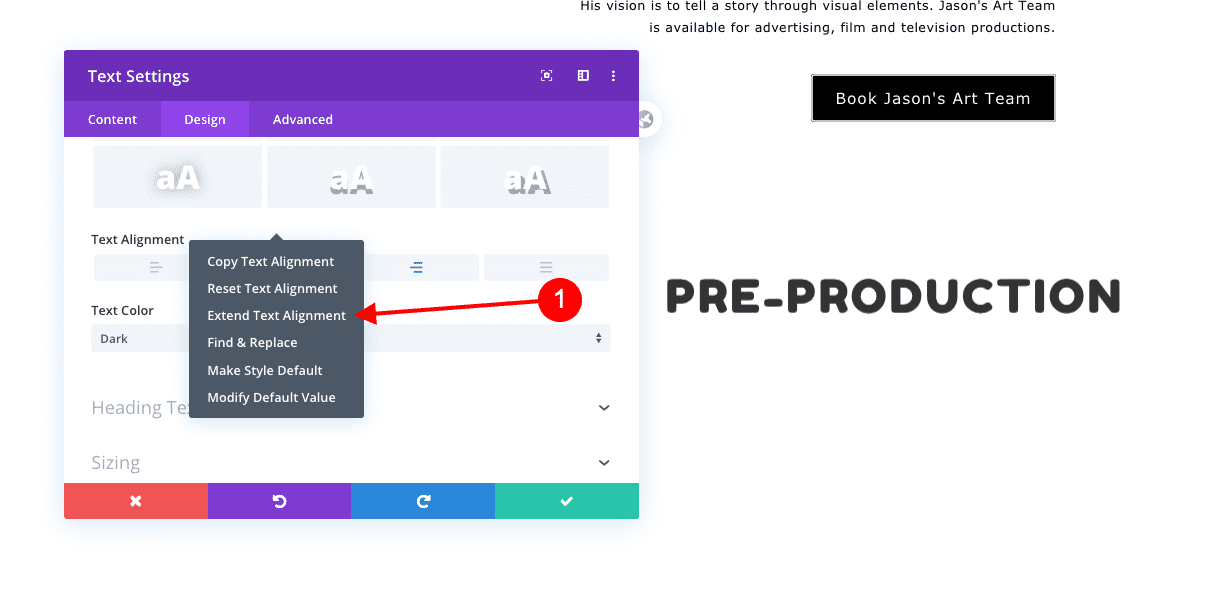
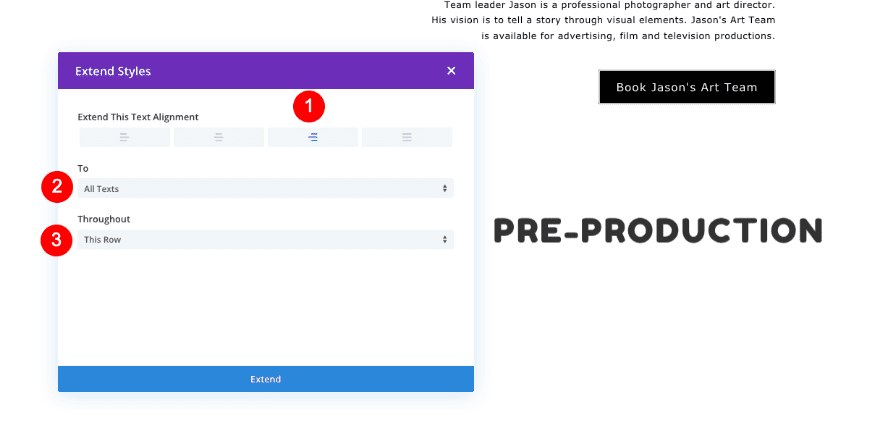
Extend Text Alignment
Apply the alignment to all cloned text modules in that same row.
- Extend text alignment: To all text modules in this row
Adjust 2nd Text Module
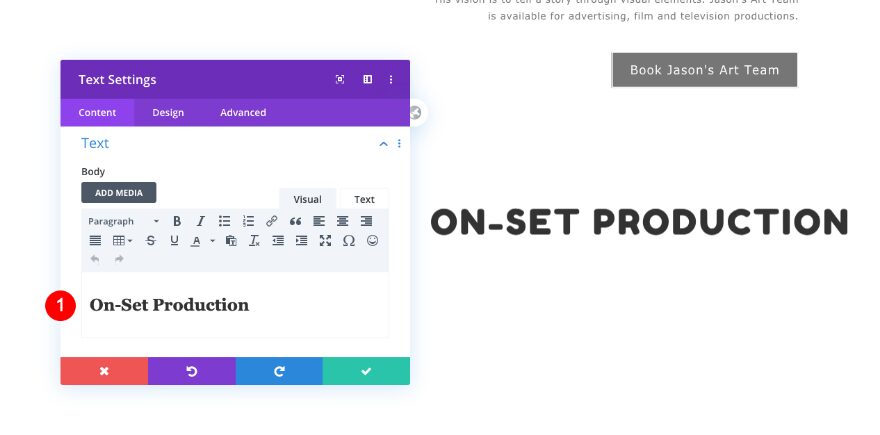
Text
Now update the content in the 2nd cloned text module.
- Body: H2 Content / On-Set Production
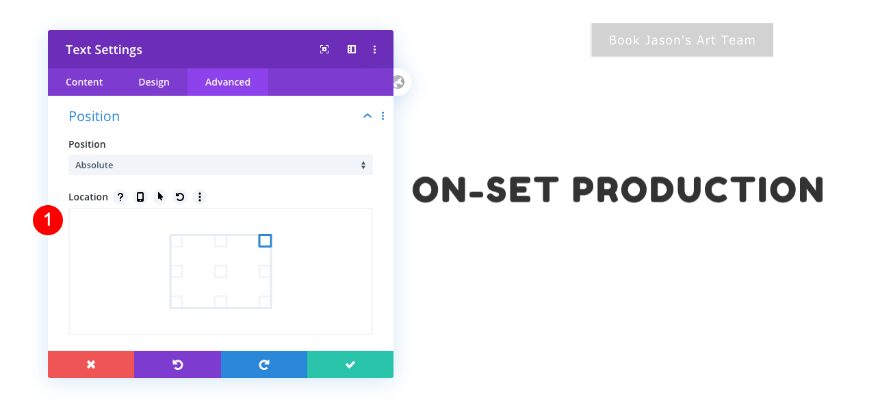
Position
Change the location in the position settings too.
- Location: Top Right
Adjust 3rd Text Module
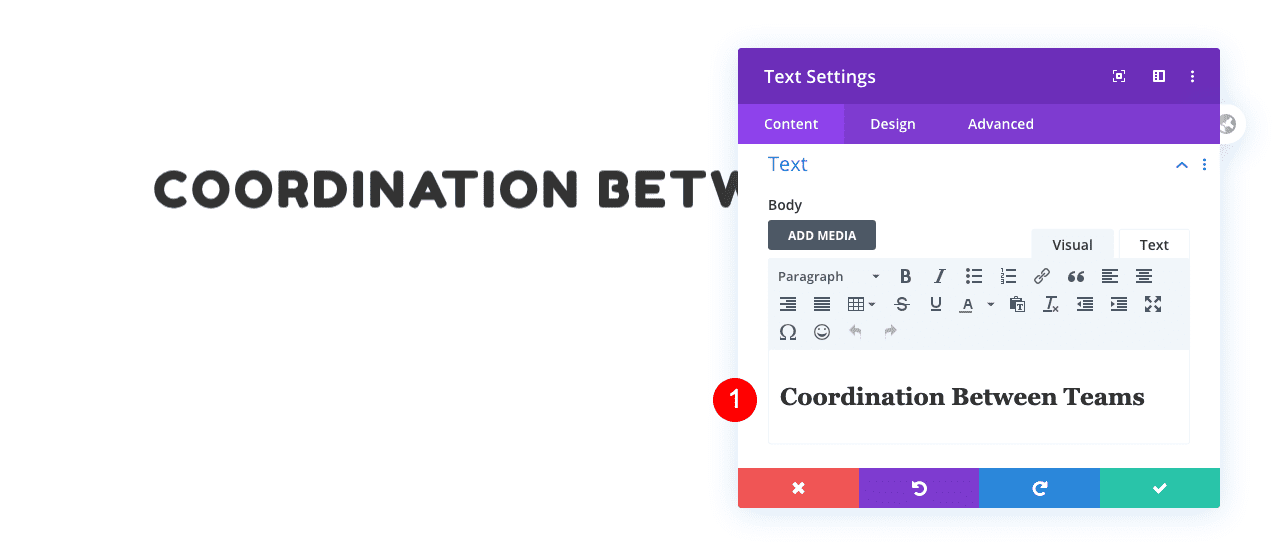
Text
Now change the content of the 3rd cloned text module.
- Body: H2 Content / Coordination Between Teams
Position
Change the location in the position settings too.
- Location: Top Right
Adjust New Image Module
Image
Next, change the photo in the image module.
- Image: New Image 350 x 350px
Alignment
Change the image alignment as well.
- Image Alignment: Right
Adjust New Call To Action Module
Text
Open the call to action module next and change all content.
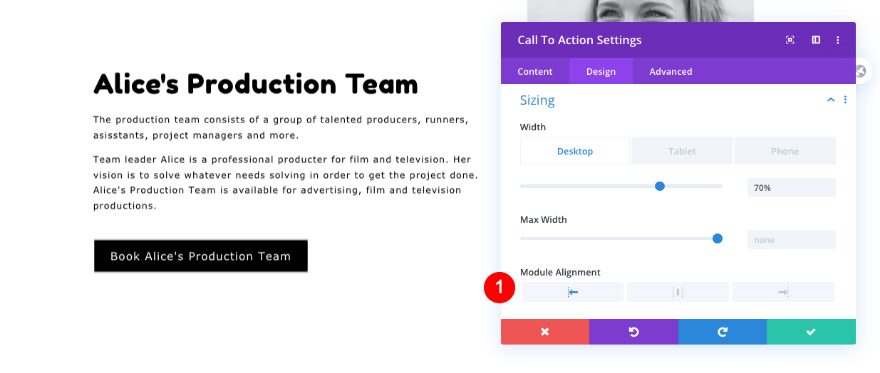
- Title: Alice’s Production Team
- Button: Book Alice’s Production Team
- Body: New descriptive content.
Link
Change the link too.
- Link: New link
Text
Modify the alignment as well.
- Text Alignment: Left
Heading Text
Change the alignment of the heading text too.
- Title Text Alignment: Left
Body Text
As well as the body text.
- Body Text Alignment: Left
Sizing
Don’t forget to change the alignment of the entire module in the sizing settings too.
- Module Alignment: Left
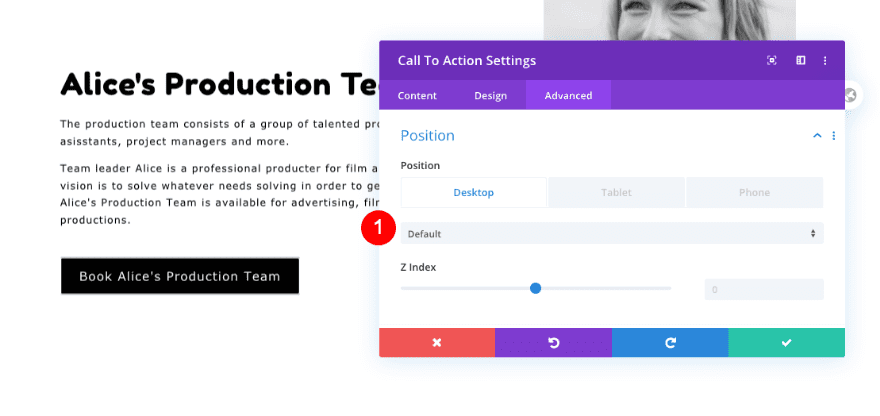
Position
Finally, reset the position settings to default and you’re done!
- Position: Reset to Default
Preview
Let’s take one last look at the page layout on different screen sizes.
Desktop
Mobile
That’s a Wrap For The Layout With Text & Images That Change on Scroll!
We’re done recreating the text and images that change on scroll. We were able to achieve this effect thanks to Divi’s built-in scroll effects. Use this layout for a services page, an about page, a meet the team page, or anything you like! Use the provided backgrounds or leave the background white.
Let us know what you think in the comments!
The post How to Create Text & Images that Change on Scroll in Divi appeared first on Elegant Themes Blog.