
One of the main reasons people create websites is to find a new way to approach their target audience. Once you take that first step and start building a website, you start wondering how exactly you’ll be able to get in touch with your potential clients. One of the things that have proven to help a lot of website owners is list building. It’s all about collecting email addresses from visitors, turning them into leads (and eventually customers) with email marketing.
And with list building comes creating attractive subscribe sections on your website. You want your subscribe section to be eye-catching and more importantly, you want your subscribe section to convert. For this tutorial, we’ve created a stunning subscribe section that will undeniably catch your visitor’s attention. We’re combining a slick design with arguments on why to sign up for an email list. On top of that, we’ll also share three color palettes that you can choose from while creating the design.
Let’s get to it!
Preview
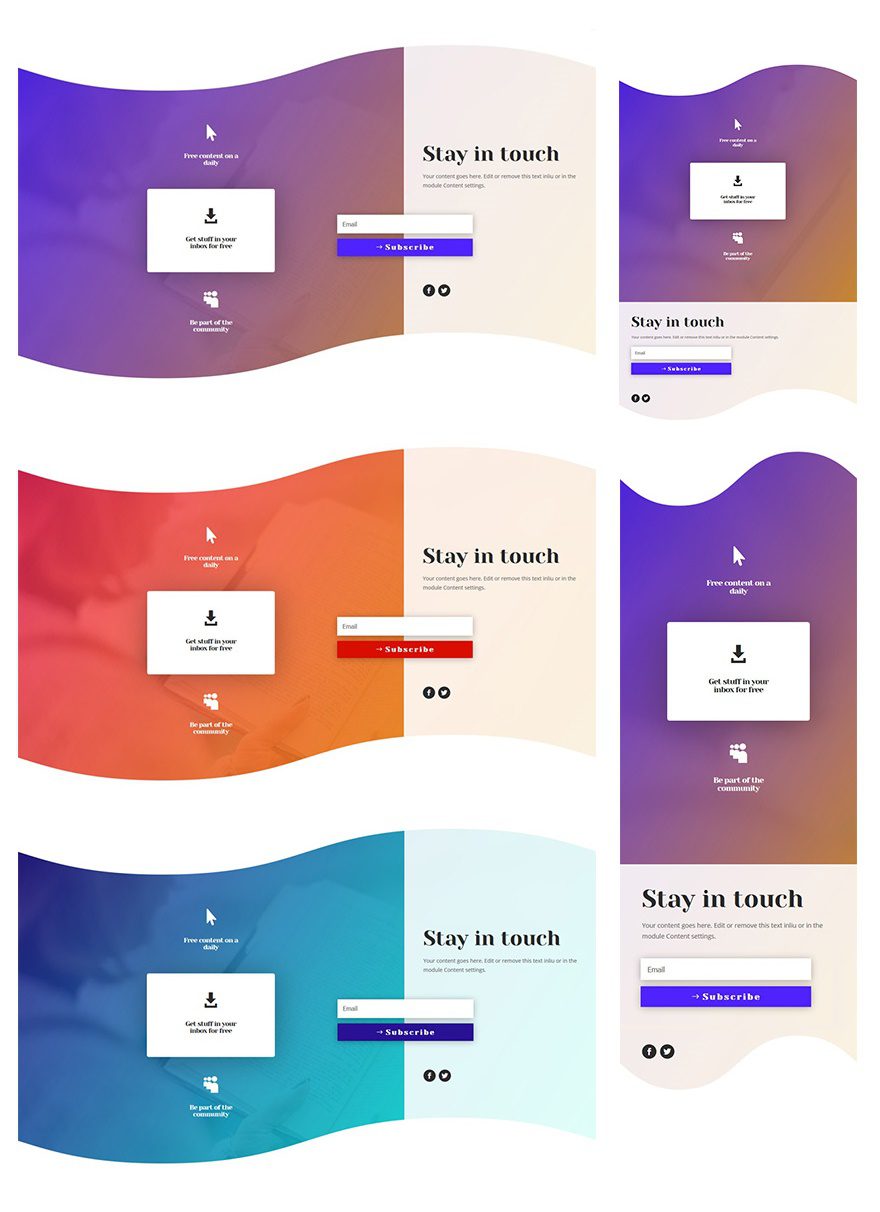
Before we dive into the tutorial, let’s take a look at the result on different screen sizes.
Color Palette #1
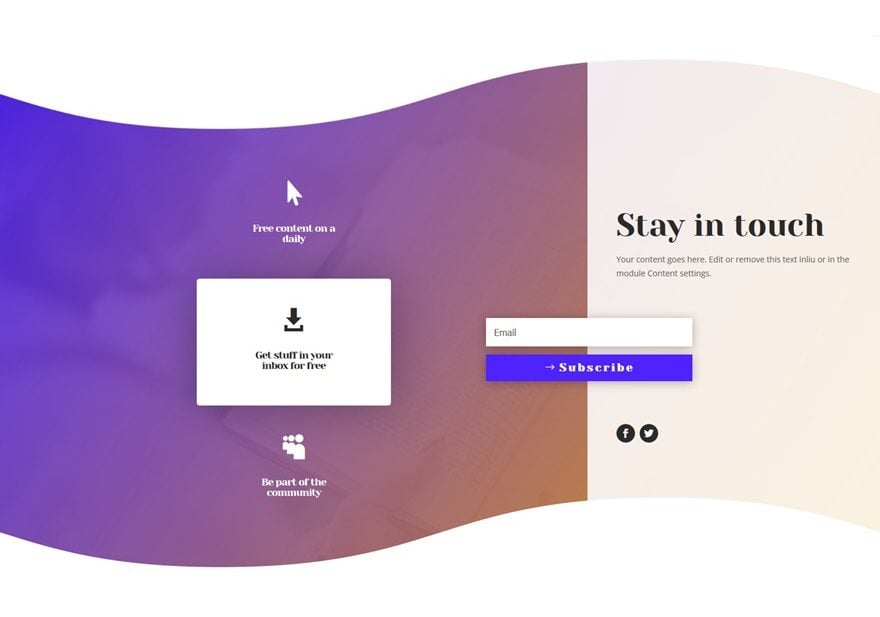
- Color #1: rgba(79,35,255,0.88)
- Color #2: #e09900
- Color #3: #4f23ff
Color Palette #2
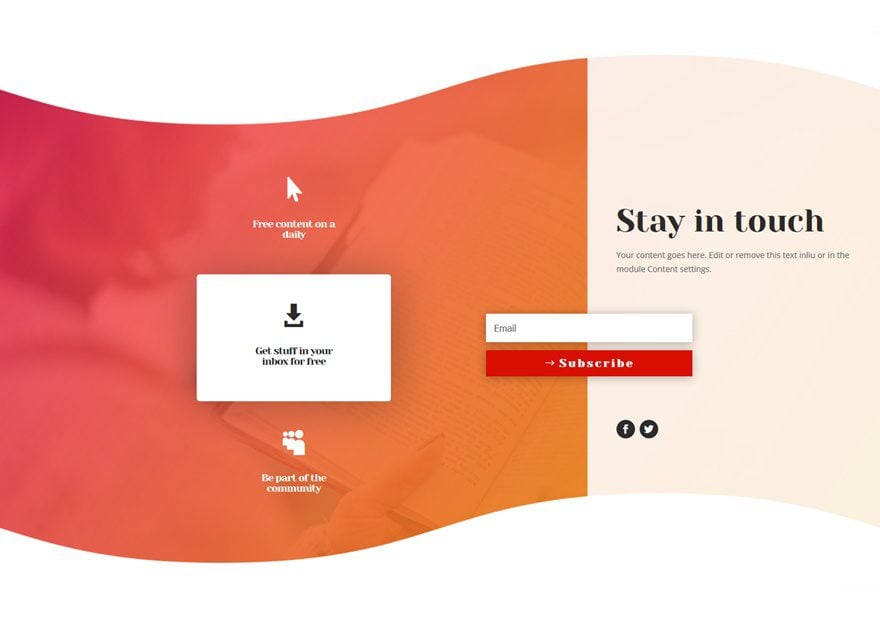
- Color #1: rgba(255,35,97,0.75)
- Color #2: #e09900
- Color #3: #d80e00
Color Palette #3
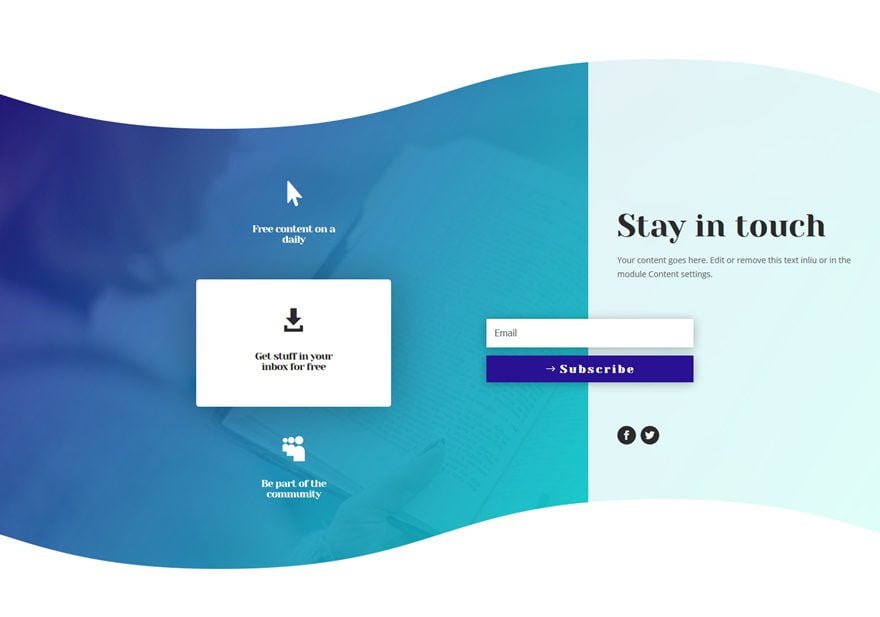
- Color #1: rgba(41,17,147,0.75)
- Color #2: #00ffd8
- Color #3: #291193
Approach
Choose one of the color palettes above (or create your own one) and use these colors throughout the tutorial. We’ll refer to color #1, #2 or #3 when we’re using a color in our settings. We’re also making the Subscribe Module overlap two columns and we’re emphasizing the benefits of signing up for an email list.
Recreate Subscribe Section
Add a New Section
Top Divider
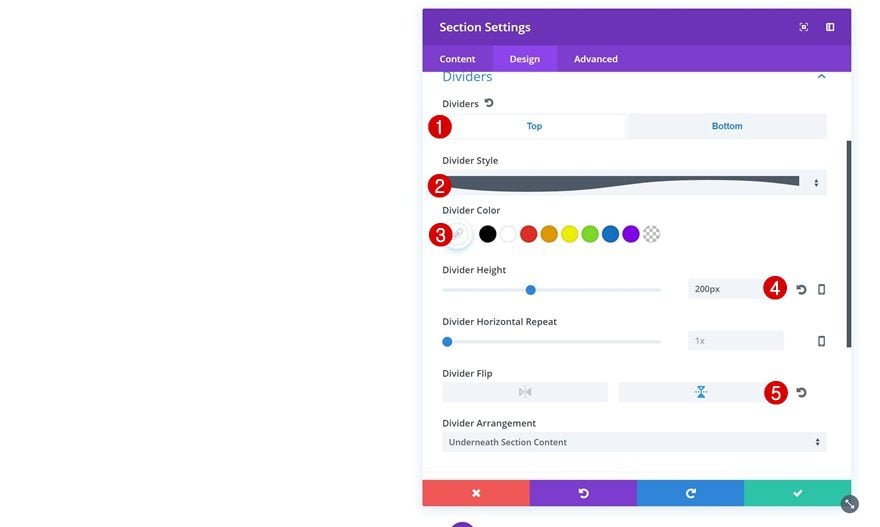
Open the page you want to add your subscribe section to and add a new standard section. Open the settings of your section right away and add the following top divider:
- Divider Style: Find in List
- Divider Color: #FFFFFF
- Divider Height: 200px
- Divider Flip: Vertical
Bottom Divider
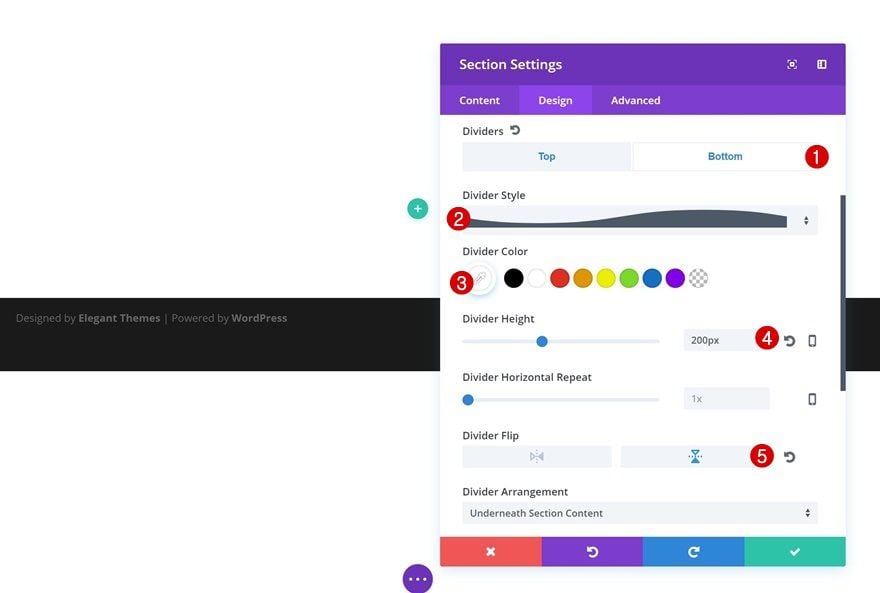
Add the same kind of divider to the bottom of your section:
- Divider Style: Find in List
- Divider Color: #FFFFFF
- Divider Height: 200px
- Divider Flip: Vertical
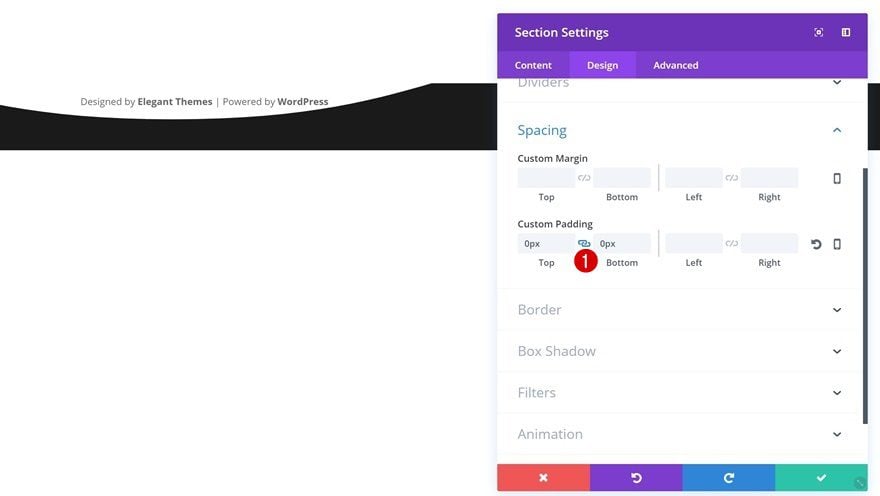
Spacing
Open the Spacing settings next and remove all the default padding of your section by adding ‘0px’ to the top and bottom padding.
Add a New Row
Column Structure
Now that we’re done with all section settings, we can add a new row. Choose the following column structure for it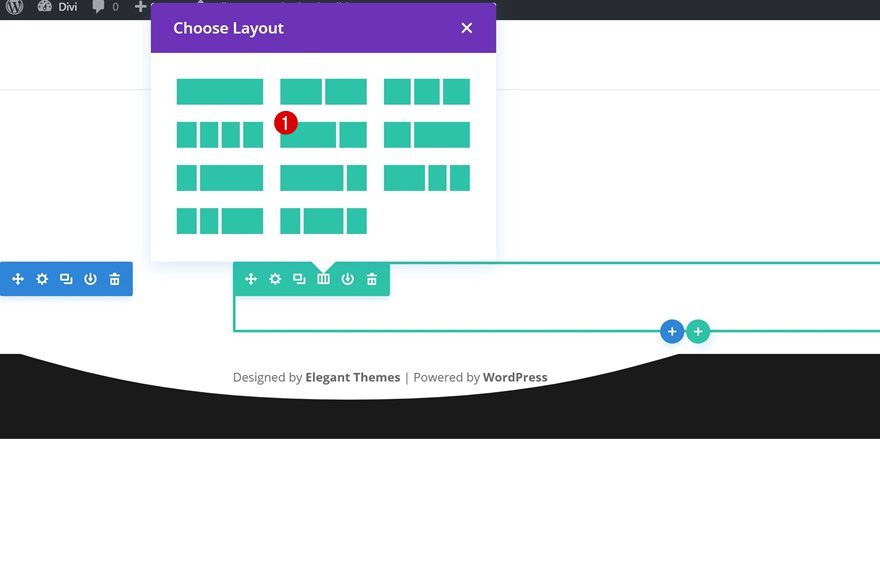
Gradient Background
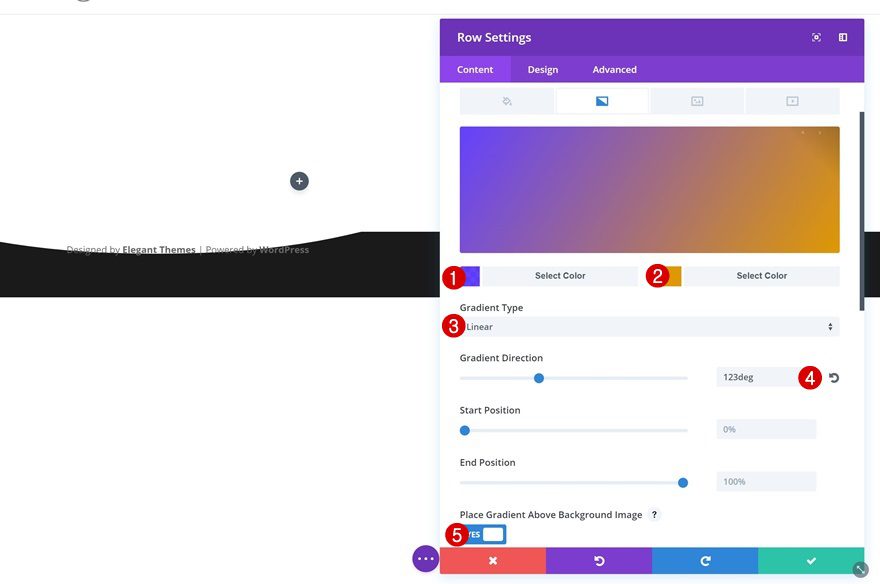
Open your row settings and continue by adding the following gradient background:
- First Gradient Color: Color #1
- Second Gradient Color: Color #2
- Gradient Direction: 123deg
- Place Gradient Above Background Image: Yes
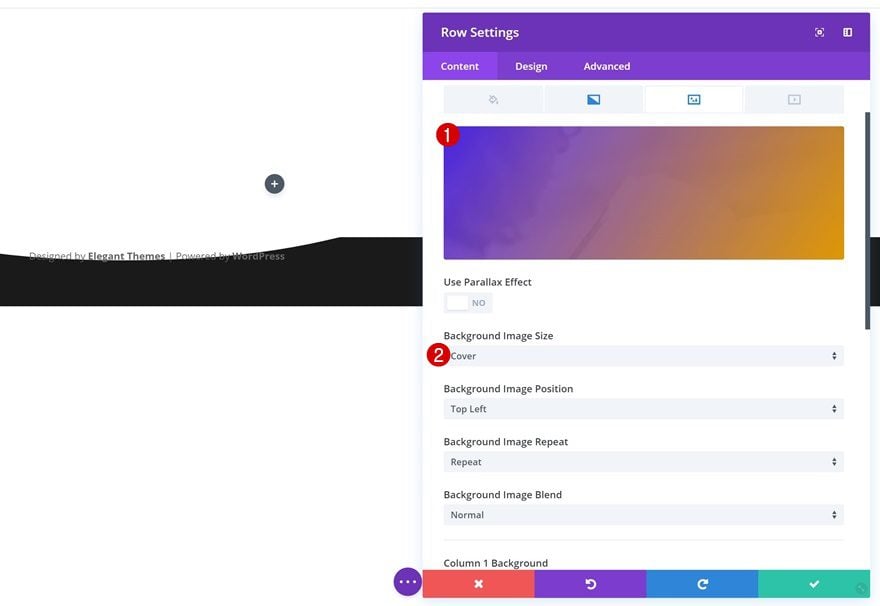
Background Image
Continue by adding a background image of choice. This background image will only show through a bit. Choose ‘Cover’ as the Background Image Size as well.
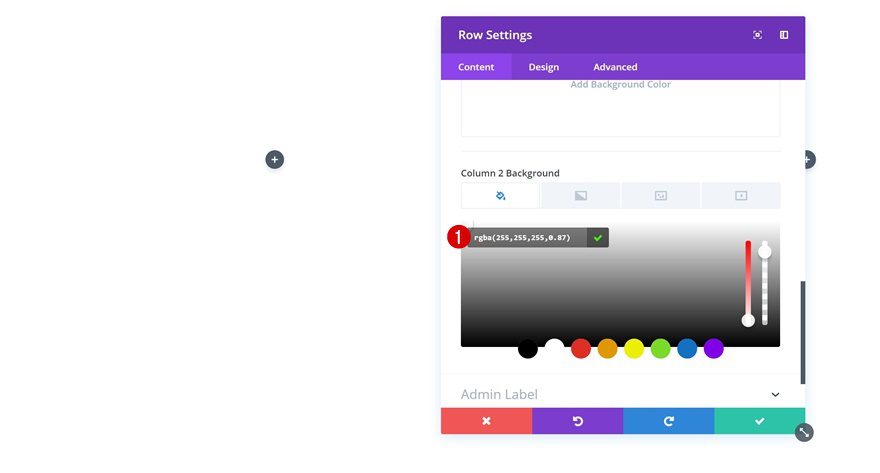
Colum 2 Background Color
Next, add ‘rgba(255,255,255,0.87)’ as the Column 2 Background Color.
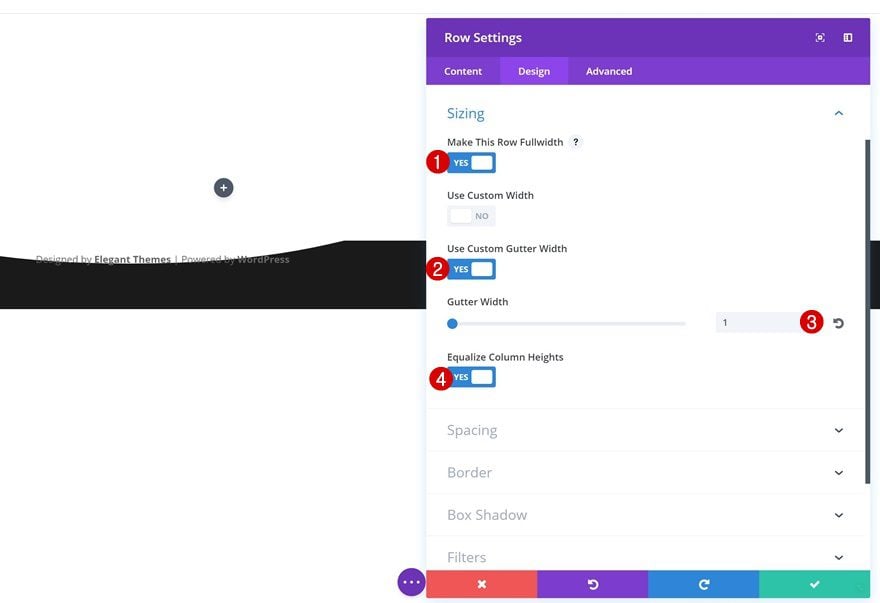
Sizing
We’re also going to reduce the space between both columns and make the row take up the entire width of the screen by applying the following Sizing settings:
- Make This Row Fullwidth: Yes
- Use Custom Gutter Width: Yes
- Gutter Width: 1
- Equalize Column Heights: Yes
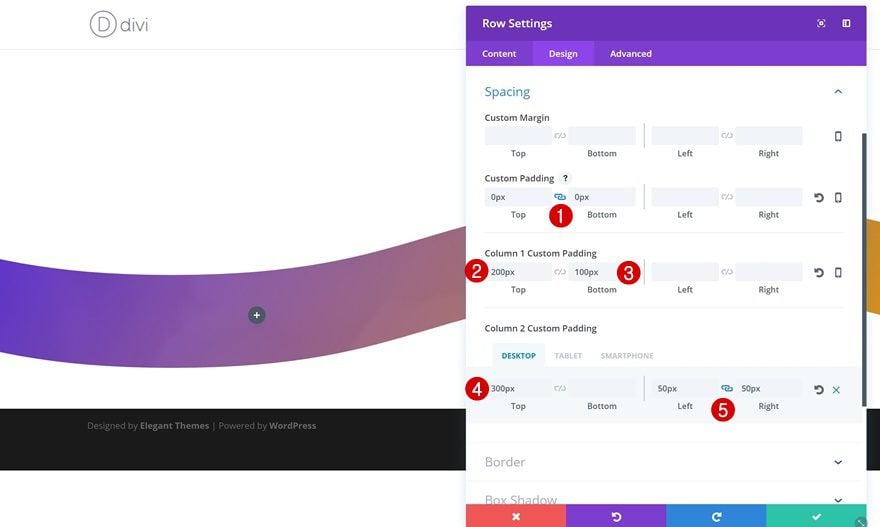
Spacing
The last thing you’ll need to do within the row settings is add some custom padding:
- Top & Bottom Padding: 0px
- Column 1 Top Padding: 200px
- Column 1 Bottom Padding: 100px
- Column 2 Top Padding: 300px (Desktop) 50px (Tablet & Phone)
- Column 2 Bottom Padding: 100px (Tablet & Phone)
- Column 2 Left & Right Padding: 50px
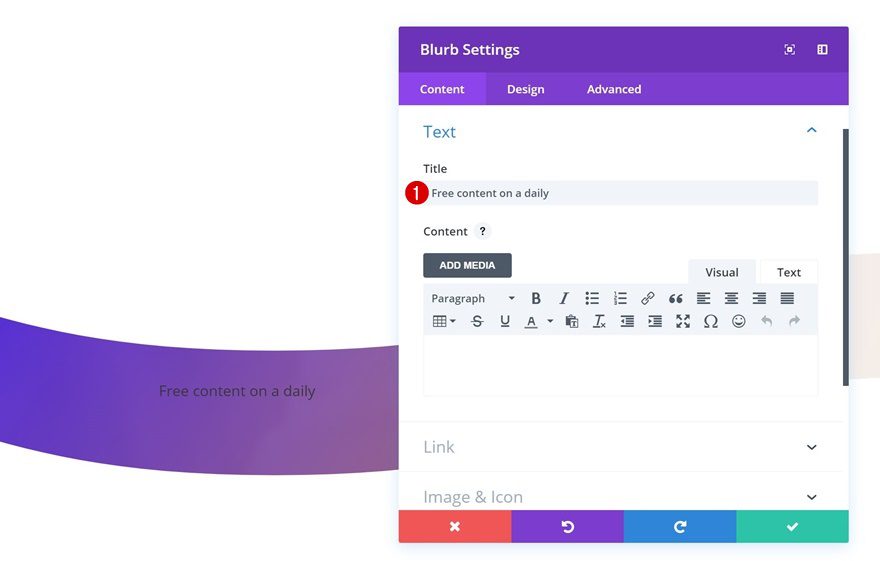
Add Blurb Module #1 to Column 1
Add Blurb Title
Now let’s start adding our modules! We’ll start with the first column by adding a Blurb Module. Once we’re done modifying that Blurb Module, we’ll reuse its settings for the other two as well. After you add a Blurb Module, give it a title.
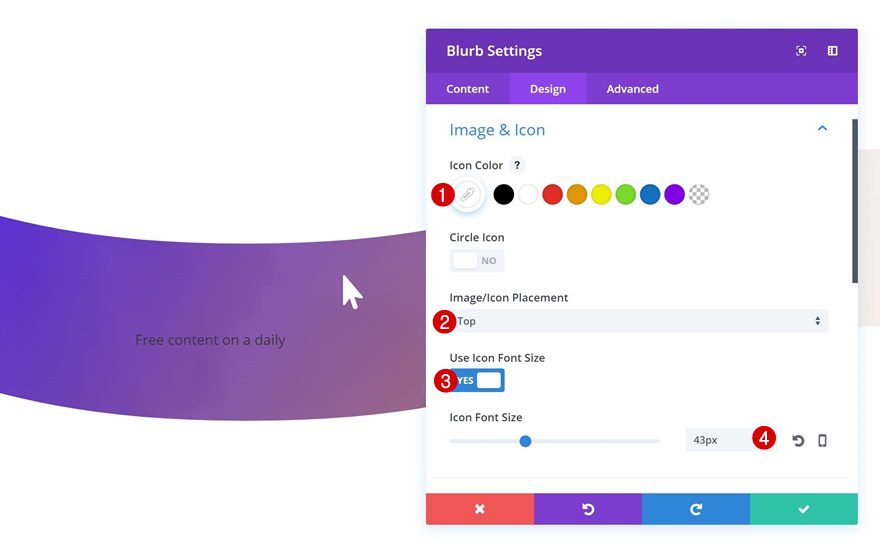
Add Blurb Icon
Add an icon to your Blurb Module next. We’ve used the following icon for the first module:

Icon Settings
Change the appearance of the icon by adding the following settings:
- Icon Color: #FFFFFF
- Icon Placement: Top
- Use Icon Font Size: Yes
- Icon Font Size: 43px
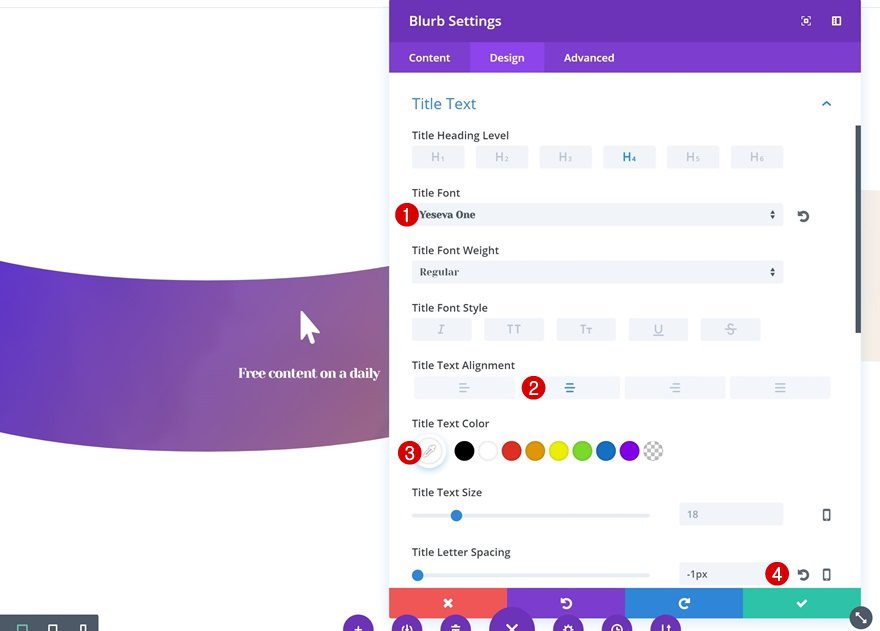
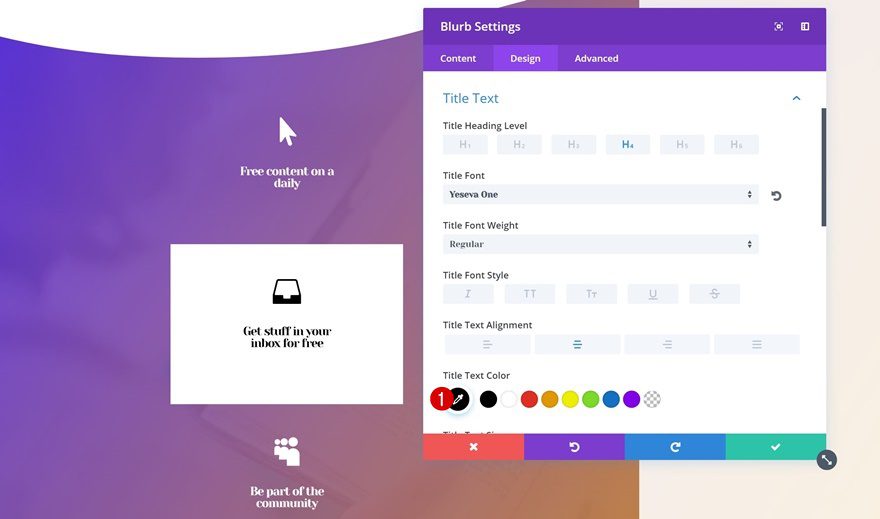
Title Text Settings
We’re only using a blurb title. That’s why we’ll need to modify the text settings of the H4 only:
- Title Font: Yeseva One
- Title Text Alignment: Center
- Title Text Color: #FFFFFF
- Title Letter Spacing: -1px
Sizing
We’ll also modify the width of our Blurb Module according to the different screen sizes:
- Content Width: 150px
- Width: 33% (Desktop), 40% (Tablet), 60% (Phone)
- Module Alignment: Center

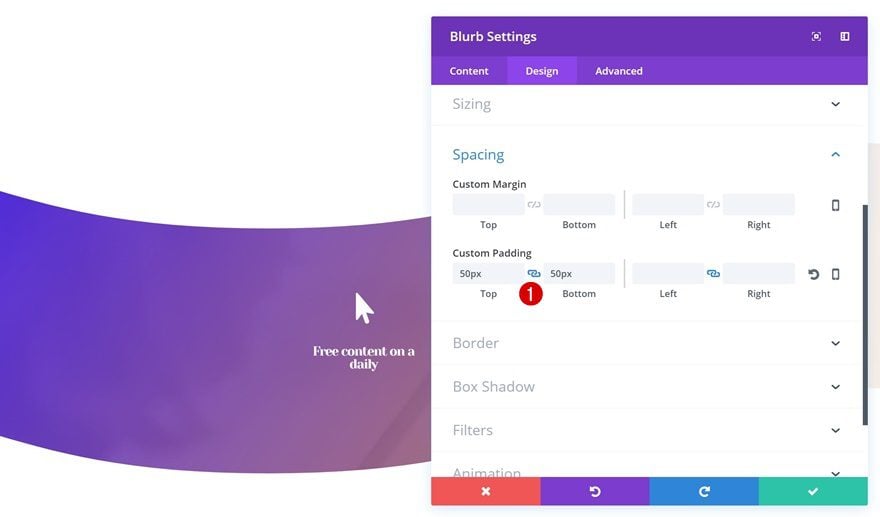
Spacing
Lastly, add the following custom padding to your Blurb Module as well:
- Top & Bottom Padding: 50px
Clone Blurb Module Twice & Modify Featured Blurb Module
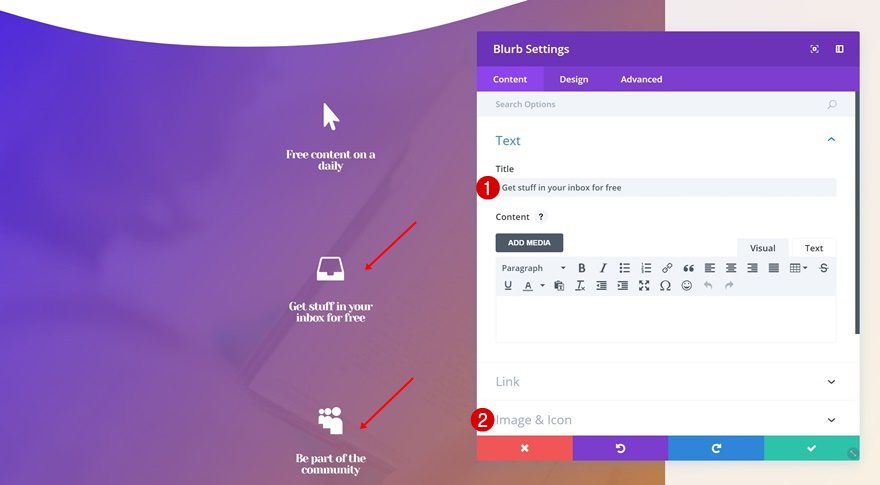
Change Icon & Content
You can now go ahead and clone the Blurb Module twice. Keep all of them in the first column. For each one of the new Blurb Modules, go ahead and change the icon and title to make it match with the message you want to send out.
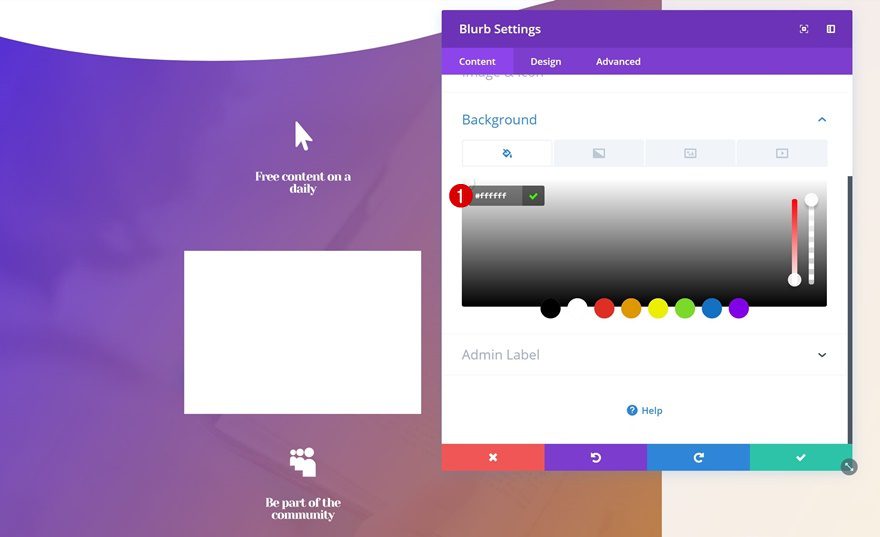
Add Background Color
We’re going to highlight the middle Blurb Module. To do that, we’ll start by adding a white background color to it.
Change Icon & Title Text Color
We’ll also change the color of the icon and the H4 title to ‘#000000.’
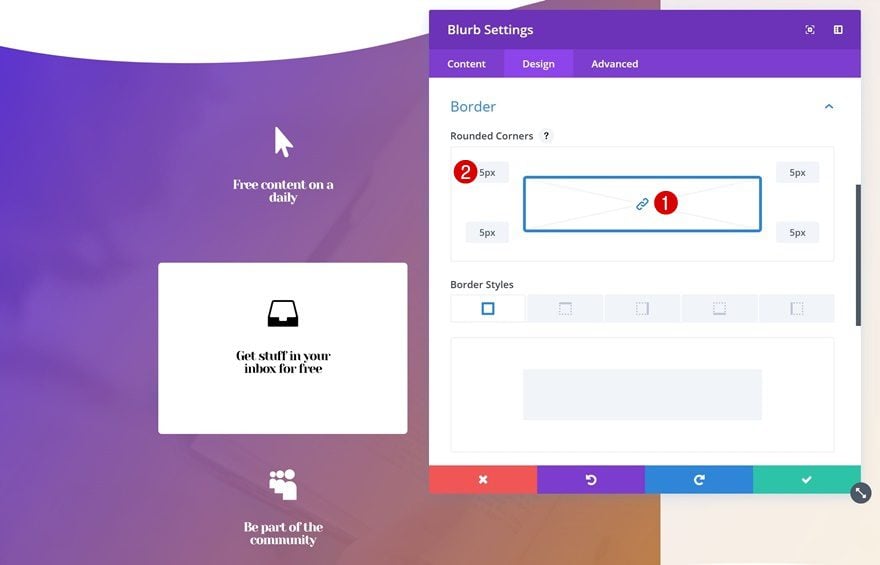
Add Rounded Corners
Next, we’ll add ‘5px’ to each one of the corners in the Border settings.
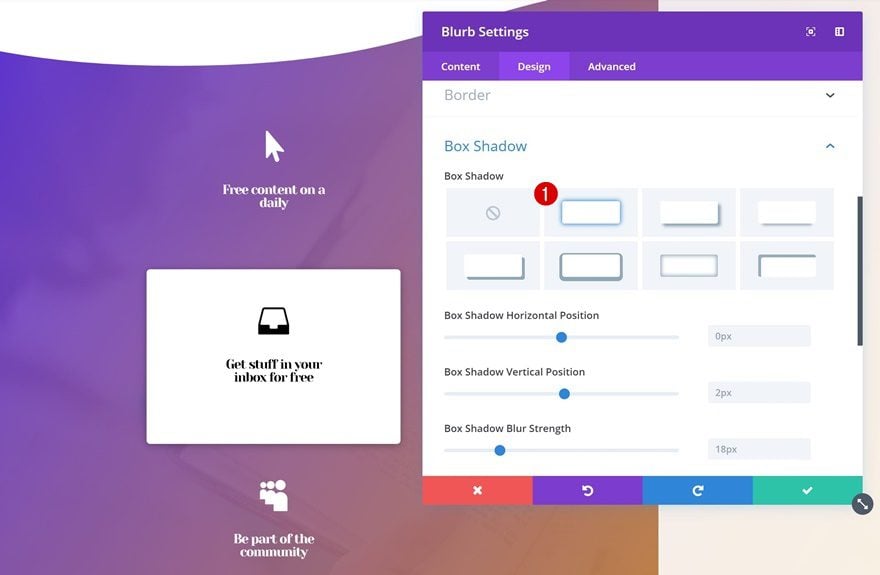
Box Shadow
Last but not least, we’ll add a bit of depth by using the first box shadow option.
Add Text Module #1 to Colum 2
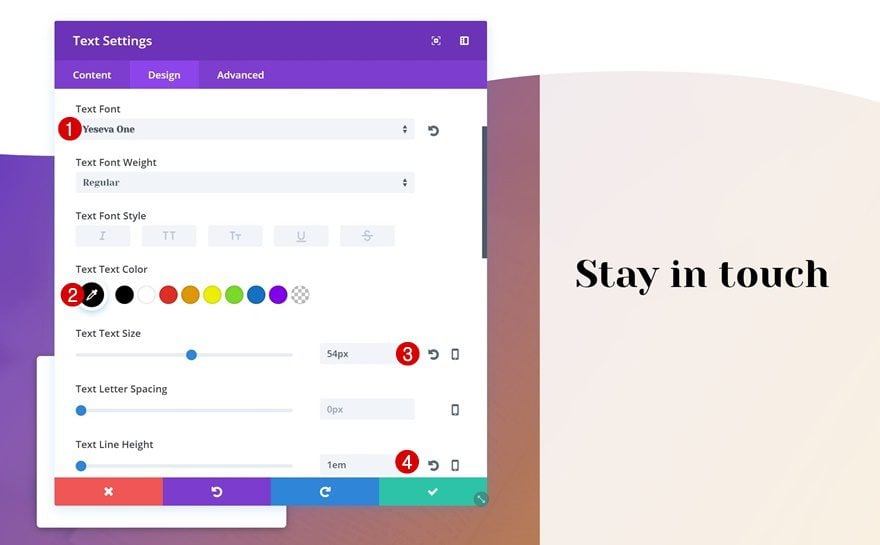
Text Settings
Let’s move on to the second column! The first module we’ll need there is a Text Module. After you’ve added your content, apply the following text settings to it:
- Text Font: Yeseva One
- Text Color: #000000
- Text Size: 54px
- Text Line Height: 1em
Add Text Module #2 to Column 2
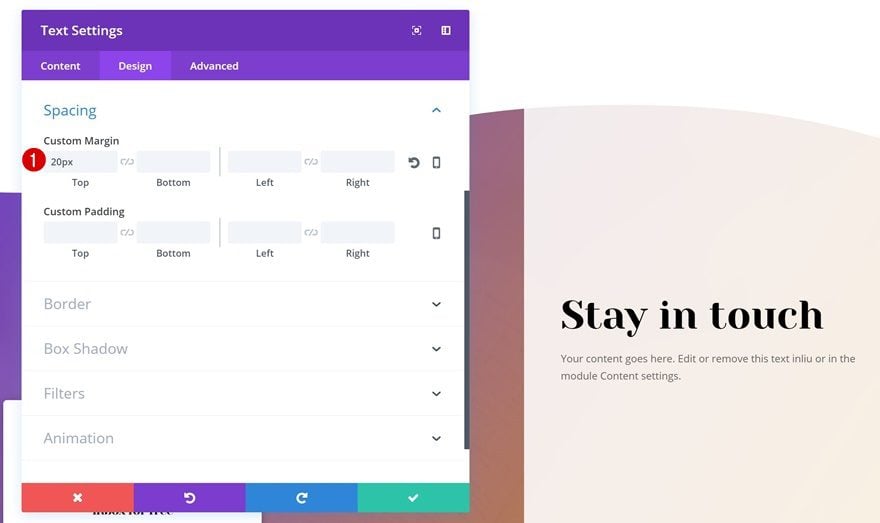
Spacing
Right below that Text Module, we’re going to add another Text Module for the description. After you’ve added your content, add ’20px’ to the top margin.
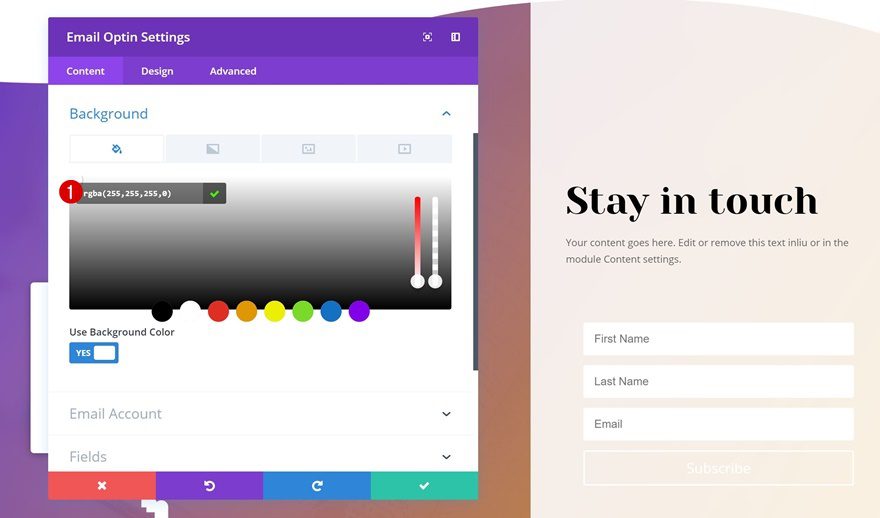
Add Email Optin Module to Column 2
Background Color
The next module we’ll need to add is an Email Optin Module. Once you add it, go ahead and change the background color to ‘rgba(255,255,255,0).’
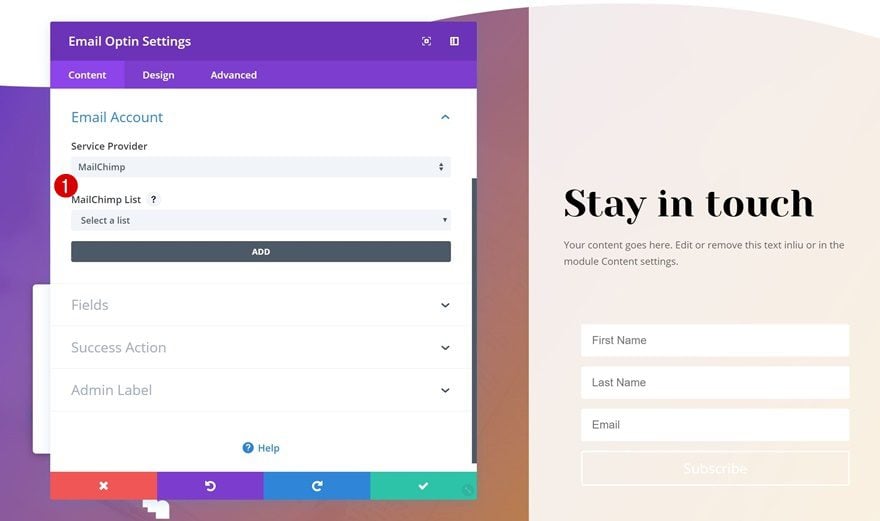
Email Account
Add your Email Account next choosing your service provider of choice.
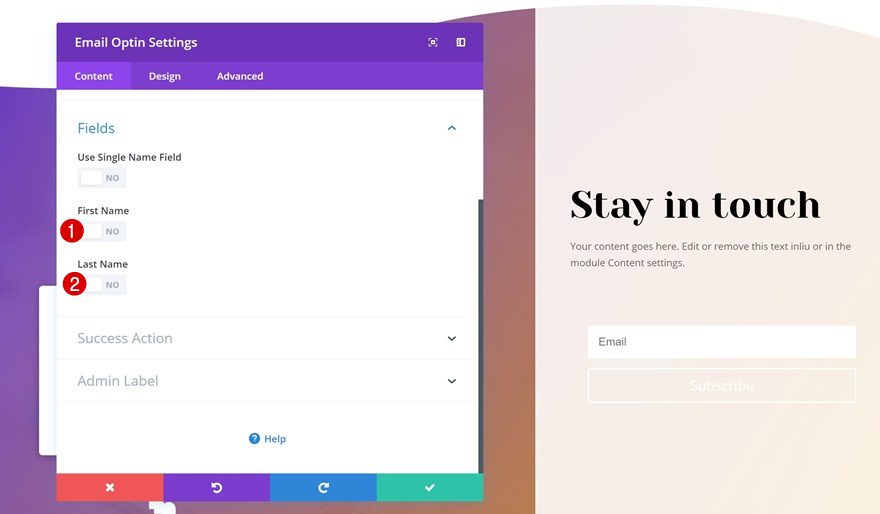
Fields
Continue by opening the Field settings and disable the First Name and Last Name fields.
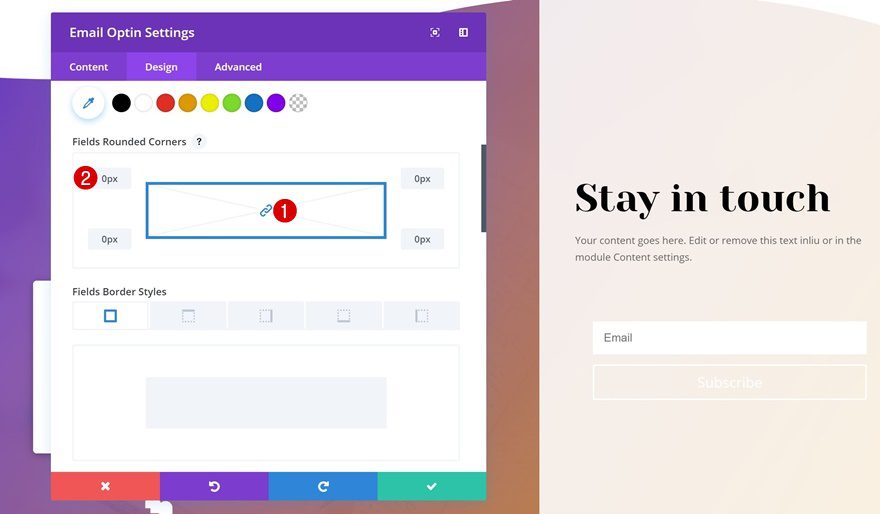
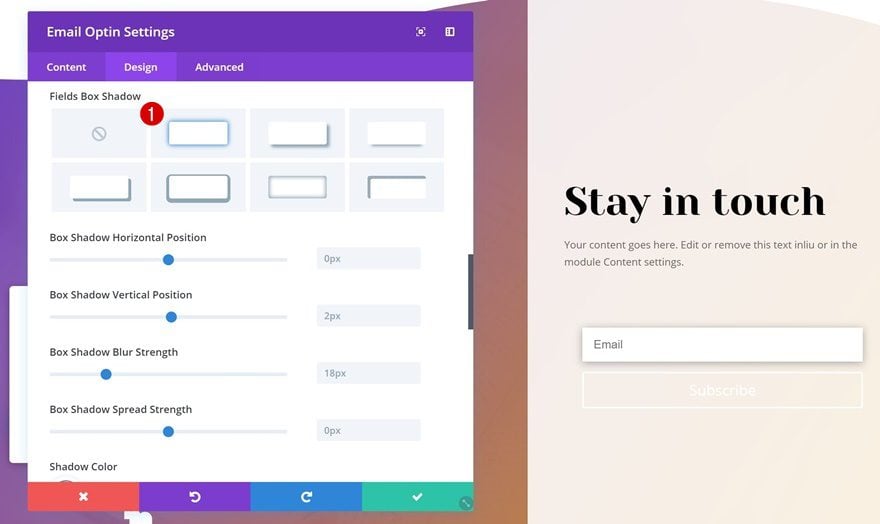
Field Settings
We’ll also modify the Field settings. Remove the rounded corners by adding ‘0px’ to each one of the corners. Add the first box shadow option as well.
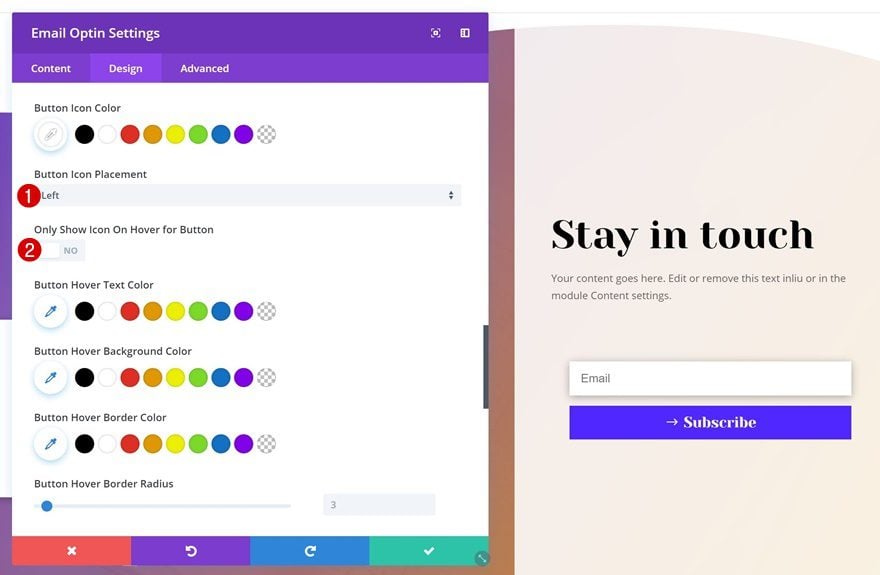
Button Settings
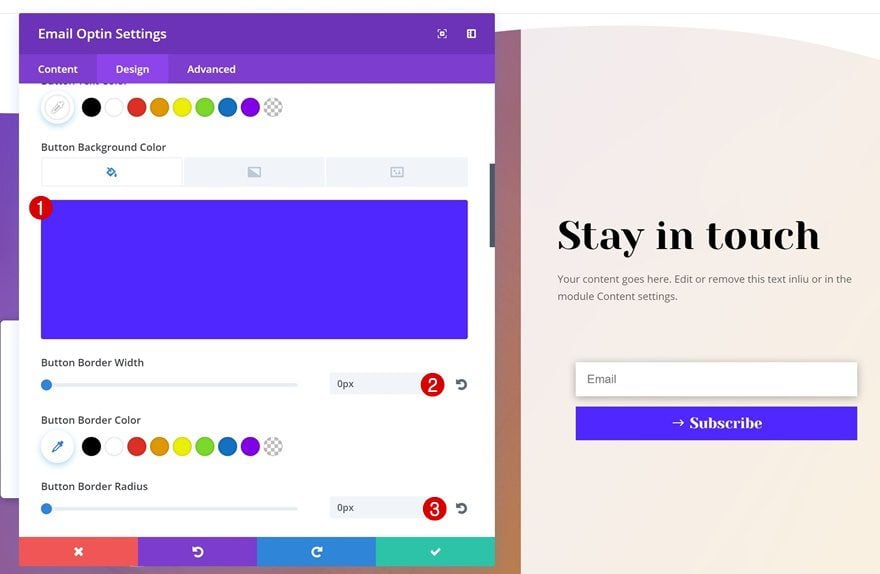
Next, change the appearance of your button:
- Button Text Color: #FFFFFF
- Button Background Color: Color #3
- Button Border Width: 0px
- Button Border Radius: 0px
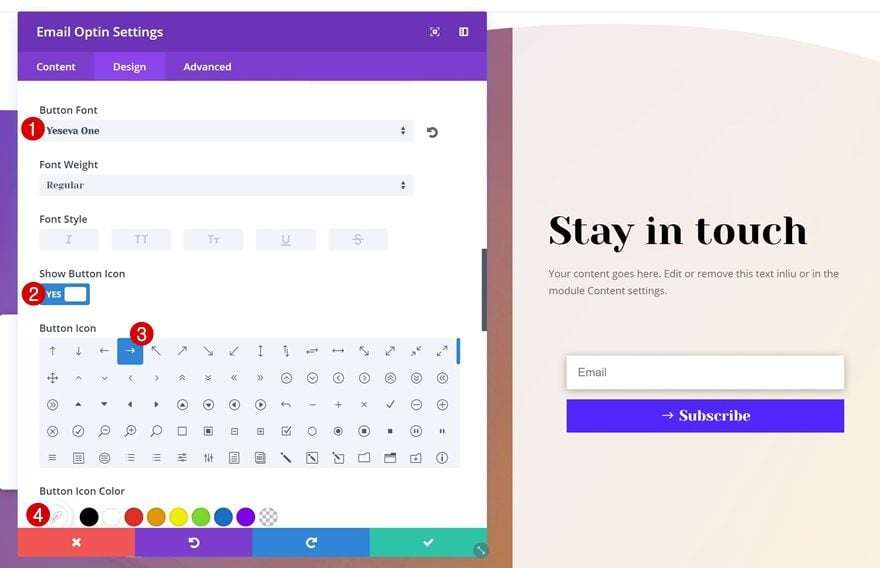
- Button Font: Yeseva One
- Show Button Icon: Yes
- Button Icon Color: #FFFFFF
- Button Icon Placement: Left
- Only Show Icon on Hover for Button: No
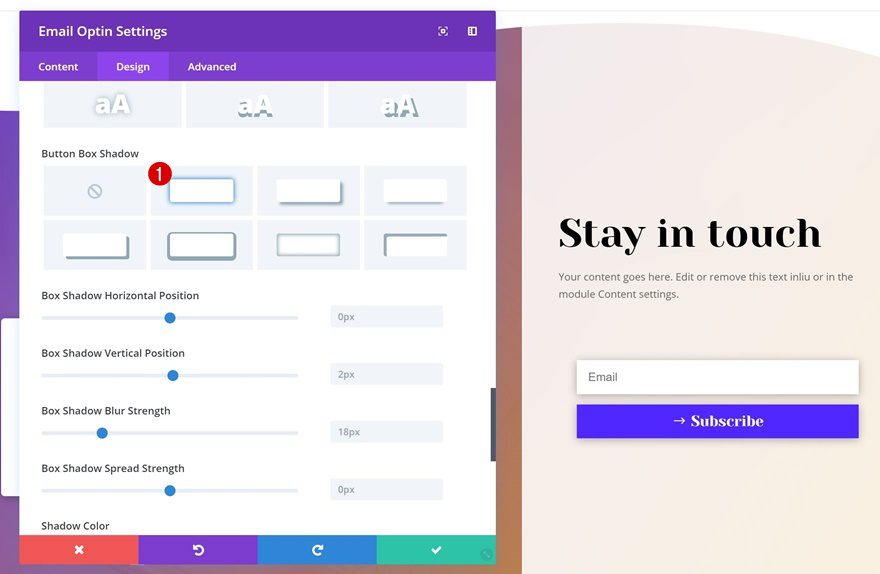
- Box Shadow: Select the first option
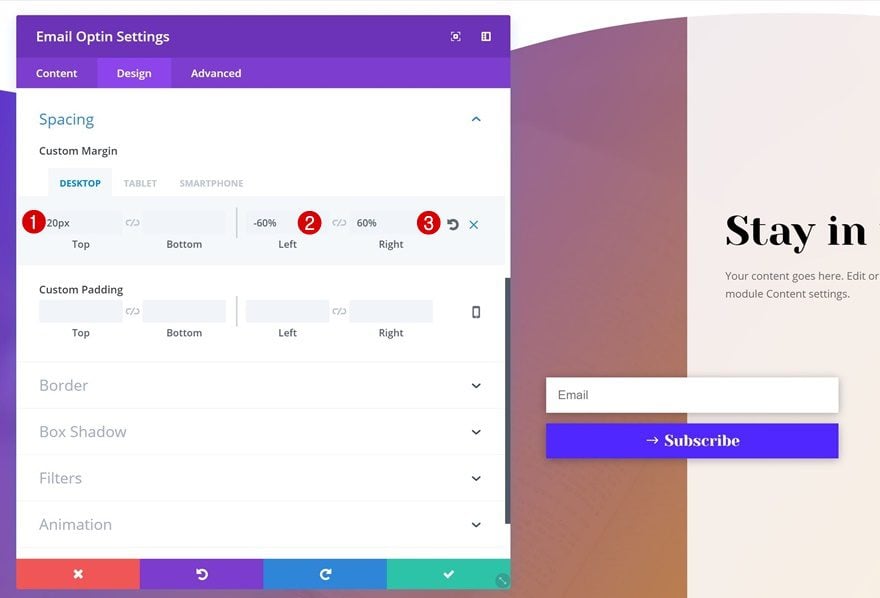
Spacing
Lastly, make the Subscribe Module overlap both columns using the following Spacing settings:
- Top Margin: 20px (Desktop), 0px (Tablet & Phone)
- Left Margin: -60% (Desktop & Tablet), 0px (Phone)
- Right Margin: 60% (Desktop), 50% (Tablet), 0px (Phone)
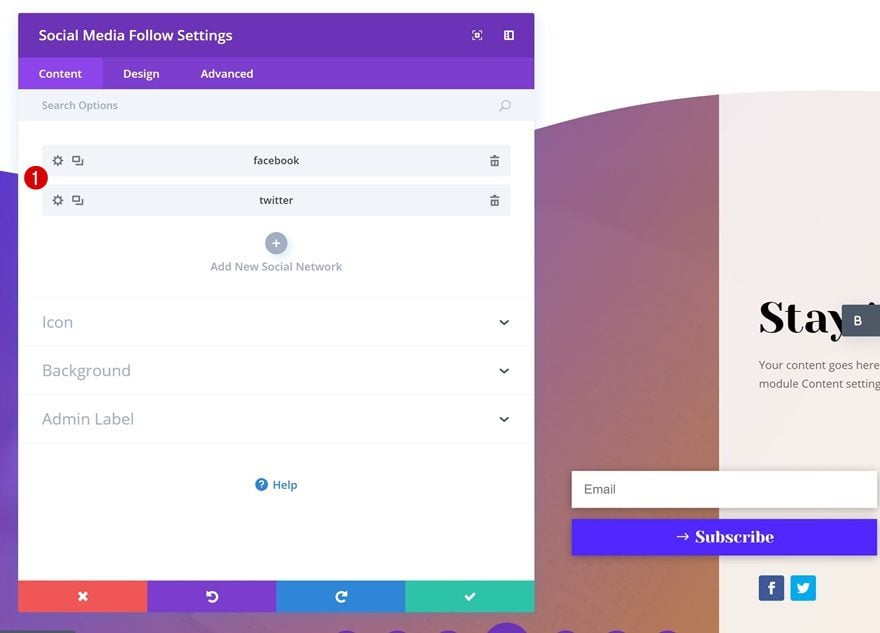
Add Social Media Follow Module to Colum 2
Add as Many Social Networks as Wanted
Last but not least, we’ll add a Social Media Follow Module. Go ahead and add the social networks you’d wish to appear.
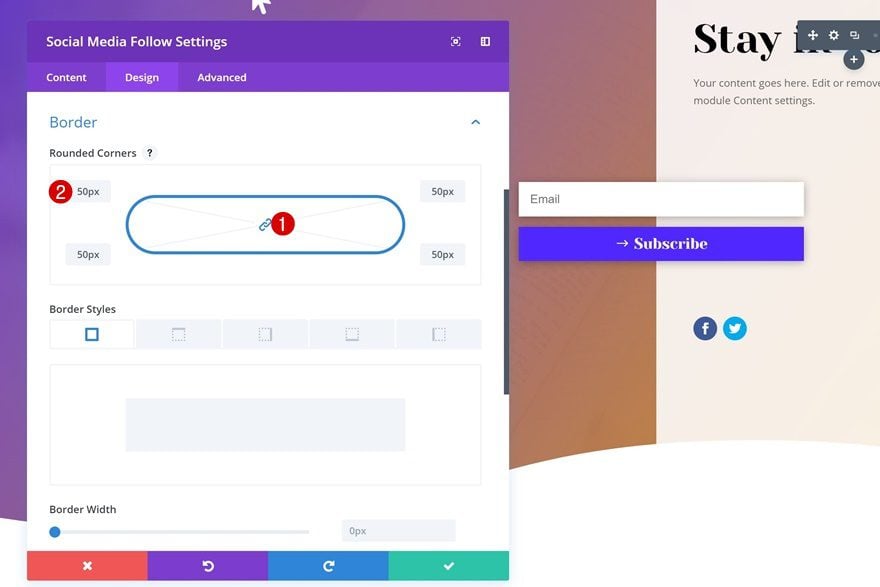
Rounded Corners
Once you’ve added all the social networks, add ’50px’ to each one of the corners in the Border settings.
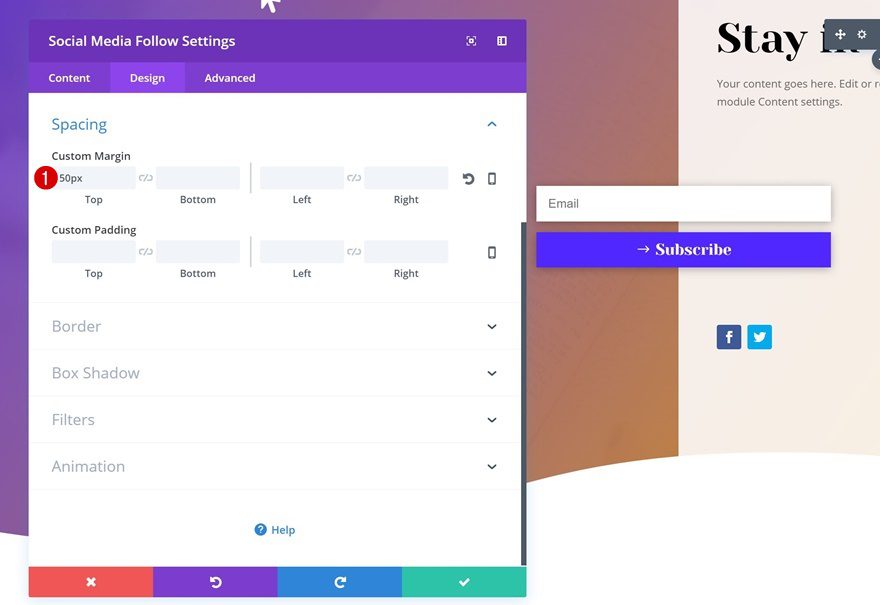
Spacing
We’ll also push down the module by adding ’50px’ to the top margin.
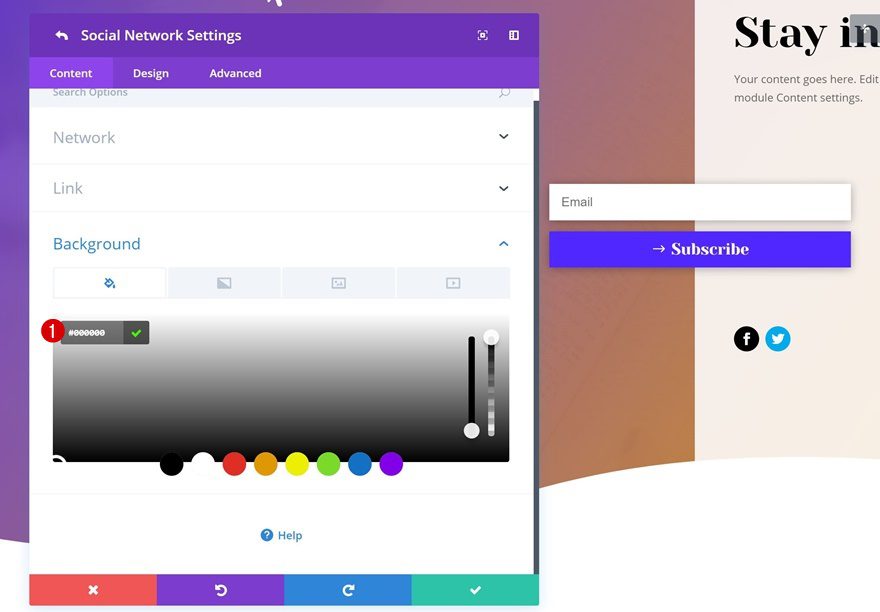
Change Background Color of Each Social Network Individually
Last but not least, change the background color of each one of the social networks individually to ‘#000000.’
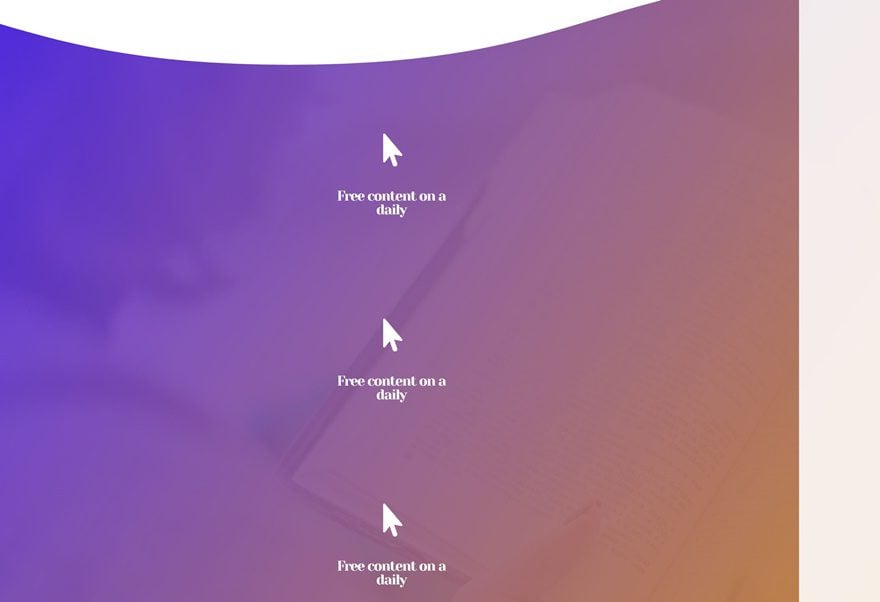
Preview
Now that we’ve gone through all the steps, let’s take a final look at the result on different screen sizes.
Final Thoughts
Subscribe sections are an important part of your website. They help you build email lists, enable email marketing and turn leads into visitors in just a matter of time. In this post, we’ve shown you how to create a stunning subscribe section that’ll match any type of website out there. We’ve combined using a gorgeous design with putting the signup advantages out there. If you have any questions or suggestions, make sure you leave a comment in the comment section below!
The post How to Design an Attractive Subscribe Section for Any Kind of Website With Divi appeared first on Elegant Themes Blog.