

WordPress enables you to send a broad range of transactional emails right out of the box. These include messages for user registration, password resets, and much more. However, the emails don’t always arrive as intended, and while it’s not WordPress’ fault, it’s definitely a problem you need to solve – potentially using a service such as Mailgun.
In this article, we’ll talk about what transactional emails are and how you can use Mailgun to make sure your WordPress messages get to their destination.
Let’s talk about emails!
What Are Transactional Emails?
The emails you send to your users can be broken down into two broad categories:
- Marketing emails. For this type of message, you need to get consent from users before you add them to your mailing list.
- Transactional emails. These are automated emails related to business or account ‘transactions’ for your users. As such, they don’t need to subscribe to get transactional emails.
There are dozens of examples of transactional emails, such as “Thank you” messages:

Other notable examples include registration confirmations, password reset messages, and more. What sets this type of message apart is that WordPress can send them automatically, without the need for an Email Service Provider (ESP).
There are a lot of reasons why you might want to use an ESP over WordPress’ built-in email functionality, though. Let’s talk about what those are.
Why Use Mailgun Over WordPress’ Built-In Email Functionality?
The primary issue with using WordPress for transactional emails is deliverability. A lot of email providers are very aggressive when it comes to filtering incoming messages and those that come from your site can fall in their crosshairs. This is the reason why so many sites ask that you check your spam filter if you don’t receive an email.
However, this doesn’t happen because your website or hosting provider is doing something wrong. The problem lies in the other users you’re sharing the server with, some of who may be abusing transactional emails.
A lot of web servers aren’t configured to handle email deliveries, either. ESPs such as Mailgun take over transactional email duties for your website, ensuring you get a much higher deliverability rate:
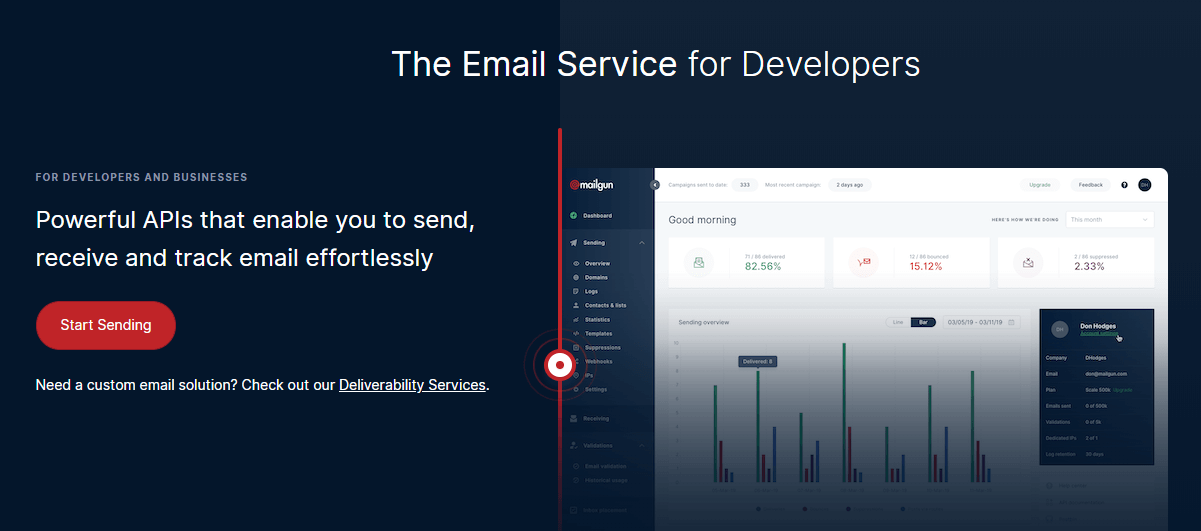
However, the advantages of using an ESP go a lot further. For example, Mailgun also offers email analytics, tracking, and in-depth logs. Plus, if something goes wrong with the service, you can always ask an expert for support instead of troubleshooting it yourself.
Mailgun isn’t the only game in the ESP market. However, it’s one of our favorite tools due to its generous free trial and flexible pricing. In the next section, we’ll show you precisely how it works.
How to Set Up Mailgun to Send Email with WordPress (3 Steps)
For this tutorial, we’re going to show you how to set up a Mailgun account. Then we’ll configure it to take over your WordPress website’s transactional email duties, all in three short steps. Let’s get to work!
Step 1: Create a Mailgun Account
As usual, the first step is the simplest. Go to Mailgun’s website and select the option to sign up for a new account. You’ll need to fill out some basic contact information and add a credit card to your file to get access to Mailgun’s full set of features:
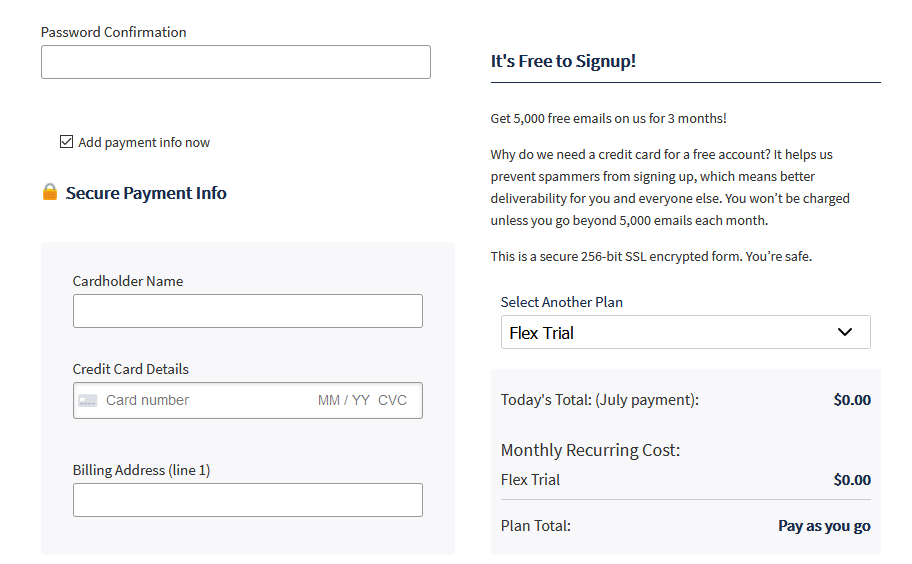
Keep in mind that Mailgun offers a three-month trial period before it starts charging you for emails. At this point, you pay $0.80 per 1000 emails on the basic Pay As You Go plan.
You could also forego adding payment information while you set Mailgun up to work with WordPress. However, if you choose this option, you’ll be limited to a maximum of five recipients.
Once you fill out the entire form, you can wrap up the signup process and get access to the Mailgun dashboard:
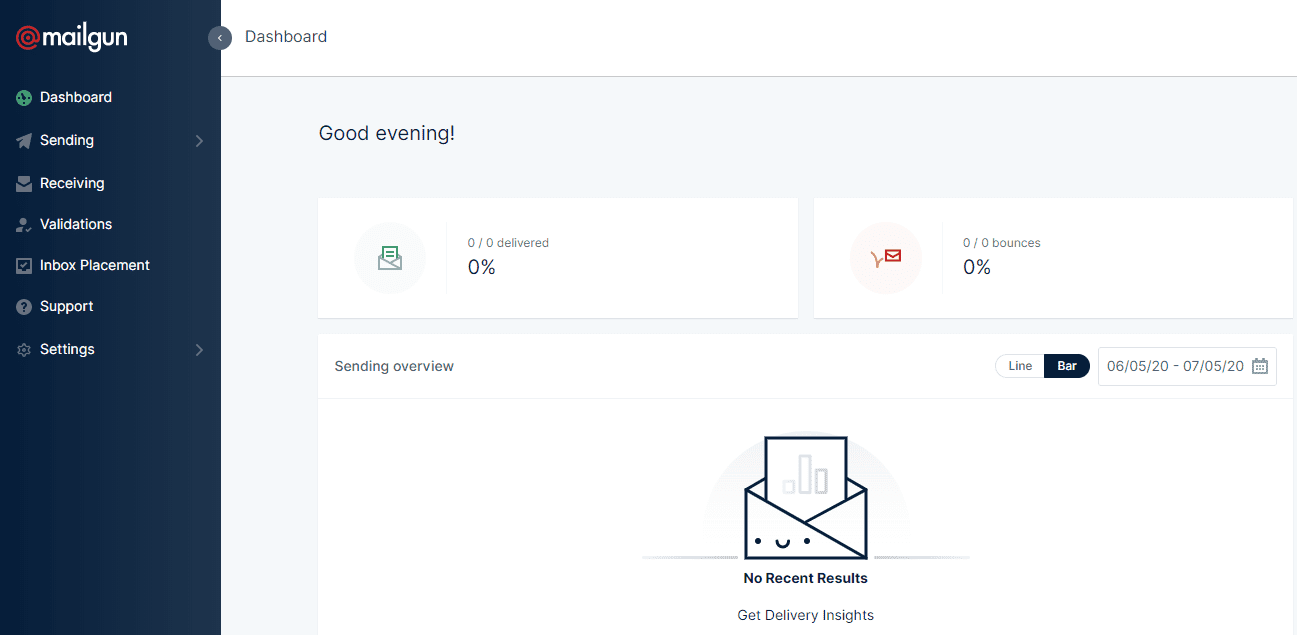
The next step is to configure Mailgun to work with your WordPress website’s domain.
Step 2: Configure Your Domain Name to Work With Mailgun
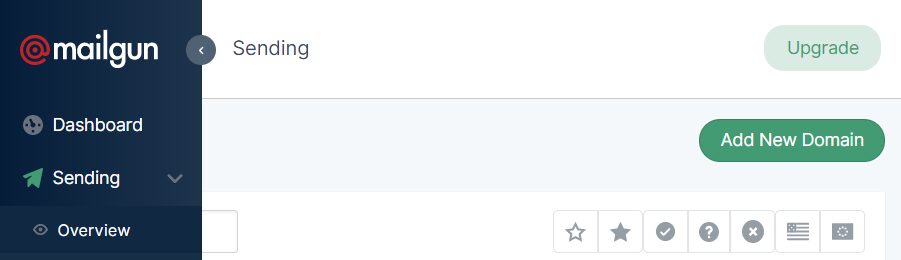
Once you’re in, head to the Domains tab in Mailgun and click on the Add New Domain button:
On the next page, Mailgun will explain that it’s best if you set up a subdomain to manage email sending. Using a subdomain works best for troubleshooting purposes and it makes it easier to update DNS records without causing issues (more of which in a second.)
For example, if you own the johndoe.com domain, you can use mail.johndoe.com for transactional messages:
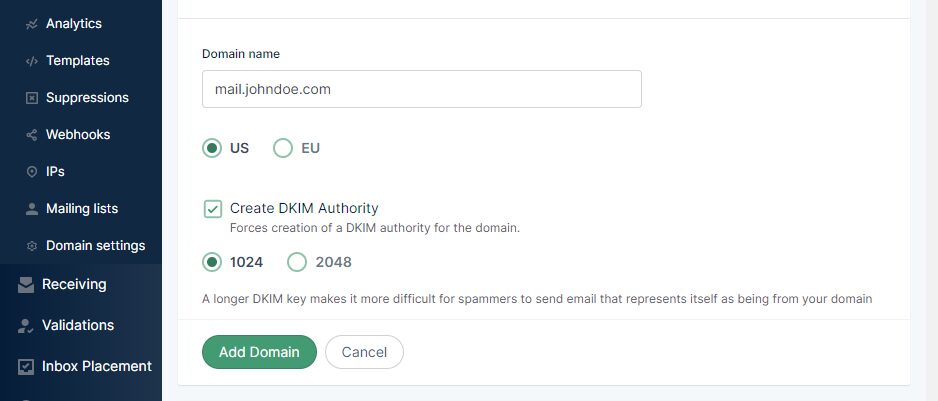
By default, Mailgun will use either a US or EU server to send emails as well as set up encryption for your messages. Leave the default settings for now, and add the domain you want. Note that you need to use a domain you own, as you’ll need to make some changes to its Domain Name Settings (DNS).
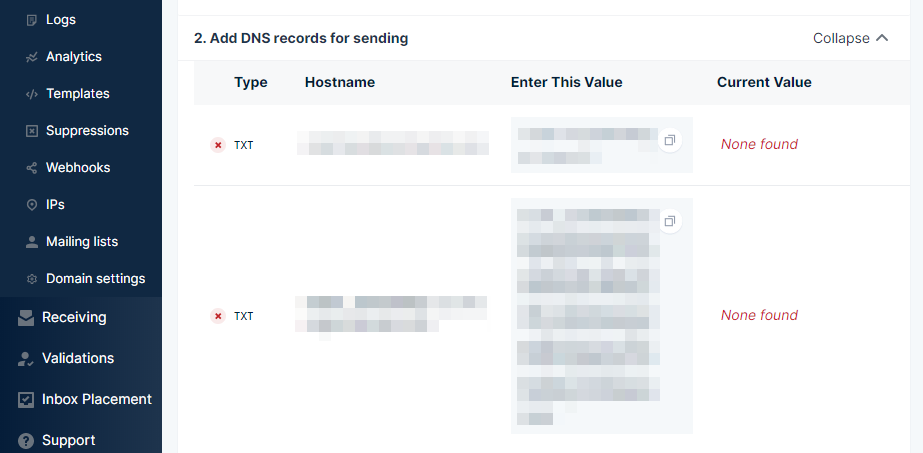
Next up, you’ll get a list of TXT, MX, and CNAME DNS records you need to add so Mailgun can work:
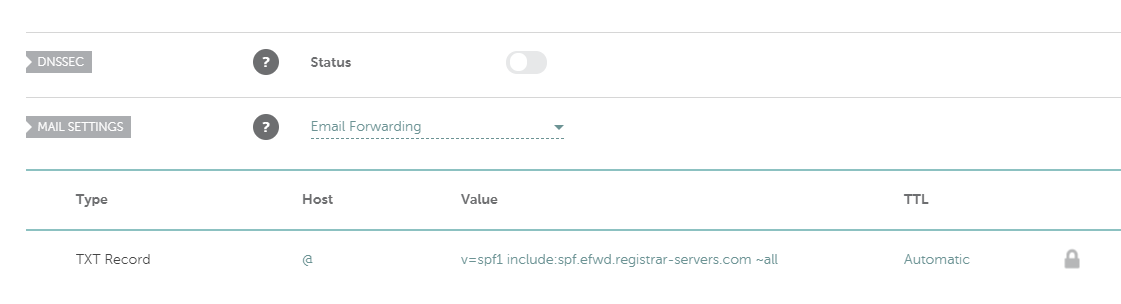
This process will vary depending on what registrar you use. For example, with Namecheap, you need to go into the Advanced DNS tab for the domain you want to use with Mailgun and modify the records therein:
If you’re not sure how to update your domain’s DNS records, we recommend you consult with your registrar’s support service. Once your new records are set, you can use the Verify DNS Settings button within Mailgun’s options for the specified domain:

DNS updates can take a while to propagate, so don’t worry if Mailgun can’t verify the changes right away. Once it’s able to verify your settings the next step is to configure WordPress to use the service.
Step 3: Set Up and Configure the Mailgun Plugin
Mailgun offers an official plugin you can use to connect the ESP with your WordPress website, although you’ll need to check that it works with your version of WordPress. To find it, go your dashboard and navigate to Plugins > Add New, then look for the Mailgun for WordPress plugin:
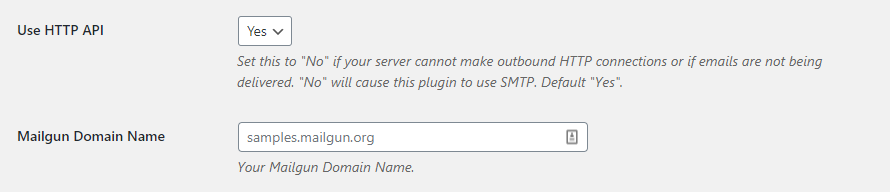
Install and activate the plugin then go to the new Settings > Mailgun tab. Here make sure the Use HTTP API setting is set to yes to maximize deliverability, then enter the Mailgun domain you set up earlier below:
You’ll also need to enter your Mailgun API key. You can find this within the Mailgun Settings tab:

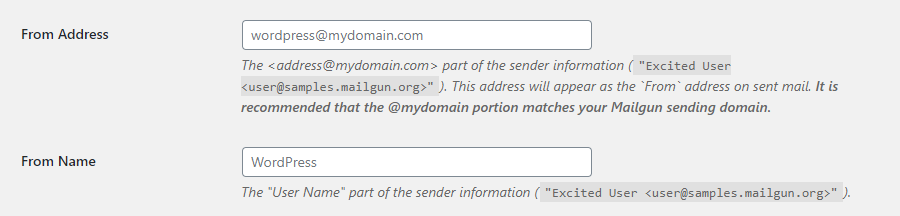
Return to WordPress, paste the API key and move on down to the From Address and From Name fields. Here you can configure the address that will show up as the sender for your transactional emails as well as its associated name:
Save the plugin’s settings and that’s it! Now Mailgun will take over transactional email duties for WordPress, ensuring your messages don’t make it into your users’ spam folders.
Conclusion
Mailgun is one of the best ESPs you can use for your WordPress website. Their flexible pricing model means you’ll likely only spend a handful of dollars a year on transactional emails. If you have hundreds or thousands of users, your budget will likely be higher, although you’ll still get great service regardless.
Setting up Mailgun to work with WordPress takes only three simple steps:
- Create a Mailgun account.
- Configure your domain name to work with Mailgun.
- Set up and configure the Mailgun plugin.
Do you have any questions about how to use Mailgun with WordPress? Let’s go over them in the comments section below!
Article thumbnail image by Belozersky / shutterstock.com
The post How to Setup Mailgun to Send Email with WordPress appeared first on Elegant Themes Blog.
Design Rush B2B Marketplace – https://www.bestdesigns.co/campaign-design