
Every website you visit includes hundreds of elements, even if it’s not readily evident. This means images, text, subheadings, and of course, icons. However, using the same boring icons as every other site can make yours look ‘cookie-cutter’, which is why it’s important to look for versatile options such as those found in Icomoon.
With the right icon set, you can make your website look much more professional. In this article, we’ll introduce you to the popular icon, SVG, and vector tool, and also teach you how to add its elements to WordPress. What’s more, we’ll show you how to use them with Divi.
Let’s get to it!
An Introduction to Icomoon Icons and Vectors
Icoomon is a service that provides you with access to thousands of free and premium unique icons and vectors. On top of the icons themselves, Icomoon also offers an online app that enables you to generate SVGs and fonts of the elements you want to use on your website.
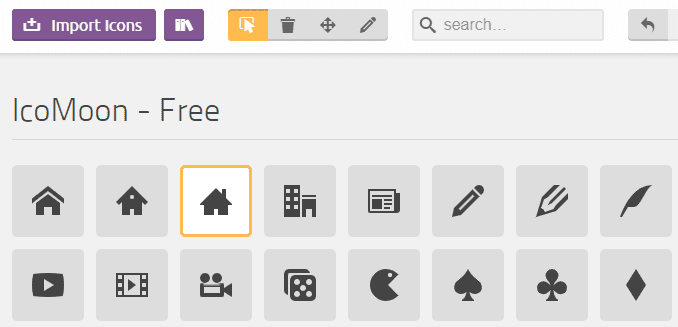
On the Icomoon homepage, you can find three different icon packs. There’s Icomoon itself, Linearicons, and Lindua. Icomoon and Linearicons offer free versions, each including hundreds of elements, whereas Lindua is a premium-only pack.
Icomoon itself offers three different icon packs. There’s the free version, which supports the SVG, PDF, EPS, Ai, and PSD formats, as well as PNGs in multiple sizes. The advanced premium plans come with more icons and customization options. However, in our experience, the free Icomoon tier is plenty to start with for most users.
However, bear in mind that to use these icons, you’ll need to integrate them with WordPress beforehand. Don’t worry though, we’ll cover this in the next section.
Key Features of Icomon’s Free Tier:
- Access to almost 500 icons.
- You can export icons to several formats, including SVG, TTF, PDF, EPS, Ai, and PSD.
- PNGs available in multiple sizes.
Price: Icomon offers a free pack as well as two premium tiers starting at $39 for a single license | More Information
How to Add Icomoon Icons and Vectors to WordPress
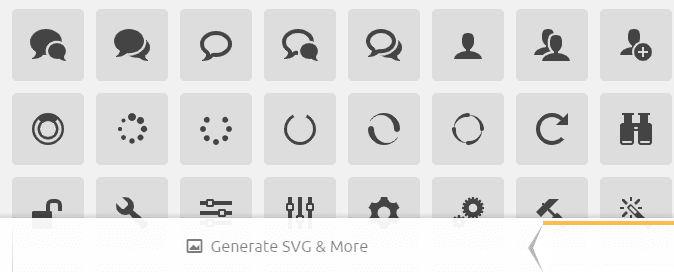
There are two ways you can add Icomoon elements to WordPress. The first approach involves using the Icomoon web app, which enables you to select the icons you want to use and export them as SVGs:
To do this, you can select icons as you see in the example above, and click on the Generate SVG & More button at the bottom of the page:
Icomoon will then generate a .zip file including SVGs for the icons you selected. You can download the file by clicking on the relevant button at the bottom of the next page:

Now, all that’s left is to upload the SVG files you want to use to WordPress, and insert them as media. If you haven’t enabled SVG support in WordPress yet, check out this tutorial we previously wrote about how to do it.
The second method of using Icomoon icons involves using a plugin. There are several handy options that enable you to import icon packs into WordPress – a standout option is WP SVG Icons:
![]()
This particular plugin enables you to access every single Icomoon element within the free pack after activation. Once enabled, you’ll be able to check out all the Icomoon icons from the WP SVG Icons tab on your WordPress dashboard:
![]()
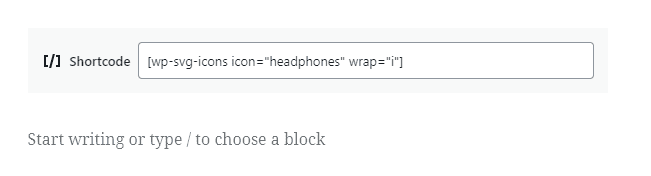
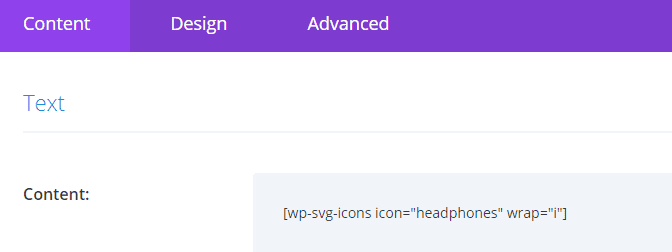
Selecting an icon will show you which shortcode to use in the Shortcode section seen above. If you look closely, you’ll notice the plugin mentions an Insert Icon button within the editor. However, this functionality doesn’t yet work with the Block Editor, so you’ll have to rely on shortcodes for now.
To add whichever icon you want to your pages or post, open the editor and add a Shortcode widget. Within it, paste the shortcode you copied before:
That’s pretty much it! Now, when you preview the page or post, the Icomoon icon will show up wherever you placed it. The problem is, the Block Editor often doesn’t enable us to place items in very precise locations, which is where Divi comes in.
Integrating Icomoon Icons and Vectors with Divi
Adding Icomoon vectors with Divi works much the same as without it. In other words, you’ll still need to rely on the shortcodes the WP SVG Icons plugin generates for you. To add them, you’ll simply use Divi’s Code module:
Once you save the changes to the module, you’re good to go. The primary difference with Divi is that you get much better control over your page and post layouts. This means you can place Icomoon icons practically anywhere you want to without having to mess around with CSS (unless you’re a coding wizard!).
In our experience, the best way to use icons such as these is alongside Divi’s Blurb module. This lets you place icons atop your blurbs and complement Divi’s own collection, which already includes plenty of icon options.
Conclusion
There’s no shortage of free icon sets you can use on your website. However, the best approach is to stick with high-quality options you know work well with WordPress – and Divi, of course. Icomoon is one such tool and it includes hundreds of icons, SVGs, and vectors you can use throughout your website.
The easiest way to use Icomoon icons and vectors in WordPress is with a plugin such as WP SVG Icons. With it, you’ll be able to generate shortcodes you can use both with the Block Editor and Divi, so it’s a win-win.
Do you have any questions about how to add custom icons to Divi? Let’s talk about them in the comments section below!
Article thumbnail image by StockVector / shutterstock.com
The post Using Icomoon Icons and Vectors with WordPress appeared first on Elegant Themes Blog.