What’s your writing process like? When a writer hears this question, their first thought it, “None of your business.” Or, “It’s mine and I don’t want to tell you.” Even without the defense, the answer is, “Well, it changes. It depends on the project, the subject, my mood…”
The writing process is personal to the writer. They may have one tried-and-true process they swear by or several they choose from. Even the weather can play a role in how you write – where you plant yourself to type and how long you work for, for example. Planners approach writing strategically. “Pansters” – people who fly by the seat of their pants – don’t like constraints.
Standard writing process steps aren’t intended to control how a writer works. Instead, they give writers a general framework to use, leave or pull ideas from. Whether you’re just starting out as a writer or you’ve been in business for a while and feel like your process could be smoother, consider the following tips.
1. Prewriting
Sometimes you’re lucky enough to have an idea, sit down at your computer and let the words flow through your fingertips. Before you know it, two hours have gone by and you have a polished article ready for publication. When that doesn’t happen, though, you need structure to get the ball rolling. Stop staring at a stark white page and do this instead:
Decide What to Write About
What you choose to write about depends on who you’re writing for. You may have an assignment for a broad topic that you can shape as you wish or a topic with specific guidelines to follow. (If it’s the latter, carefully go over the assignment. Don’t experience the nightmare of finishing an article only to realize you misunderstood the directions.) Or, you may be writing for yourself, which leaves you free to choose any topic you want.
The best topics answer questions, solve problems or otherwise appeal to a person’s pain points. Where do people complain? On the Internet. Check out blog posts on the topic you’re writing about (or want to write about) and then read the comments. What did the writer miss that you can cover? Head to Twitter and Reddit, two goldmines for complaints. If your focus is local, check out review sites like Yelp. So long as there are unhappy people, you’ll have a well of ideas to choose from.
Flesh Out Your Idea
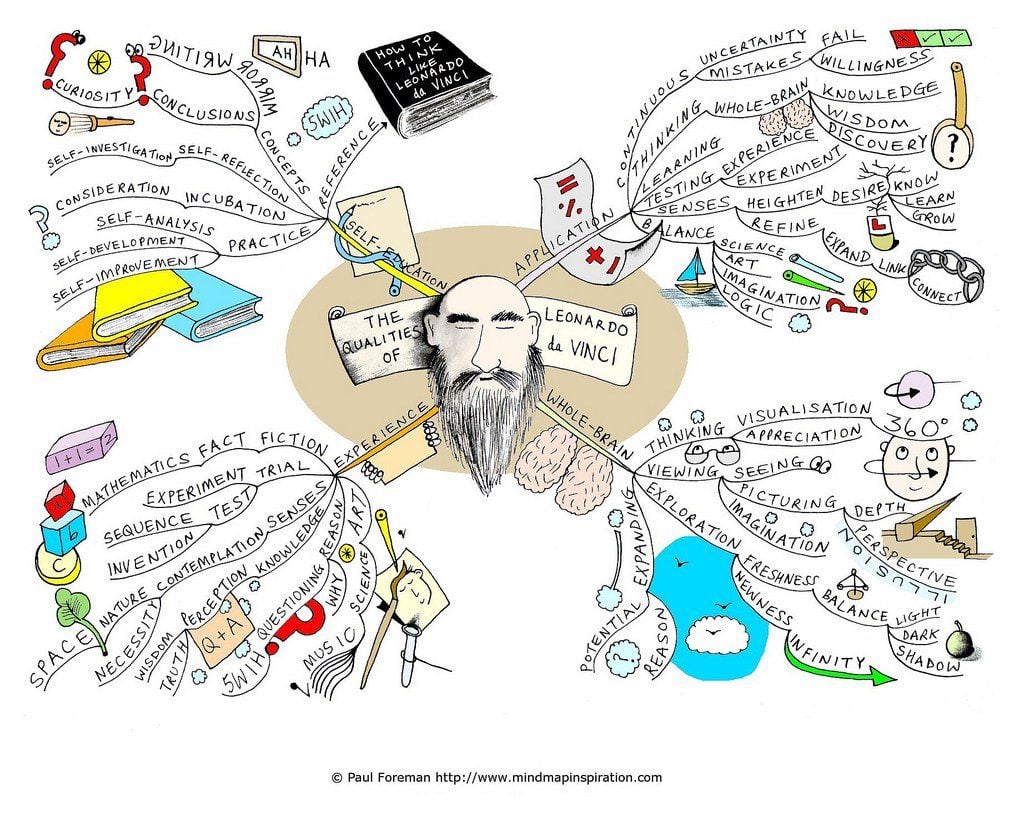
Once you have a basic idea to start with, it’s time to build it out. You can do this in a traditional outline or free-form with brainstorming maps or free-writing. It can be plain or artistic, simplistic or detailed, on paper or digital. Whatever – it just has to work for you.

During this step, you’ll be doing your research. Even if you’re familiar with the topic, researching it opens you up to new concepts you haven’t thought of. If you want to create an outline, mind map, etc. that coincides with your intended word count, keep this in mind:
- A sentence is about 20-25 words.
- Short paragraphs should be 1-3 sentences.
- Long paragraphs shouldn’t be longer than 5-6 sentences.
- One section (i.e., one sub-idea) should have at least 2 short paragraphs or 1 long paragraph.
- Add it all up to get close to your desired word count.
These aren’t rules that you have to follow. If you’re prepping an article that you’re writing for a client, though, and your number one goal is “get it done,” this can help you organize your thoughts in a way that will translate to the correct article length.
Finalize the Structure
Once you’re done brainstorming, you may have a jumbled mess of ideas. Even if you have a tidy outline, though, your ideas may be out of order. Before you jump into writing, go through your ideas and arrange them in a way that makes sense. If you cut concepts, store them somewhere – you may need them again, or they could even turn into a spin-off article.
As you do this, jot down any thoughts you have for your introduction and conclusion. Concepts that work well in intros and conclusions include:
- Unexpected or jarring statements
- An overview of the main problem people face
- An overview of how to solve that main problem
- Hope for the future if your advice is followed
- Deep thoughts that don’t fit well into any one section
Intros and outros are hard to write, but they’ll form easily if you keep a list of running ideas as you write the rest of your piece.
Pro Tip: Get Started Early
If you can make yourself get started early instead of waiting until deadline day, your life will be a lot easier. As you can see, planning takes a lot of time, so you can dedicate an entire day or two just to that. (Not that planning takes a whole day, just that the planning step may be all you do for the project that day.)
Writing is a strange animal. Some days, a topic you’ve been dreading comes out effortlessly. Other days, a topic that you’re passionate about will not develop into words no matter how hard you try. Professional writers have to create even when their head, mood and energy aren’t in it. Since this is exceptionally hard to do, starting early means you can do a small chunk daily or even push off work if you need to.
2. Writing
Depending on how long you’ve been writing and your familiarity with your topic, you may jump right into this stage and skip prewriting altogether. There are times when writers can get a broad sense of a topic (like by knowing the working title), formulate a rough outline in their brain and then make it more detailed as they flip between researching and writing. The outline will naturally appear as you write and you’ll cut and reorganize as you go.
Whether you’re starting with your prewriting plans or you’re jumping right into #2 of the writing process steps, it’s time to put words on paper. You can ignore spelling, grammar and word count right now – you’re creating a rough draft, after all – but every writer does this step a little differently. Some feel that getting hung up on errors impedes their writing, and they’d rather let it flow and then clean it up later. Others want a cleaner rough draft because they get distracted by errors, and they feel that correcting as they go results in a better final piece. You do you.
Pro Tip: How to Hit Your Word Count
Articles with writing tips often suggest going way over your word count in your rough draft. The idea is that you’ll cut a lot and rephrase to make sentences simpler to read, which will trim down your word count. I’m going to suggest that you do the opposite.
Write until you’re within 100 words of your word count – 100 fewer is fine. As you edit and proofread, you’ll find areas where you didn’t explain a concept. Adding info will expand your word count. You’ll also find redundancies and complicated sentences. Removing those words will balance out your word count. When you’re done, you’ll be right around the intended word count. You can tweak as needed if you’re a “hit the exact count” type of writer.
3. Revising
Your revision process depends on how “messy” the draft is. Your article may only need a once-over before a final proofread, or it may need in-depth restructuring and editing. It’s also possible that you missed an entire sub-idea and need to repeat part of the previous steps.
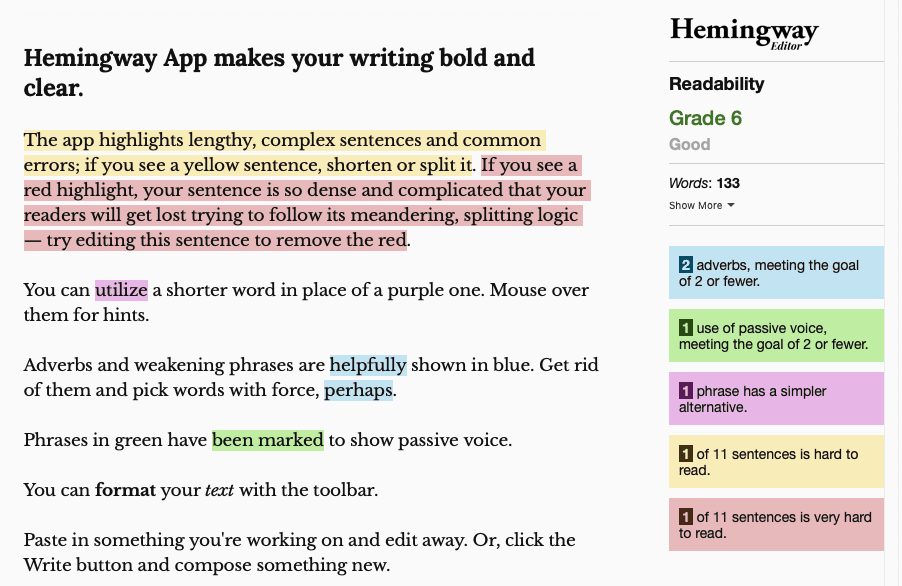
Pay close attention to areas where you lose yourself. Where do you get bored, tune out or have to re-read a sentence to grasp what you meant? If your writing isn’t keeping your interest, your readers will have a stronger response. Also, watch out for your problem areas. Maybe you use passive voice too much or you write lengthy, hard-to-understand sentences. Apps like Grammarly and Hemingway are great for improving your writing, especially if you have a trouble area.

How much you revise depends on who you’re writing for. If you’re writing for a client, you have to stick to a timeframe based on your rate. When you’re nearing the end of the allotted time, finishing it and ensuring it’s error-free and on-topic are more important than making it the greatest article ever written. If you’re writing the first chapter of your novel, you’ll spend more time in the revision stage until it’s close to perfect.
4. Editing
Assuming you’re doing your own editing, the final step is to go over your content with a fine-tooth comb. Editing sounds easier than it is. You have to be so focused and pay such close attention to detail that 15 minutes of editing can be more exhausting than an hour of writing. Here are a few tips:
- Edit the following day. When your words are less fresh in your mind, it’ll be easier to pick out mistakes. Otherwise, your brain auto-corrects mistakes even as you’re looking at them.
- Change the font style, size and color, which will make mistakes jump out. Every time you make changes to a paragraph, change the font color and then re-check it once you’re finished with the rest of the article.
- Run the piece through a program like Grammarly. Don’t accept every suggestion, though. Even Grammarly gets it wrong a lot of the time.
- Read your article all the way through until you catch zero mistakes. This is tedious, but it’s important.
- If you have the ability to change the article after it’s published, read it one week after publication. You’ll probably catch a typo.
When editing and proofreading, don’t get caught up in non-mistakes, like rewording a perfectly good sentence. You did that during the revision stage. At some point, you’ll be in the realm of diminishing returns, which means you’ll be making unnecessary micro-changes that do little more than waste your time and dilute your hourly rate.
5. Publishing
There are various places where you may publish a finished piece. If you’re writing for yourself, you may keep it on your computer until a further date, or you may publish it on your website or release it as an ebook. When writing for a client, you’ll be published on their website or on a website where the company is guest posting. You may be a ghostwriter or have a byline. You can also submit your piece to publications – this is a long process, but it can be well worth it. Make sure to read submission guidelines. Some publications want a brief query letter, while others want to see a completed article.
Wrapping Up
Every solid piece of writing needs a structure that makes sense, ideas that complement one another and thorough editing. These general writing process steps provide a starting point for the writer. If you love to plan, you may follow these every time you sit down to create. On the other hand, pantsers need freedom, and those of you who are free birds are encouraged to morph this process into one that suits you best.
I’d love to hear about your writing process, and you may also want to check out our article with 5 Tips to Edit (And Improve) Your WordPress Content.
Featured image via Tetiana Yurchenko / shutterstock.com
The post Using the 5-Step Writing Process to Create Better Content appeared first on Elegant Themes Blog.

