

If you want to set up an online store with WordPress, you’ll probably use WooCommerce. It’s the king of e-commerce plugins, and it makes selling online remarkably simple. However, if you’re about to install WooCommerce, you might need a little help getting started.
In this article, we’re going to guide you through the entire process of installing WooCommerce, from A to Z. We’ll show you how to navigate the plugin’s setup wizard, and point you towards some resources you can use to configure its myriad settings.
Let’s get to it!
Step 1: Install WooCommerce and Launch Its Setup Wizard
In case this is your first time installing a WordPress plugin, let’s walk through the process. The easiest way to set up WooCommerce is to access your WordPress dashboard and go to Plugins > Add New. Use the search bar to look for “WooCommerce” (1), and click on Install Now next to the first result (2):
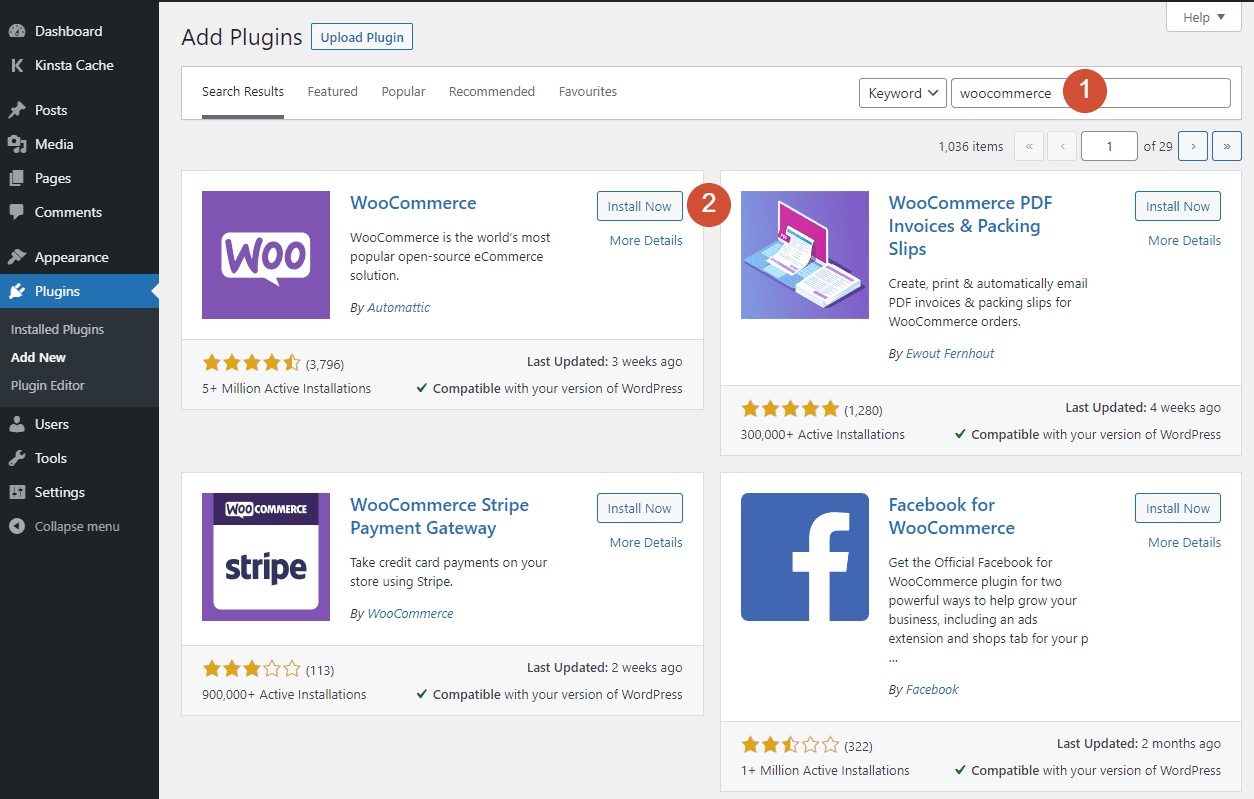
The plugin will take a moment to install. Once that’s done, click on the Activate button that replaces the Install Now option.
When it’s ready, the plugin will launch right into its setup wizard, which walks you through the basics of getting your store up and running. Keep in mind that none of the choices you make in this setup wizard are permanent; you can adjust any or all of them later if you change your mind.
Step 2: Set Your Store Details
The first step in the WooCommerce setup wizard involves specifying your store’s basic details. That includes its address, country, city, and postcode, as well as your email address:
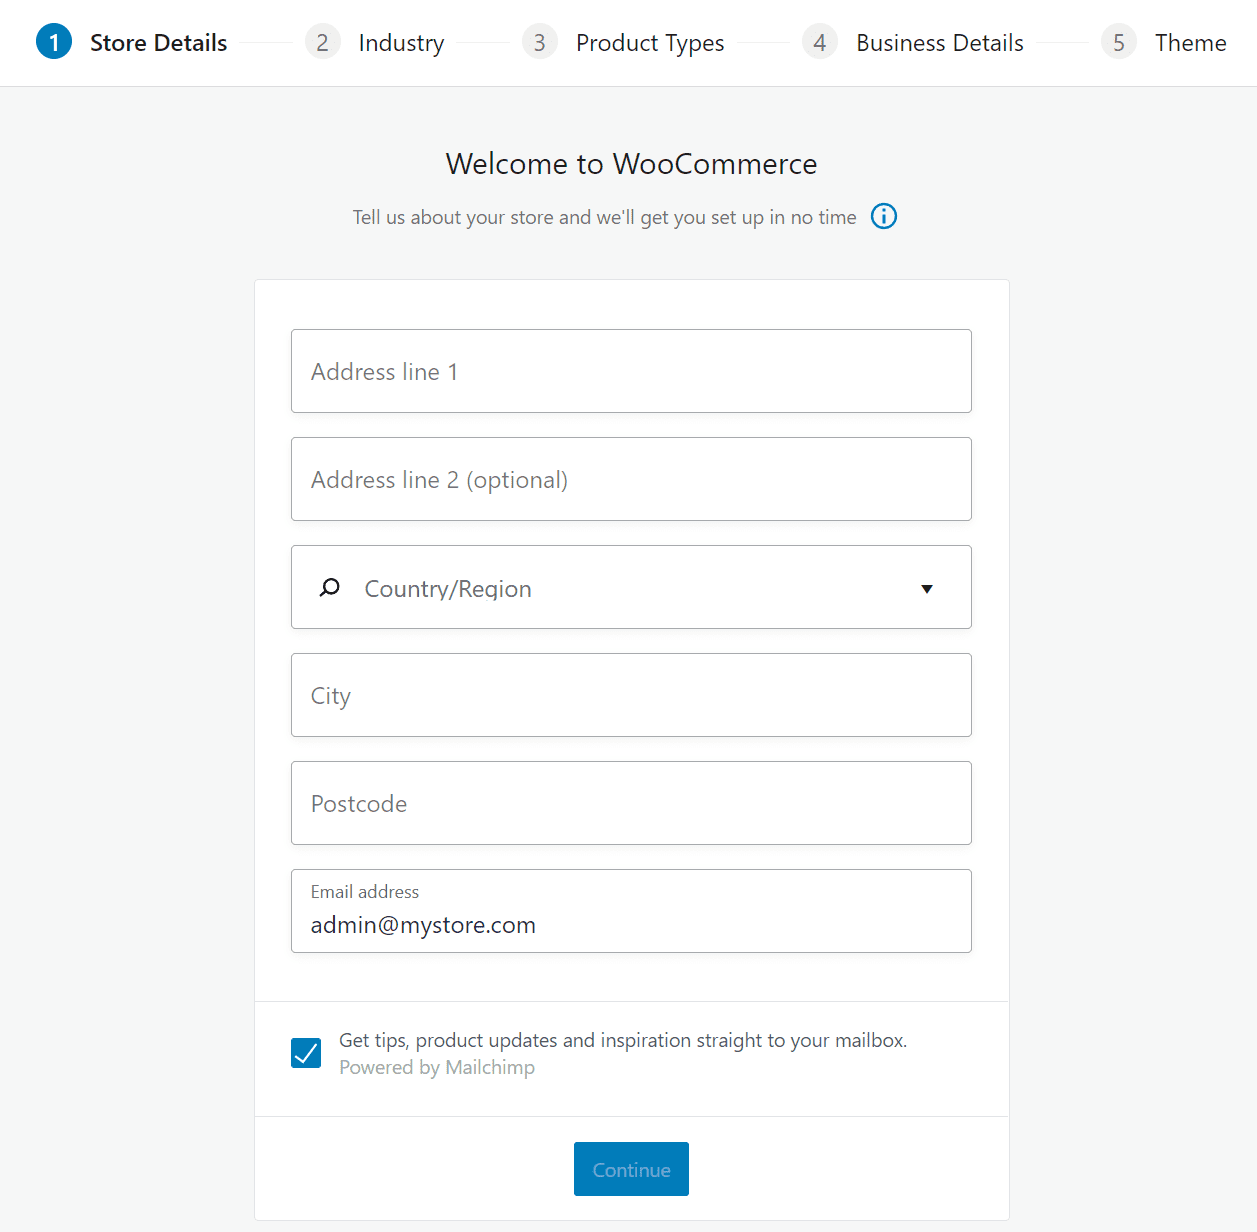
If you’re launching a store for a business with a physical location, go ahead and add its details on this screen. On the other hand, if you plan to sell products online from a residential address, those are the details you’ll need to enter here.
As for the last field, keep in mind that WooCommerce will use whatever email address you enter to send notifications. That means it should be an address you monitor, but preferably not a personal one (because you’re likely to get a lot of emails).
Finally, you can choose to opt-in and receive tips and marketing emails from WooCommerce. If you’re new to the plugin, those emails can be helpful. However, it’s a personal choice whether to receive them or not, and it won’t affect your shop.
Step 3: Specify Your Store’s Industry
The second screen in the WooCommerce wizard will ask you to specify your store’s industry. WooCommerce uses this information for development purposes. However, your choice won’t affect the functionality that the plugin offers:
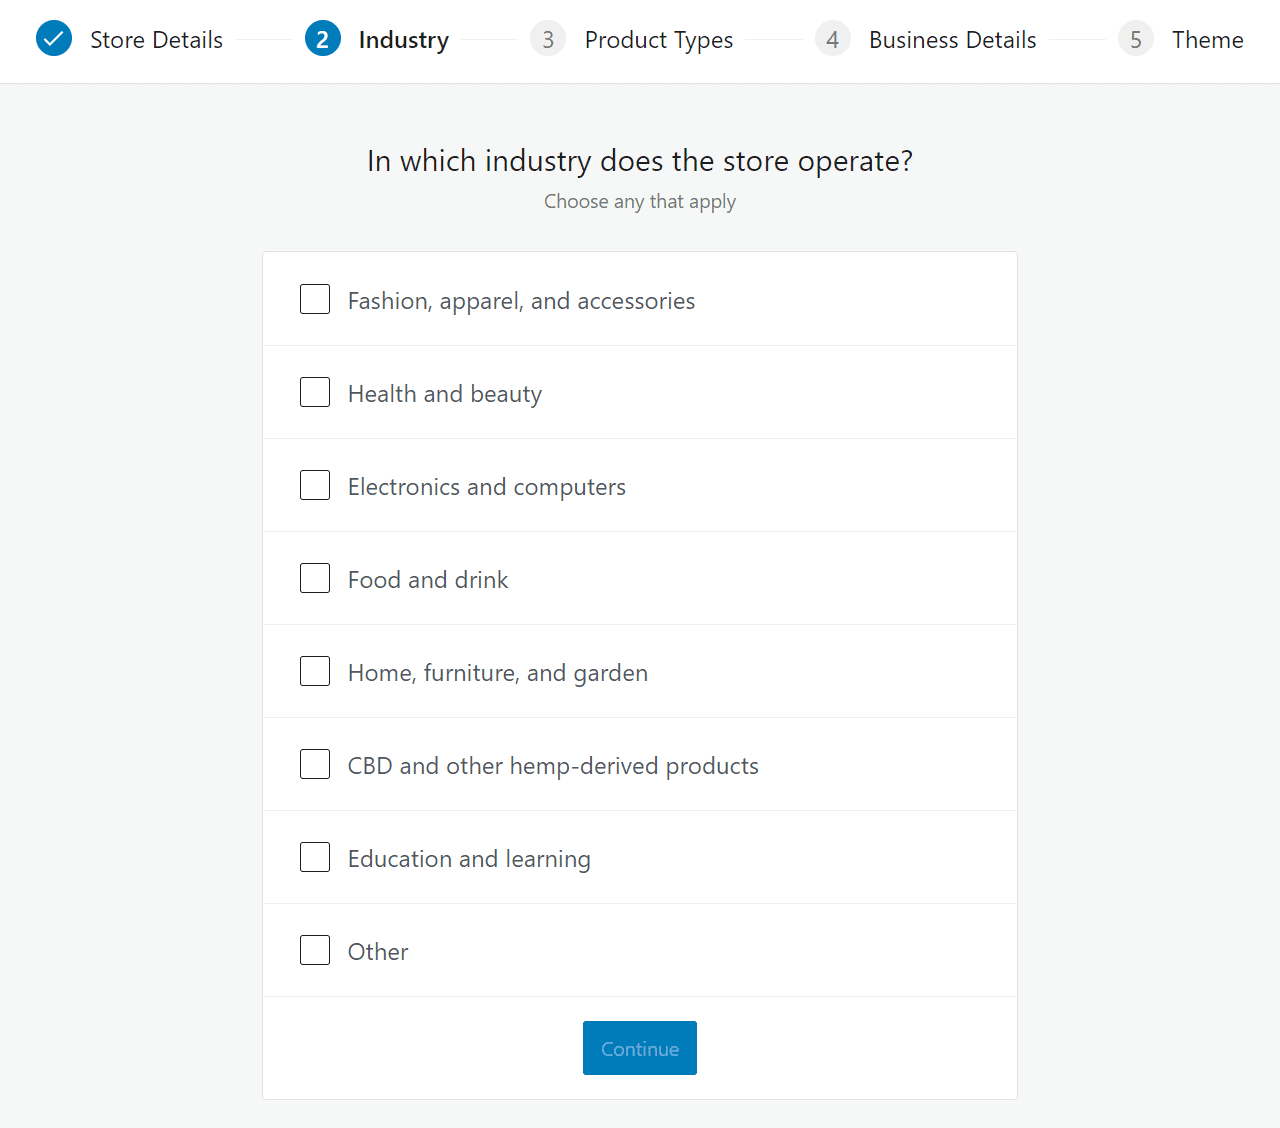
You can select multiple industries if you plan to sell products and/or services across all of them. If none of the industries WooCommerce lists fit your store’s description, go ahead and select Other.
Step 4: Select What Product Types You Plan to Sell
WooCommerce enables you to sell both physical and digital products and services. However, you can also expand WooCommerce’s functionality using extensions to sell more “advanced” products, such as subscriptions, memberships, bookings, and more:
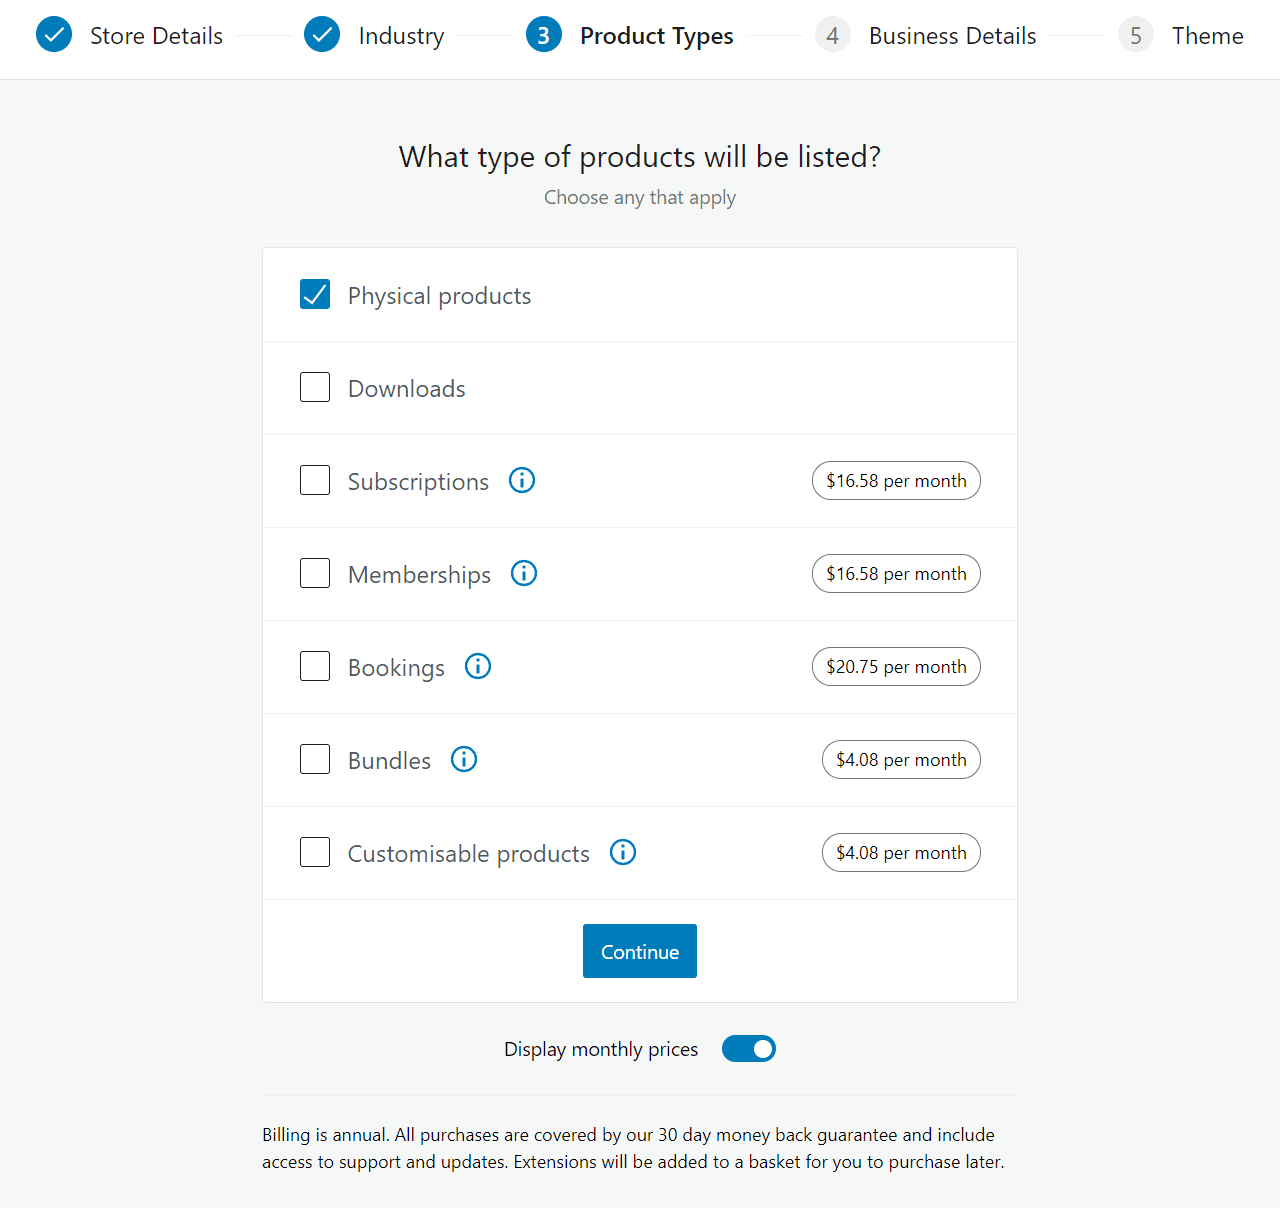
At this step, WooCommerce will suggest several product types that you can sell if you use extensions that require you to purchase a yearly license. However, it will display those yearly prices in terms of monthly costs.
It’s important to understand that you don’t need to sign up for any of the extensions that WooCommerce suggests. There are a lot of options for adding new product types that are cheaper or even free. In addition, you can always add these extensions to your store later down the road if you decide you need them.
For now, simply select between Physical products and Downloads, or opt into both. You can safely ignore the rest of the product types that WooCommerce suggests and move on.
Step 5: Add Information About Your Business Model
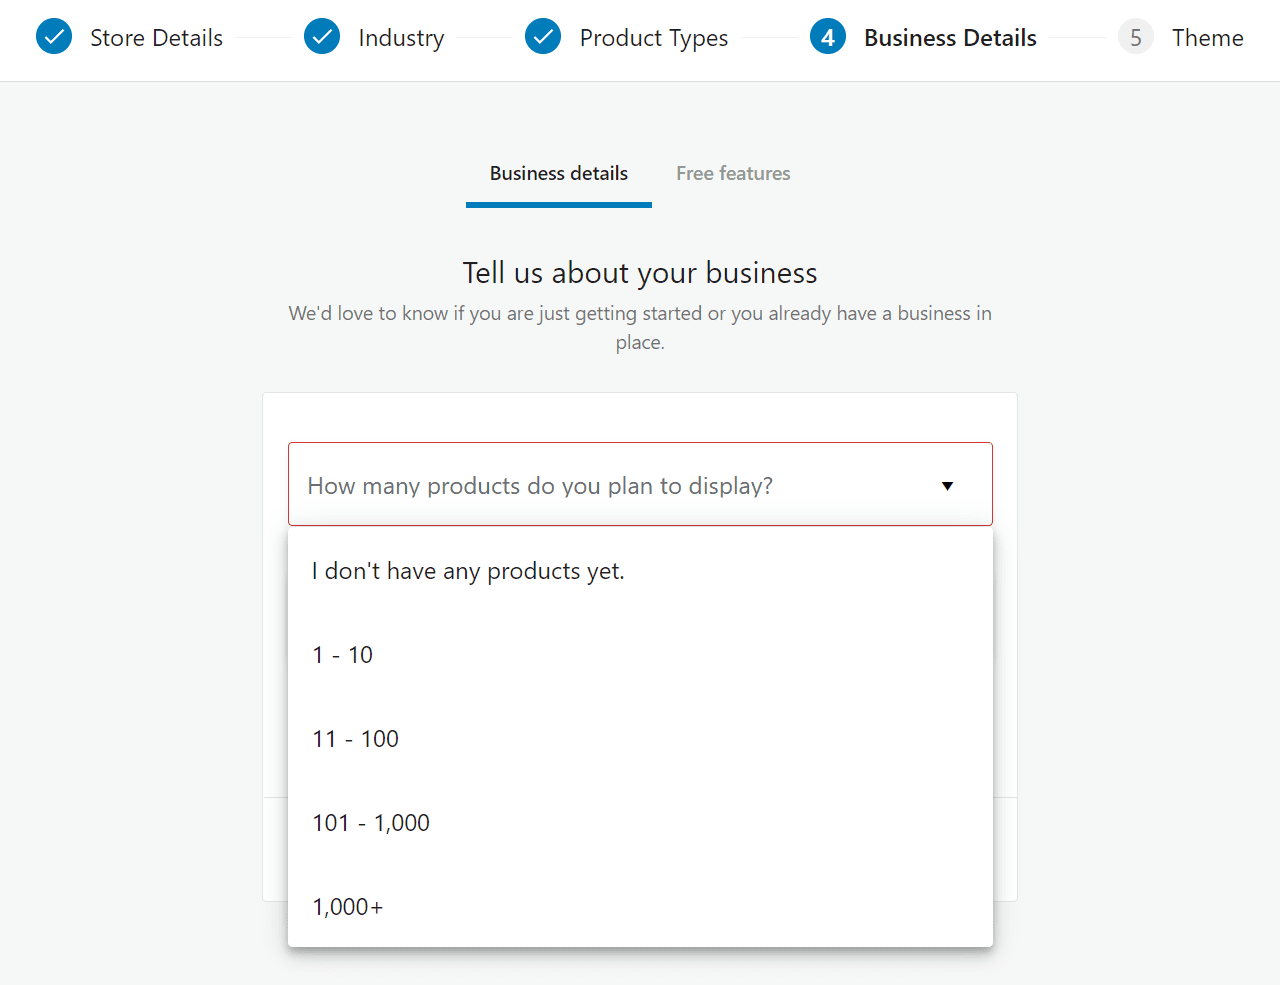
On the next screen, WooCommerce will ask you how many products you plan to display, and whether you’ll also sell them in other storefronts:
The answers you select here will have no impact on the base features that WooCommerce offers. However, depending on your answers, the plugin might automatically add some free extensions to your store.
To give you an example, if you select the Yes, on another platform option under Currently selling elsewhere? WooCommerce will ask about your current revenue and what platform you’re using:
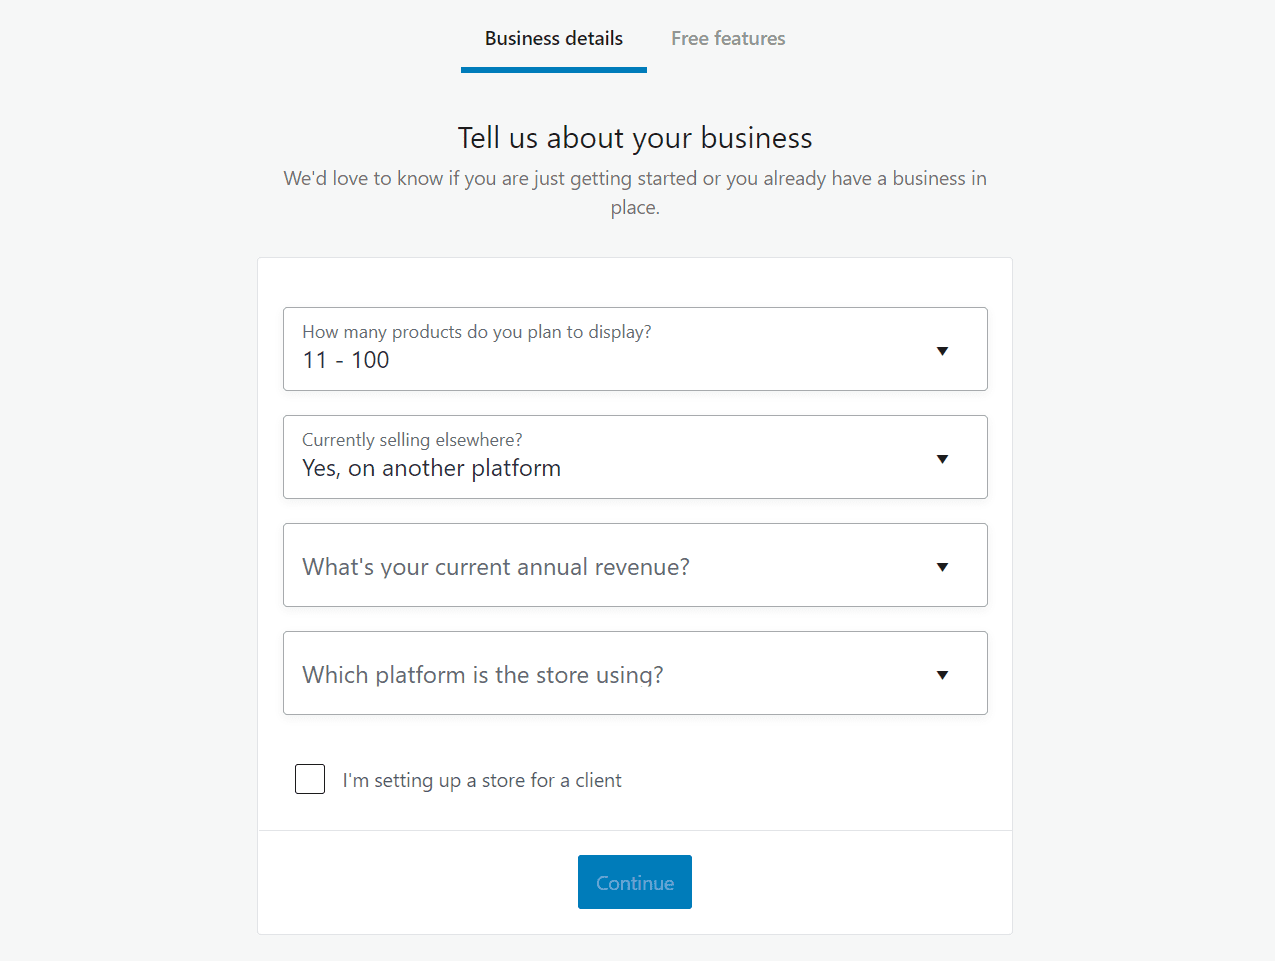
You can also indicate if you’re building a WooCommerce store for a client on this screen. Once you click on Continue, WooCommerce will ask if you want it to add free extensions to your store based on the answers you provided:
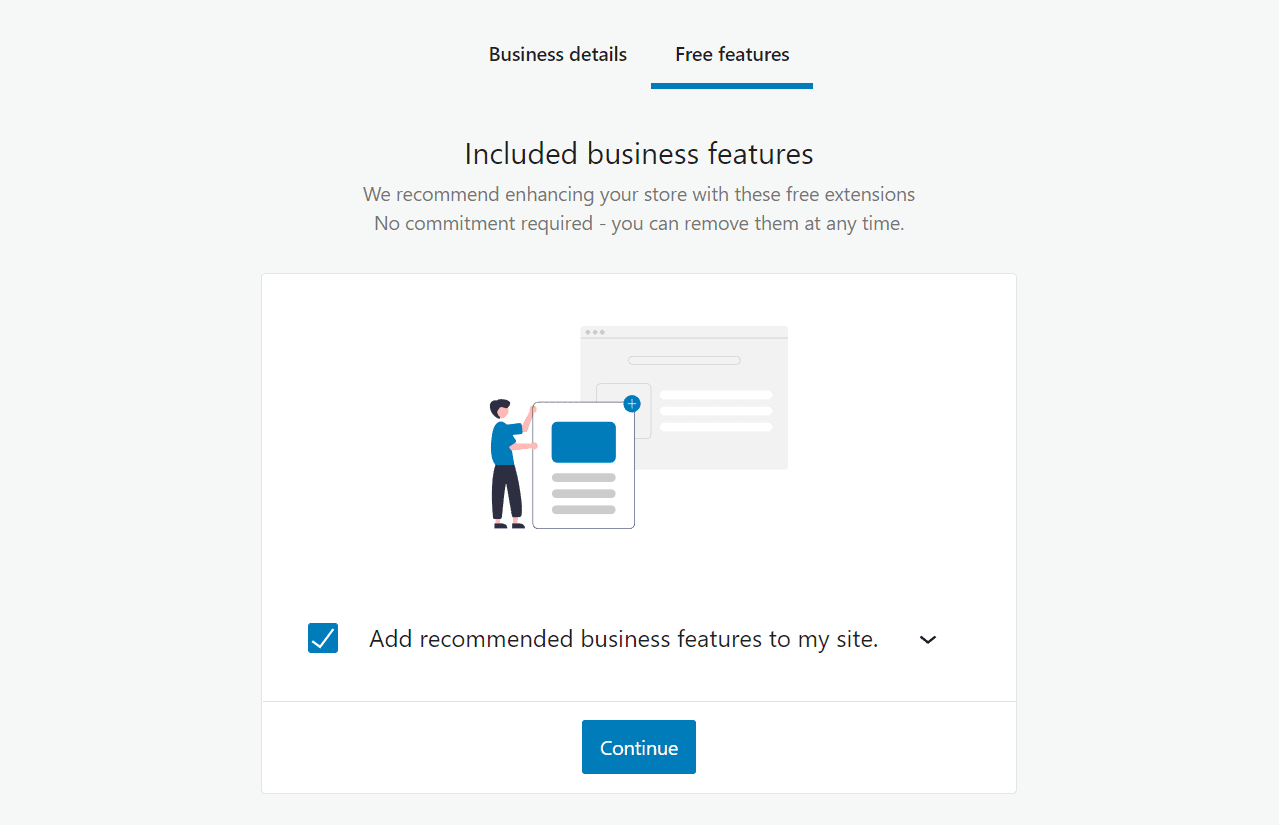
You can select the drop-down arrow to see what extensions WooCommerce recommends. If you’re not familiar with extensions yet, we advise against adding any at this time. You can always install the tools you want later, once you familiarize yourself with how WooCommerce works.
Step 6: Choose a Theme for Your WooCommerce Store
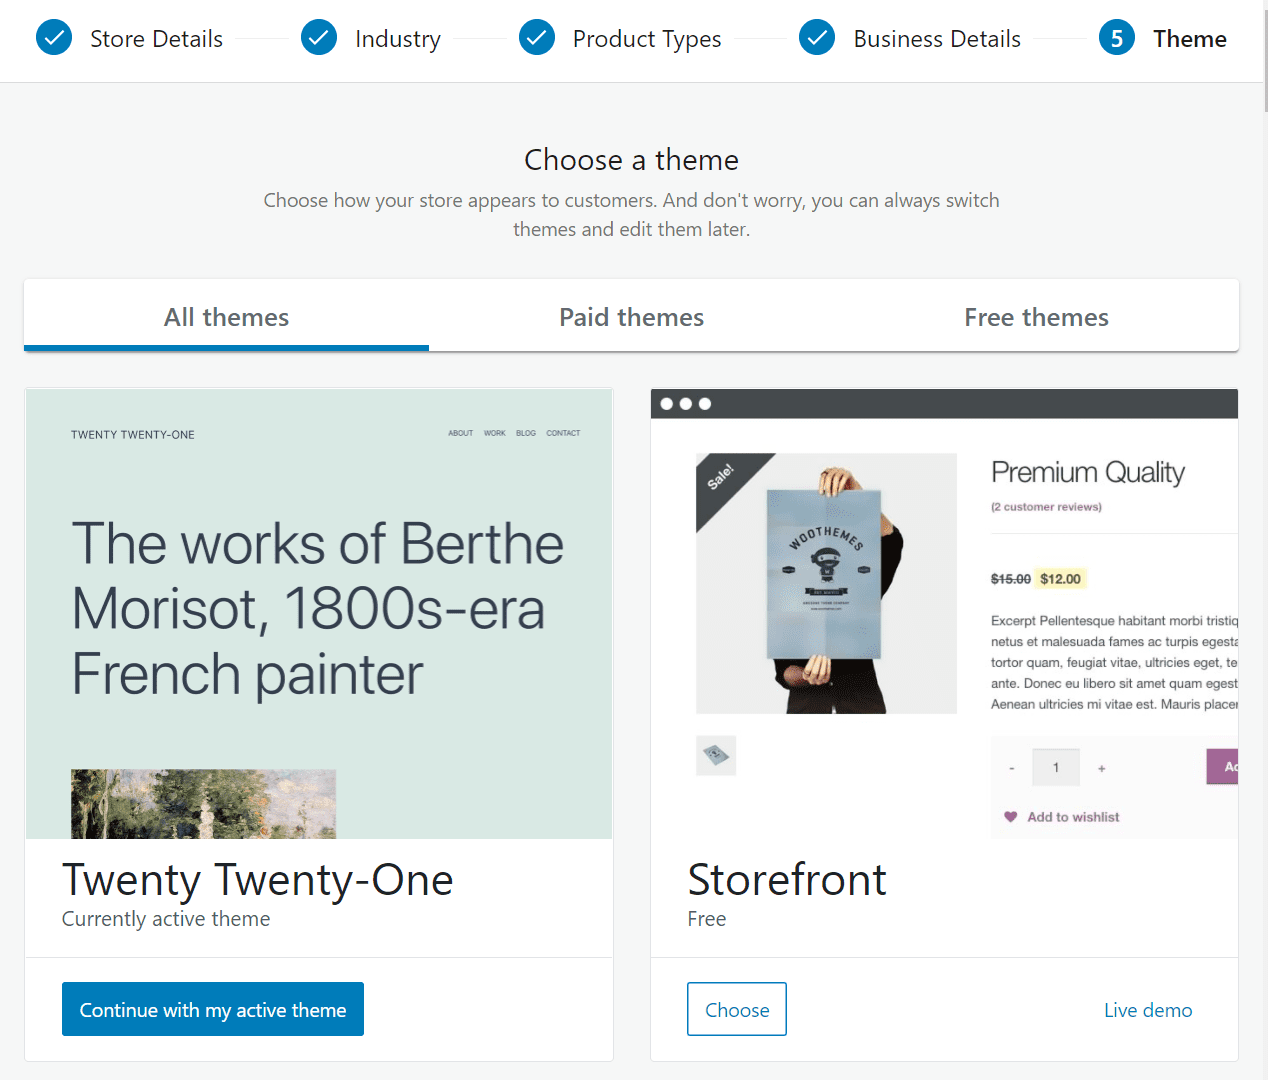
During this last step of the WooCommerce installation wizard, the plugin provides suggestions for your site’s theme. You’ll see a collection of free and paid options, all of which are optimized to work with WooCommerce:
Keep in mind that you don’t have to choose any of the themes WooCommerce suggests. In fact, if you’re new to using WooCommerce, we recommend that you do your research and find the right theme to meet your store’s needs.
If you’re looking for a theme that includes page builder functionality and is fully compatible with WooCommerce, you might check our own Divi. The Divi theme provides you with a visual builder you can use to create gorgeous WooCommerce stores. Plus, you also get access to a broad collection of e-commerce templates:
For now, go ahead and select the option that read Continue with my active theme. That way, you’re free to choose what theme to use later on.
Step 7: Configure Your Store’s Tax Settings
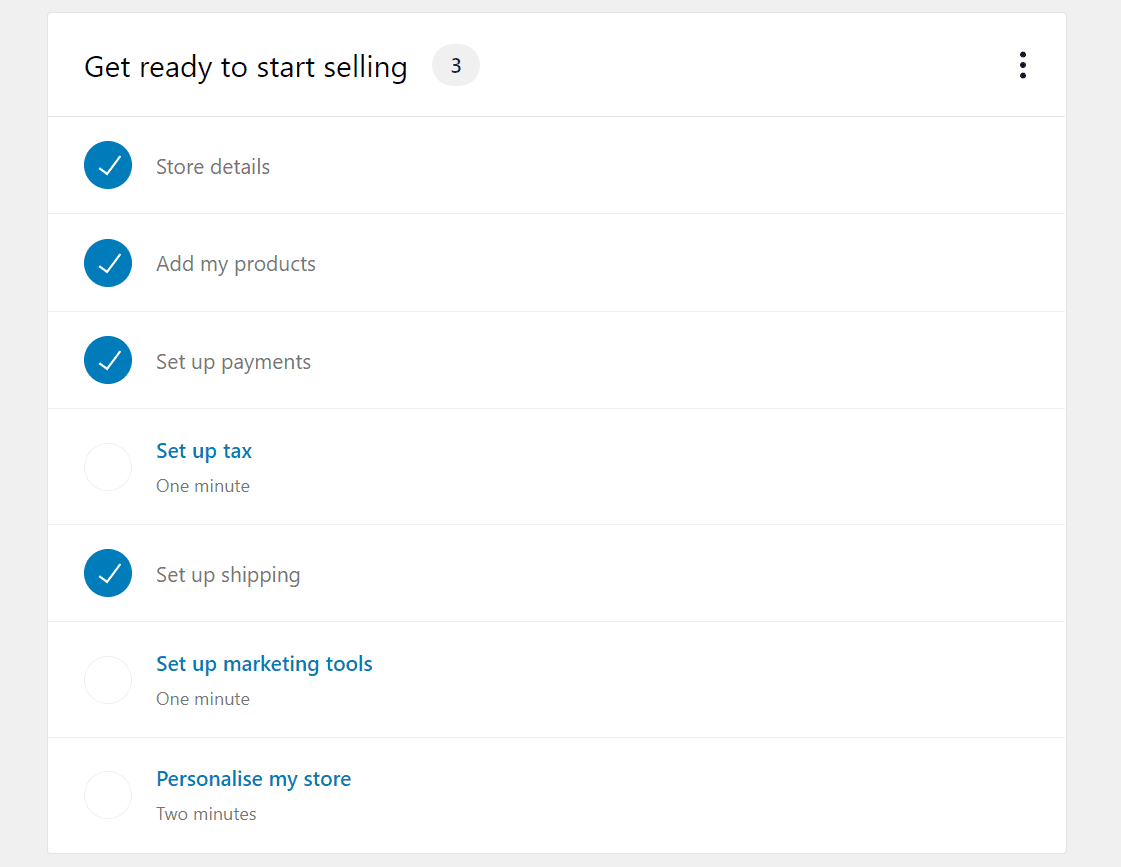
After you choose a theme, the WooCommerce wizard will close and you can continue to configure the plugin by going to the WooCommerce > Home tab. Look for the section labeled Get ready to start selling at the top of the screen, and there should be three steps that still need your attention:
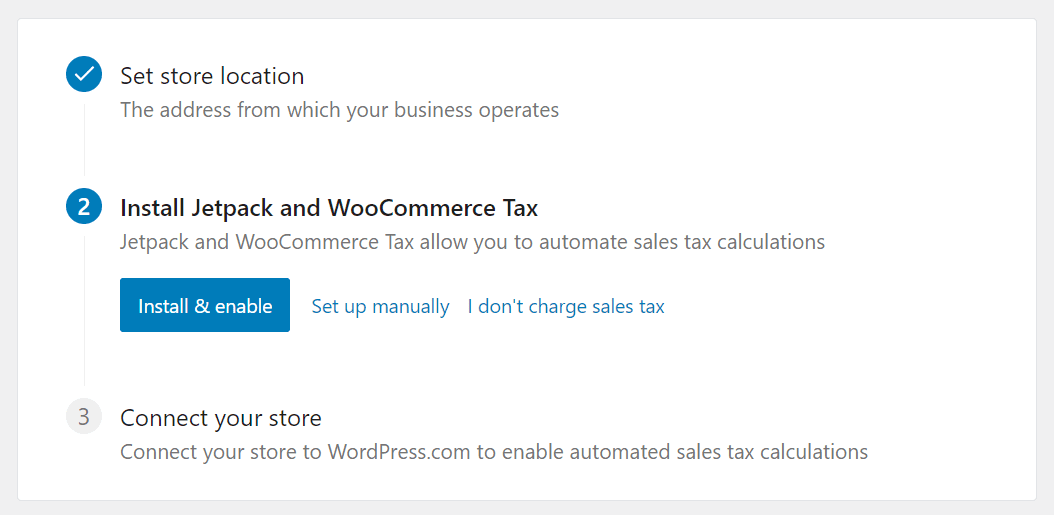
First, go ahead and click on Set up tax. WooCommerce will suggest that you install the Jetpack and WooCommerce tax plugin to help you manage taxes. However, you can also configure taxes manually or select the I don’t charge sales tax option:
For this step, we recommend using the Set up manually option. Clicking on that link will bring you to the WooCommerce > Settings > Tax screen. There you’ll be able to configure WooCommerce taxes, which we cover in another article. Once you’re done, return to the WooCommerce > Home tab for the next step.
Step 8: Set Up Marketing Tools for WooCommerce
Next, select the Set up marketing tools option under Get ready to start selling. The following screen will enable you to choose from a variety of recommended extensions that you can use for marketing purposes:
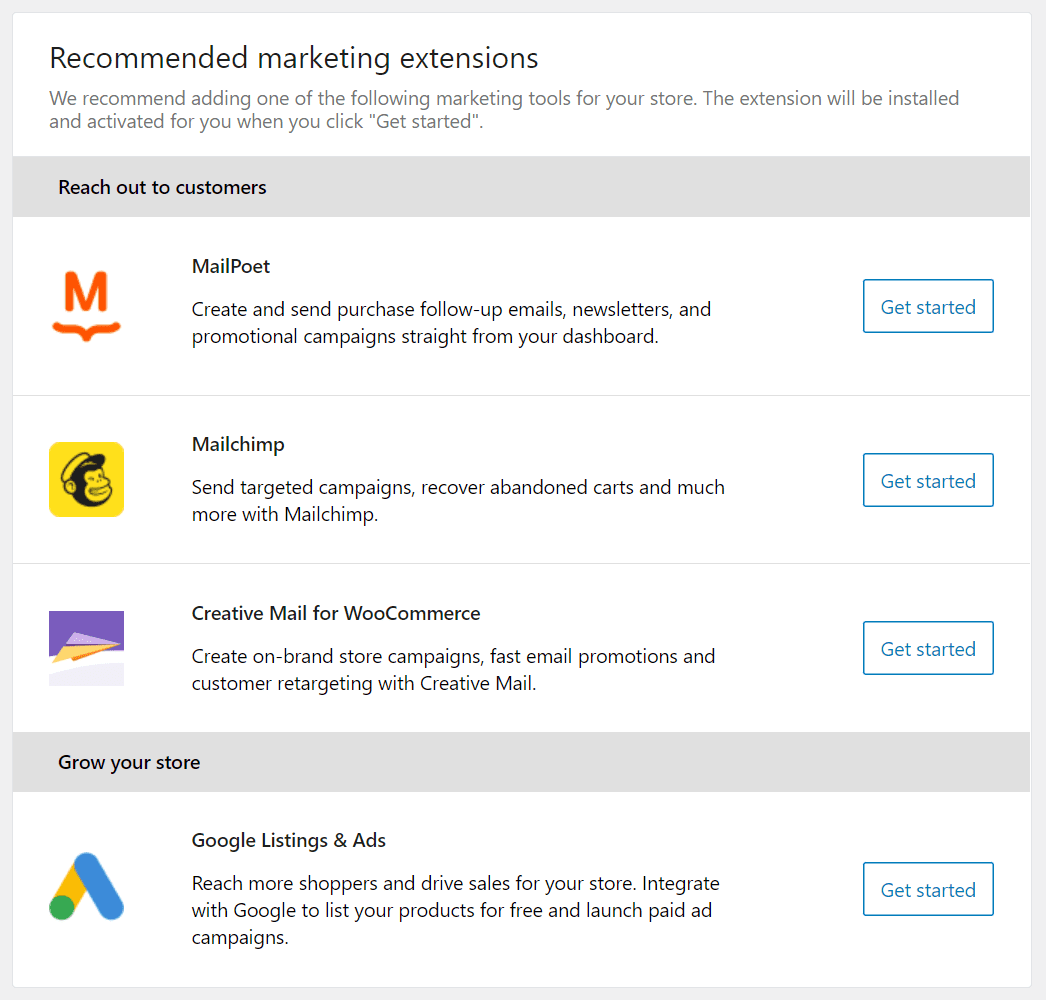
The Reach out to customers section includes several suggestions for email marketing extensions. However, it’s important to note that you can use whatever email marketing tool you want with WooCommerce. With that in mind, check out some of our recommended email marketing services, all of which you can integrate with WordPress and WooCommerce.
On that same note, the Grow your store section enables you to start using Google listings and ads. If you want to use paid ads, we recommend setting them up manually. For now, let’s continue setting up your store.
Step 9: Personalize Your WooCommerce Store
Return to WooCommerce > Home, and this time click on Personalize your store under Get ready to start selling. The next screen will include three options: one for setting up a new home page for your store, another for uploading a logo, and a final option for creating a store “notice”:
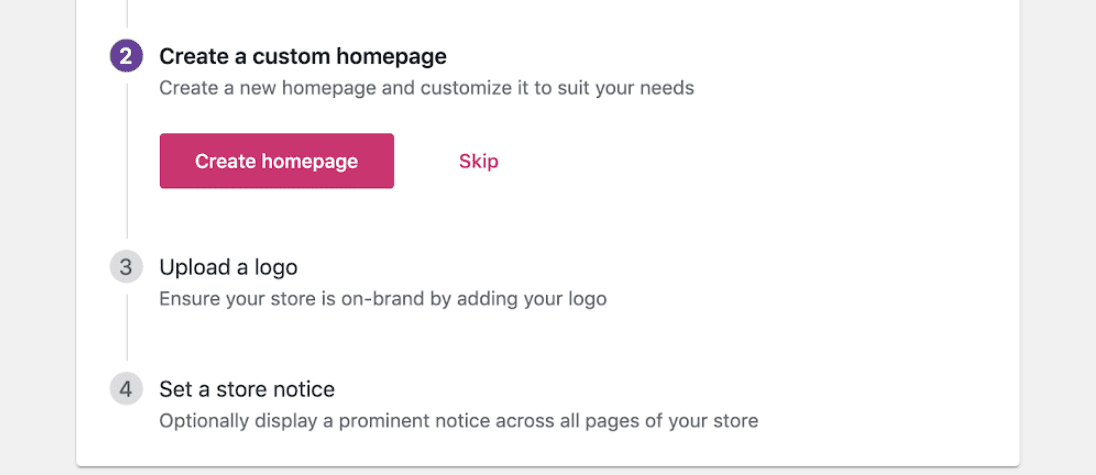
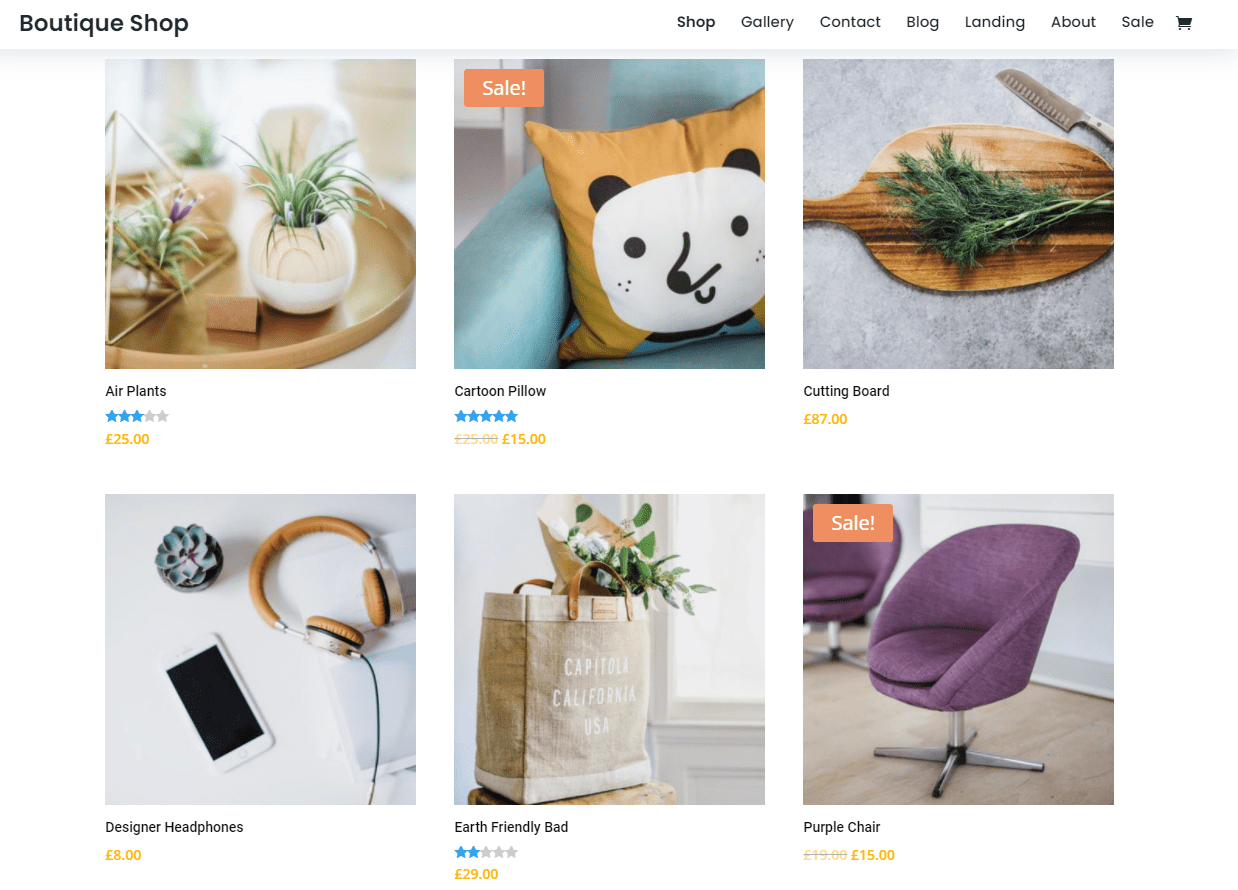
Let’s start with the first option. If you click on Create homepage, WooCommerce will automatically set up a basic home page for your store. Here’s what that looks like when you’re using one of the default WordPress themes:
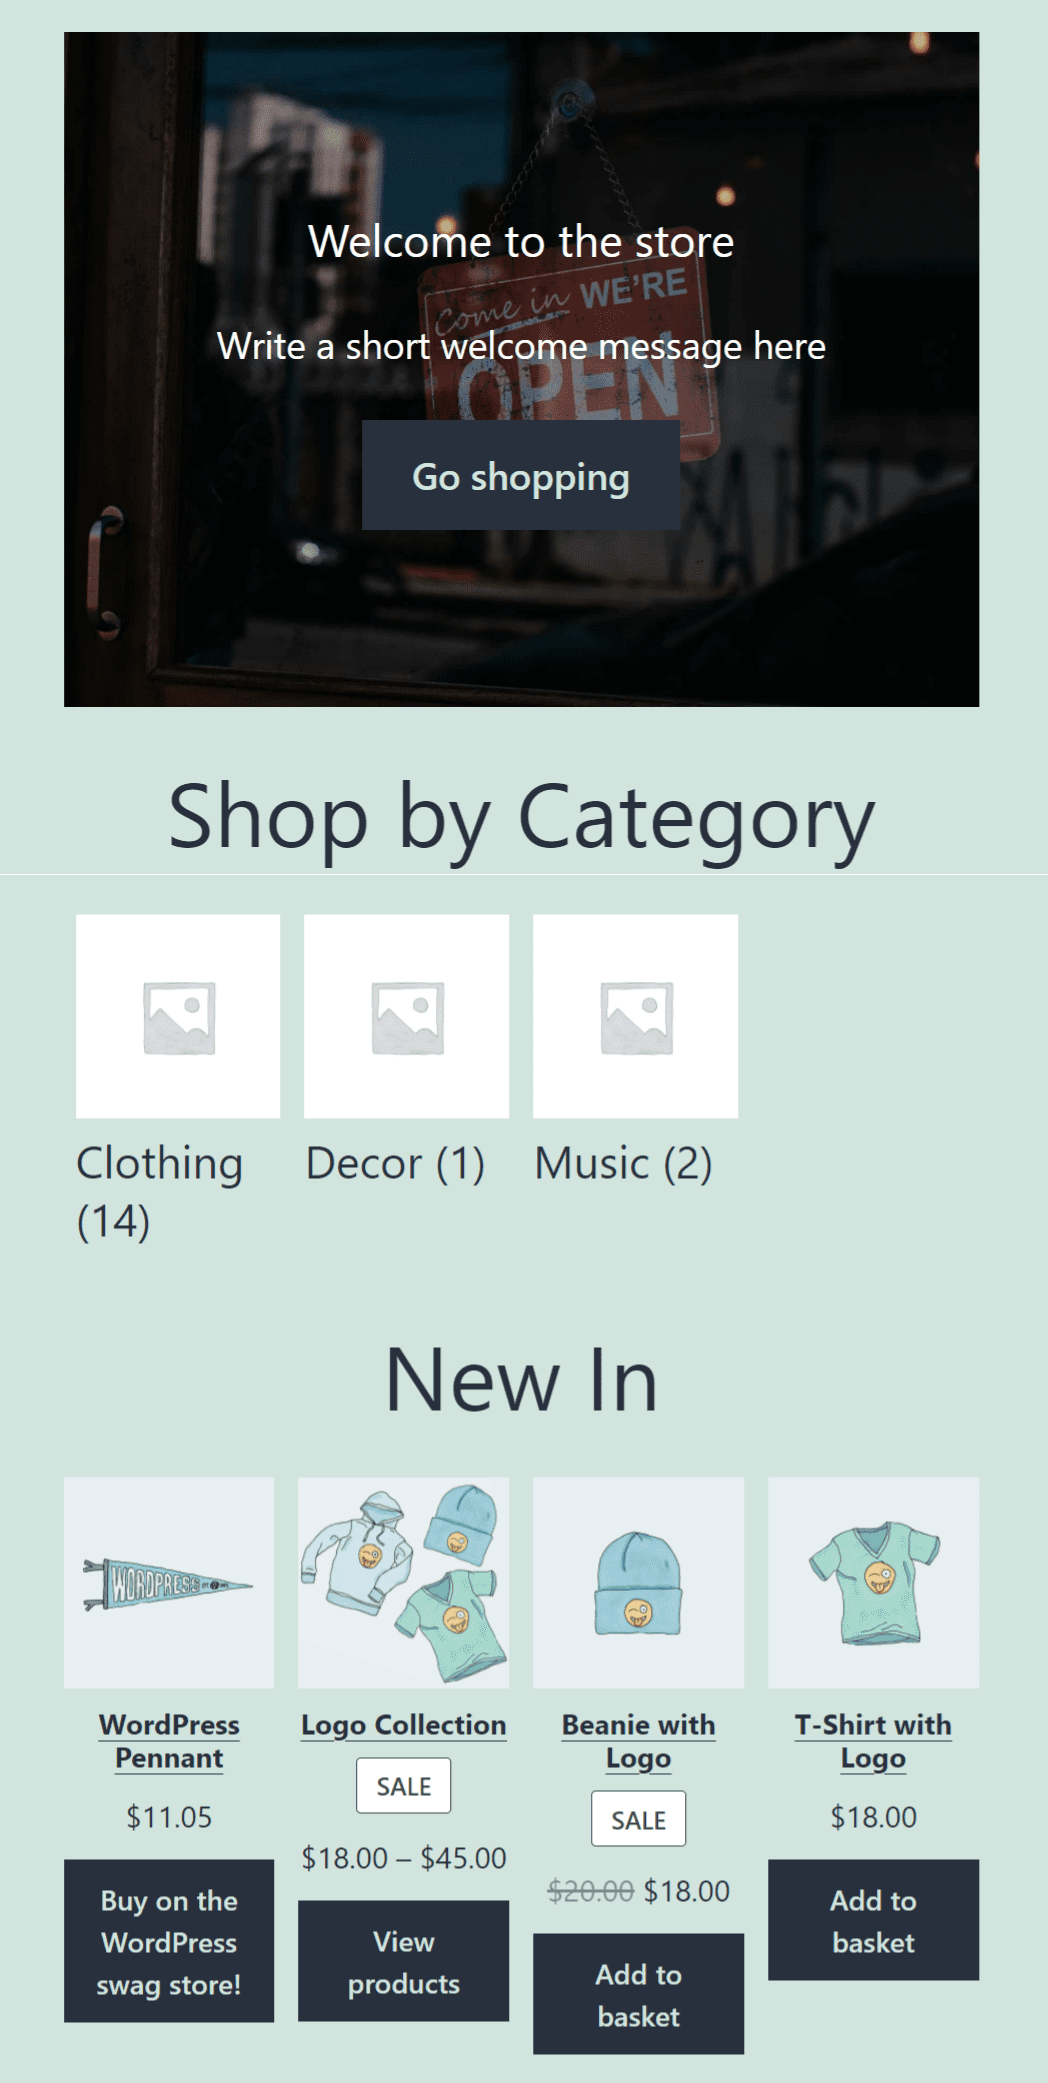
You can always customize the home page later on. For now, let’s return to the personalization screen.
At this stage, you can upload an image that WooCommerce will use as your store’s logo. What type of image to use is up to you, but we recommend SVGs for scalable logos that look good across all types of devices:
![]()
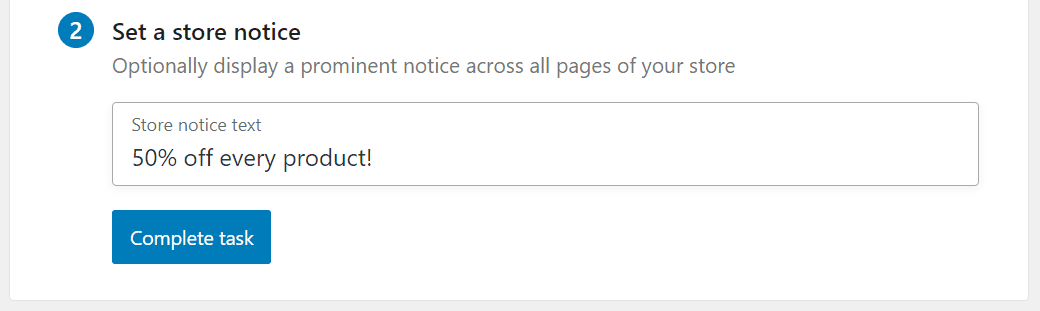
Finally, you can set up a simple notice bar that WooCommerce will display across all of your store’s pages. This feature is incredibly useful if you’re running a sale, so keep it in mind for the future:
That’s it! At this point, you have a fully working WooCommerce store. The plugin automatically sets up shop and product pages for you, as well as a fully-working checkout process using your preferred payment processors.
However, there are still a lot of WooCommerce settings you can configure. This is a massive plugin that adds a broad range of functionality to your website, so we recommend that you take some time to go through its full list of options. That way, your store will work exactly the way you want it to from day one.
Conclusion
Learning how to install WooCommerce is easier than you might think. However, the plugin adds a lot of features to WordPress, so going through each of them takes some time. Fortunately, WooCommerce ships with an installation wizard that will walk you through the most important steps for setting up your store.
After you’re done with the installation wizard, your next steps should be to configure the remaining WooCommerce settings, and choose the perfect theme for your shop. From that point, all that’s left to do is to customize your store’s style and start publishing products.
Do you have any questions about how to install WooCommerce? Let’s go over them in the comments section below!
Featured Image via Bloomicon / shutterstock.com
The post How to Install WooCommerce & Set Up Your Shop appeared first on Elegant Themes Blog.